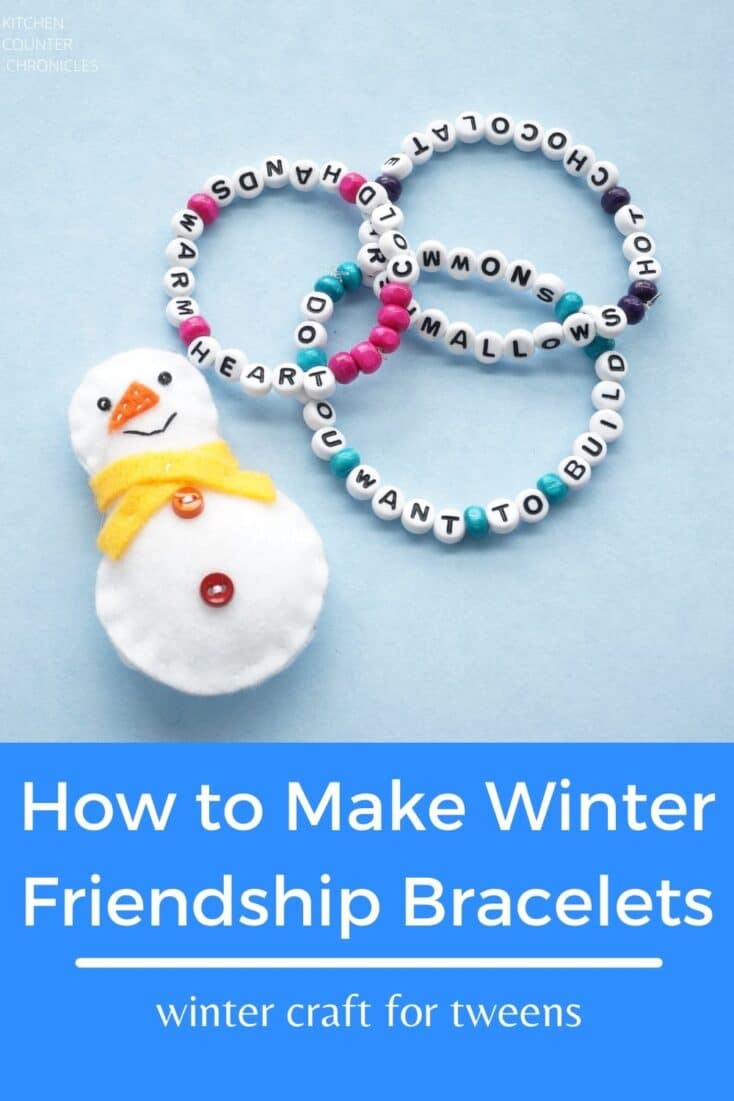
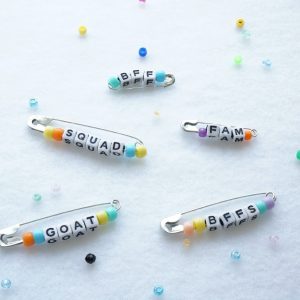
We have had a lot of fun making various friendship bracelets. We've made them for Valentine's Day, for the fall and Halloween. Don't forget our fun friendship safety pins...the kind you pin to your shoelaces. This time around we are embracing the cold weather and making this cool winter craft for tweens.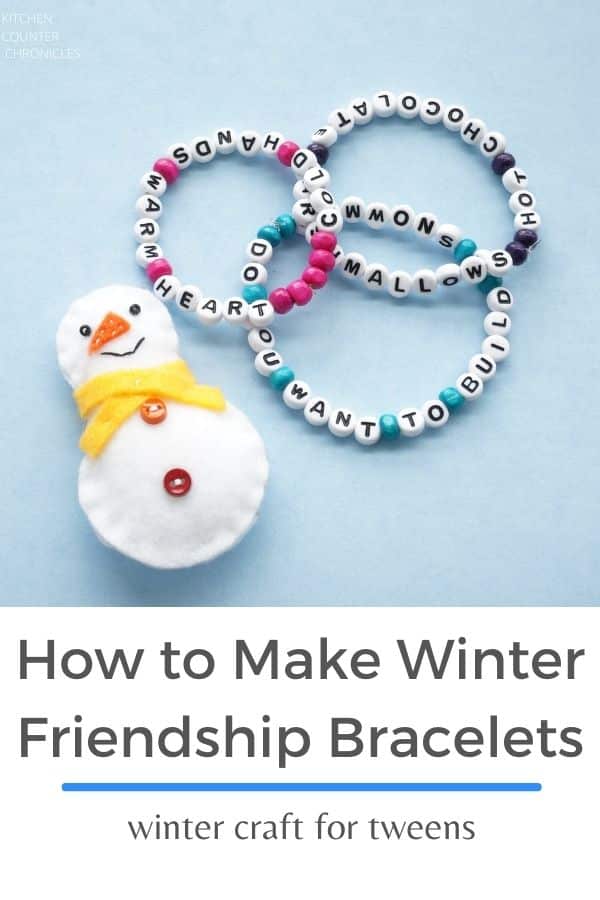
Disclosure: There are Amazon Affiliate links in this article which means, at no additional cost to you, we could receive compensation for our recommendations. You can read our full disclosure policy on our Disclosure Page for more details.
Since this year our many kids are attending school online, these bracelets are a lovely way to stay connected with friends. What a cute surprise it would be to receive a friendship bracelet in the mail from a friend.
Winter Friendship Bracelet Craft for Tweens
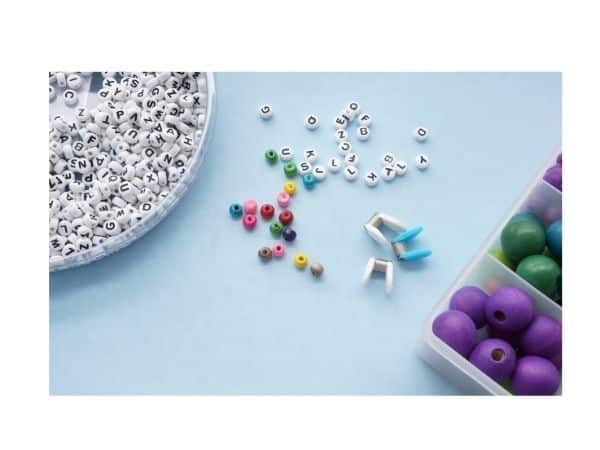
letter beads
assorted wooden beads
stretchy jewelry string - 0.7mm
Bead Bugs
piece of felt to work on
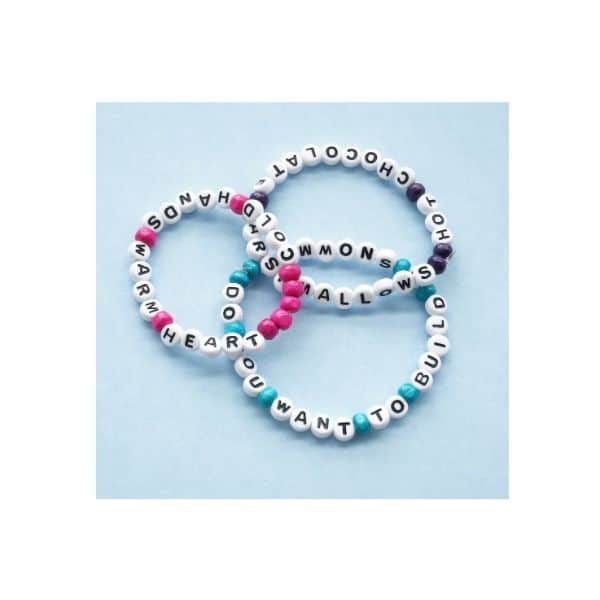
- hot chocolate marshmallows
- do you want to build a snowman
- cold hands warm heart
I am legendary for my hands getting cold and I repeatedly say "cold hands, warm heart" during the winter. And, you can't beat hot chocolate and marshmallows on a chilly winter day...right? Of course, every time we have a snowfall the inevitable question is asked "do you want to build a snowman?" We also liked the idea of a bracelet with "snow day" or "chilly nose chilly toes." Maybe there is a favourite thing that you and your friends like to say during the winter.
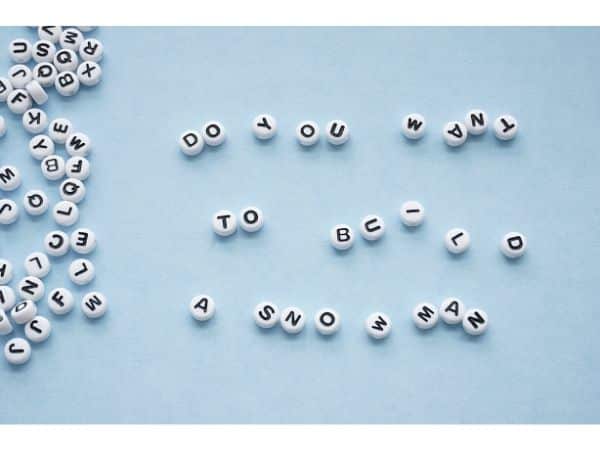
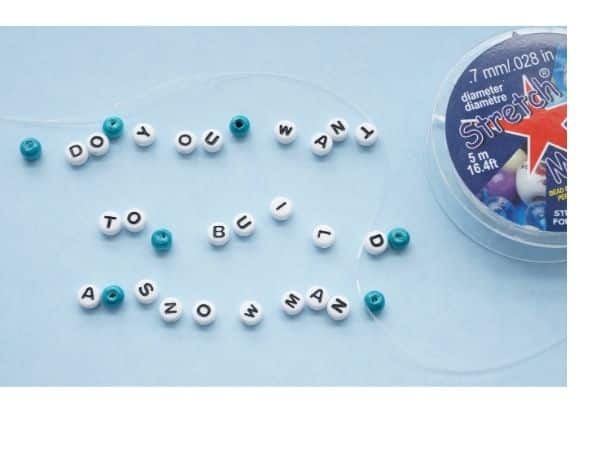
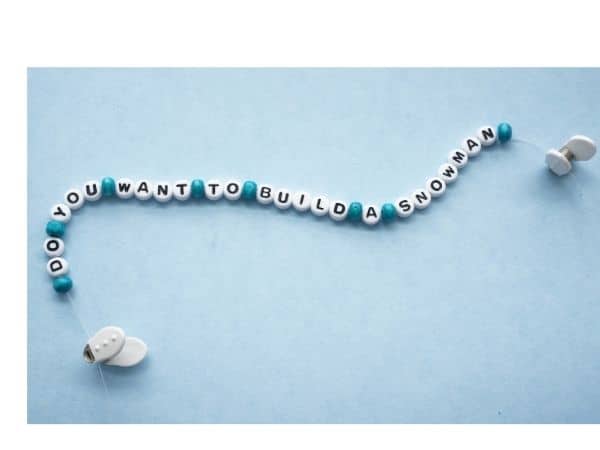
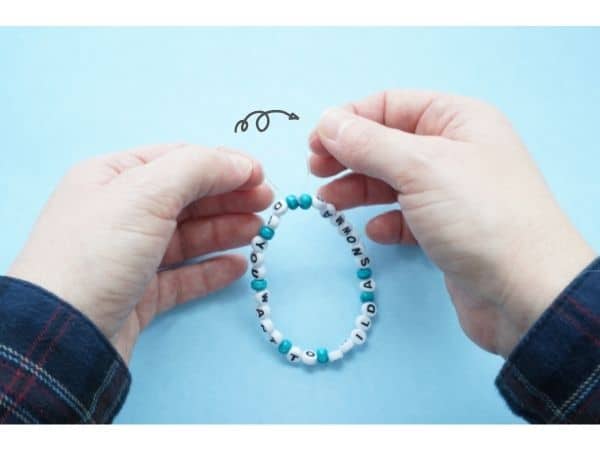
Okay, once you have your phrase or words, it's time to plan out the bracelets. We like to make our bracelets on a piece of felt. The surface of the felt stops the beads from rolling away. Lay the letters out and then add in some wooden beads to space the words out. The design choices are totally up to you. Have fun planning.
What will your winter friendship bracelet message say?
Related Posts

Make sure you are following along...
SUBSCRIBE TO KITCHEN COUNTER CHRONICLES TO HAVE OUR FUN CRAFTS & ACTIVITIES & RECIPES DELIVERED DIRECTLY TO YOUR INBOX.
FOLLOW KITCHEN COUNTER CHRONICLES ON
FACEBOOK:: PINTEREST :: TWITTER::INSTAGRAM

