

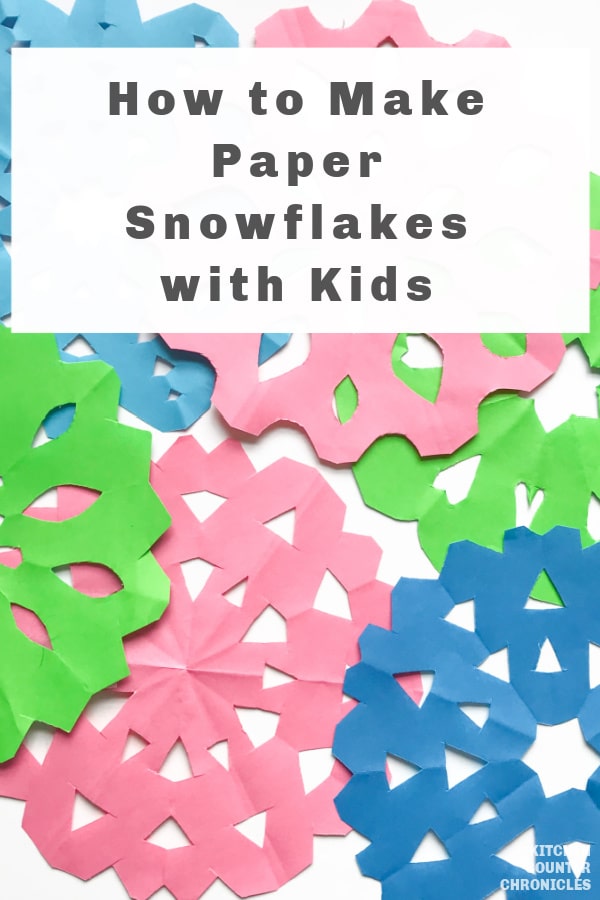
Making paper snowflakes has become a winter craft and a Christmas craft tradition in our house. It has become one of our very favourite winter crafts to make. In fact, my girls asked just the other day, "When are we going to make snowflakes?" Making paper snowflakes is strangely addictive - I guarantee once you learn how to make paper snowflakes, your house will look like a snowstorm hit.
Disclosure: There are Amazon Affiliate links in this article which means, at no additional cost to you, we could receive compensation for our recommendations. You can read our full disclosure policy on our Disclosure Page for more details.
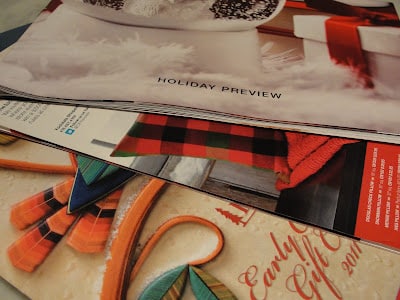
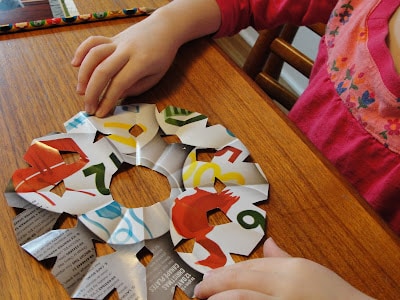
Whether it snows where you live or not, you can experience a winter snowstorm at your house. We like to make our snowflakes from a couple of different types of paper. We used the pages of old magazines and another favourite is using colourful origami paper. I find it amazing how the magazine pages are completely transformed into beautiful snowy flakes.
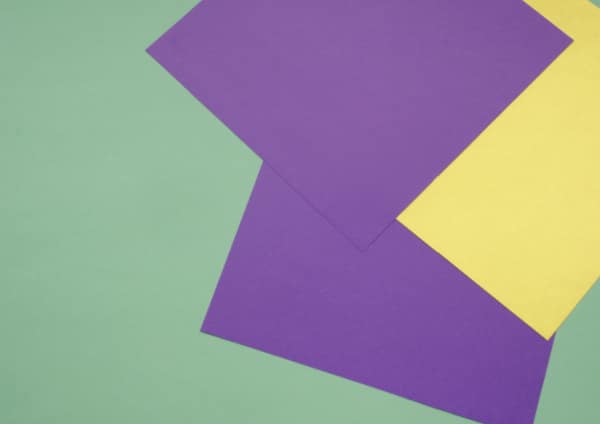
The origami paper is a lovely choice because it has colour on both sides of the paper and it is already square and is easily foldable...making paper snowflakes is origami after all. Let your kids pick out the style of origami paper you use. Will it have patterns or be a solid colour? Honestly, using origami paper is a little easier - because it eliminates the need to create a square of paper and it is so easy to fold. But, if you don't have any on hand then magazine pages totally work.
How to Make Paper Snowflakes Step-by-Step
pages from old magazines
origami paper
cereal box
ruler
pencil
kid scissors
What kind of paper can be used to make paper snowflakes?
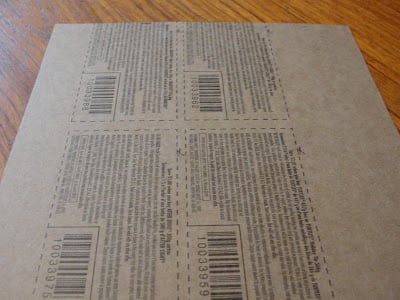
If you don't happen to have any origami paper on hand, then working with old magazines is perfect. You can also use regular printer paper, again you would need to cut it down to the right size using the following steps. Really, any thin paper would work. It's best to work with thin paper because it will be easy to fold and cut. You just have to modify the pages. The first step is to draw an 8″ square on a cereal box. Cut out the square…this will be the template for the magazine paper snowflakes.
Next, tear brightly colourful pages from old magazines. Let the kids rip out whichever pages they like. The thinner the pages the easier they will be to fold. Have the kids trace the 8" square on the paper and cut out the square from a magazine page.
How to fold a paper snowflake
Step 1:
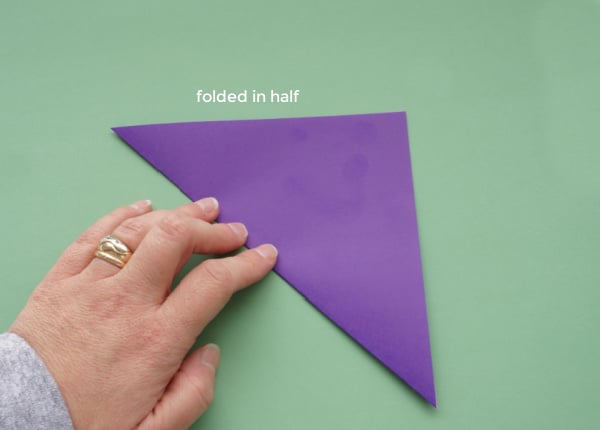
Okay, you now have either an 8" square magazine page or a square of origami paper. It's time to make the snowflake. Start by folding the square in half, corner to corner, creating a large triangle.
Step 2:
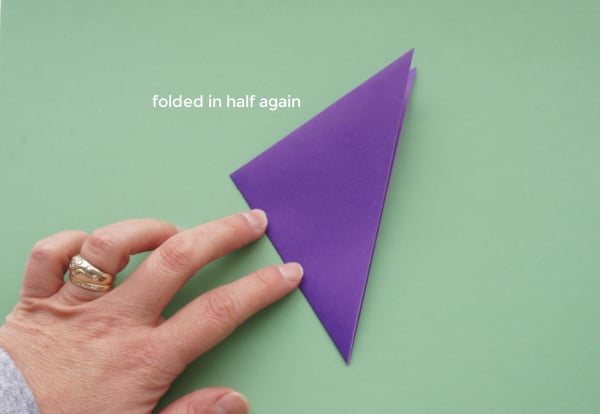
Now, fold the paper in half again, corner to corner, thus creating a smaller triangle.
Step 3:
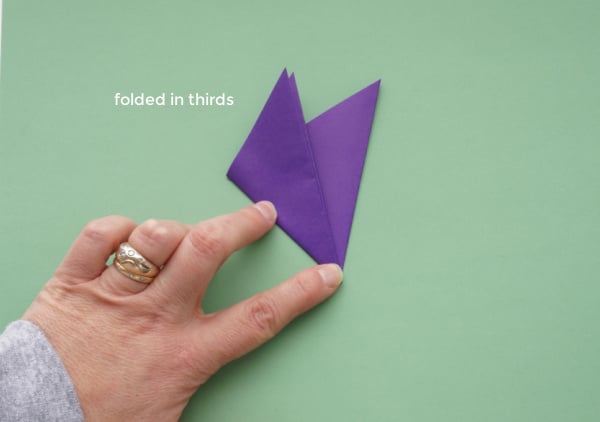
Now, fold the triangle into a third. Bring the sides of the triangle into the middle...one side at a time. The sides will fold over each other.
Step 4:
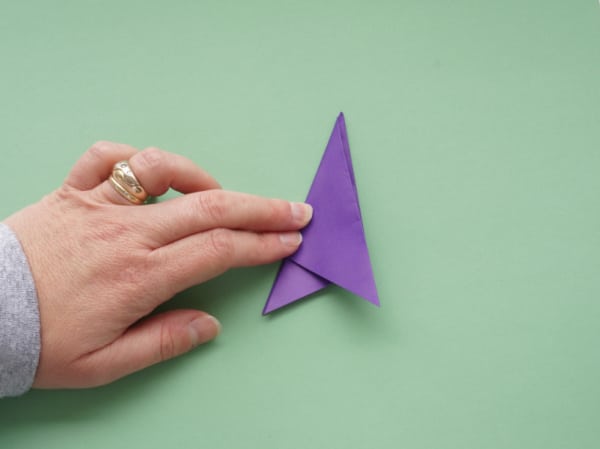
This may take a couple of tries…the folded sides need to all meet and create a tightly folded, long and narrow triangle.
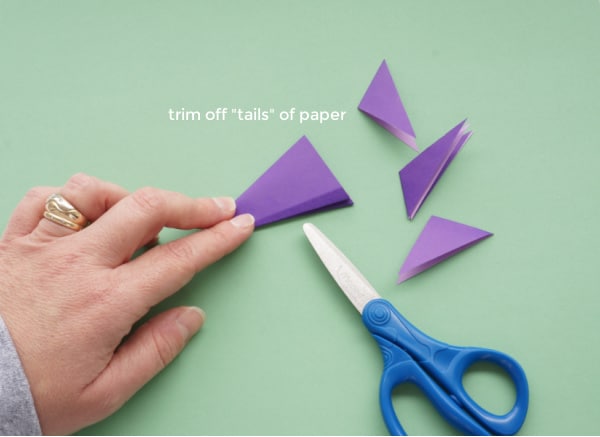
Step 5:
Once you have the sides folded in, you can trim the excess ends from the top…the “tail” pieces.
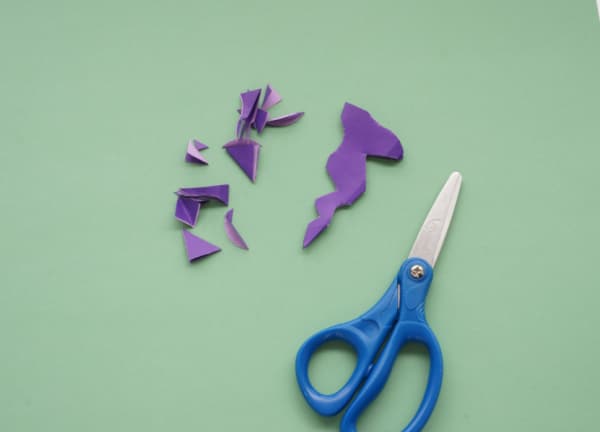
You now have the base for making any kind of snowflake you like. The creating begins…cut pieces away from the triangle, however you like…it’s time to experiment.
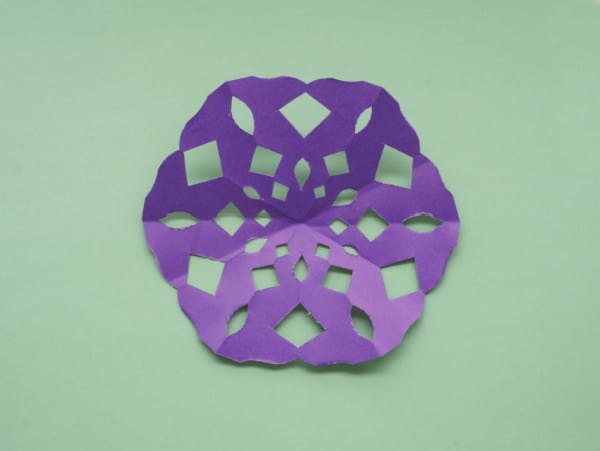
When all the cutting is done, open the folds and look at the beautiful, a one of a kind snowflake you have made.
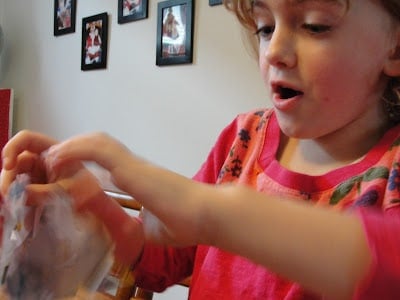
Here is my young daughter cutting and opening her own paper snowflake. She made her paper snowflakes from magazine pages.
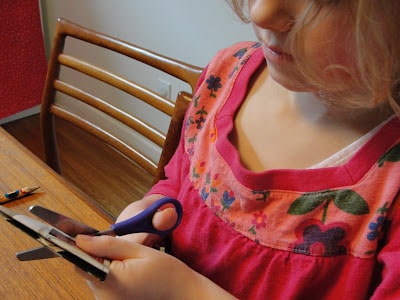
You could not beat the excited expression on her face when she opened up the folded paper and discovered the beautiful snowflake she had created.
There's her first of many, many snowflakes. We made a flurry of snowflakes on that day and it started a lifelong love of cutting snowflakes from paper.
It truly is incredible to see what a little folding and cutting can create. As my daughters have gotten older and more experienced, they have created some beautiful flakes. Admittedly, sometimes the flakes fall apart...if they are cut too much...but this is all part of trial and error and learning.
Now, what to do with all those paper snowflakes? Hang them from the ceiling, use them as decoration on Christmas gifts or hang them on the walls with removable painter's tape. We will be filling our front window with snowflakes, so our neighbours can enjoy our flurry of flakes. It is easy to vary the size of the initial square and make big and small flakes too.
Have you ever made paper snowflakes?
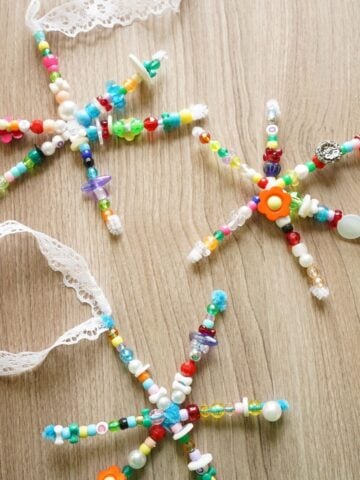
More Winter Activities for Kids
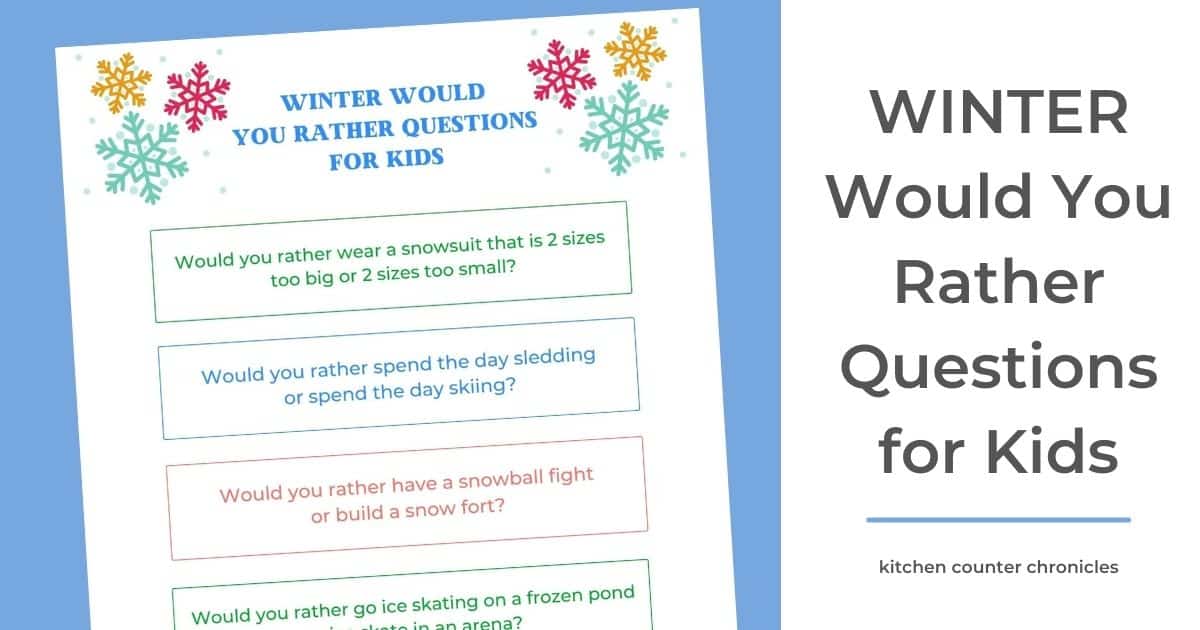
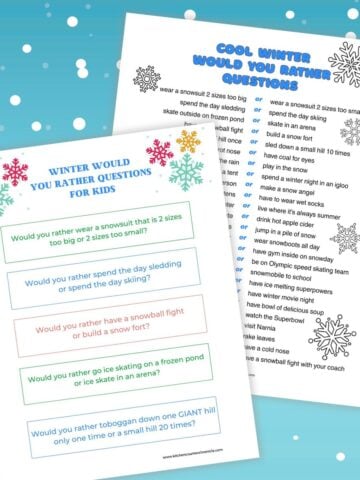
Print off our Winter Would You Rather Questions for Kids and have some wintry fun
Make sure you are following along...
FOLLOW KITCHEN COUNTER CHRONICLES ON
SUBSCRIBE TO KITCHEN COUNTER CHRONICLES TO HAVE OUR DELICIOUS RECIPES, FUN CRAFTS & ACTIVITIES DELIVERED DIRECTLY TO YOUR INBOX.
FACEBOOK:: PINTEREST::INSTAGRAM


Gude @HodgePodgeCraft says
I love paper snowflakes! Such a fun Christmas activity (and a great recycling craft) 🙂
#Pintorials