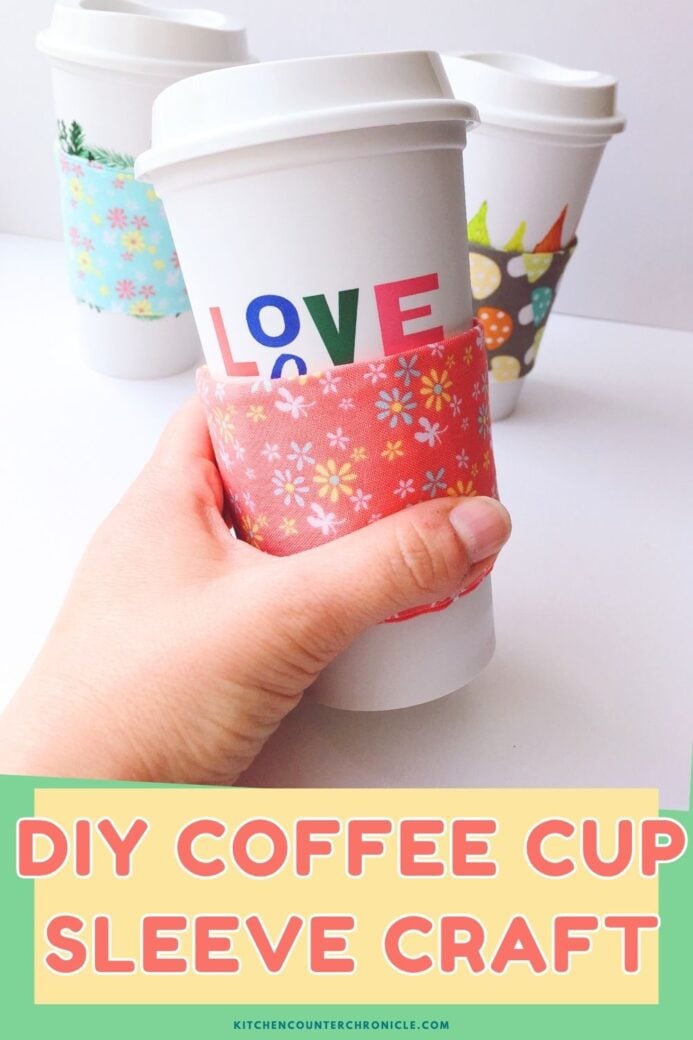
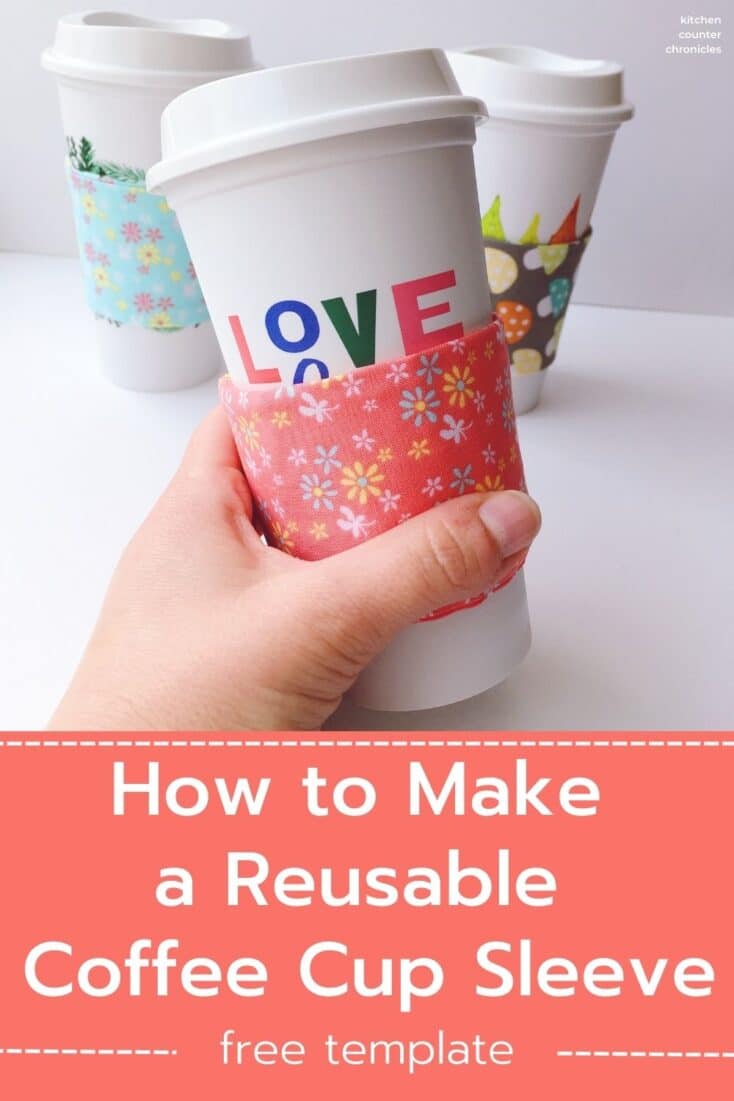
In our quest to cut down on single-use plastics and single-use everything, I've created a simple coffee cup sleeve template and tutorial. This is an easy project for any time of the year - a great Earth Day activity or a fun winter craft for all those hot chocolate refills for the kids! Be sure to check out all of our amazing Green Living Ideas for Families.
Disclosure: There are Amazon Affiliate links in this article which means, at no additional cost to you, we could receive compensation for our recommendations. You can read our full disclosure policy on our Disclosure Page for more details.
If you add up every trip to the coffee shop that you make in a week and then multiply it by the number of people in the coffee shop, you quickly realize how many single-use cups and coffee cup sleeves are being added to our landfills every week. I've been touting how much I love the super inexpensive reusable coffee cups from Starbucks. Over the last few months, I've purchased 3 of the cups and I have found them to be convenient to use.
At Christmastime, I shared how to make a felt coffee sleeve, but I wanted to share how to make a sleeve from cotton. This version is a little more advanced than the felt sleeve - so if you are just starting out, you might want to try a felt one first. That being said, this is a super easy sewing project - perfect for kids and beginner sewers.
How to Make A Coffee Cup Sleeve
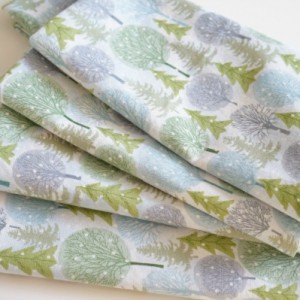
approximately 12" x 4" piece of cotton fabric
12" x 8" sheet of felt
coordinating thread
needle
pins
print out of paper coffee cup sleeve template
bone folder
Begin by printing off my coffee cup sleeve template (if you want to sew a super simple sleeve from felt, you can use the slightly smaller coffee cup cozy template). I created this Starbucks cup sleeve template from a Starbucks coffee sleeve, so it fits perfectly. Cut out the pattern piece.
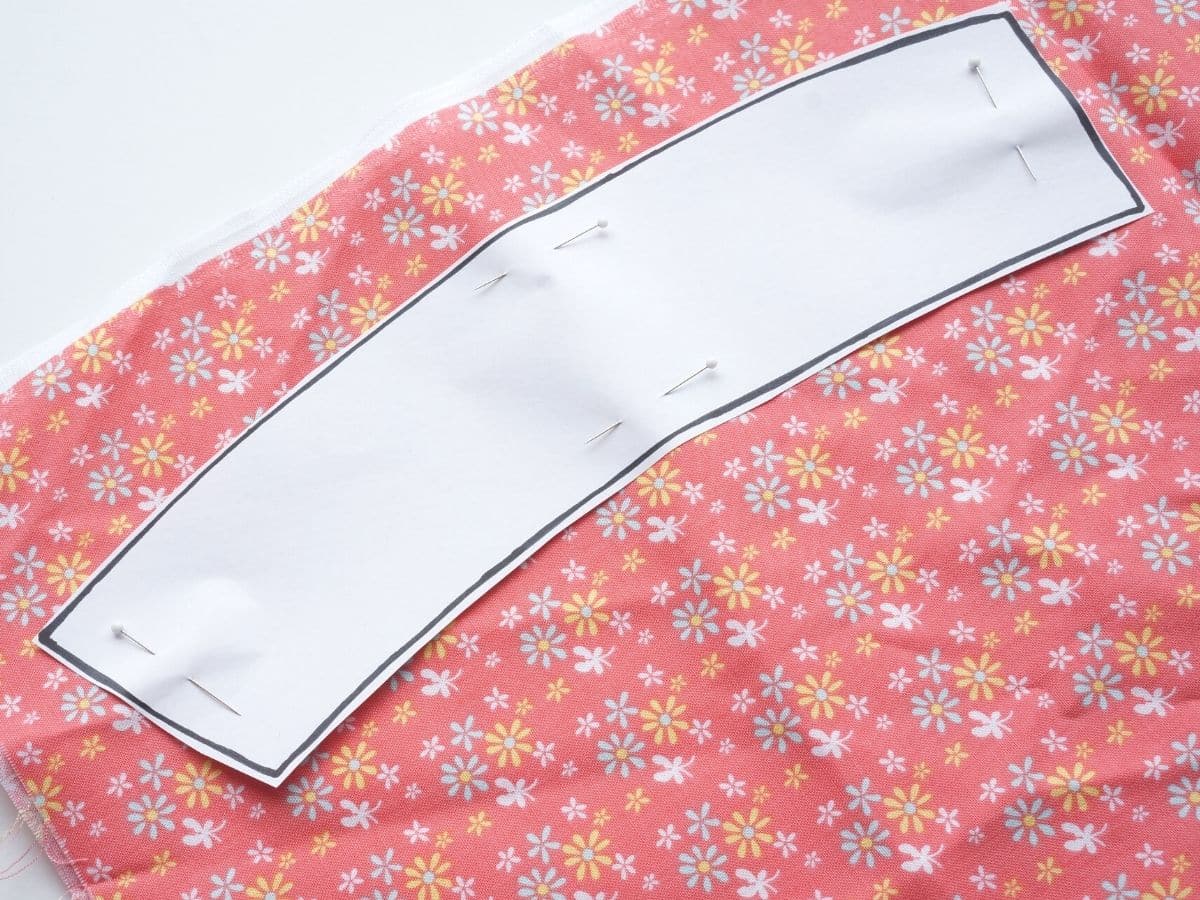
Now, place 2 layers of fabric, the wrong sides together, and pin the template to the fabric.

Cut the fabric about a ⅛" beyond the template edge. Because we are adding a lining to this coffee cup sleeve, we need the fabric to be cut a tiny bit larger than the template. Set the cutout fabric aside.
Next, pin the template to the felt. We need to add a layer of the felt because two layers of fabric won't protect your hand from the heat of the cup. Cut out the felt - this time cut right along the template edge.
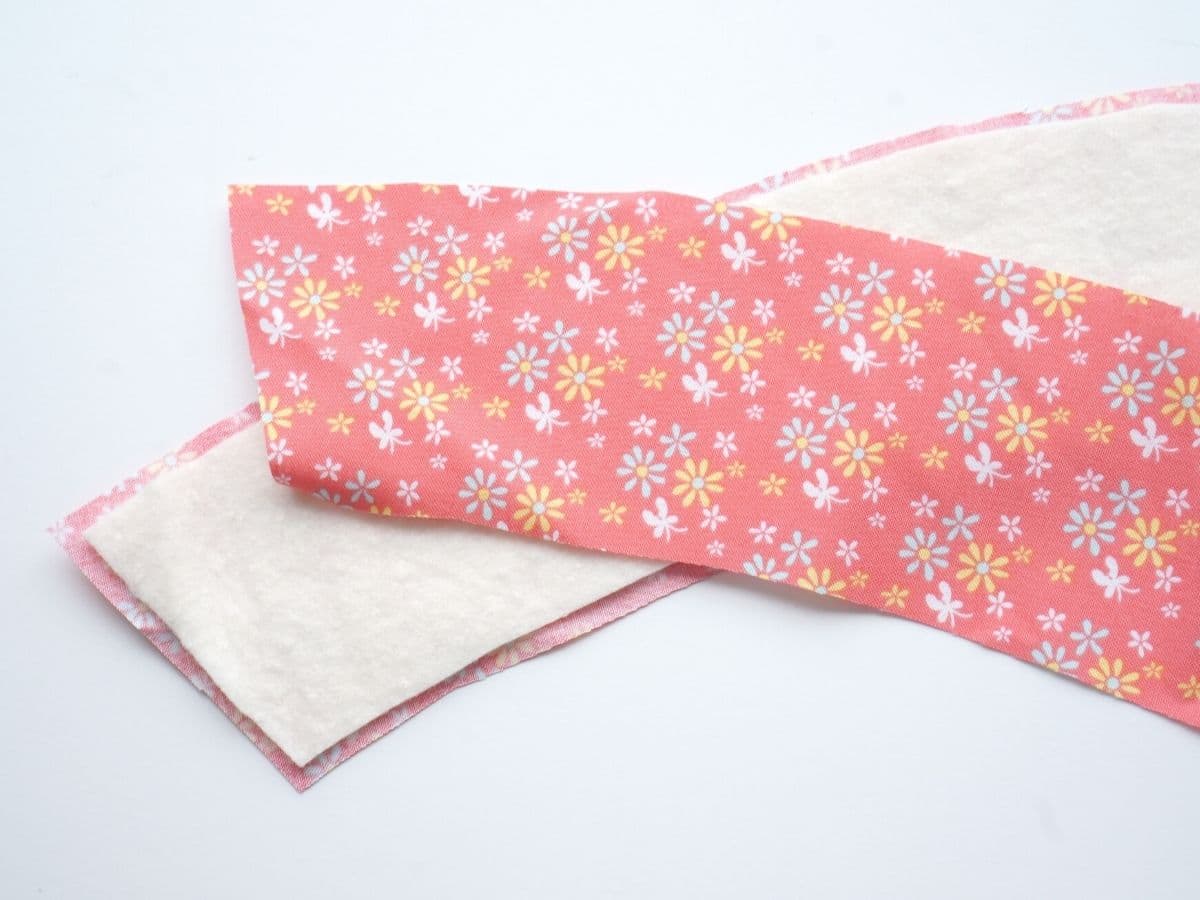
Now you have 2 pieces of cut fabric and 1 piece of felt. It's time to do some sewing.
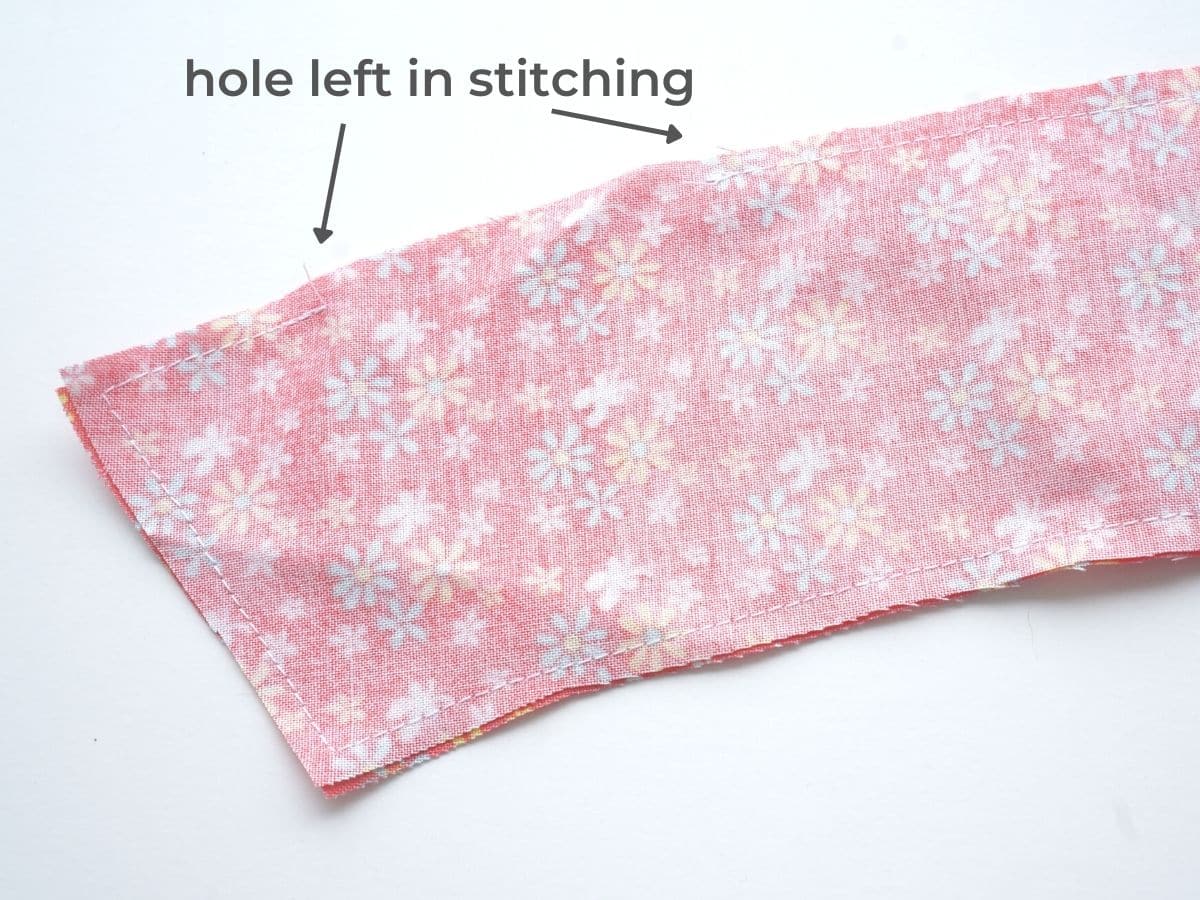
Place the fabric right sides together and sew around the edge - leaving an opening so that you can turn the fabric the right way around.
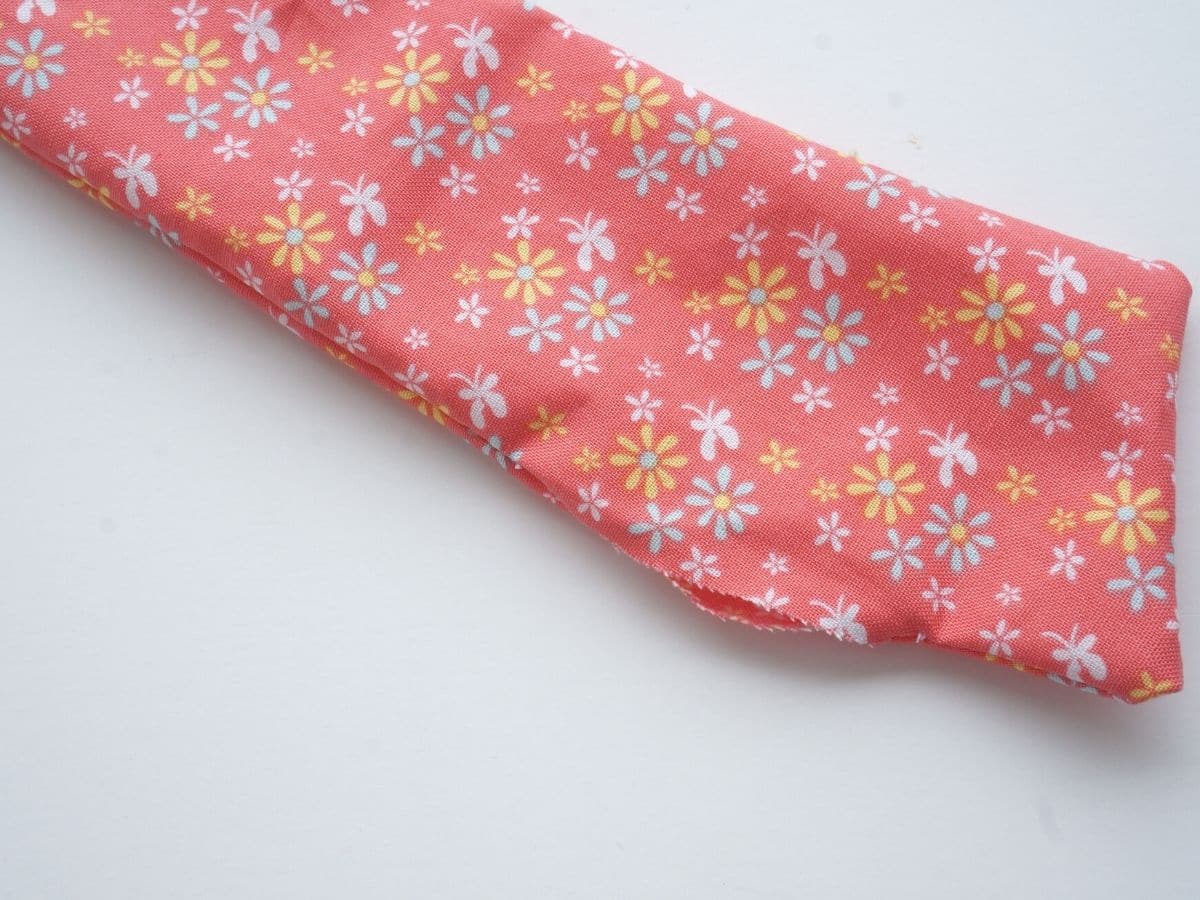
Turn the fabric the right way around and then iron the coffee cup sleeve. In the spot where the hole is, tuck the edges of the fabric down and iron...you will sew this hole closed soon.
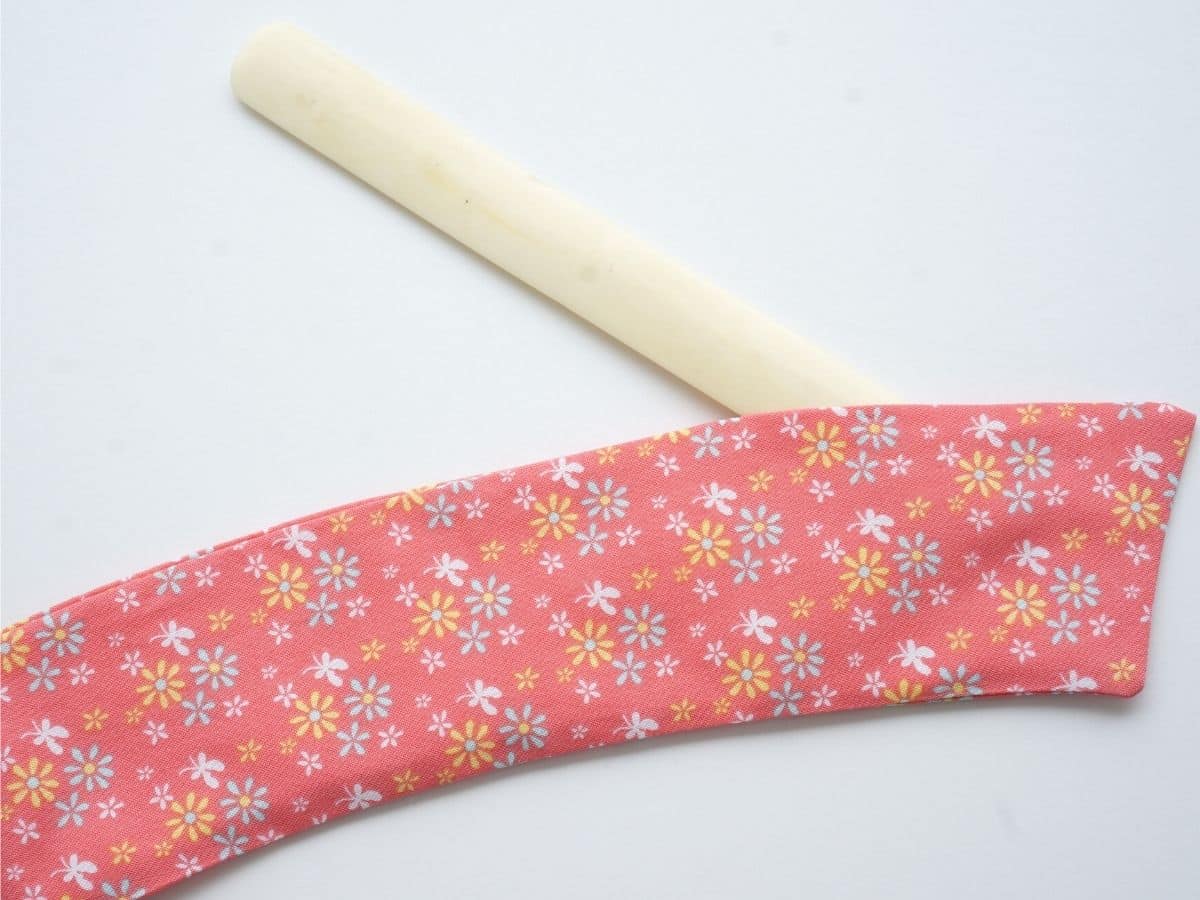
Now it's time to feed the felt inside the sleeve of fabric. I use my bone folder to poke and persuade the felt into the sleeve. A bone folder is commonly used to fold paper, but I find it super helpful when sewing because it doesn't have a sharp, pointy end, which might poke through the fabric. If you don't have a bone folder, you can use the end of a ruler or the unsharpened end of a pencil.
Once the felt is inside, it's time to hand-sew the hole closed.
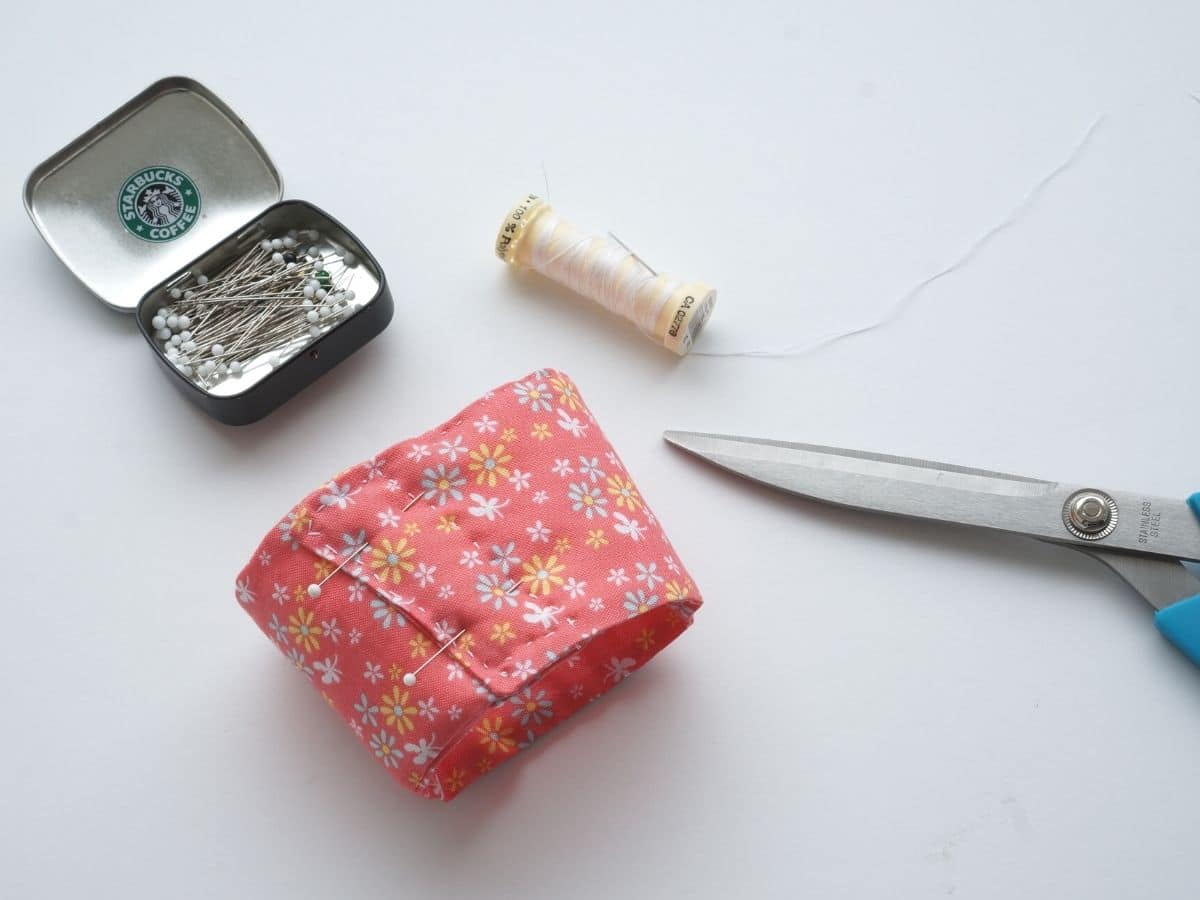
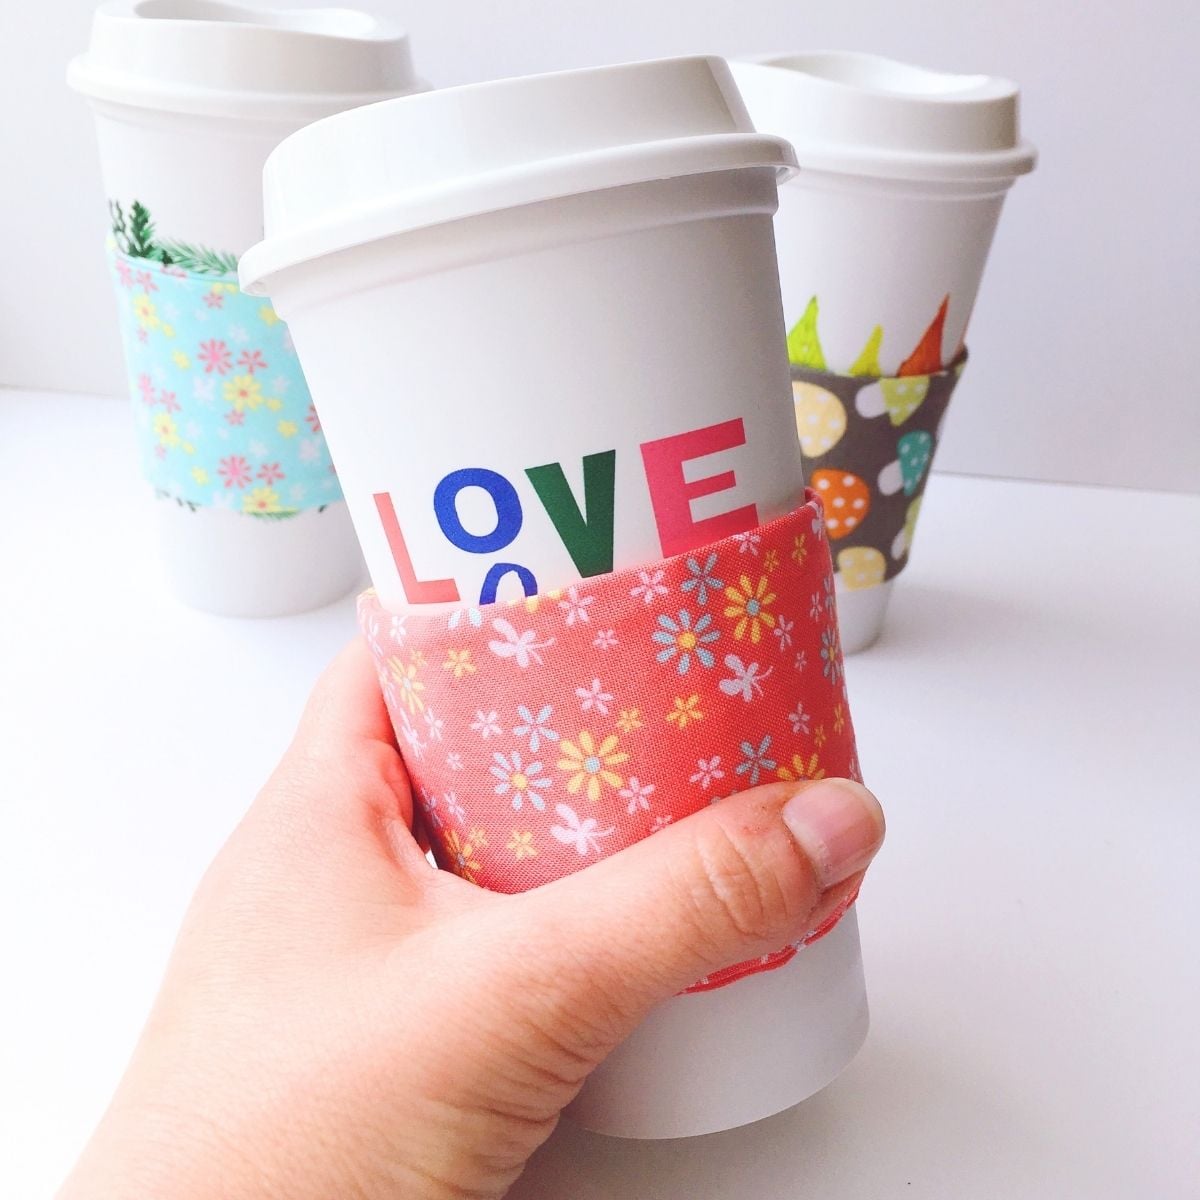
Now, wrap the coffee cup sleeve around the coffee cup you will be using. Overlap the fabric and pin it in place. Hand sew the fabric together.
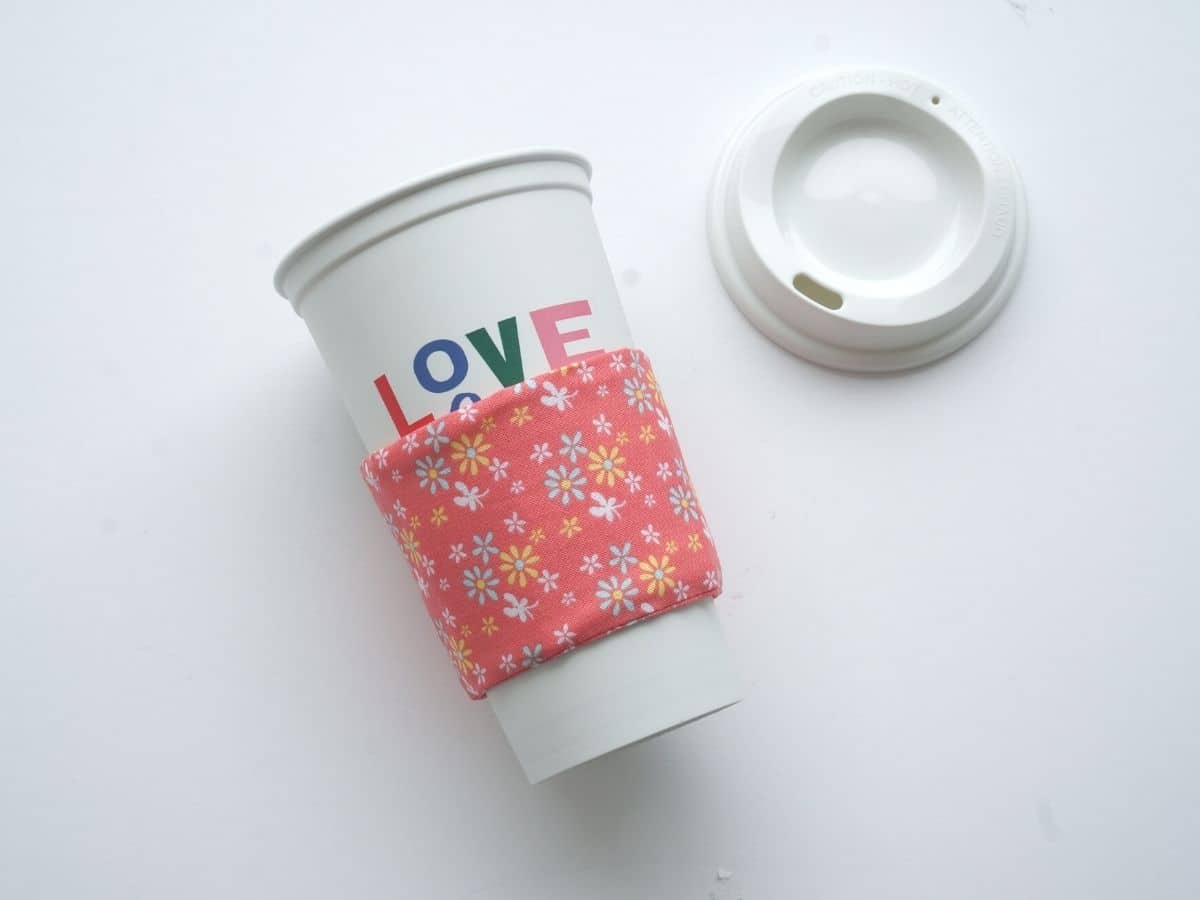
Now you are done making your coffee cup sleeve. I found that when I made one, I ended up making many, many more. They make a great gift for friends, teachers, or anyone!
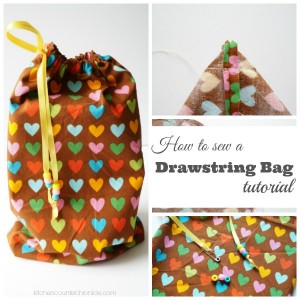
Make your own reusable gift bags
Make sure you are following along...
FOLLOW KITCHEN COUNTER CHRONICLES ON
SUBSCRIBE TO KITCHEN COUNTER CHRONICLES TO HAVE OUR DELICIOUS RECIPES, FUN CRAFTS & ACTIVITIES DELIVERED DIRECTLY TO YOUR INBOX.