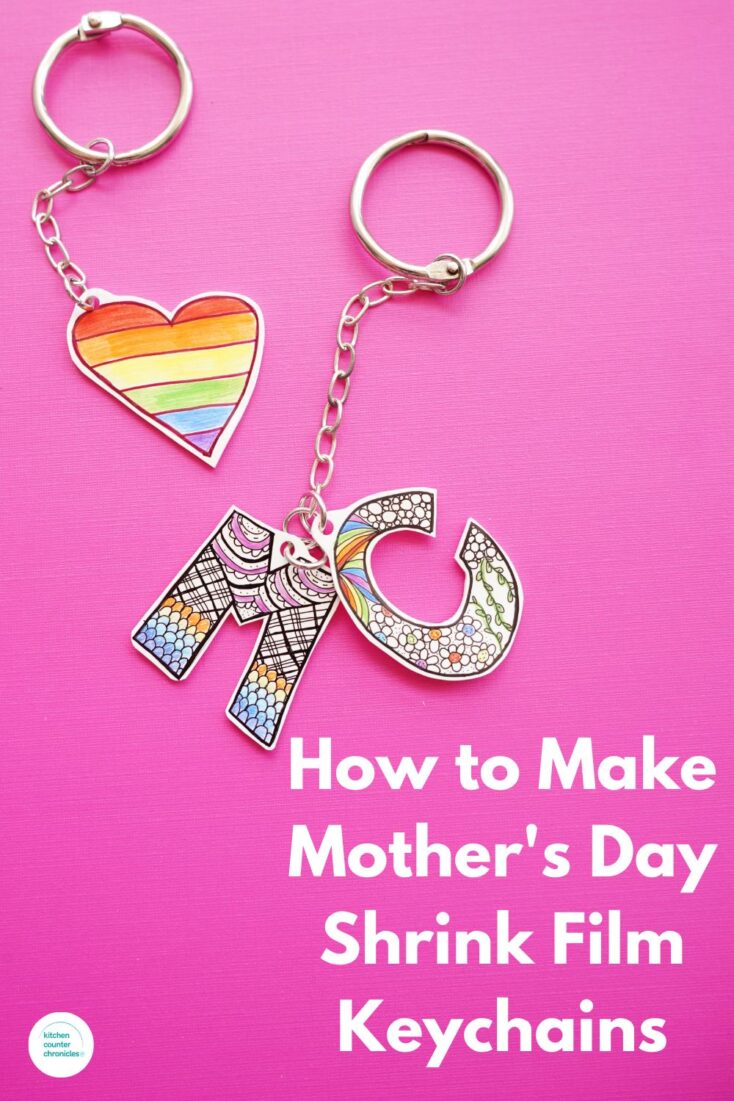
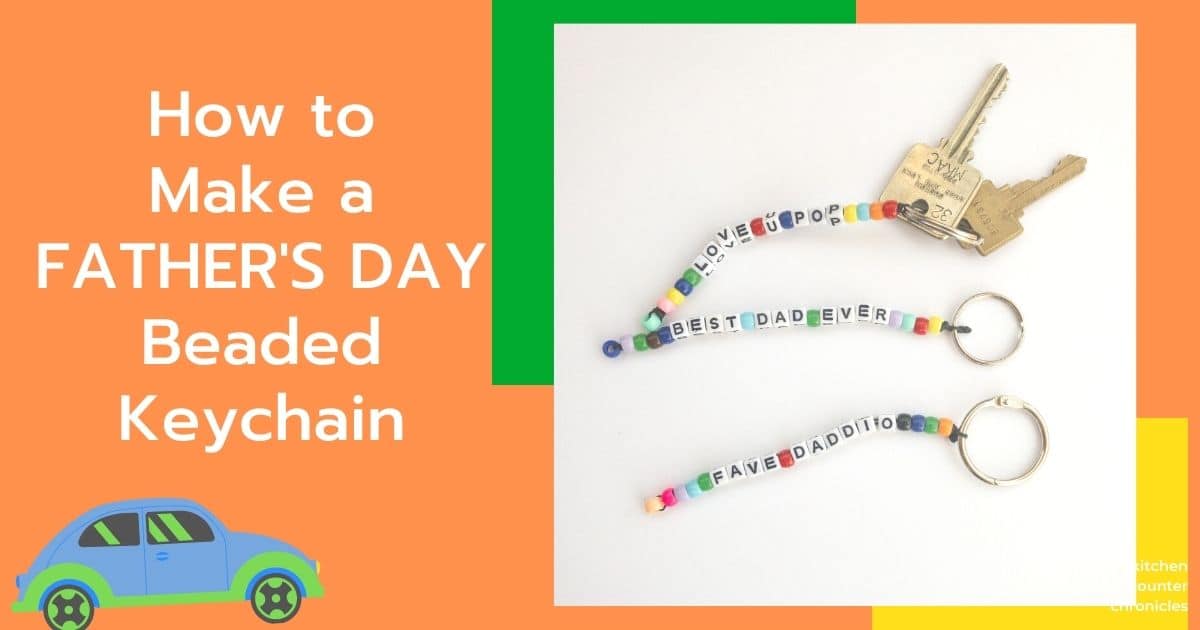
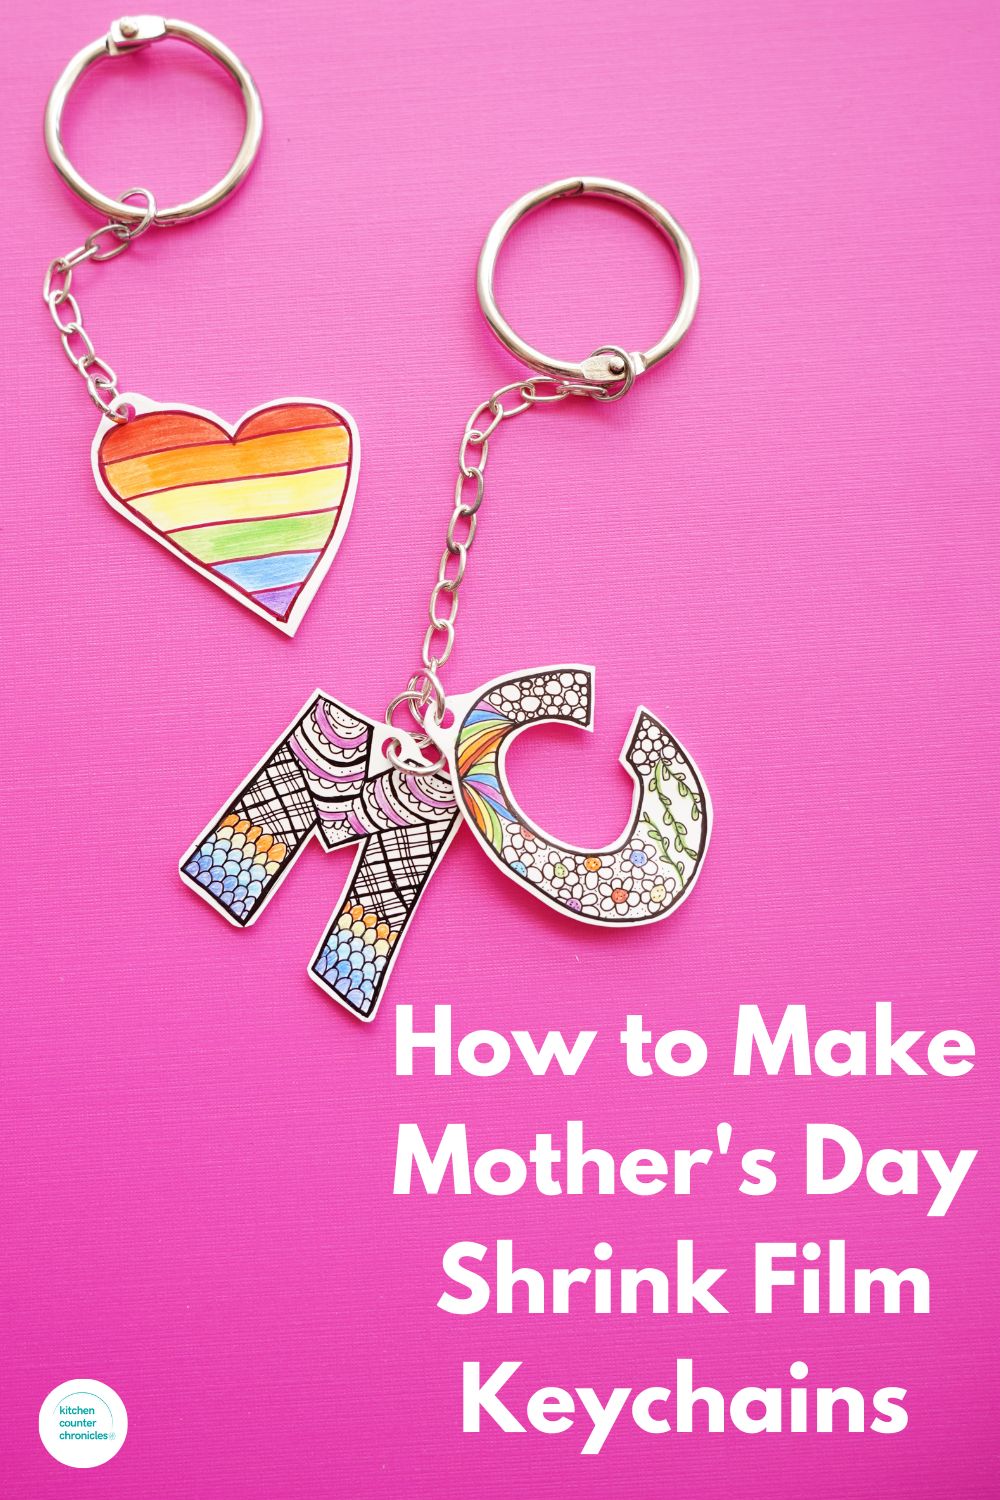
Let's make Mom a super cute Mother's Day keychain craft. We made a fun letter bead keychain for Father's Day and I knew I wanted to do something new and cool for the Mom in your life. So, I combined my love of zentangle designs with a newfound love for working with shrink film to make these awesome Mother's Day keychains! This has become one of my favorite Mother's Day activities.
Disclosure: There are Amazon Affiliate links in this article which means, at no additional cost to you, we could receive compensation for our recommendations. You can read our full disclosure policy on our Disclosure Page for more details.
While the younger kids often come home with Mother's Day crafts they made at school, as the kids get older they don't make as many in-school crafts. This is why this Mother's Day craft is perfect for tweens and teens to make. They get to unleash their creativity in a super cool way. And, don't think this keychain is only for Mom - make keychains for all your friends. What a great sweet sixteen birthday gift...for your first set of car keys!
Mother's Day Keychain Craft
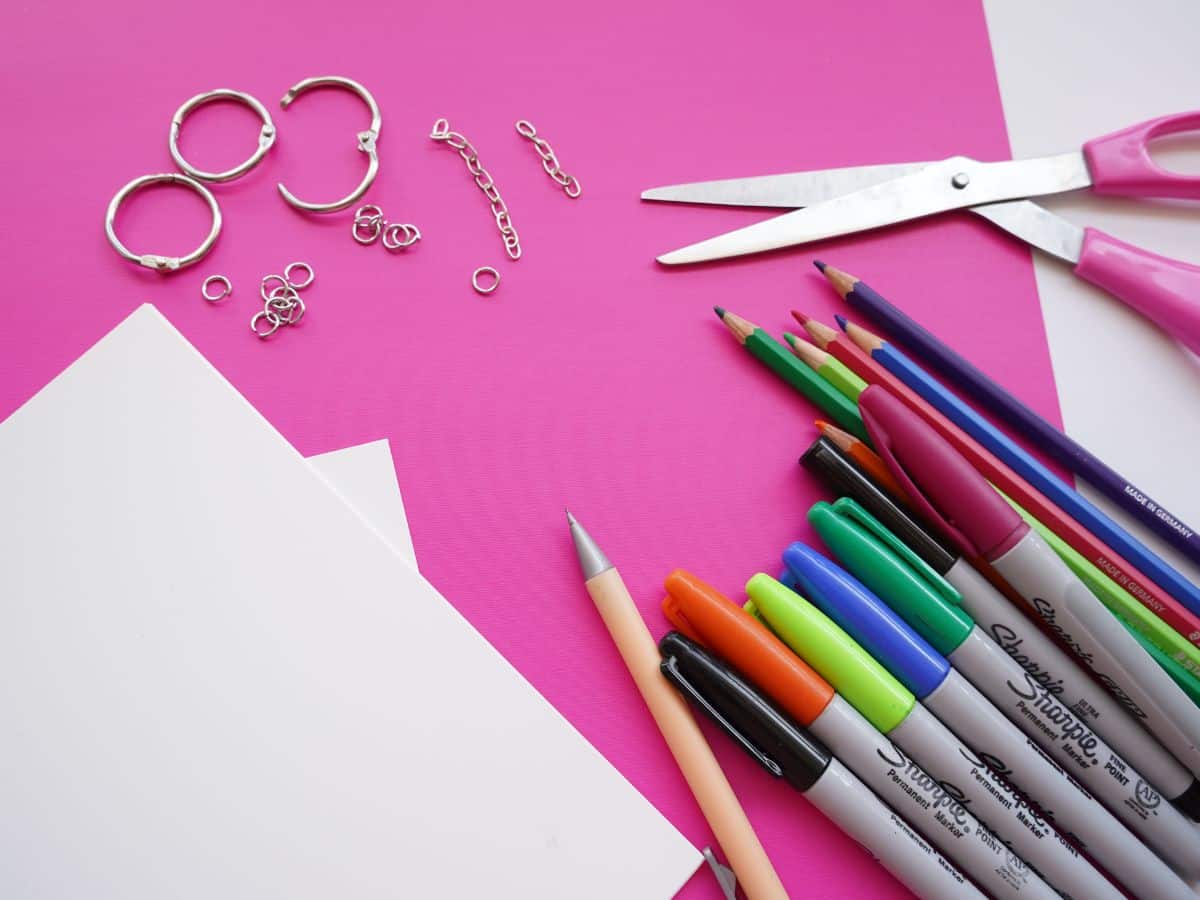
white shrink film
single hole punch
permanent marker and thin permanent marker
pencil crayons
pencil
jump ring
key chain attachment
pliers
Tips for working with shrink film
Here's my most important tip for working with shrink paper - do a test run first. Every shrink paper is different and every oven is different. In our case, we are using a toaster oven. Some people use a full oven and some people opt for using a heat gun. Temperatures in ovens are not consistent, so start low (250°) and keep an eye on the paper because it shrinks very quickly. I bake ours on a sheet of parchment paper so it doesn't stick to anything. And, once they are removed from the oven I immediately cover them with parchment paper and press them inside a heavy book. I do this to be sure they are totally flat and smooth. Testing your shrink paper also gives you an idea of how big you want your drawing to be and how small it will shrink down to. So, when you do your test try various sizes. I test mine by cutting a 1-inch, 1-½ inch, 2-inch, and 2-½ inch circles.
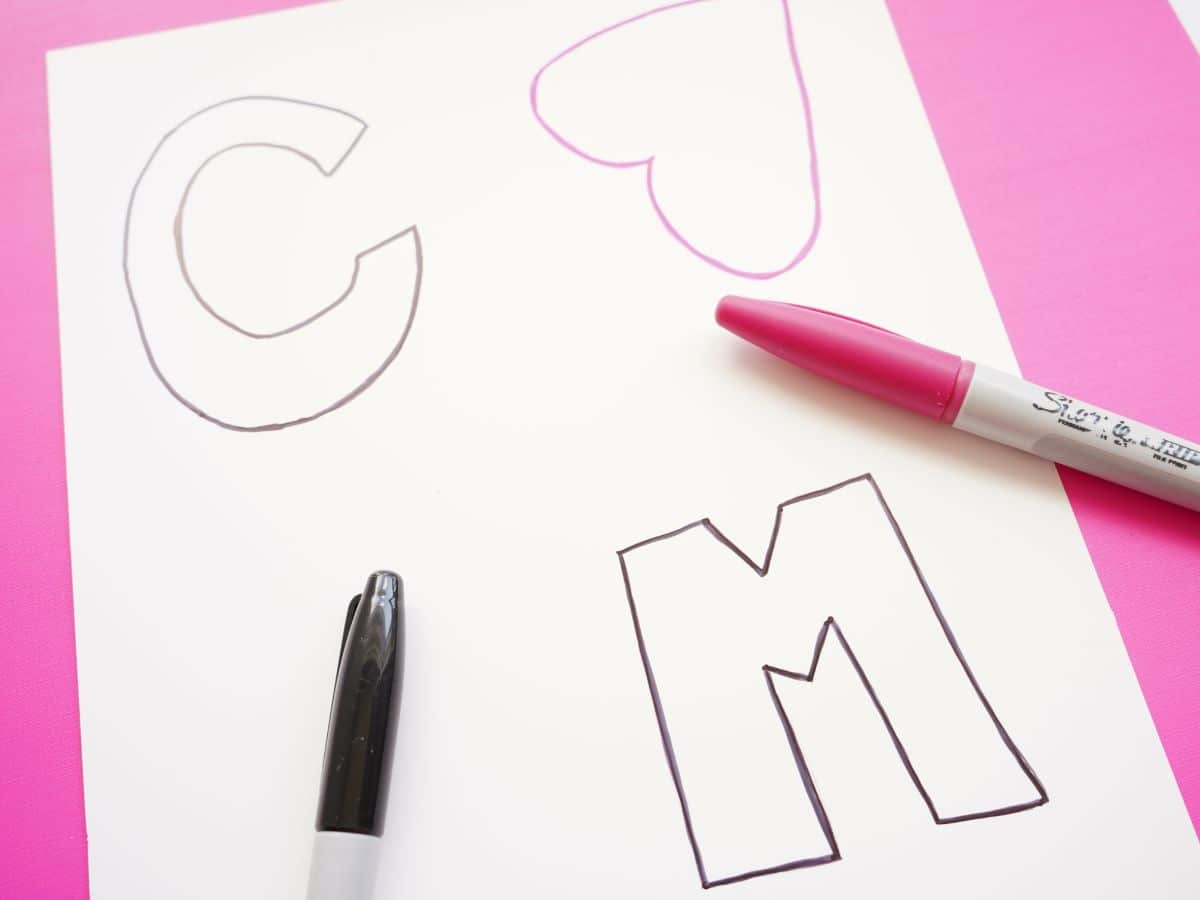
The first step in making your shrink film keychain is deciding on your designs. We decided to go with simple initials and a heart. The initials make the gift a little more personalized and who doesn't love a heart?! Start by drawing the outlines of the shapes on the shrink film. It is important that you use a permanent marker for any marker drawing you plan on doing. Otherwise, the lines will smudge...trust me.
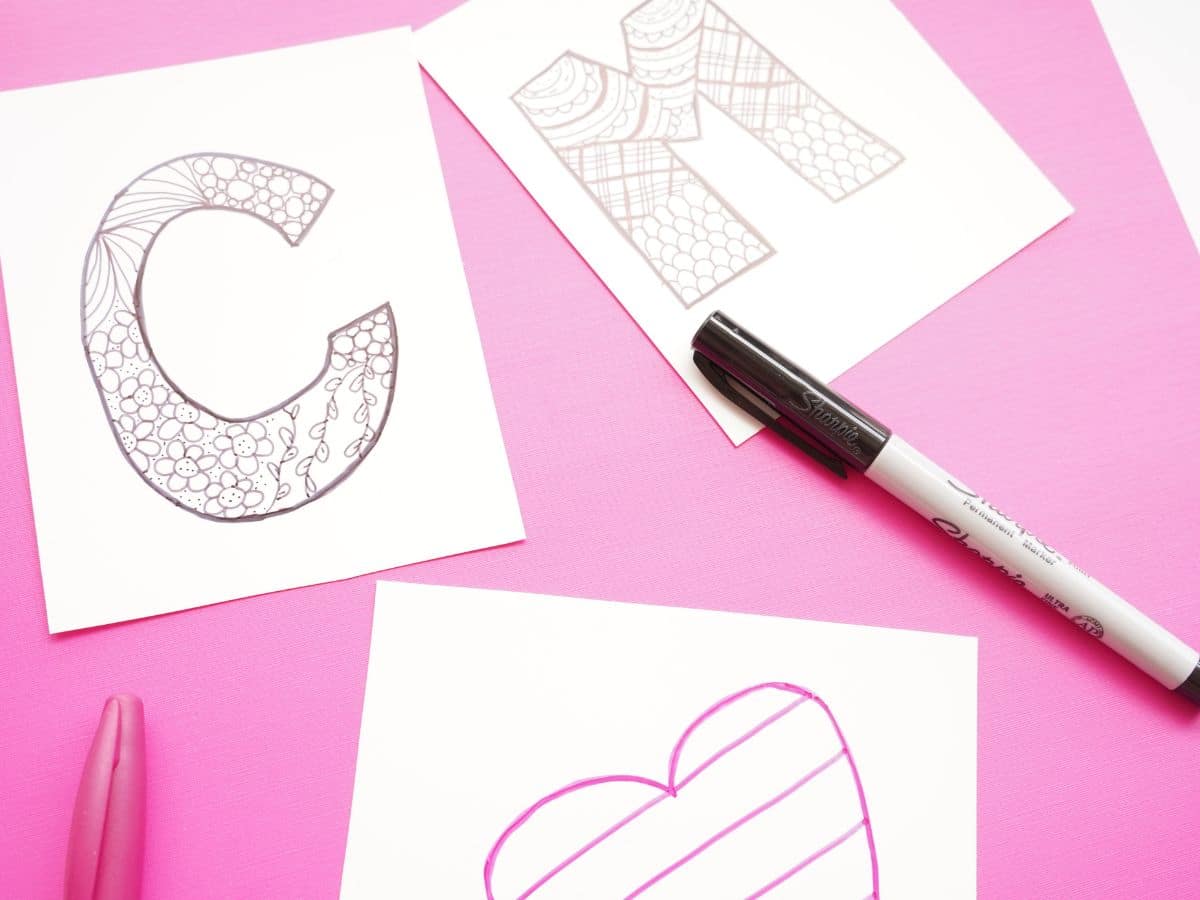
Once you have the outlines drawn it is time to have some fun with zentangle inspired designs. I love sharing different zentangle designs and patterns. These zentangle keychains are a unique new way to showcase the designs. I wasn't sure how the designs would show up once the paper shrank...but they are totally clear. So, have fun filling the empty initials and heart with patterns.

When the patterns are complete, add some color. You can use pencil crayons to color on shrink paper. The color will look quite light but don't worry when the paper shrinks the color will intensify.
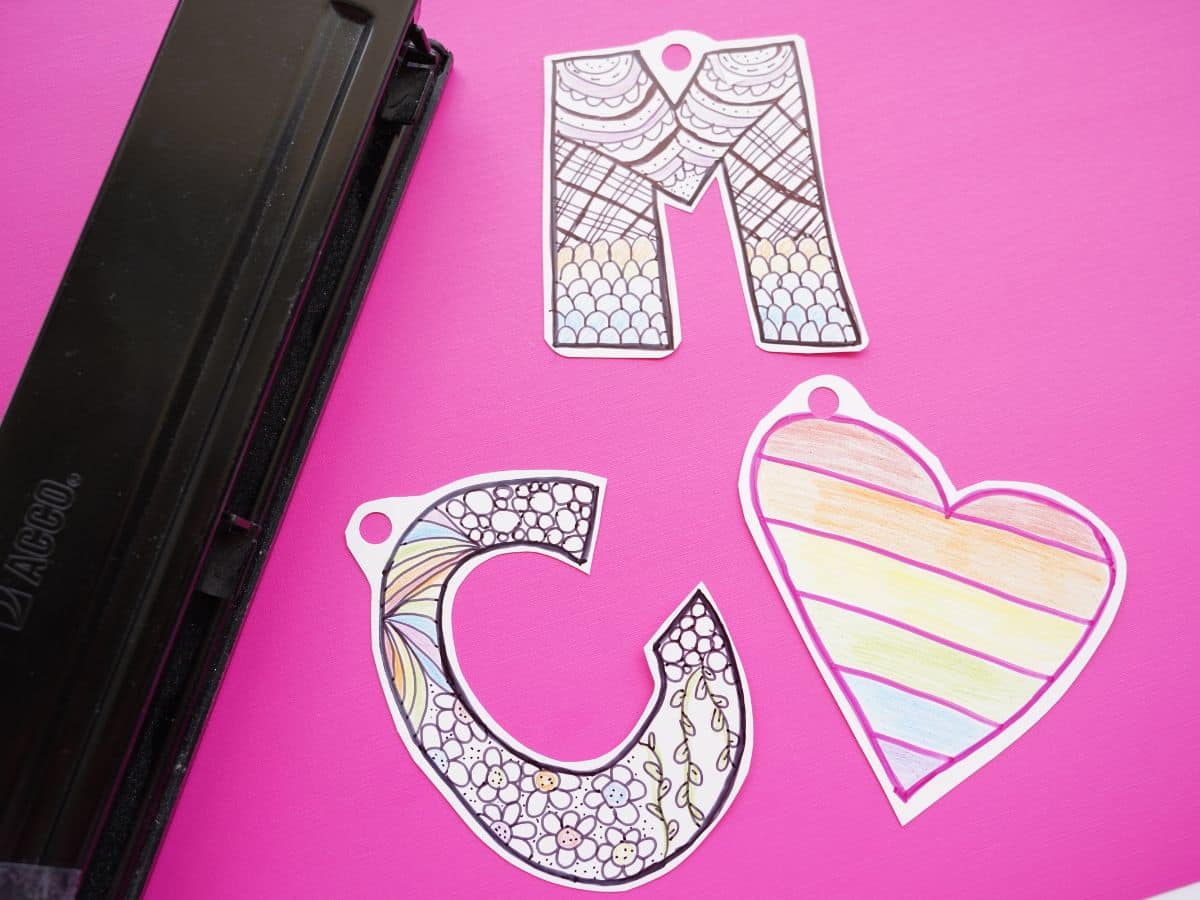
Now, it's time to cut out the designs. Don't forget to cut a hole in the shrink film, for your keychain to attach.
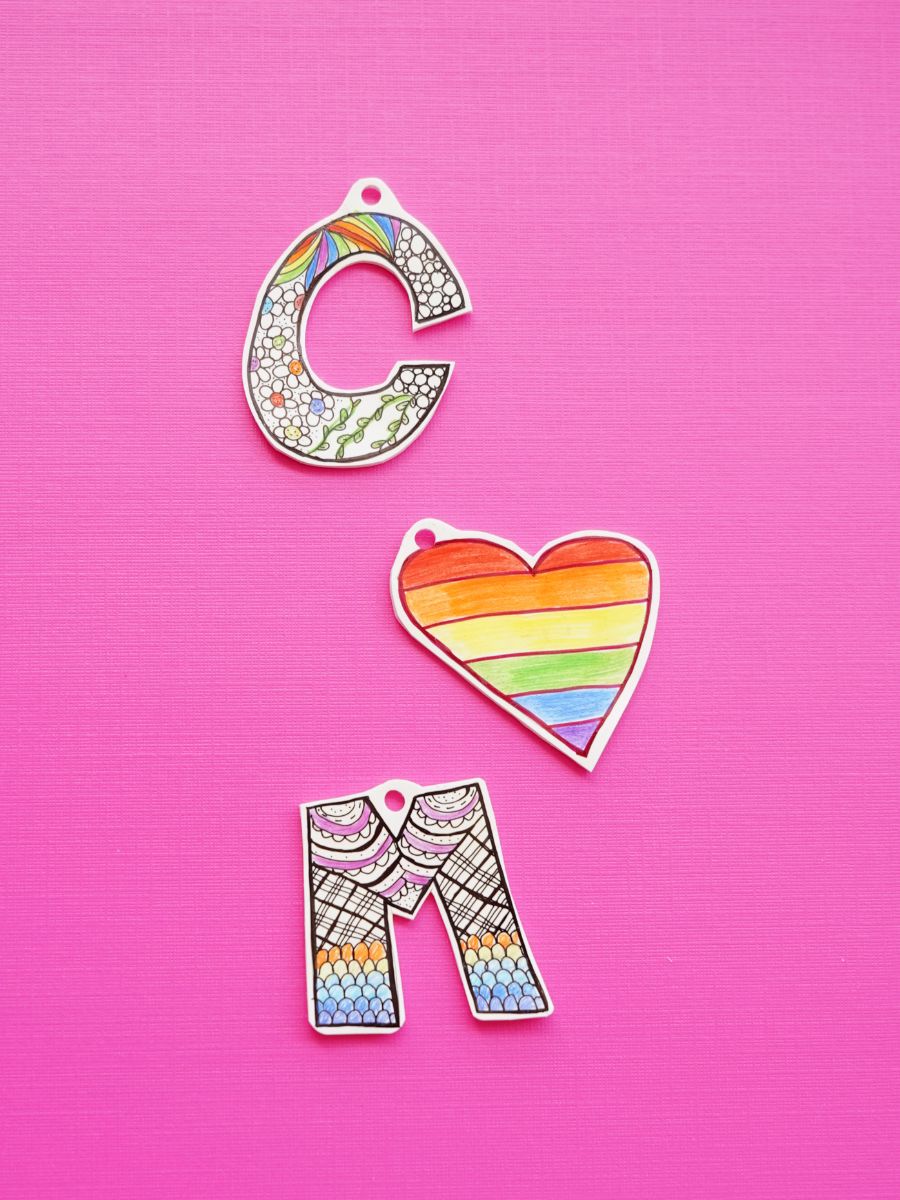
And, now it's time to head to the oven. Hopefully, you made a test run and know approximately how long to leave your shrink film items in your oven. We place ours on a sheet of parchment paper and pop it inside a 250° oven for about 2 minutes. They will curl and then flatten out. Once they flatten, leave them for another 30 seconds and then they are done. Remove from the oven. I like to cover mine with a sheet of parchment paper and press them inside a heavy book. To me, this ensures they will be totally flat. Let them cool for a few minutes and then they are ready to work with.
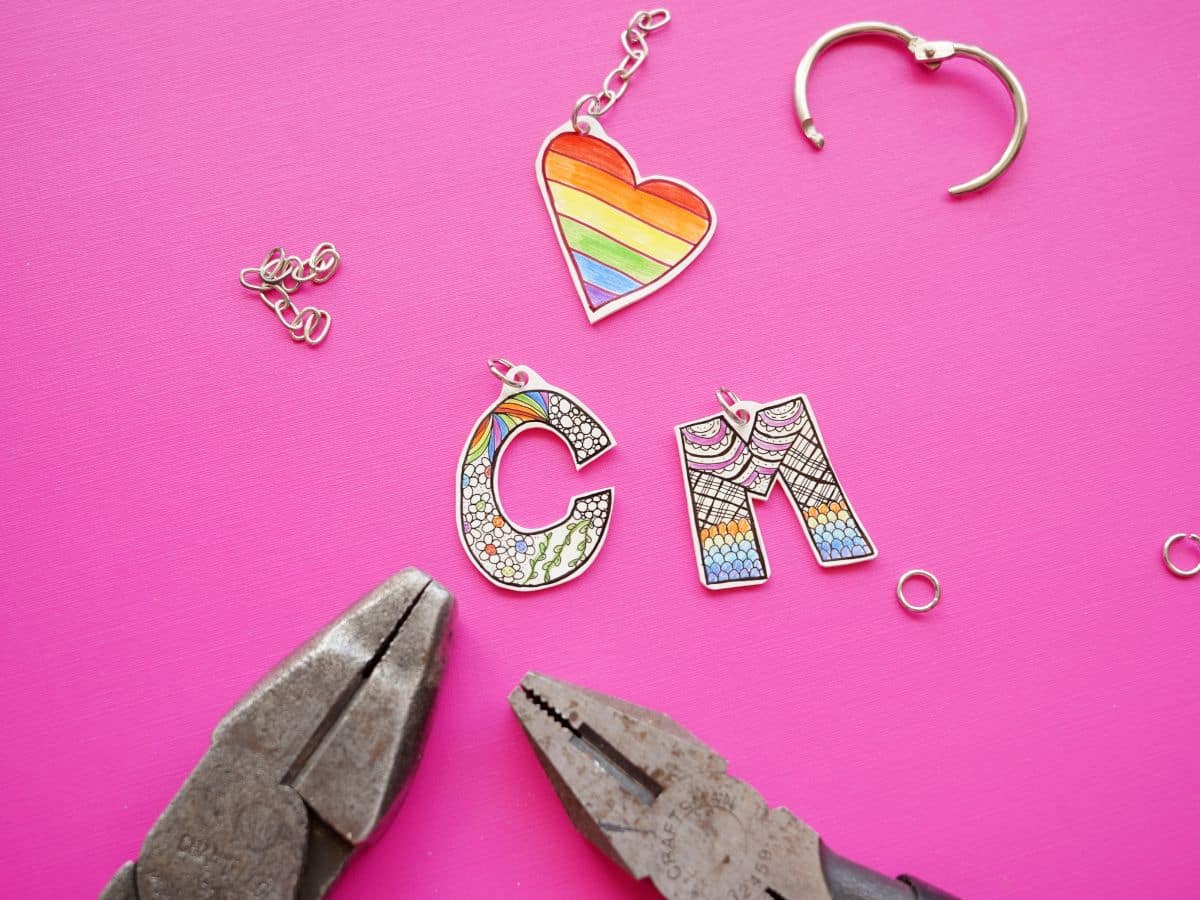
Let's build our key chains. Open a jump link, with two pairs of pliers. If you have jewelry pliers, use those. But, I couldn't find my jewelry pliers so I used my good old basic pliers. Feed the loop through the hole in the shrink film charm and then feed the small length of chain through the loop and close the ring.
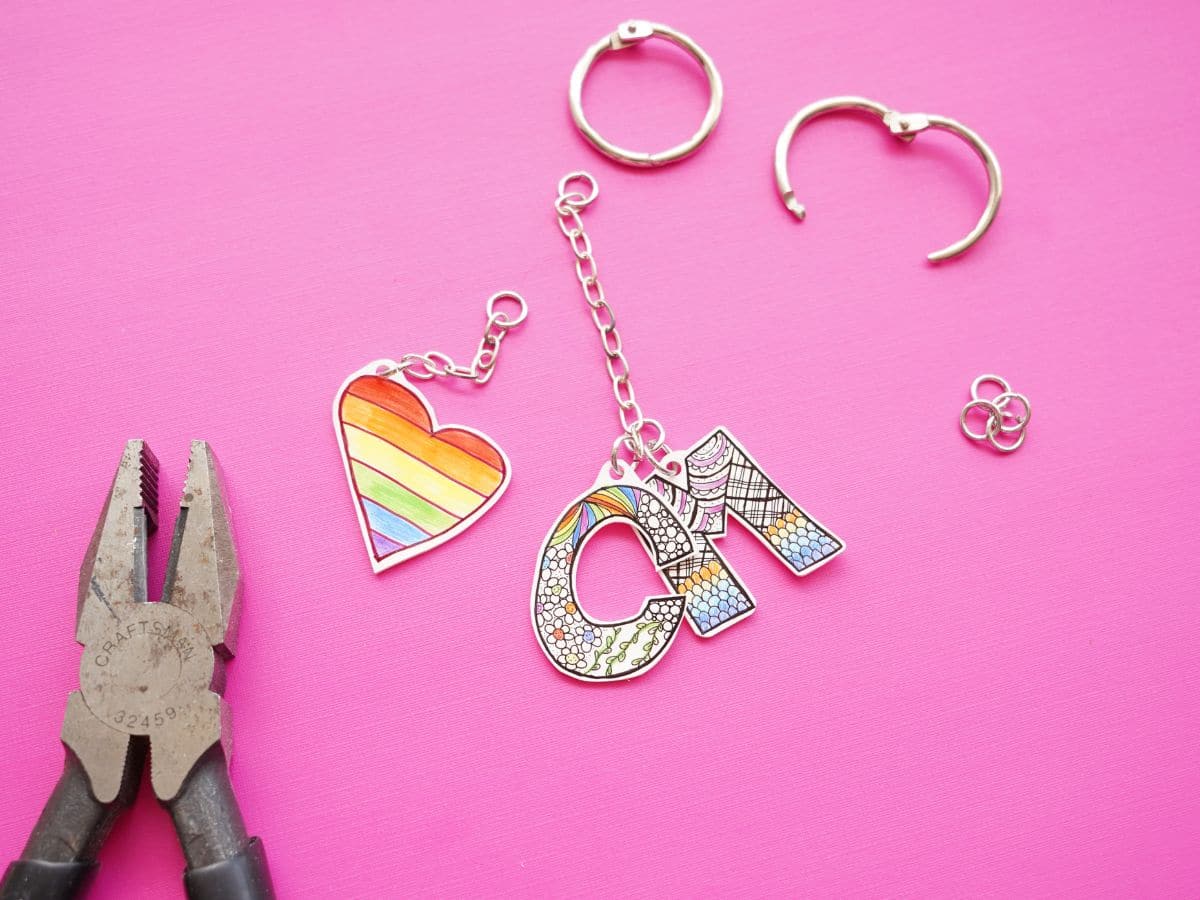
Finally, attach another jump ring to the other end of the chain and loop it onto the key ring. That's it. The keychain is complete!
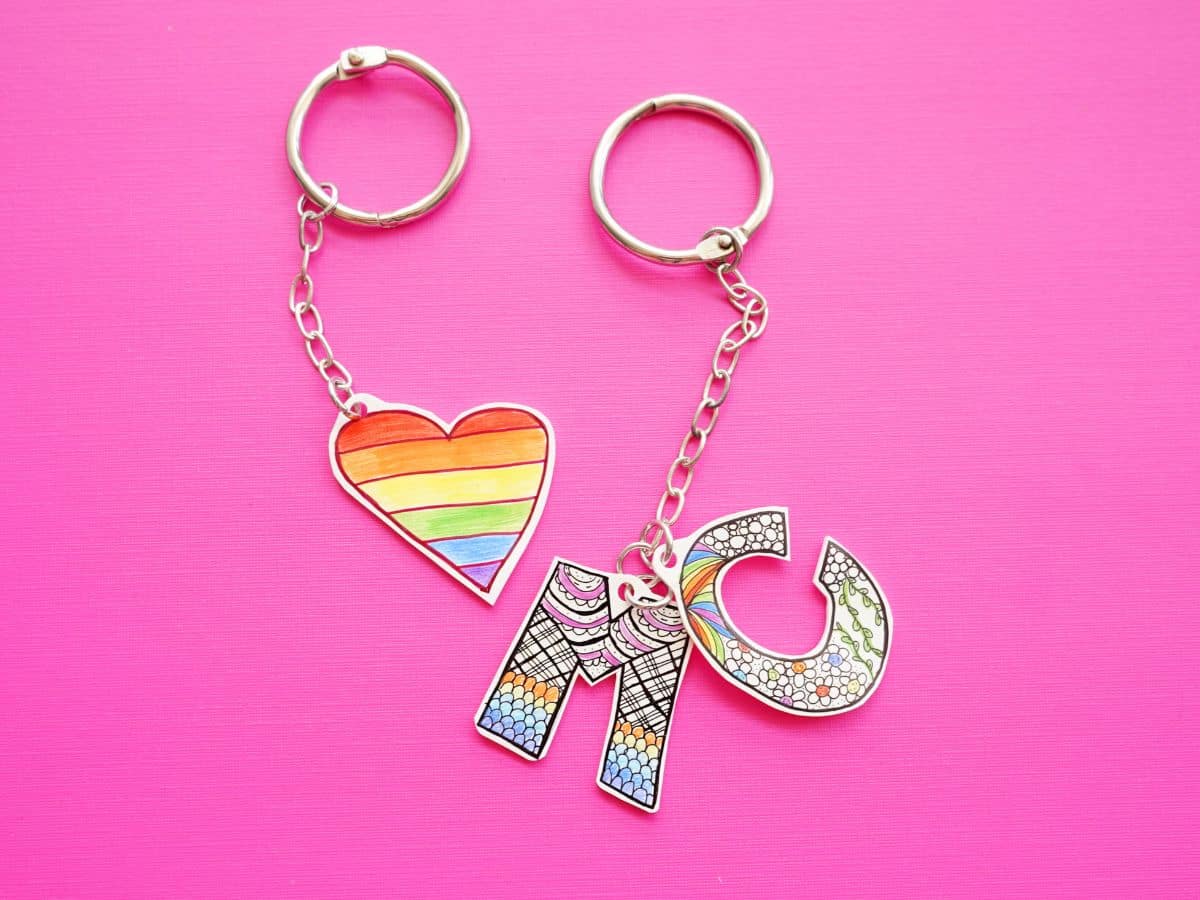
I love how vibrant the colors ended up being. And, the zentangle designs look awesome too. This keychain is the perfect Mother's Day gift or gift for really anytime! In fact, I'm going to make a few for myself too.
Be sure to check out our fun Father's Day keychain too.
Make sure you are following along...
FOLLOW KITCHEN COUNTER CHRONICLES ON
SUBSCRIBE TO KITCHEN COUNTER CHRONICLES TO HAVE OUR DELICIOUS RECIPES, FUN CRAFTS & ACTIVITIES DELIVERED DIRECTLY TO YOUR INBOX.

