Get rid of those glossy gift bags. Over the years I have been looking for simple ways to replace the paper and plastic we use with reusable, eco-friendly alternatives. We no longer purchase paper napkins, we make our own cloth napkins now. We have used plastic bags to make our own resealable snack bags. When it's time to give a birthday gift to a friend, instead of reaching for a glossy gift bag, we now reach for our scrap fabric pile. Once we figured out how to sew a simple drawstring bag, they have become our go-to gift bag. This tutorial is so easy to follow that my daughters are able to make bags for their friends too. Be sure to check out all of our amazing Green Living Ideas for Families.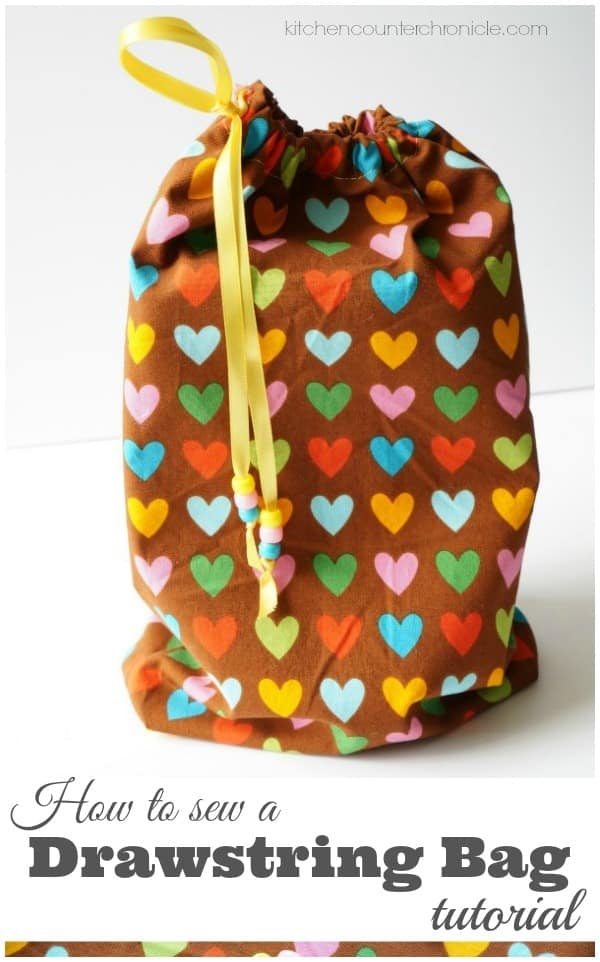
Sew a Drawstring Bag Tutorial
fabric scrap
8 ½" x 11" paper
coordinated thread
coordinated ribbon
pins, needles, scissors
seam ripper
sewing machine (or sew by hand)
Fold the fabric, right sides together, and pin the paper onto the fabric. Take advantage of the fold in the fabric. Line up one long side (11") of the paper with the fold in the fabric.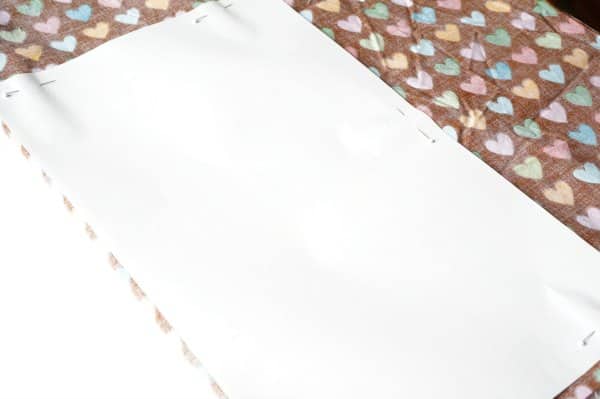
Cut ¼" away from the paper on the bottom and side of the piece of paper. Cut 1" away from the paper on the top of the paper...this will be where you make the drawstring channel. This will be your seam allowance. 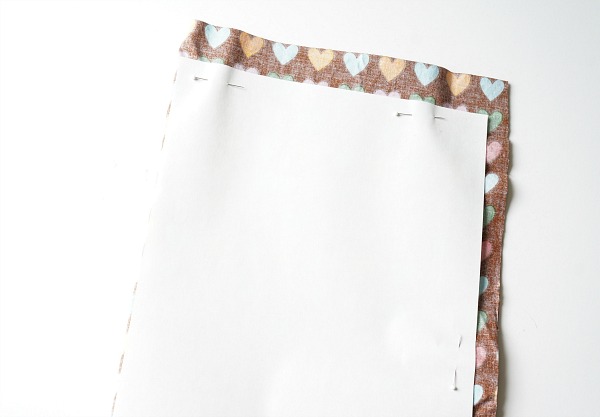
Lay out your fabric, right side down. Fold the top edge of the fabric. Make two ½" folds and pin in place. This will be the drawstring channel. 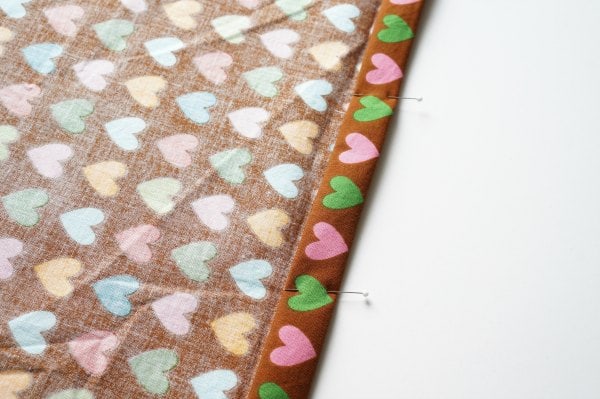
Sew ⅛" from the lower edge of the drawstring channel.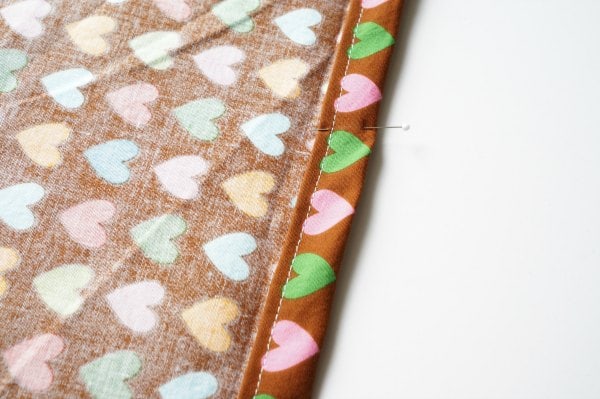
Fold the fabric, right side together and pin the edge. Sew around the bottom and side of the bag. 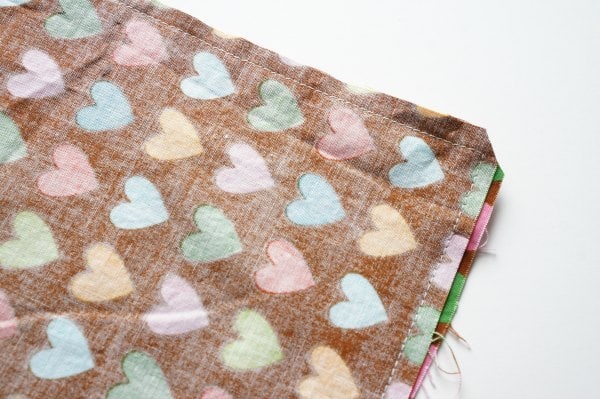
To give the bag a squared corner on the bottom, fold and flatten the bottom of the bag so that you create a triangle. The bottom seam will be the centre of the triangle. Pin the triangle in place.
Sew a line, 1" from the tip of the corner. Cut the excess triangle off (or you can leave the triangle, it's up to you). Repeat the process with both corners. Turn the bag, right way around and push the squared corners out. The bag will now have a squared bottom. 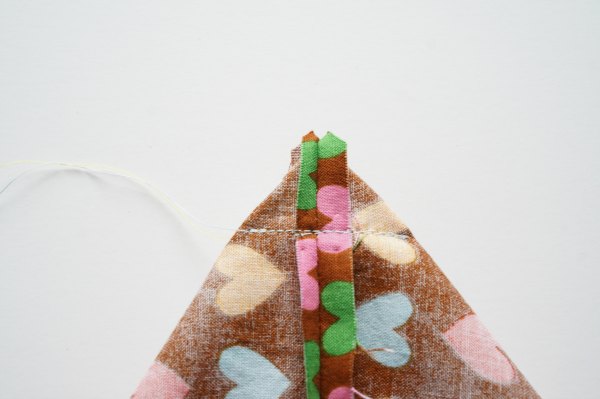
Use the seam ripper to poke a hole in the drawstring channel. This is where you will feed the drawstring into the bag. 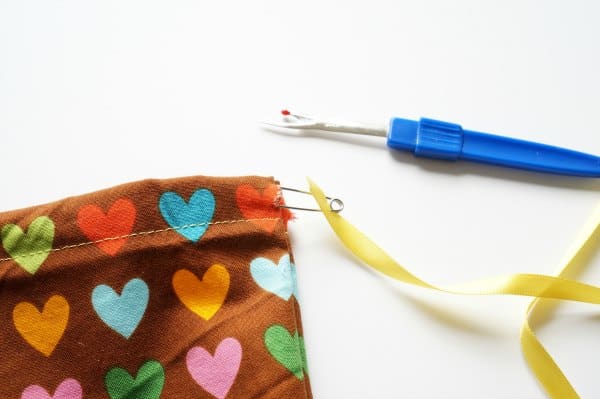
Secure a safety pin to one end of the ribbon. Feed the safety pin and ribbon through the drawstring channel. If you like, add decorative beads to the ribbon. Tie a knot in the ends of the ribbon, so that it doesn't easily slip back inside the channel. Add your gift to the bag and tie up the bag.
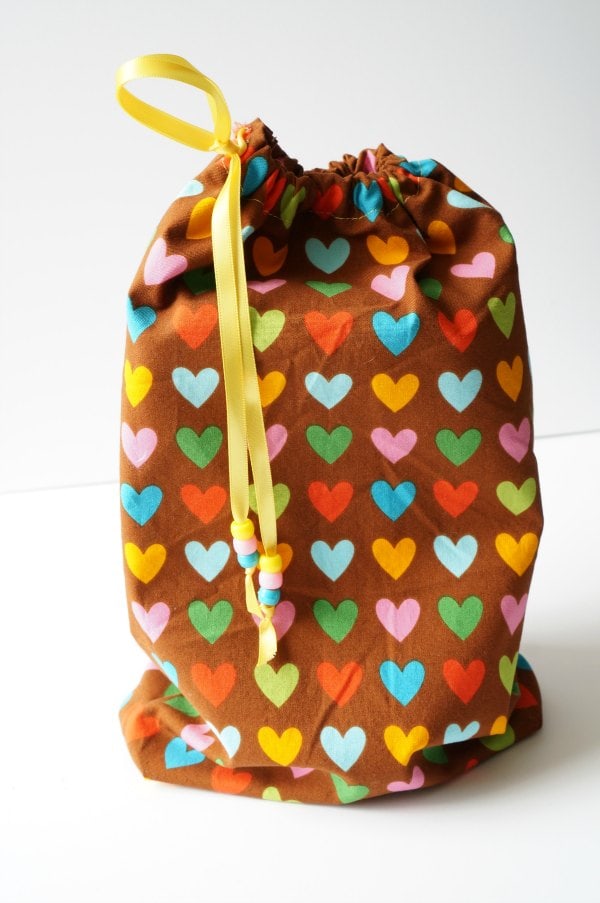
This sewing project takes about 15 minutes to make. Not only does this sewing project mean that we are no longer purchasing glossy gift bags, but we are also using up our fabric scraps. The best part is that when we give our gift bags, we pass along an eco-friendly gift bag on for our friends.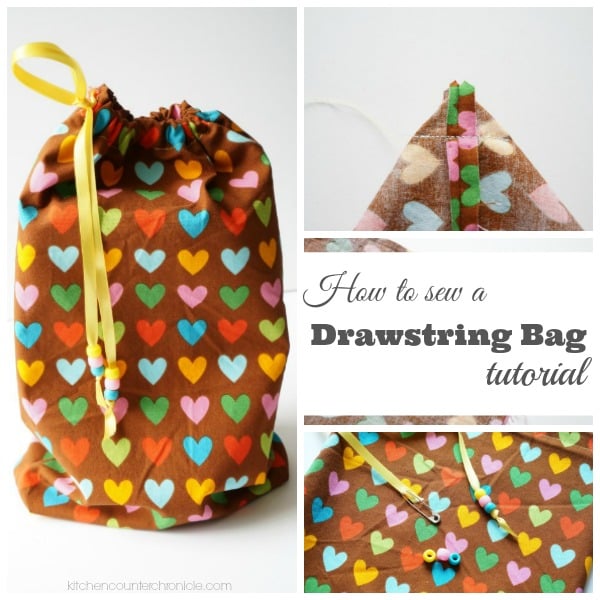

Today's post is part of the Earth Month Blog Hop which is being hosted on Kara Carrero & Extremely Good Parenting.
10 Awesome Upcycle Ideas for Clothes from Crafty Mama in Me
A Tisket a Tasket a Woven Cloth Basket from Mosswood Connections
Related Posts
Make sure you are following along...
SUBSCRIBE TO KITCHEN COUNTER CHRONICLES TO HAVE OUR DELICIOUS RECIPES, FUN CRAFTS & ACTIVITIES DELIVERED DIRECTLY TO YOUR INBOX.
FOLLOW KITCHEN COUNTER CHRONICLES ON
FACEBOOK:: PINTEREST:: TWITTER::INSTAGRAM



Shelah says
What a fun way to upcycle fabric and it is such a useful bag. Thanks for the tutorial.