Here we go again with another set of easy zentangle patterns. This time around we are taking inspiration from the most wonderful time of the year, Christmas. These easy Christmas zentangle patterns are fun to experiment with and we hope they inspire you too!
Disclosure: There are Amazon Affiliate links in this article which means, at no additional cost to you, we could receive compensation for our recommendations. You can read our full disclosure policy on our Disclosure Page for more details.
First thing is first...
What is Zentangle?
It’s important to acknowledge the origins of zentangle art. I had originally thought that a zentangle was just a doodle…I was wrong. The zentangle method is a trademarked process based on a theory developed by founders Rick Roberts and Maria Thomas. “ZEN” means calm and “TANGLE” means a collection of overlapping patterns. ZENTANGLE is the bringing together of the calm and the pattern. It was originally based on using a 3 ½ inch square of heavy stock paper and a black fine marker and various patterns that turn into a creative piece of art.
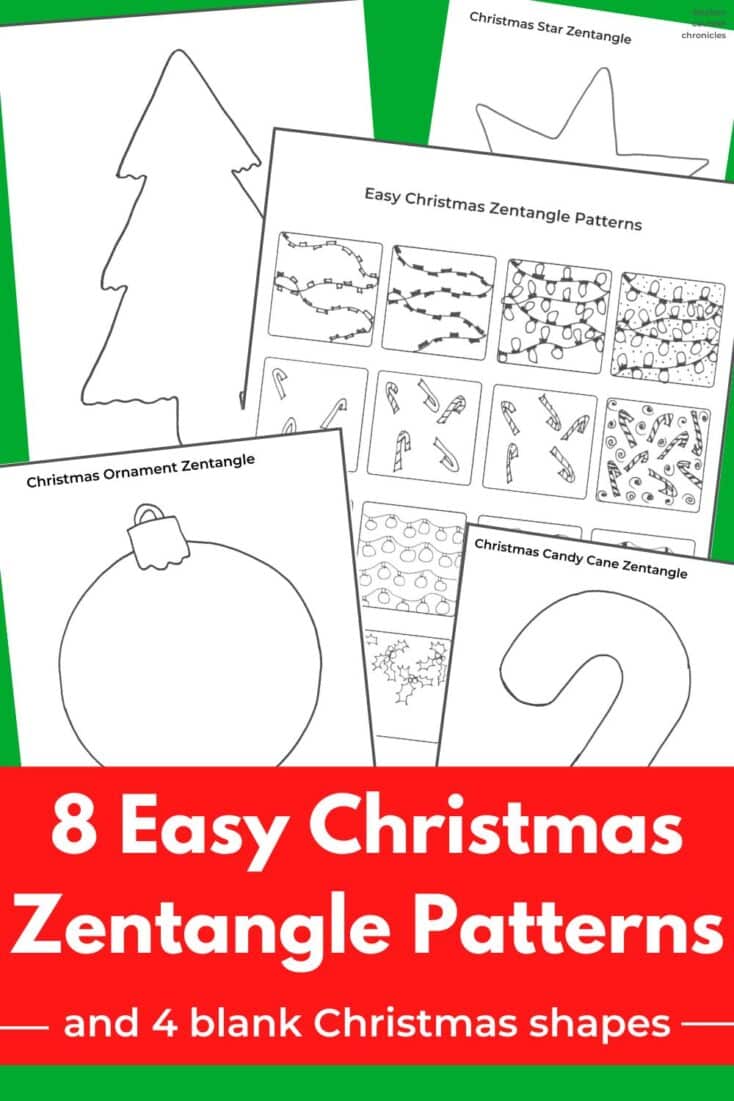
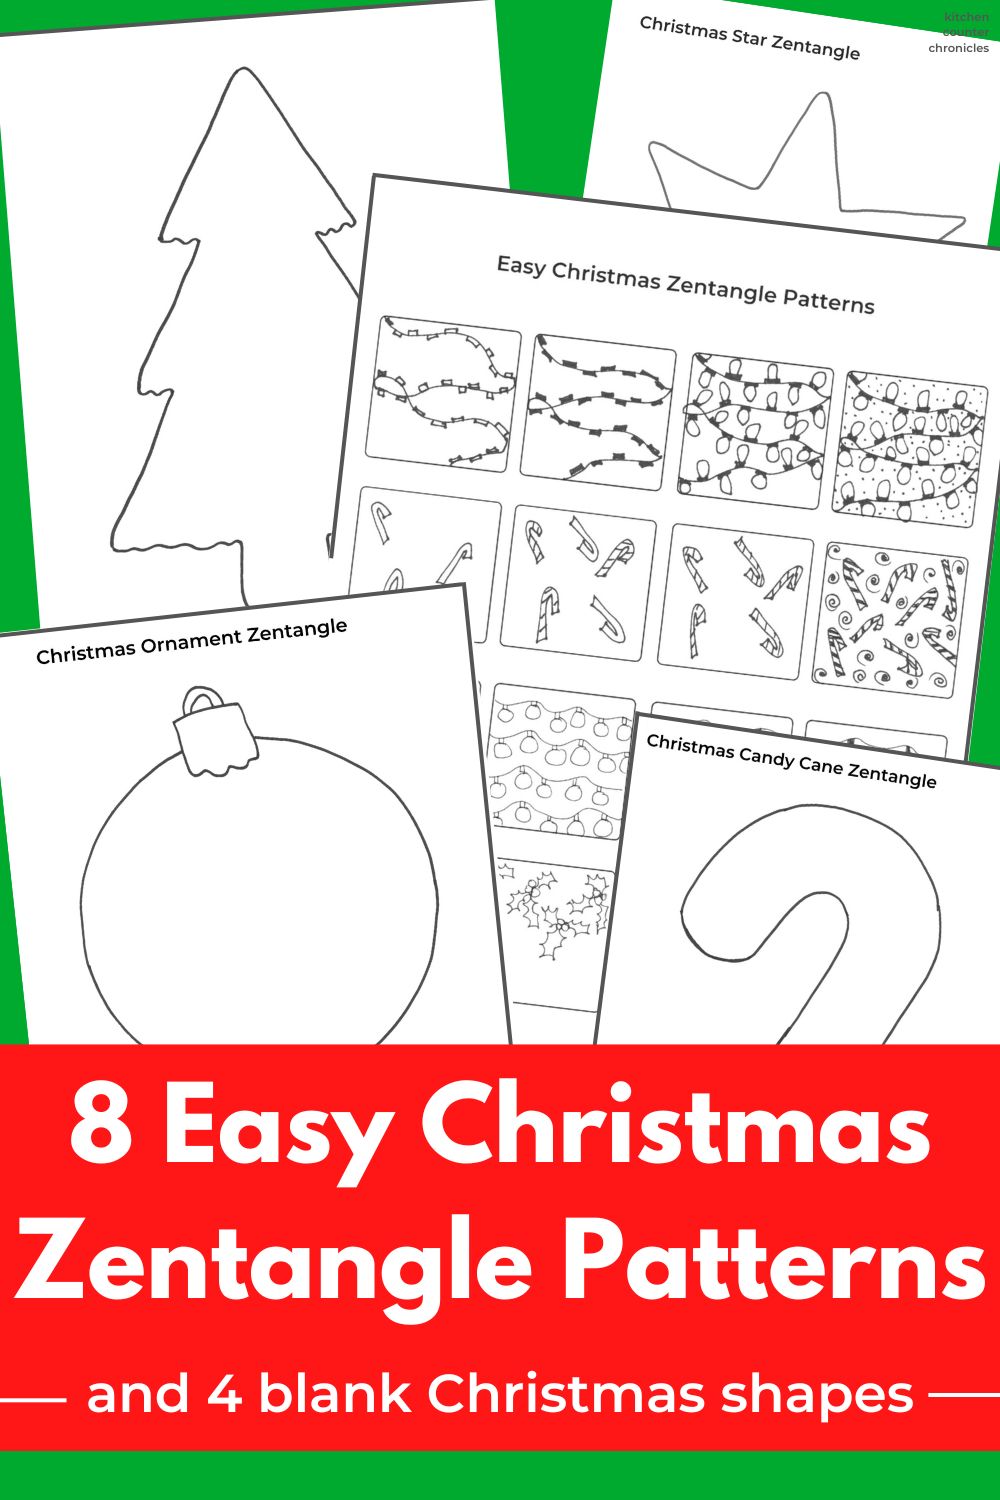
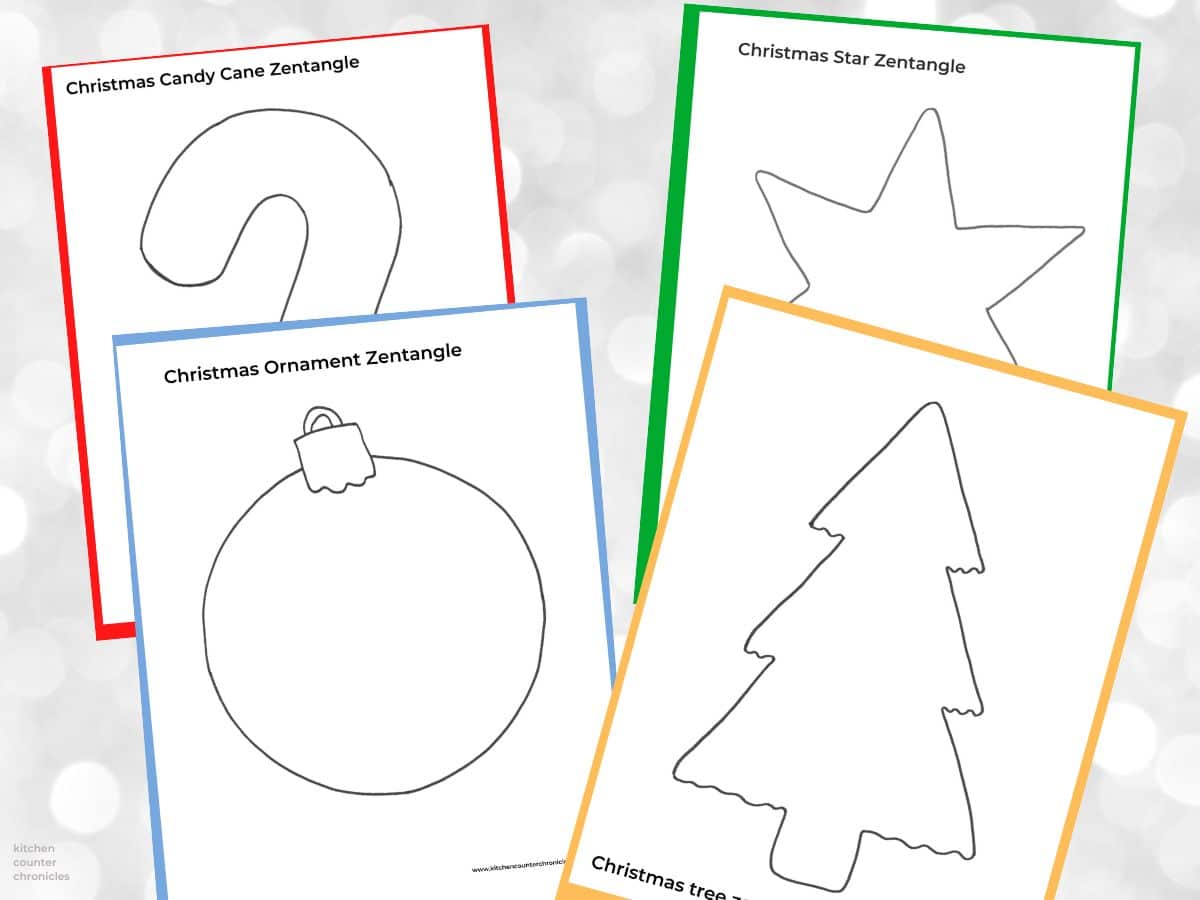
While traditional zentangle art is drawn inside a square of paper we like expanding on this idea and drawing inside different shapes. In this case, we are drawing inside different blank Christmas shapes. We have created a Christmas tree zentangle template, a Christmas ornament zentangle shape, a Christmas star zentangle shape and a Christmas candy cane zentangle shape. These are a few of my favourite Christmas items and the blank shapes are the perfect canvas for our zentangle art.
Easy Christmas Zentangle Patterns
white cardstock
our Christmas ornament zentangle shape
our Christmas tree zentangle shape
our Christmas star zentangle shape
our Christmas candy cane zentangle shape
our easy Christmas zentangle patterns page 1 and page 2
ultra fine tip black marker
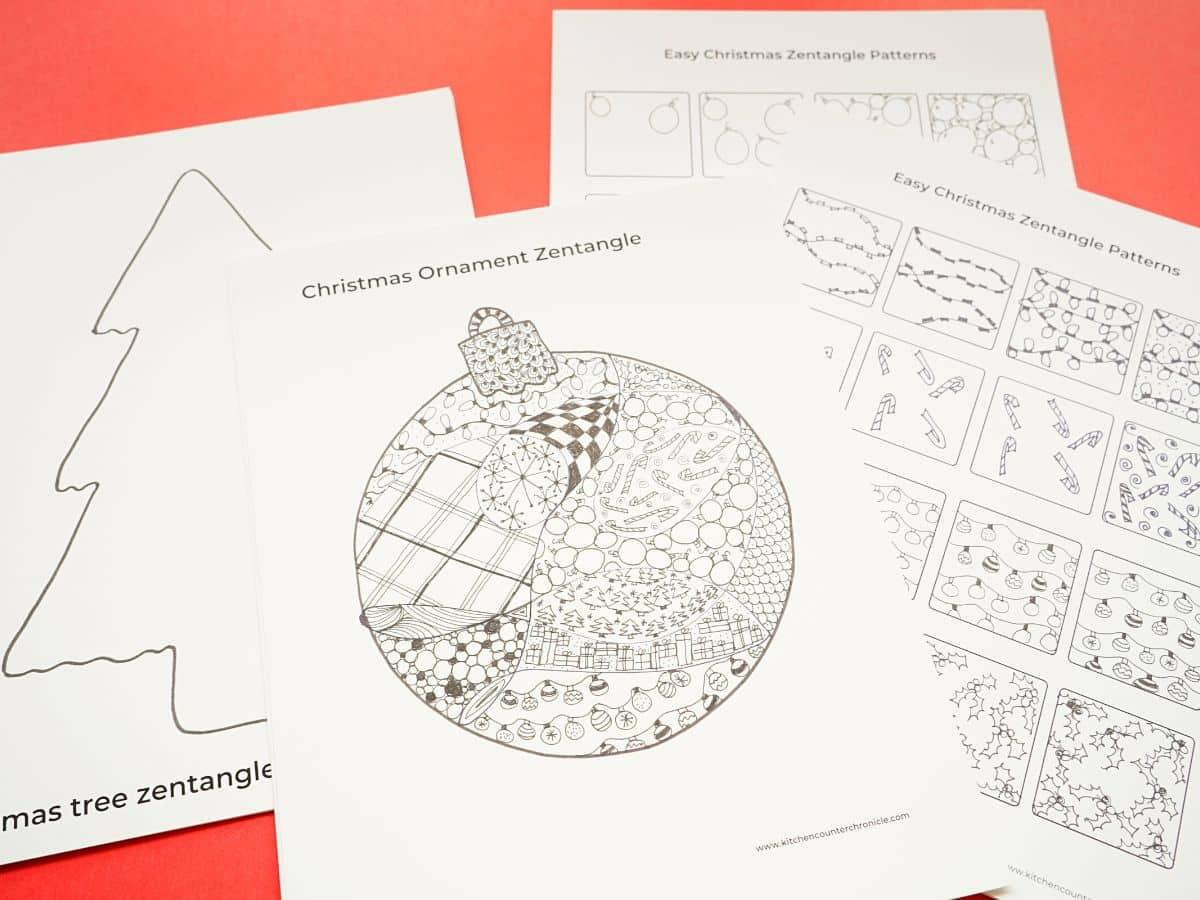
The first step is to print the shape you would like to draw inside of and then print off both of our easy zentangle pattern pages. These pages take you step-by-step through how to draw Christmas zentangle patterns. It is best if you print on cardstock. The pen you use will not work as well on regular printer paper - the pen will bleed and may go right through the paper. The cardstock is heavy enough weight that the pen will glide easily and won't go through.
Okay, now that you have everything printed let's go through the zentangle Christmas patterns. First up is our Christmas light design. For this design start with the light cord and plot out where the lights will be. The lights can be on both sides of the cord. Once you have the cord drawn add the light bulbs. And finish with the addition of little dots of "light" and darken the cord.
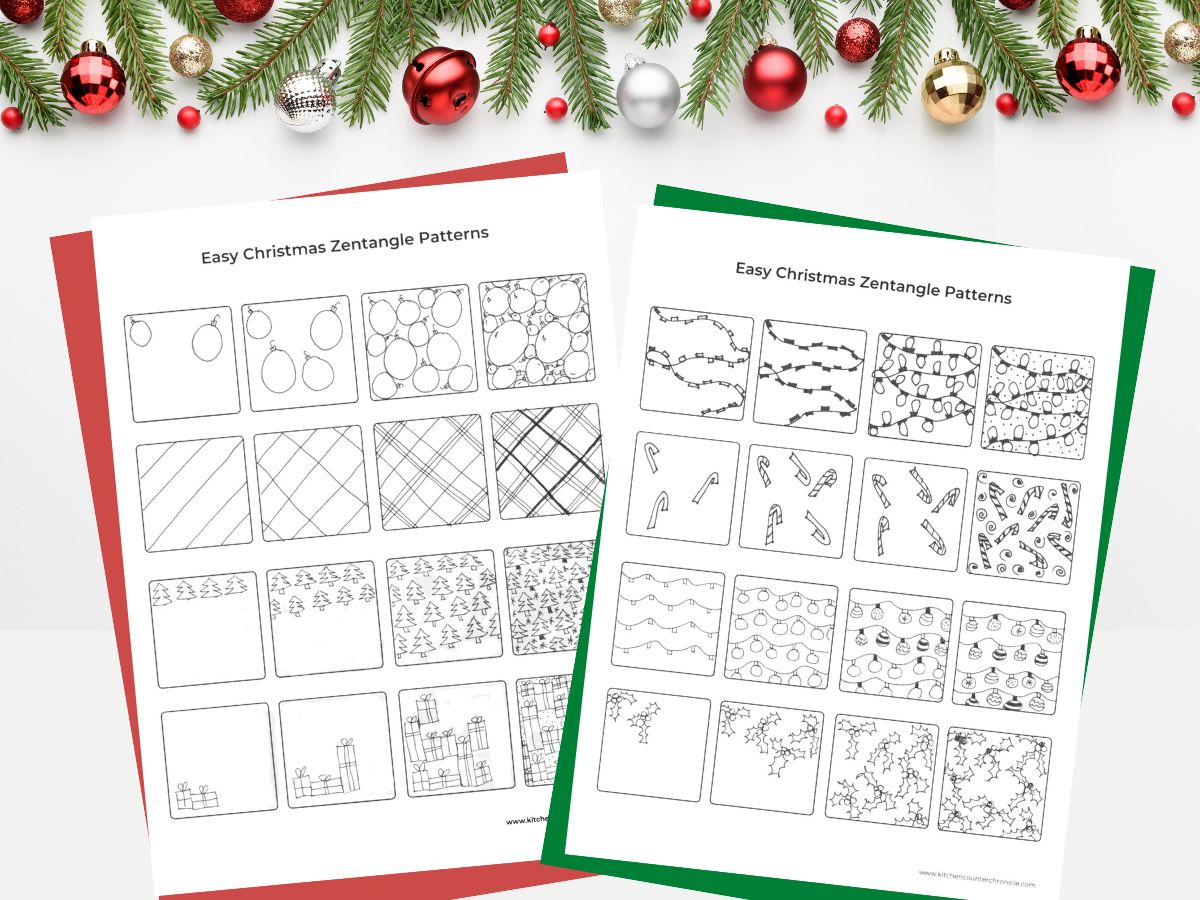
Next is our candy cane zentangle pattern. We love candy canes and we love a scattering of candy canes! So, this design is all about turning the page to get the best results. Start by drawing a few candy canes in one direction and then rotate the page and draw a few more. Rotate as many times as you like and keep adding candy canes. Don't forget the stripes. When you have all the candy canes in place add some little swirls to fill in the bits of white space.
Our strand of Christmas ornaments zentangle pattern is fun for those who like repeating patterns. Begin this design much like the lights...draw the strand first and determine where you want the Christmas baubles to be. Then add the baubles. Finish by adding the designs to the baubles. I liked the repeated design, but you could do whatever you like with the Christmas ornaments.
The last zentangle Christmas design on our first page is the holly design. I love holly and love adding fresh holly to my Christmas arrangements, so why not add it to the zentangle designs! Much like the candy cane design, the holly design is best when you rotate the page. Start with one holly bunch - 3 berries and 3 leaves. Then rotate the page and draw more holly. Keep adding until the space is filled. Finish by colouring in one of the holly berries in each bunch and adding little lines to the leaves, these are the veins in the leaves.
Now, onto our second page of easy Christmas zentangle patterns. This one is a lot of fun...a big pile of jumbled Christmas ornaments. Start by drawing a few big circles - these will be big Christmas ornaments. Add the little topper and the wire hook. Then add a few smaller ornaments. When you draw the ornament toppers and wire, be sure to position them so they fill in the spaces and gaps. Again, rotate the page and keep filling up the space with baubles.
Next is our plaid zentangle design. I don't know about your house, but we always get new Christmas jammies on Christmas Eve. And, my kids love plaid pj's. So, I associate the holidays with plaid. And, it's good to have a few graphic designs in your zentangle art. To create this plaid start by drawing a series of parallel, diagonal lines in the space. Then add crosslines - diagonal, parallel and about the same spacing as the other lines. Now add two parallel lines on either side of the centre line. Then skip a line and add the two additional lines to the next parallel line. So, the pattern is one line, 3 lines, 1 line, 3 lines. Repeat this on the crosslines. Next, make the single line heavier - draw over it until it is noticeably thicker and darker. Then add a single line parallel to this thick line. Again, repeat this on the crossline. Ta-da! You have a plaid zentangle pattern!
We had to have a Christmas tree zentangle pattern...right! Here is another one for those who like repeated patterns. Start with a line of trees. The easiest way to draw a tree is with 3 branches, but your trees can look however you like. Taller or skinnier, it's up to you. Just draw a line of trees. Then below that row add another row of trees. Repeat until you've made your way down the entire space. Finish by adding glittery stars and don't forget to shade in the tree stumps.
The pile of Christmas presents you find under the Christmas tree inspired this next design. We tried to mimic the way that presents that are piled up seem to all be connected...just like the presents in this design. Pick a starting point and draw a present. Add the ribbon and the bow. Then draw another gift, attached to the first gift. Then keep building the pile. Vary the height and width of the presents and you will see there are many ways to fill in the open spaces. I think this was my favourite Christmas zentangle design.
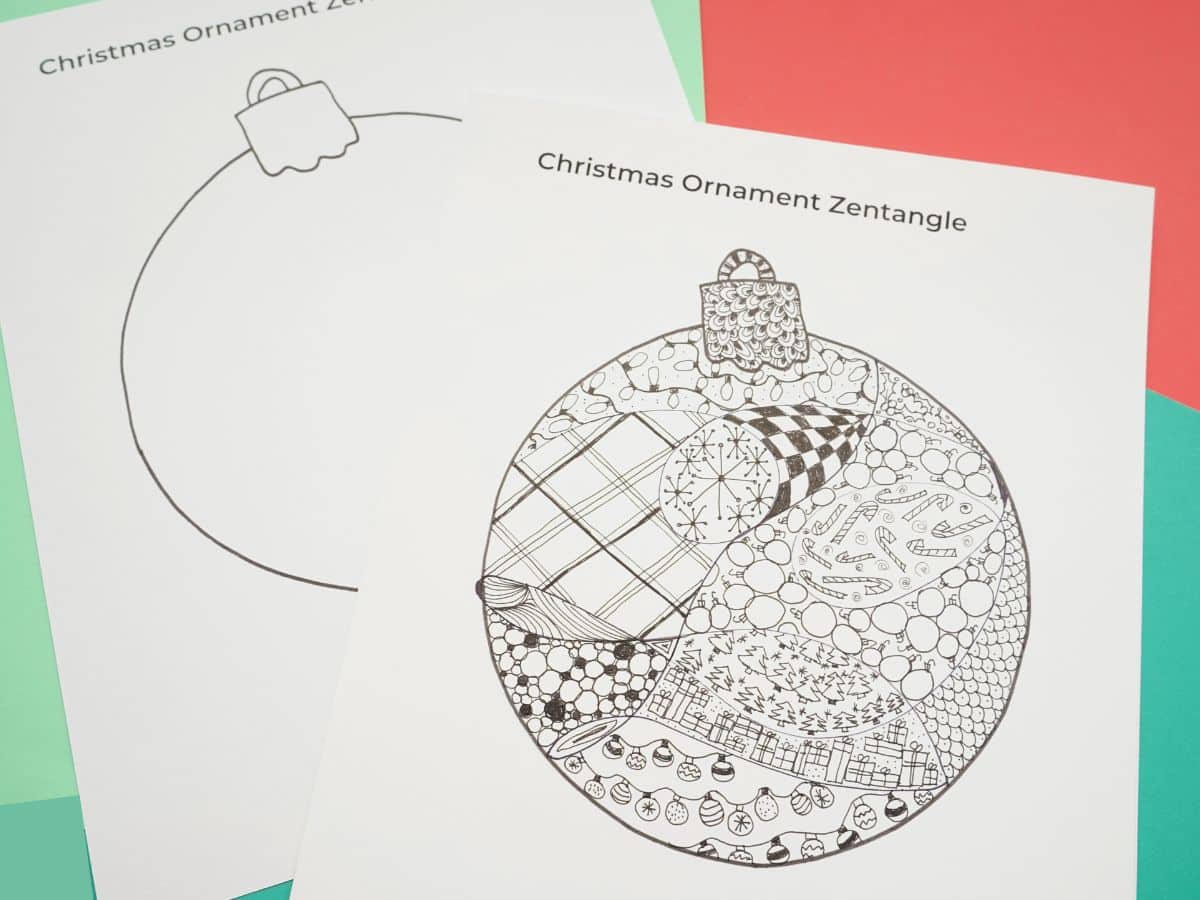
Now that you have a few Christmas inspired zentangle designs under your belt it's time to get drawing. I highly suggest you put on a Christmas playlist or your favourite Christmas album and give yourself some time to sit down and zentangle. The benefit of zentangle art is how meditative it is. You just let yourself draw, there are no mistakes. Anything goes. If you aren't sure where to even start with zentangle art, check out our complete guide to zentangle art for beginners.
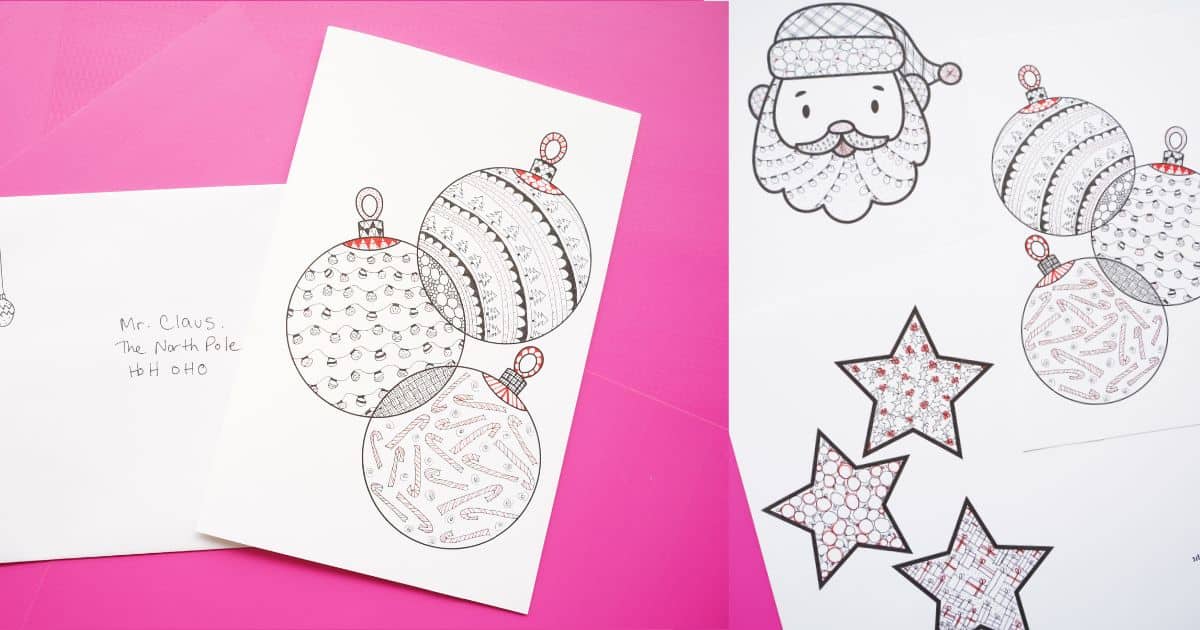
You can even make your own zentangle Christmas cards with our free printable cards!
More Zentangle Patterns
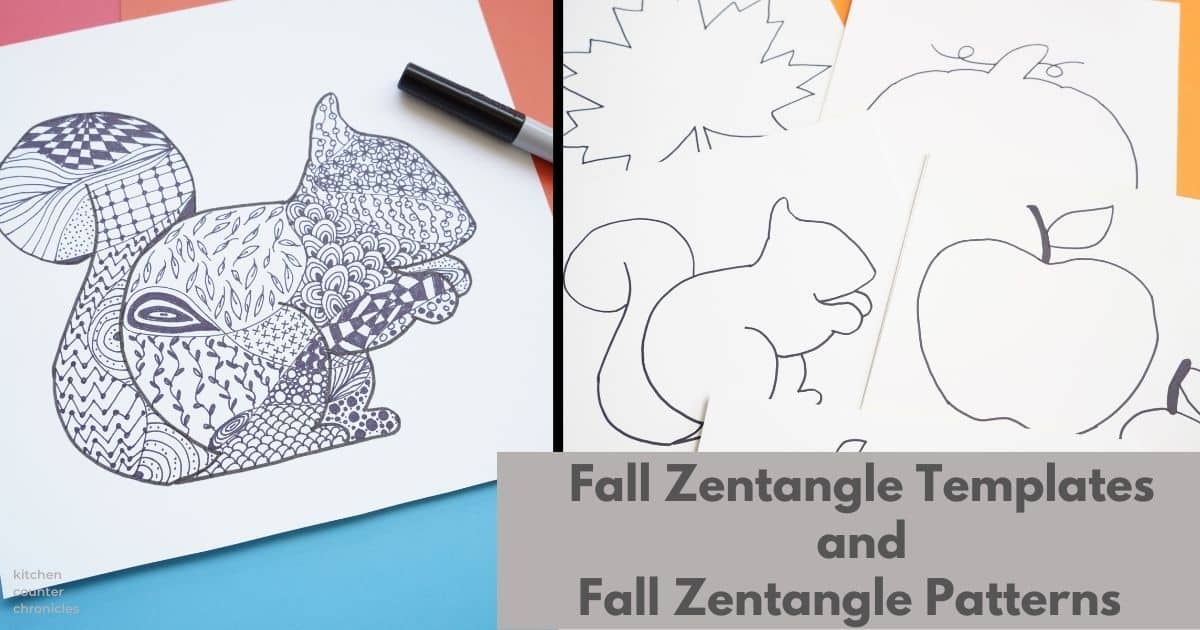
check out our fall zentangle patterns and templates
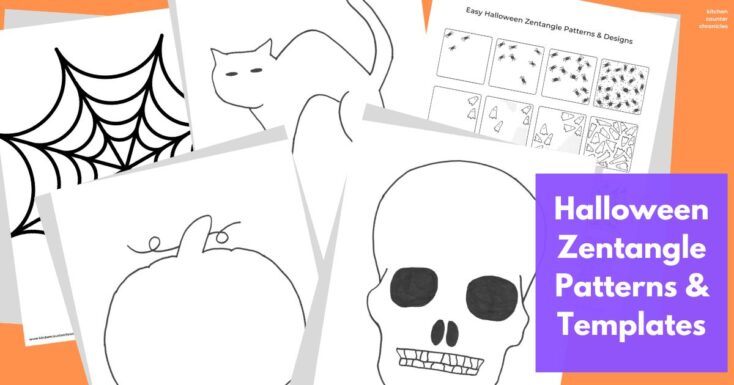
check out our Halloween zentangle patterns and templates too
Make sure you are following along...
FOLLOW KITCHEN COUNTER CHRONICLES ON
SUBSCRIBE TO KITCHEN COUNTER CHRONICLES TO HAVE OUR DELICIOUS RECIPES, FUN CRAFTS & ACTIVITIES DELIVERED DIRECTLY TO YOUR INBOX.

