
What is a weather vane?
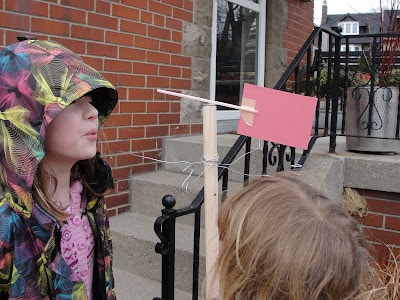
How to Make a Weather Vane with Kids

1 thin long nail, about 1 ½ inches long
plastic drinking straw
wood glue
1-inch diameter metal washer
1-inch diameter wood dowel, 2 feet long
hammer
scissors
staple gun
index card
masking tape
thin, bendable wire
compass
This project requires adult supervision
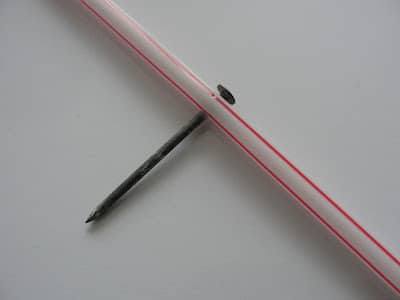
First up, carefully press the nail through the middle of the straw, so that the straw spins around on the nail when you flick it.
Now, use the wood glue to adhere the washer, flat, down to one end of the dowel.
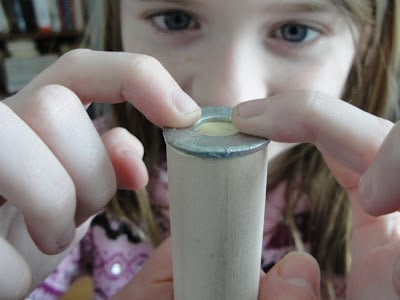
Now it's time to secure the straw to the dowel. Centre the straw and nail over the centre of the washer, and hammer the nail into the dowel. Leave enough space to allow the straw to spin freely. *adult supervision*
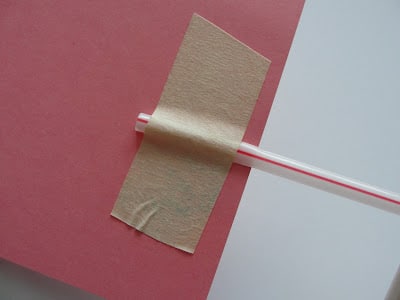
Use scissors to make 1 inch long vertical slits in the top and bottom of the straw. Then slide the index card into the slits in the straw and tape it in place. The index card will catch the wind and the other end of the straw will serve as the pointer.
Hold the dowel vertically and mark a line 3 inches from the top of the dowel...this is where you will wrap the wire.
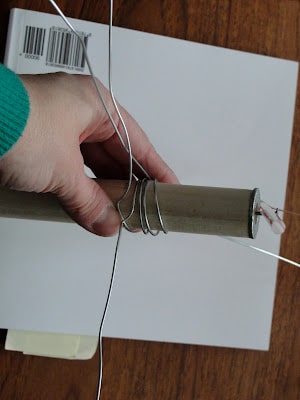
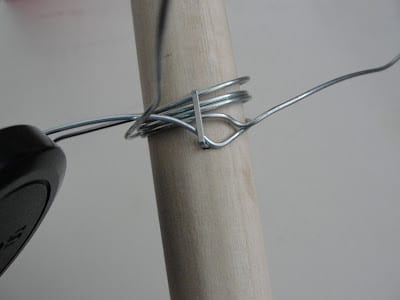
Wrap the wire around the dowel a few times to hold it in place - it should resemble a cross. Repeat with the second piece of wire. Now you should have 4 arms of wire extending out from the dowel. Use the staple gun to secrure the wires to the dowel.
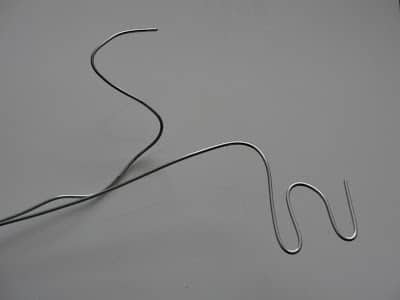
Now bend the tip of each wire in the shape of a letter for North, South, East and West.
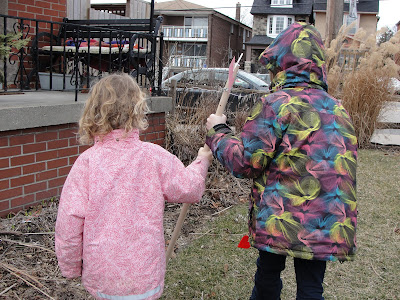
Stick the bottom of the dowel into a planter or in the ground. Rotate the weather vane until the labelled direction wires point in the correct direction..."s" points south, "n" point north, etc. Use a compass if you are uncertain.
How to read a wind vane
 And, we've got all kinds of cool environmental science project for kids too
RedTedArt says
What a brilliant weather vane! Wow.
Thanks for sharing on Kids Get Crafty!
Maggy
Emma @sciencesparks says
That is fantastic! I am loving all the weather posts! Thanks for linking to Science Sparks xx
Mom to 2 Posh Lil Divas says
very cool! I have never done this and it looks like a fabulous activity!