
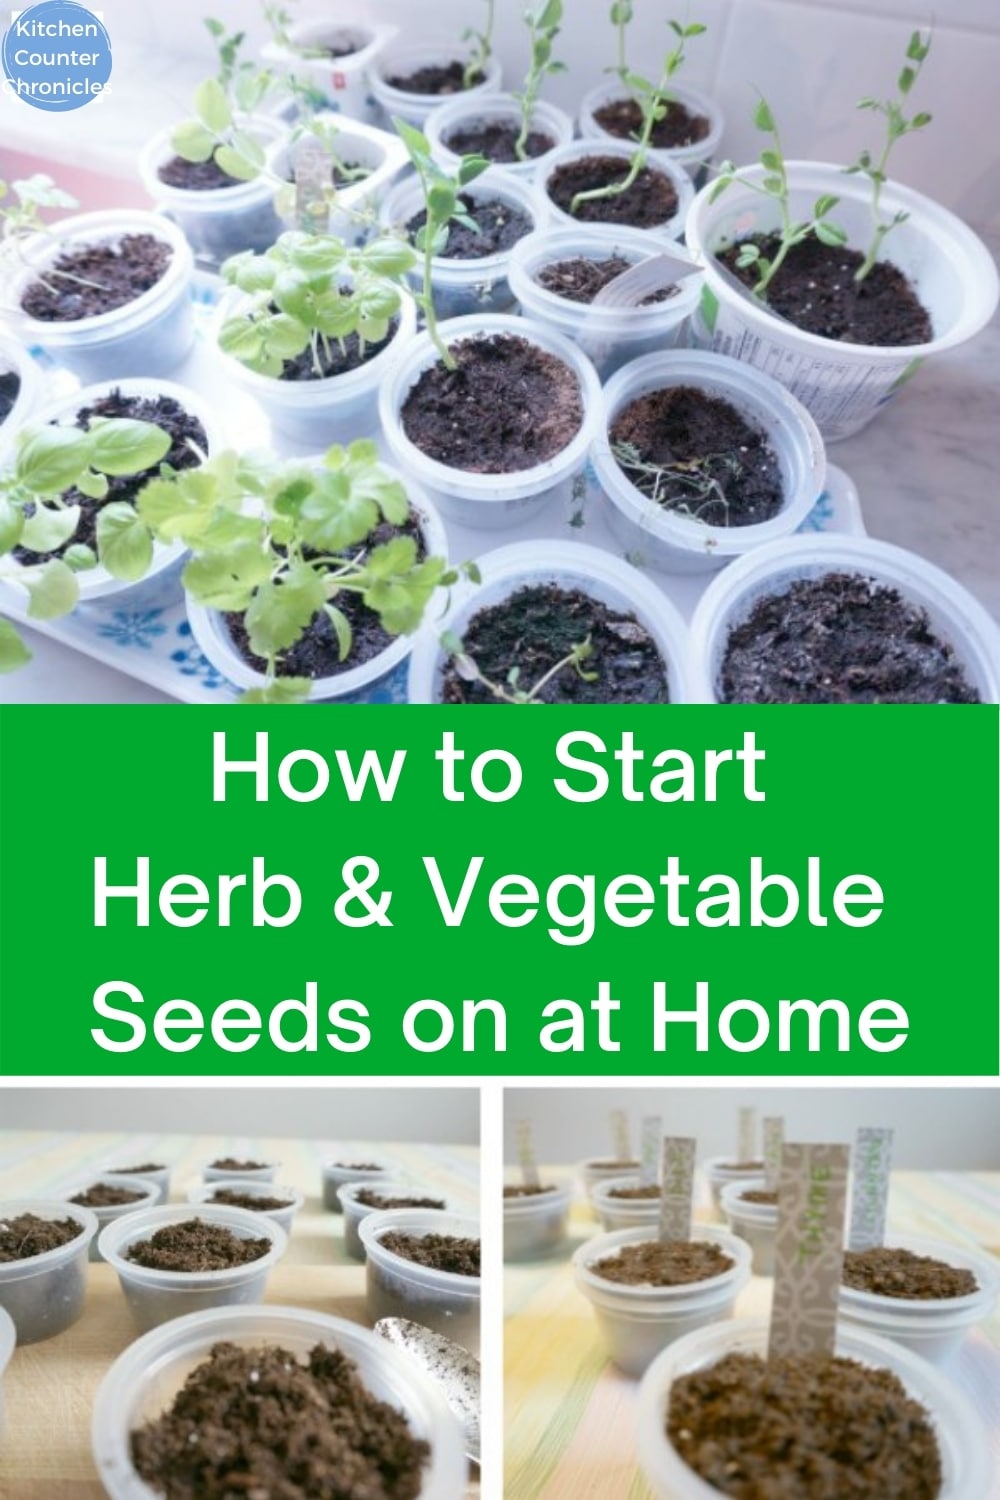
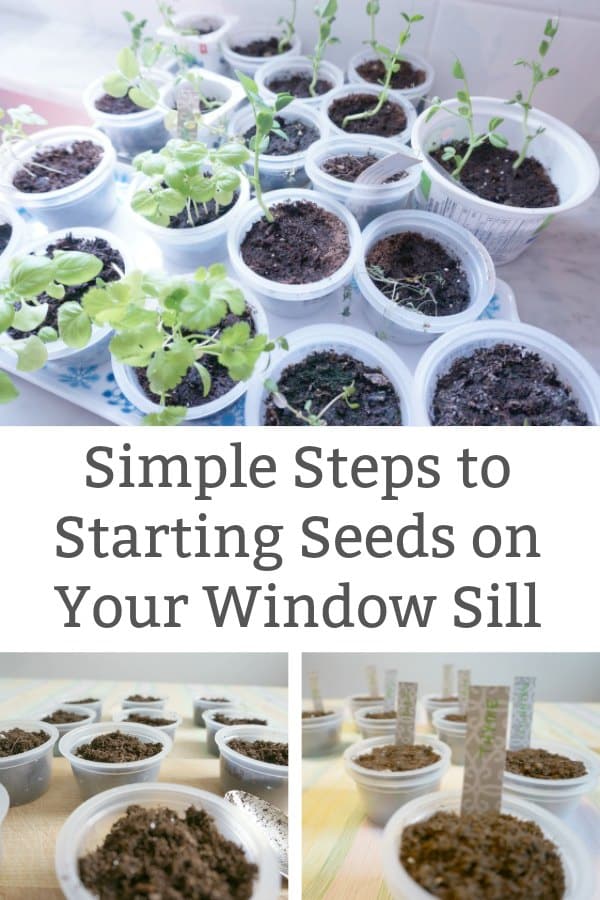
Every year we try and grow as many vegetables and herbs in our little urban garden as we can. One of my favourite parts of gardening is the magic (and science) of growing seedlings on the window sill. After all, the beginning of any great home garden is the little seedlings.
Disclosure: There are Amazon Affiliate links in this article which means, at no additional cost to you, we could receive compensation for our recommendations. You can read our full disclosure policy on our Disclosure Page for more details.
This year we are planning on starting a tea garden - growing our own herbs to use in making teas. Every plant in the garden starts with a seed.
No matter how many times I do this, starting seeds seems magical to me. You place a few seeds inside some soil and wait for the plants to appear. It's so amazing to see the tiny plant peer out through the soil. The last couple of years we have been starting our seeds in egg cartons and toilet paper rolls.
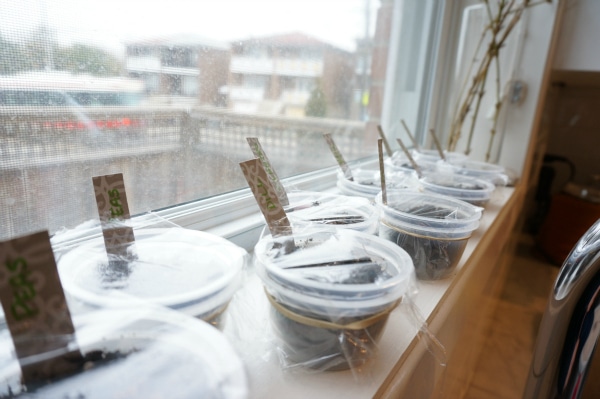
This year we reached inside the recycling bin to find a planter for our seeds. I discovered that we have been eating a lot of single-serving apple sauces as of late. We have a lot of little plastic containers around. So, we decided to use these containers this year.
Starting Seeds on the Window Sill
apple sauce containers (an even number)
1 inch finishing nail
hammer
cutting board
seeds of your choice
seed starting soil
plastic wrap
elastic bands
a sunny window sill

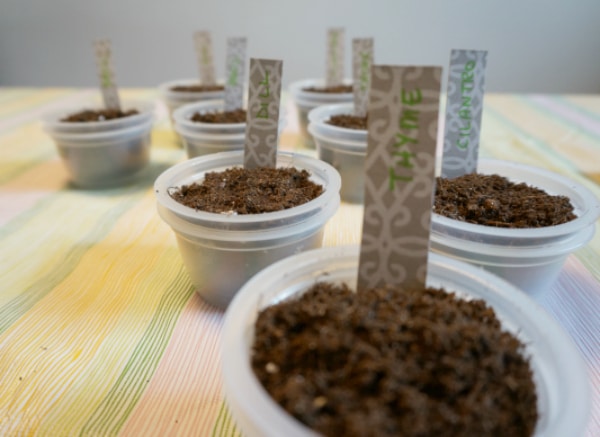
Gather the apple sauce containers or yogurt containers would work as well.
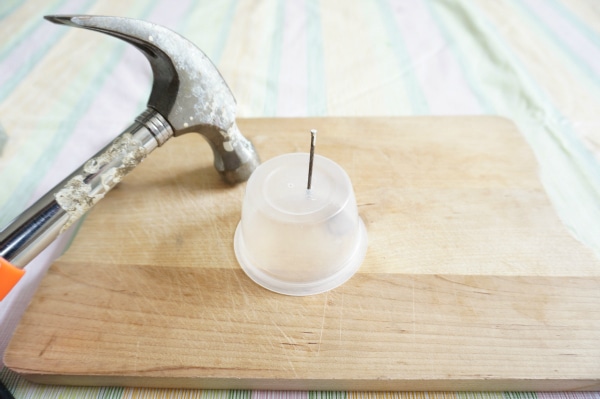
Use a hammer and nail to make small drainage holes in the bottom of half the containers.
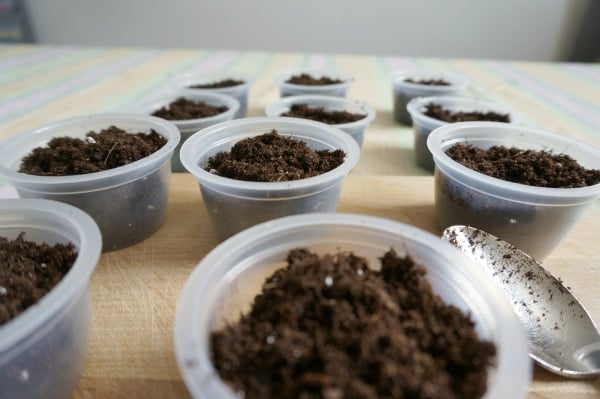
Fill up the containers, that have drainage holes, with seed starting soil. You will find specialized seed starting soil at your local garden centre. It is important to use a proper seed starting soil, as it will have the proper balance of nutrients, peat and soil to quickly and easily germinate the seeds.
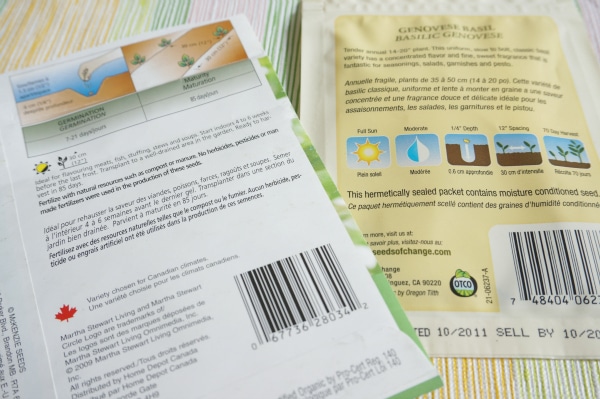
Follow the seed package directions to determine how deep to plant each type of seed.
I tend to plant WAY more seeds than the package suggests, I'm always a little nervous that the seeds won't germinate.
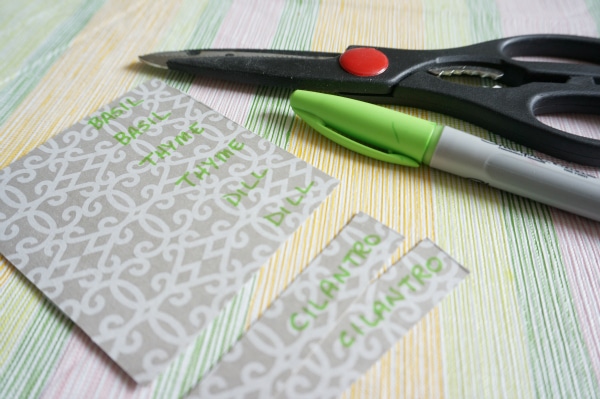
Make labels for each pot, I cut strips out of an old box of tea that was in the recycling bin.
Place the container with the dirt and seeds inside a container that does not have drainage holes.
The great thing about the apple sauce containers is that when you place one inside the other there is a ¼" gap created between the containers. This space is perfect for collecting any water that seeps through the drainage holes.
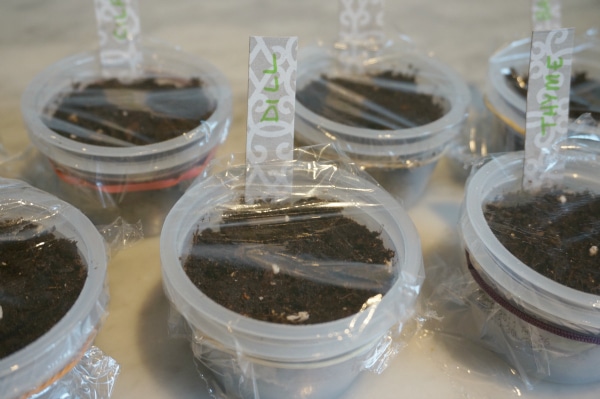
Now, Loosely place a piece of plastic wrap, secured with an elastic, over each container.
This will create a warm and moist environment that is perfect for promoting germination.
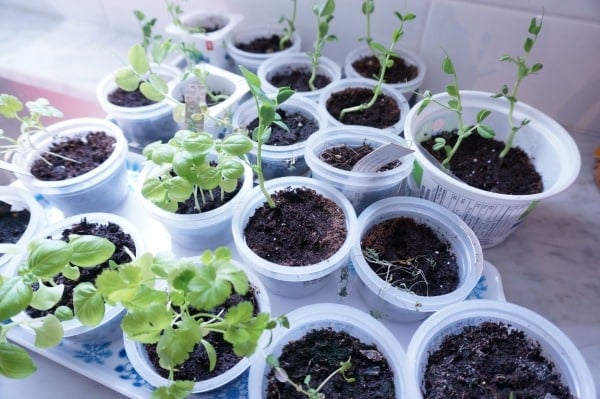
Place the pots in a sunny window, or in another warm location, keep the soil moist and wait.
This is always the hardest part. Patience in gardening really is so challenging. Every morning the girls and I run to the window ledge to check on our little pots...searching for signs of life. I told you, it's magic.
This round of seeds will be for our traditional herb garden. We will be planting our herbal tea seeds next and then some veggies and flower seeds. As you can see, I think I need to get a bigger window sill!
Are you starting seeds this spring? What are you starting? What container do you use to start your seeds? I would love to hear about your experiences.
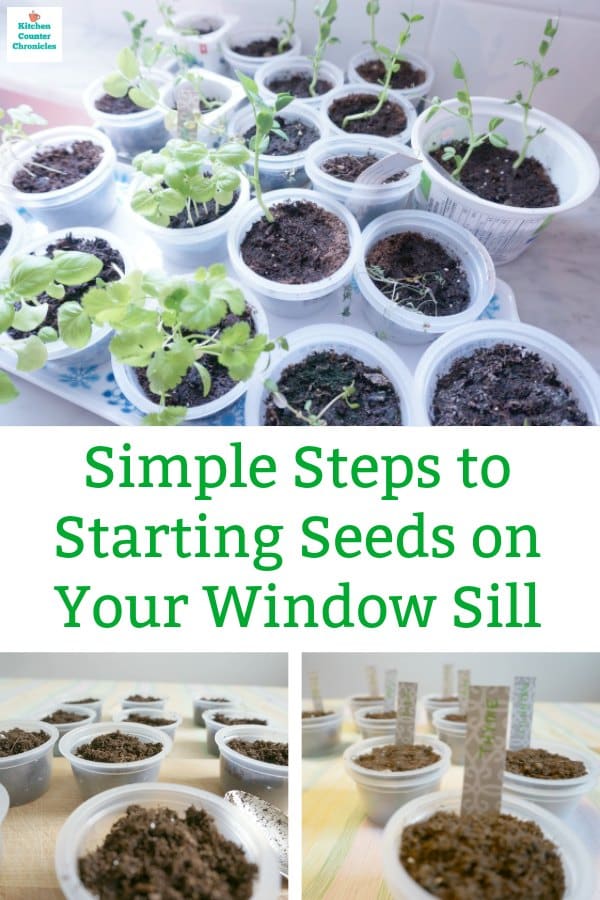
Pin the post for later...
Related Posts
Learn what to plant in a bee-friendly garden
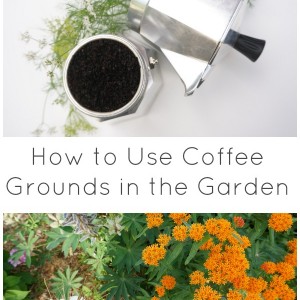
Check out how to use coffee grounds in your garden
Make sure you are following along...
FOLLOW KITCHEN COUNTER CHRONICLES ON
SUBSCRIBE TO KITCHEN COUNTER CHRONICLES TO HAVE OUR DELICIOUS RECIPES, FUN CRAFTS & ACTIVITIES DELIVERED DIRECTLY TO YOUR INBOX.

Stephanie says
Oh this looks like a fun project to tackle on a rainy afternoon!! Spring will come eventually and perhaps we will be prepared!
Kerrie @ Family Food and Travel says
So easy and so practical and yet I never do it. I always think I will and then the weeks pass by and it's too late.
Can't wait to see how your seeds progress!
Anonymous says
This comment has been removed by a blog administrator.
Adele Crozier says
Cling film!! I need covers for my pots and didn't think of that. Thank you for linking up to Gardening Adventures
Christina @ The DIY Mommy says
A tea garden is such a great idea! Thanks for the tips!
Jen says
Great questions Rey! In general when the seedlings have grown and are getting to big for the little pots I usually plant them directly into my garden. I guess if the weather wasn't quite warm enough I could re-pot them, but that just seems like a lot of work. If I was transferring to another pot I would use a container soil, perhaps one specifically designed for veggies. As for transferring outside or inside. Herbs can generally grow indoors, if you have enough sunshine and water them. However, I would plant them outside in a sunny spot. My garden soil is a general topsoil with compost added. Hope this helps answer your questions. The best thing about starting your seeds is it doesn't cost too much, so if they don't work out you can always plant some more! Good luck!