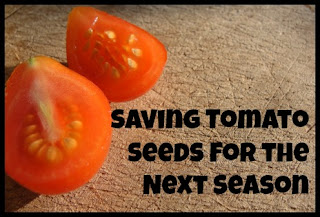
For the last few summers we have been growing tomatoes in our backyard garden. Last year we grew cherry tomatoes and they were very successful. This summer we are growing a lovely crop of heirloom cherry tomatoes. The tomatoes are both yellow and red. They are sweet, plump and prolific...a wonderful variety. This really got me thinking about the next growing season. We would love to grow these same tomatoes again next year. So, why not use some of the hundreds of seeds that we have available to us...inside the tomatoes.
Saving seeds is something I have always wanted to try. I presented the idea to my girls. While I believe it is important to take my girls to the farm and see where food grows and to even grow our own food in our own backyard, I realized that it is also important to teach fill in the step of where seeds come from. Even though we eat seeds everyday, it might be hard to truly understand that they are seeds that could grow a plant.

The process of saving seeds takes a number of steps and a number of days. Our seeds are still in the beginning stages. First, we selected a couple of tomatoes that were free of blemishes and that were from strong and healthy plants. This way we know the seeds will likely produce healthy plants.
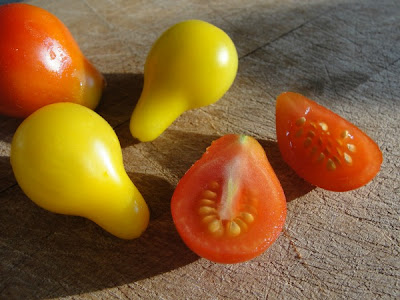
The next step is to slice the tomato in half, revealing the seeds.
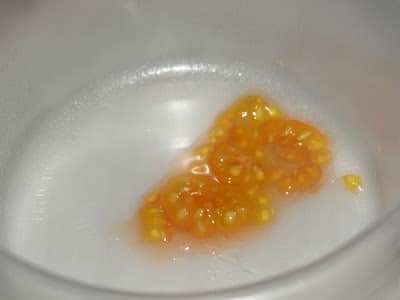
Scoop out the seeds and place them into a shallow dish. Add a bit of water (around 1-2 tbsp).
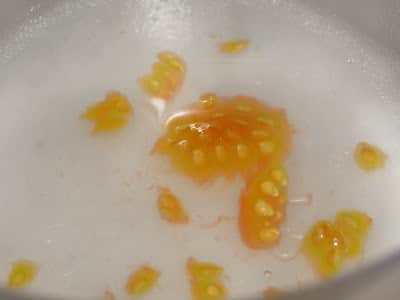
Place a piece of plastic wrap over the dish, punch holes in the plastic wrap - allowing air to exchange in and out of the dish.
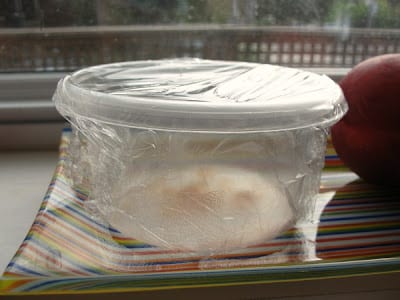
Place the dish into a sunny spot, we placed ours in our kitchen window. By placing the dish in the sun and with the plastic wrap, the seeds will start the process of fermentation. My understanding is, that this is the best way to get the gel sac off the seeds. Allowing the fermentation process to basically rot the gel off the seeds, you replicate the way that the seeds would ferment in nature, which is ideal.
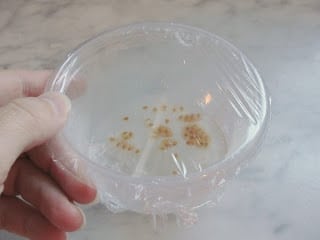
This is where we are at right now. The next step is to gently swish the dishes everyday.
Over the course of a few days a layer of grey mould will form on the top of the water....fermentation is done. When this appears it is time to add a little more water, allowing the seeds to separate. Swish and scoop of the scummy water. Then, pass the seeds through a sieve...the water should drain through and the seeds should remain. The final step is to allow the seeds to thoroughly dry. Place them on a plate or keep them in the sieve. Toss the seeds everyday to allow the air to dry all sides of the seeds. Once dried, store the seeds in a paper envelope in a cool and dry location.
We cannot wait to see how these seeds turn out. If there is one thing I know about gardening it is that you need to have patience. Patience to see the seeds ferment, then dry and patience to see how the plants grow next spring. What an amazing way to preserve the year's crops.
Last summer we made oven roasted tomatoes as a way to enjoy the fruits of our labour all winter long. How do you preserve or save your summer crops? Check out the Life Made Delicious site to discover tips and recipes for using up your summer fruits and vegetables.


