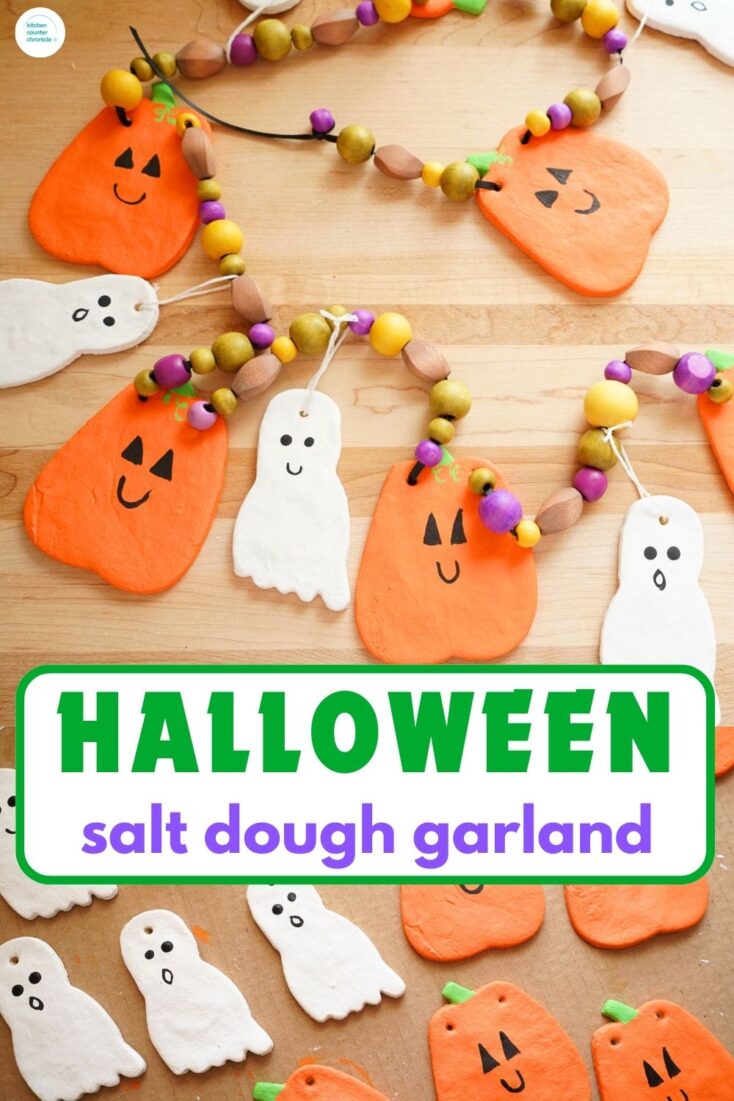
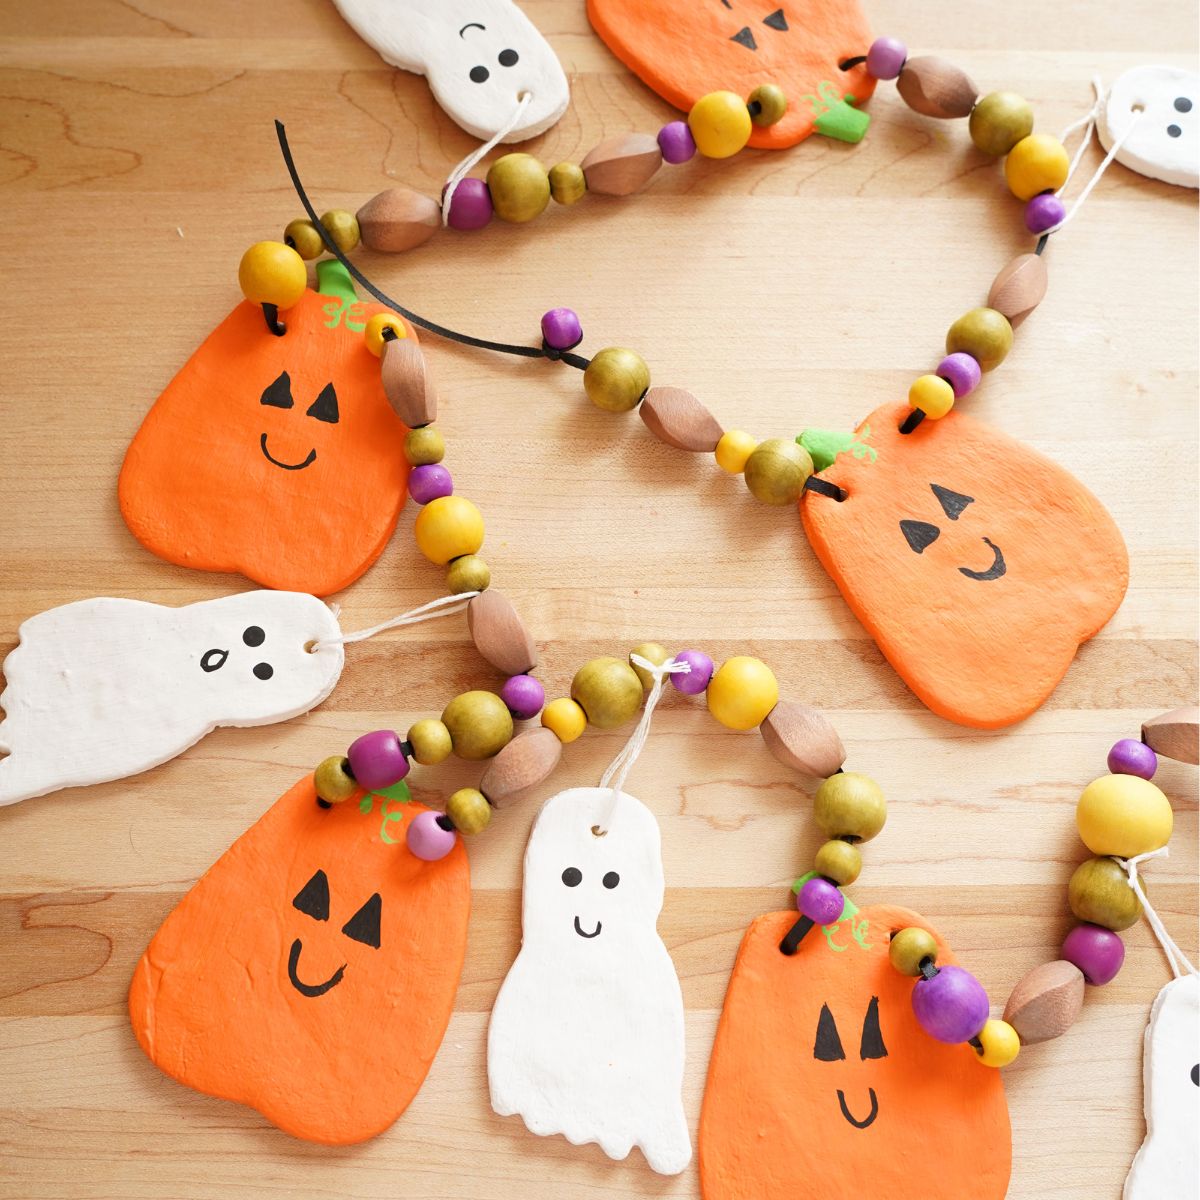
Halloween is one of my favorite holidays to get crafty! We have shared all kinds of spooky and silly Halloween craft projects over the years. This time around I wanted to have some fun with my favorite salt dough recipe. This salt dough Halloween garland will last a lifetime. Kids of all ages will have fun decorating salt dough pumpkins and ghosts.
Disclosure: There are Amazon Affiliate links in this article which means, at no additional cost to you, we could receive compensation for our recommendations. You can read our full disclosure policy on our Disclosure Page for more details.
I developed this salt dough recipe years ago and have used it for a number of craft projects. We made salt dough Earth Day necklaces and the cutest salt dough reindeer Christmas ornaments. This time around I wanted to make something for Halloween and I decided to make pumpkins and ghosts. The only problem was, I didn't have a ghost cookie cutter. What I did have, for some strange reason, was a foot cookie cutter. Flip it around and ta-da it turns into the perfect floating ghost...don't you think?
How to Make a Salt Dough Halloween Garland
Salt Dough Recipe
1 cup all-purpose flour
½ cup iodized salt
½ cup warm water
1 tablespoon vegetable oil
pumpkin and ghost or foot cookie cutters
parchment paper
rolling pin
orange, green, white, and black acrylic paint
paintbrushes
chopstick
mod podge
⅛ inch black ribbon
white embroidery thread
scissors
assorted wooden beads
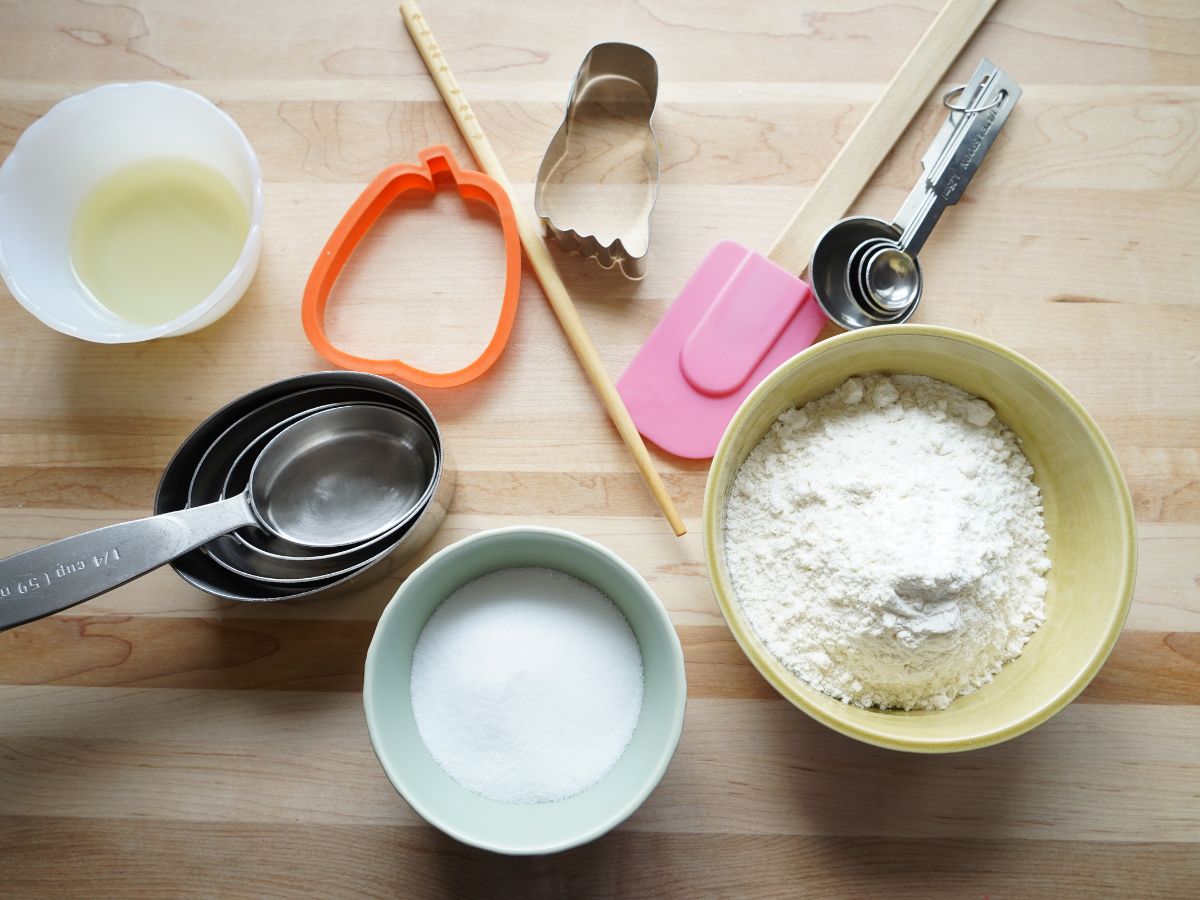
To begin with we need to make a batch of our salt dough. Combine the flour, salt, vegetable oil and warm water in a bowl. Use a spoon or spatula to mix everything together. If the dough is too dry and crumbly, add a little more water. If the dough is too sticky, add a little more flour.
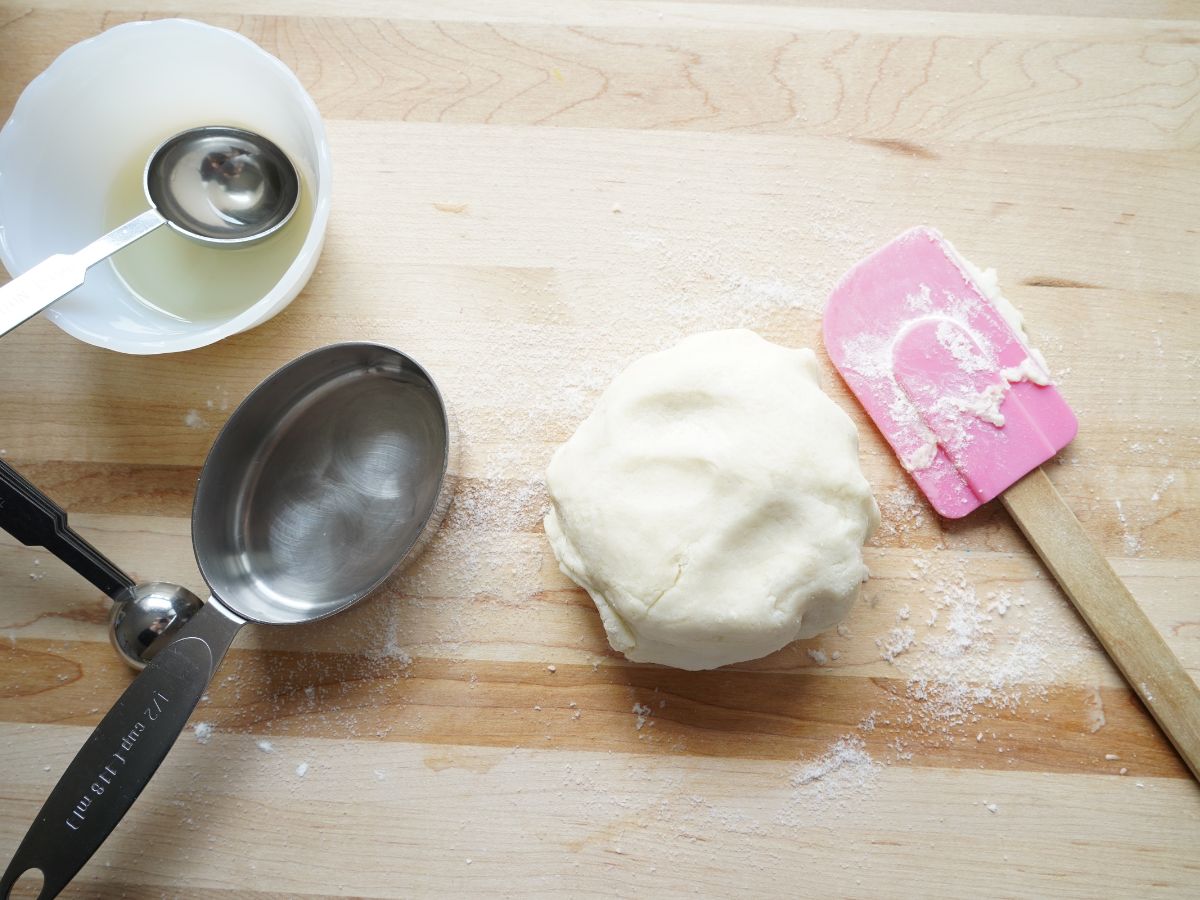
Turn the dough out onto a lightly flour dusted table or a sheet of parchment paper. Knead it a few time and the dough will be smooth and ready to use. Roll out the dough with a rolling pin. The thicker the dough, the longer they will need to bake. I like my ornamtnets about ¼inch thick.
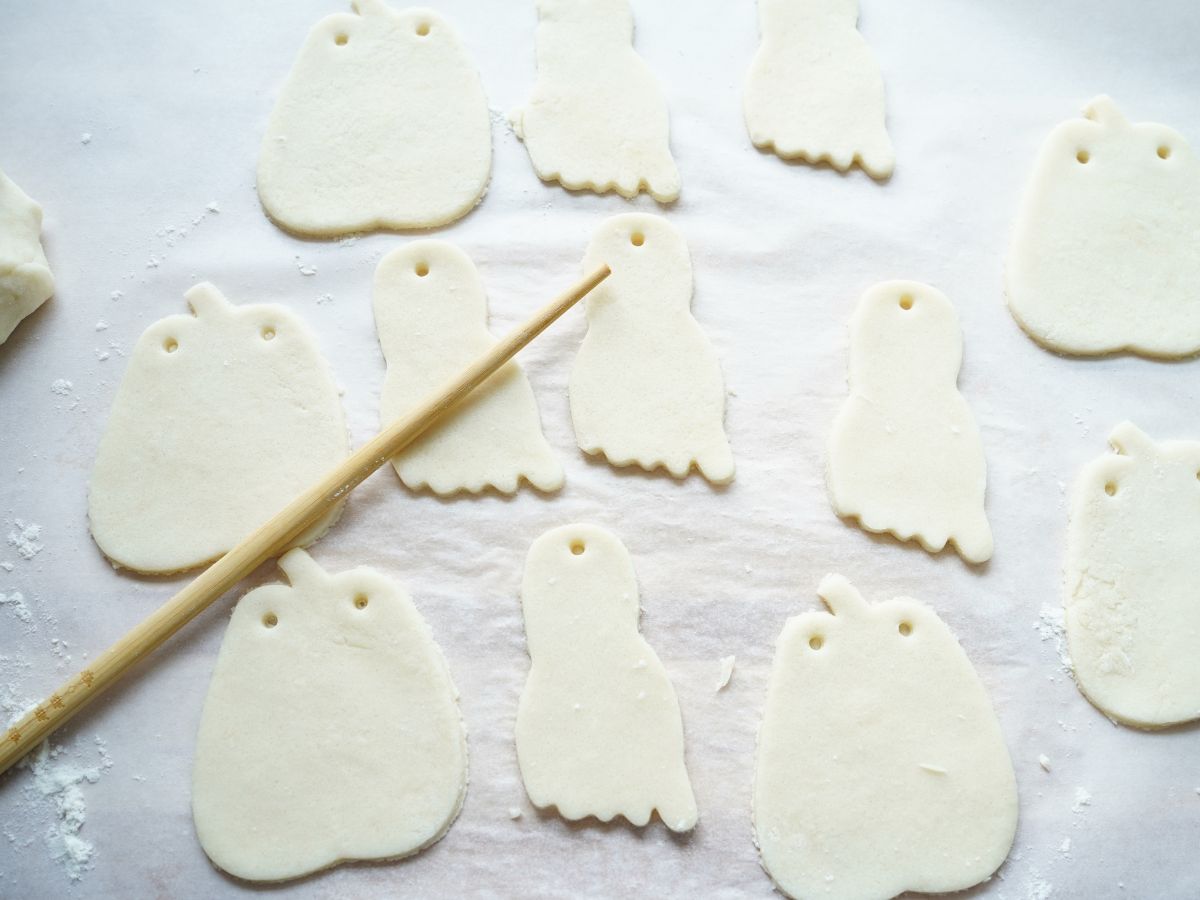
Use the cookie cutters to cut out the shapes you like. I opted for my tall pumpkin cookie cutter and ghost (foot) cookie cutter. This would be fun with flying bats too! Use the chopstick to poke holes in each ornament. The hole is where you will eventually feed the ribbon through.
Place the salt dough pumpkins and ghosts on a parchment paper lined baking sheet and bake in a 250 oven for 2 hours. You can check them after an hour and a half to make sure they aren't browning...this will depend on the thickness of your ornaments and your oven. You will know they are done when they are firm to the touch.
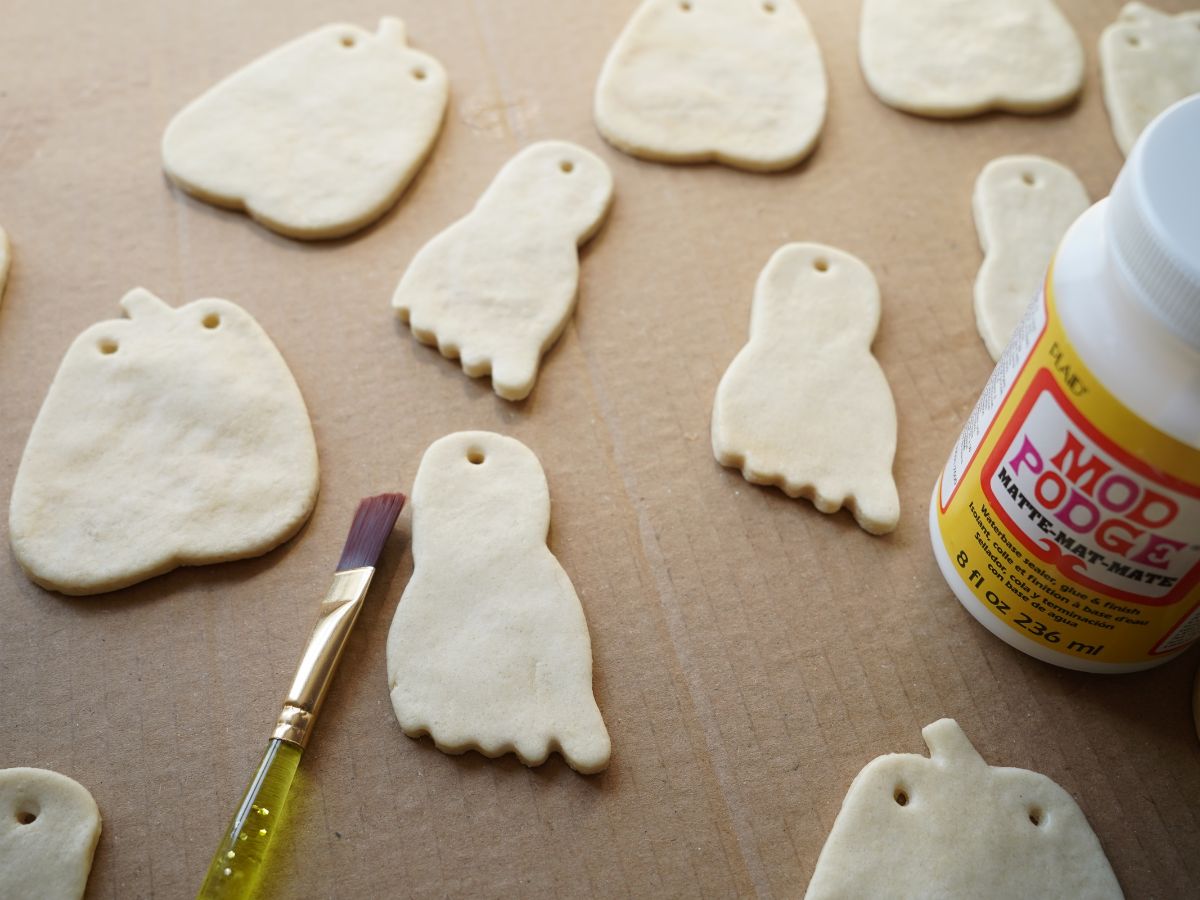
Remove from the oven and allow them time to cool on a rack. Once the salt dough Halloween ornaments are cooled, it is time to paint. If there are any rough edges, use a sheet of fine sand paper to smooth the edges. Then I sealed them with a clear coat of Mod Podge, this isn't necessary but I liked having a smooth surface to paint on.
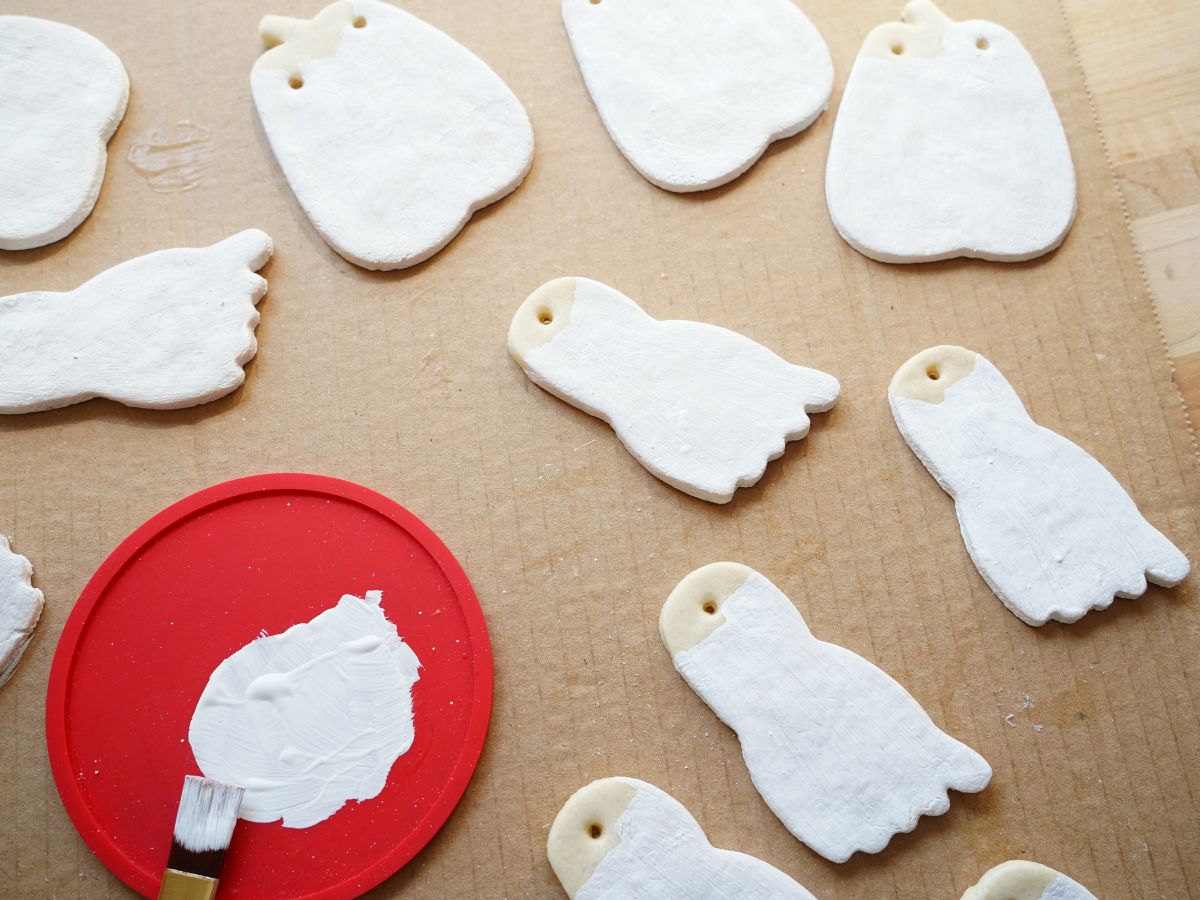
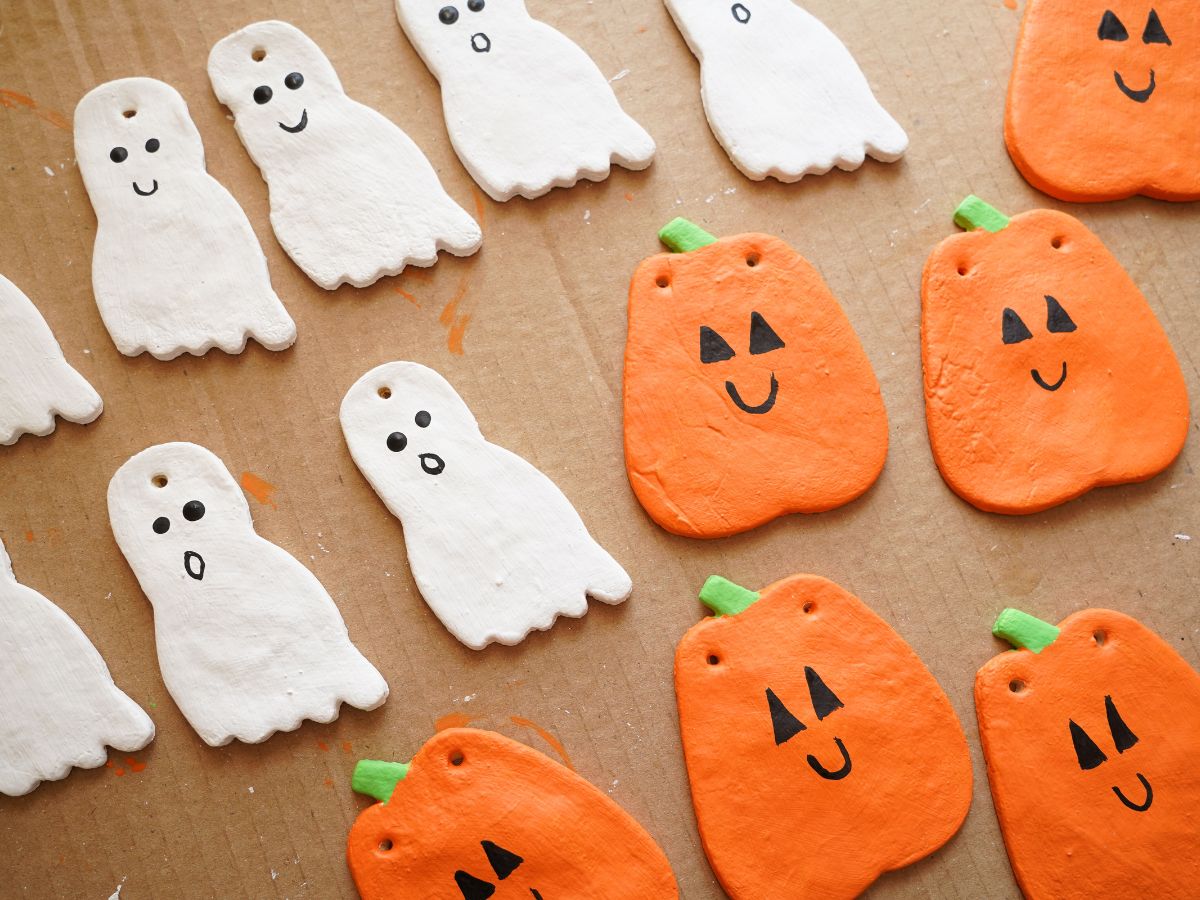
When the ornaments are smooth and dry paint them however you like. I went with traditional orange and green for the pumpkins and white for the ghosts. I added a single coat of white paint to the back of the ghosts because they will be "floating" on the garland. Allow the ornaments to dry and then use a fine paintbrush to add the face details. You could use a fine-tipped black permanent marker for the faces. I just found the paint looked a little darker. Whatever you like. Add a coat of Mod Podge, or other craft sealer, to seal the paint.
When everything is dry it is time to get the salt dough ornaments ready to make the garland. Use a toothpick to open up any holes in the ornaments that may have filled with paint. Measure how long you want your garland to be, based on where you'd like to hang the garland. To make pushing the ribbon through the beads and ornaments a little easier, I attached a small piece of tape at one end of the garland...kind of like the end of a shoelace, the aglet. This will be the end I use to poke through the beads and ornaments. Tie a small bead at the other end of the garland. This bead will stop everything from falling off your garland, as you make it.
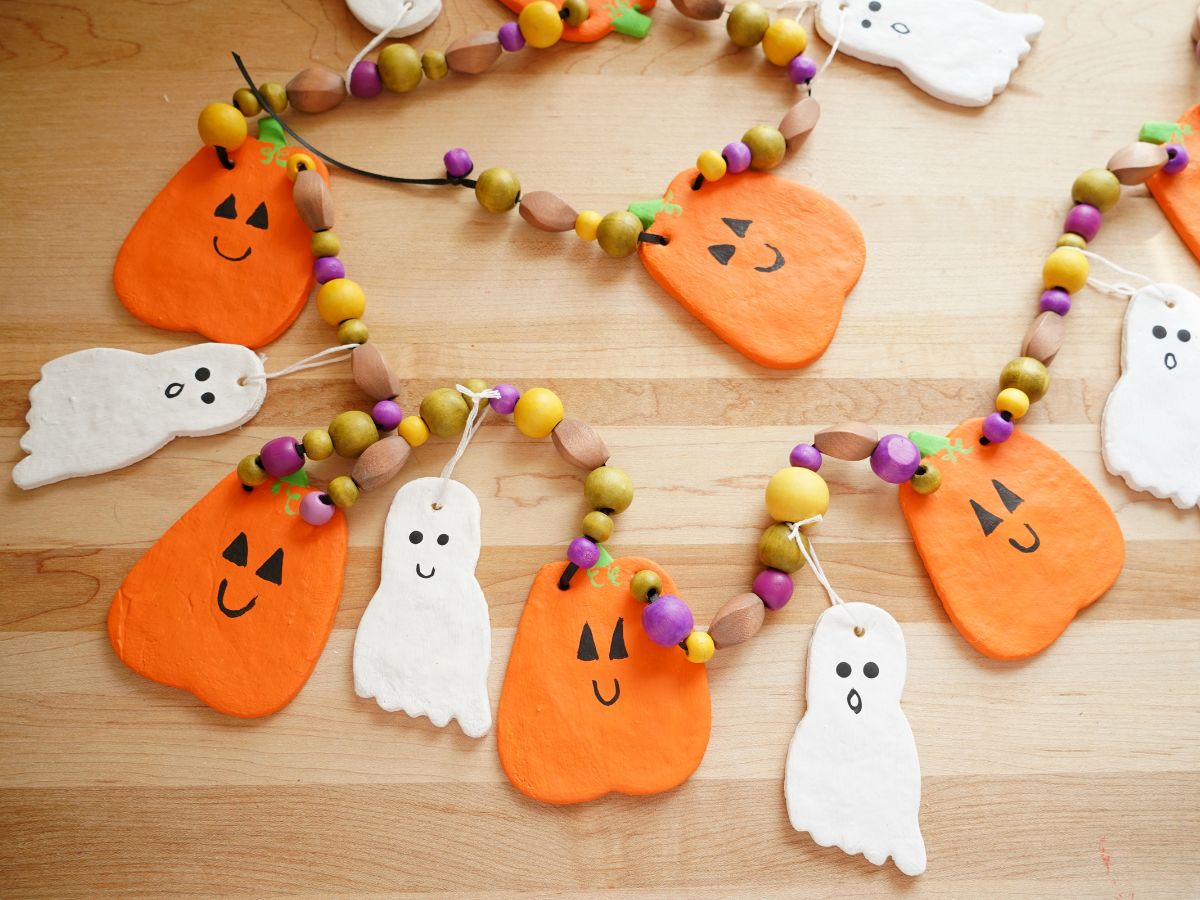
Now feed your assortment of beads onto the ribbon. Once you have a few beads in place add your first pumpkin. Carry on adding more beads, until you would like to place a ghost. I tied the ghosts to the garland using white embroidery thread. I wanted the ghosts to "float" on the garland. With the ghost tied on, feed more beads and another pumpkin. This is the pattern I decided to use. Again, go with whatever pattern you like to create your garland.
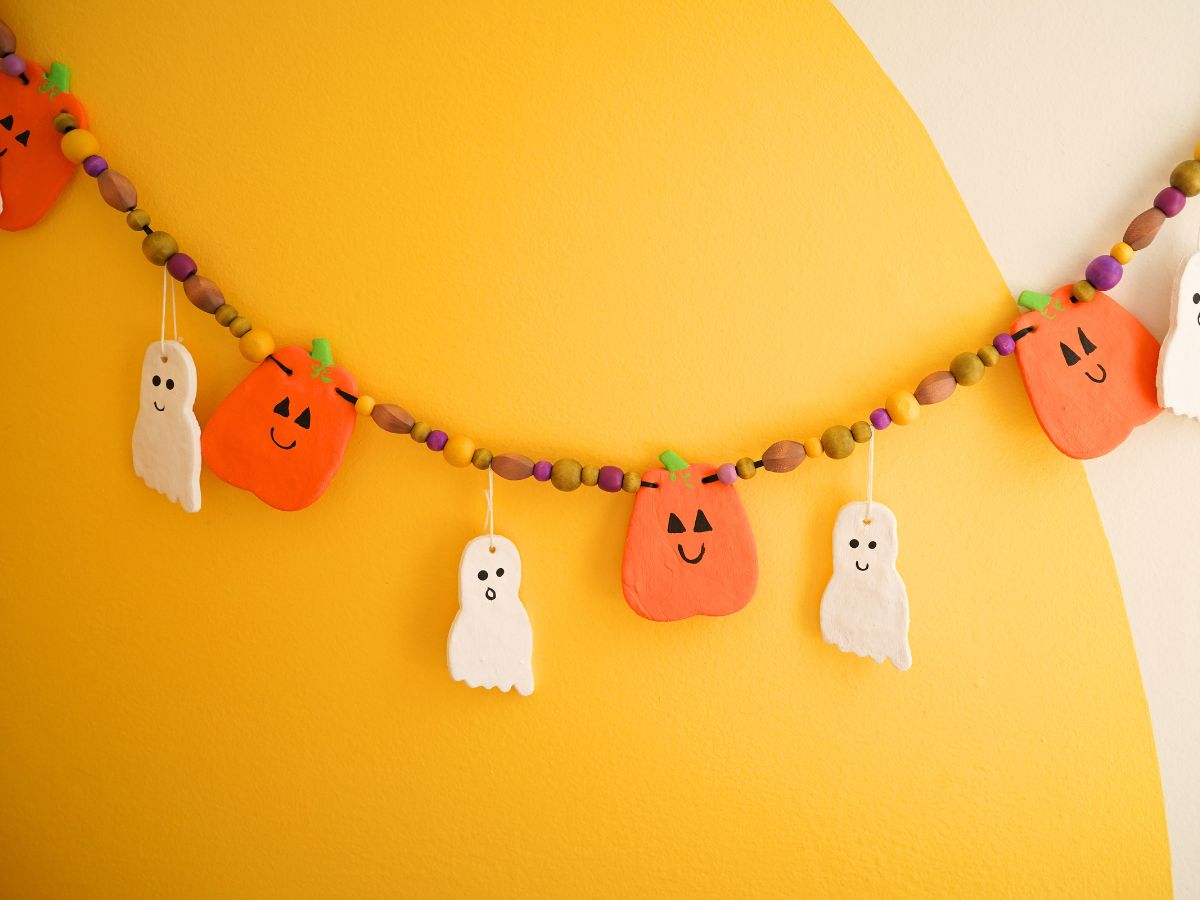
When you reach the end of the garland, tie another small bead to secure the entire garland in place. You are ready to hang your garland. How cute is this garland!?
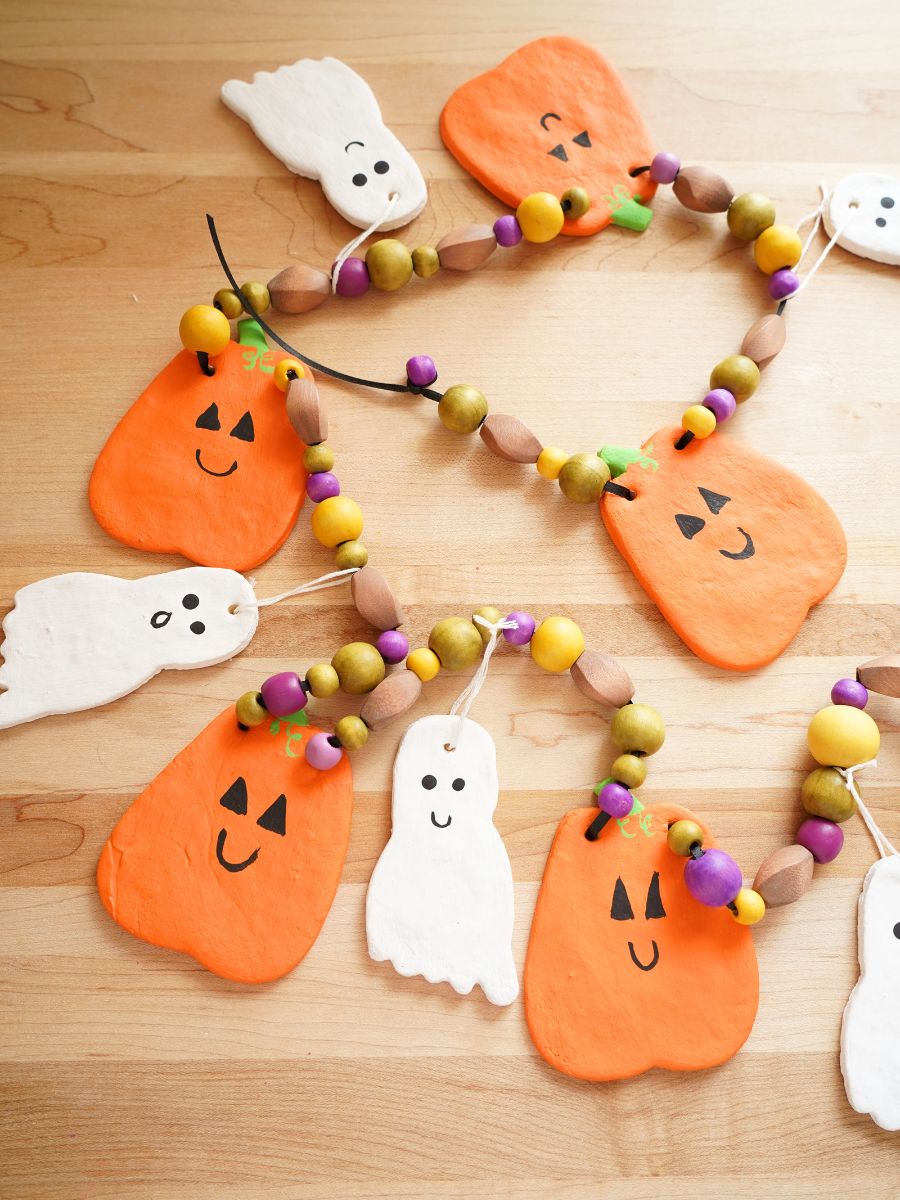
Where will you hang your Halloween salt dough garland? What Halloween creatures will you include in your garland? I could even see turning these into ornaments or maybe a Halloween wreath.

Check out all of our Halloween crafts
Make sure you are following along...
FOLLOW KITCHEN COUNTER CHRONICLES ON
SUBSCRIBE TO KITCHEN COUNTER CHRONICLES TO HAVE OUR DELICIOUS RECIPES, FUN CRAFTS & ACTIVITIES DELIVERED DIRECTLY TO YOUR INBOX.

