Do you spend a lot of time complaining about the winter weather? Hey, you aren't alone. I used to complain about the winter weather too. Appreciating wintry weather can only come about when you look for your own connection to the season. For kids, that connection comes through exploring winter STEM activities. For me, I found my connection when we all slowed down a little. Winter is the perfect time to slow down. You know what I mean? 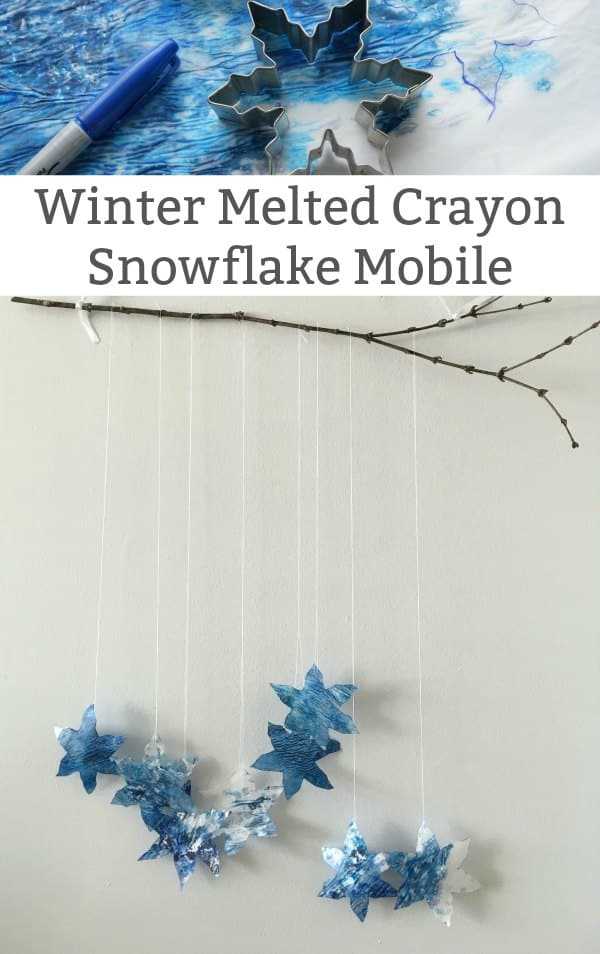
Disclosure: There are Amazon Affiliate links in this article which means, at no additional cost to you, we could receive compensation for our recommendations. You can read our full disclosure policy on our Disclosure Page for more details.
If you are rushing to work, rushing to the grocery store, rushing here and there, then the winter weather can be a pain. Snow, slush and the cold slows everything down. As soon as we make the decision to slow down with the weather, that is when we start to see the beauty in winter.
I truly came to appreciate winter when I had children. Yep, as you are well aware - (most) children love the winter. When you hang out with kids in the winter, it is physically impossible to move quickly - those snowsuits are tough to run around in. This must be the very reason why kids love winter - they move slowly through the season.
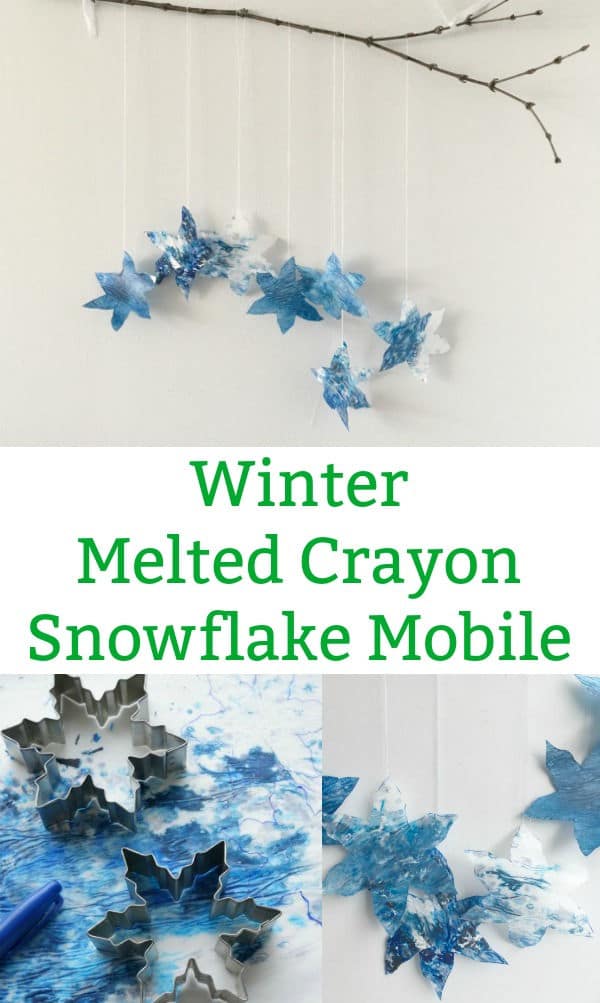
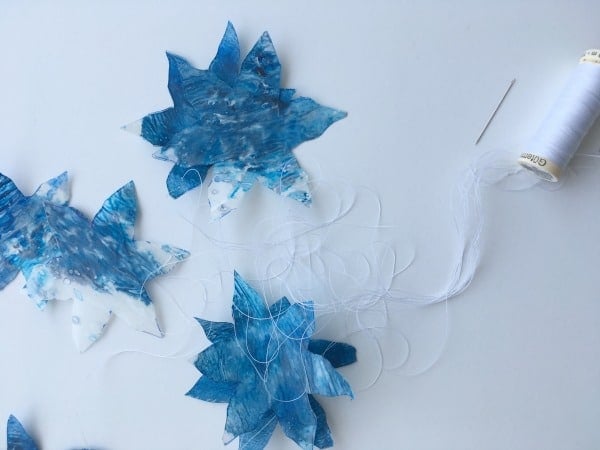
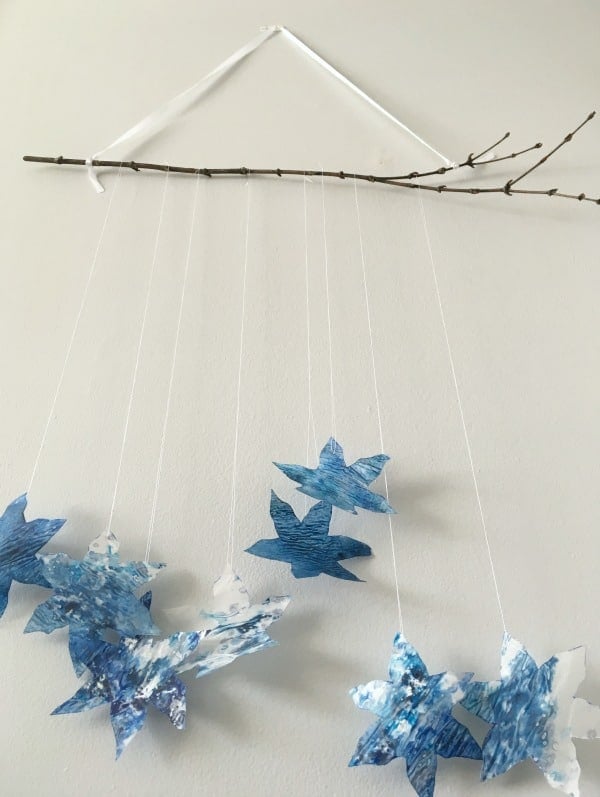
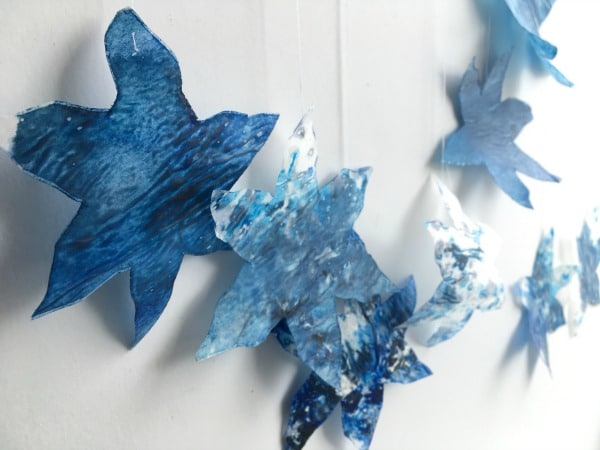
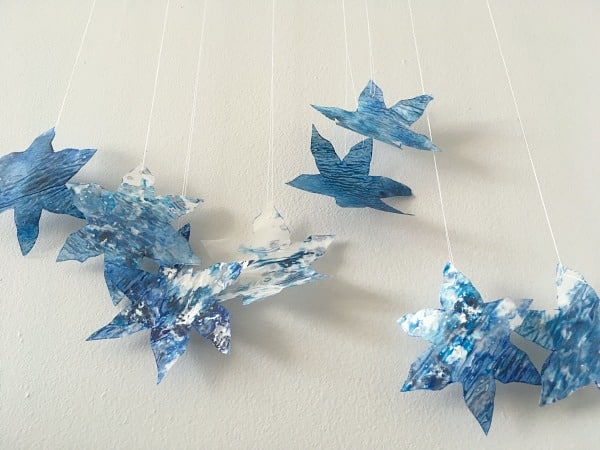
So, to celebrate my love of slowing things down in the winter my daughter and I created this lovely wintry snowflake mobile using melted crayon shavings. Standing still and watching snowflakes fall from the sky is a our favourite slow winter activities. Our waxy melted crayon snowflakes gently swaying reminds us to slow down and enjoy the snowflakes.
How to Make a Snowflake Mobile
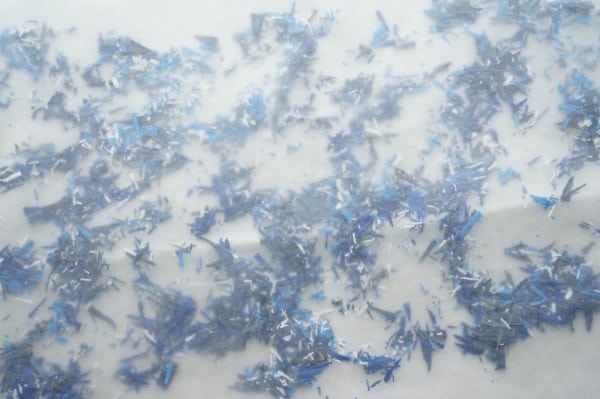
various shades of blue and white wax crayons
pencil sharpener
iron and ironing board
2 tea towels
wax paper
snowflake cookie cutters
marker
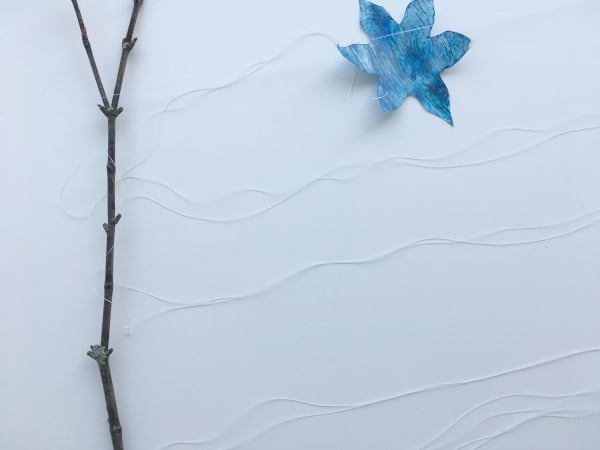
scissors, string, needle and thread
blue ribbon
twig from outside


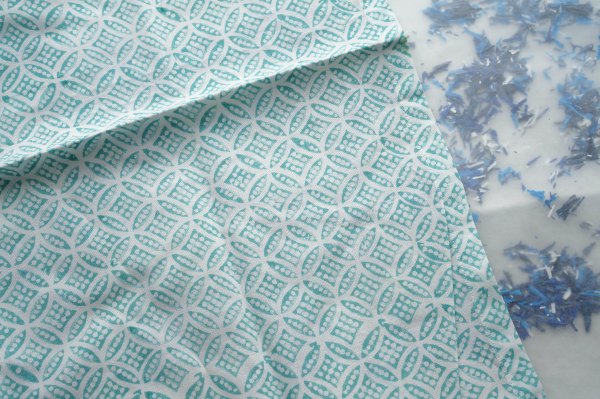

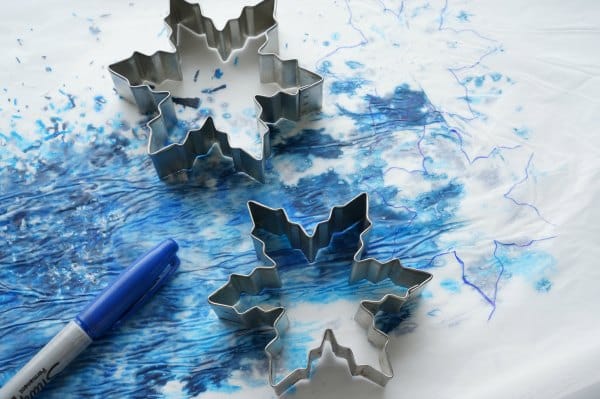
Trace the snowflake cookie cutters onto the wax paper. Use the scissors to cut out the snowflakes.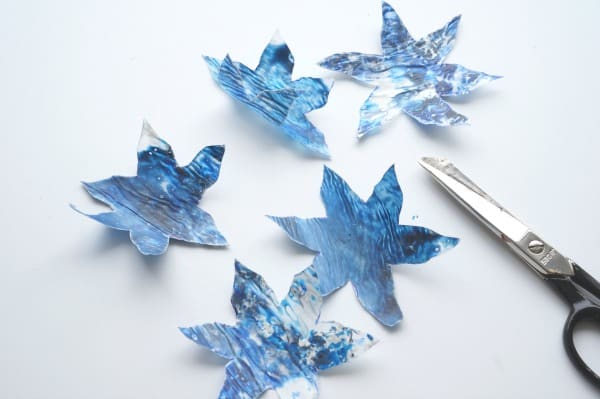
My snowflakes were a little too curled for my liking. So, I placed them inside a large book overnight. This pressed them flat.
So, the question is...do you slow down in the winter? Do you take the time to watch the snowflakes fall?
Related Posts