Are you a lazy Christmas decorator, like me? Do you leave your lights hanging up way past Christmas? A few years ago, I decided to embrace my laziness (why fight it) and look for ways to decorate the house that could be left outside all winter long. So, now I intersperse "Christmasy" decor with my wintery decor. Thus, the creation of a mitten wreath...the perfect winter crafty wreath. What is more wintery than mittens?
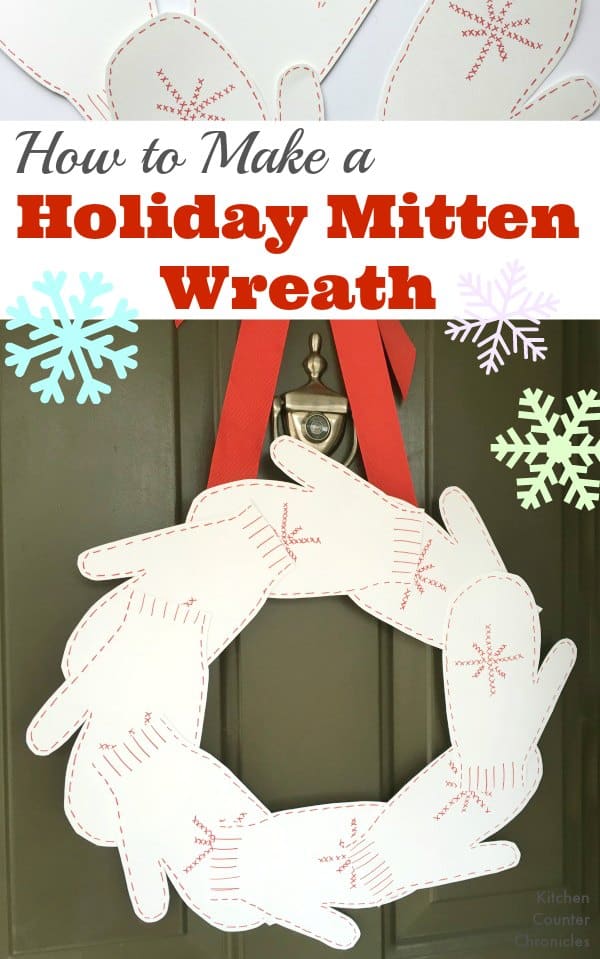
This is a nice craft project to make with kids. You can trace their hands to determine the size of the mittens...my 13 year old daughters hands are the same size as mine. With the addition of a red cross stitch design, this wreath is a simple, festive holiday wreath...that you can leave hanging all holiday season and winter long.
Make a Winter Mitten Wreath
1 sheet of white bristol board
1 sheet of foam core
utility knife
self-healing mat
scissors, pencil
double-sided tape
glue gun and glue sticks
red permanent marker
red ribbon
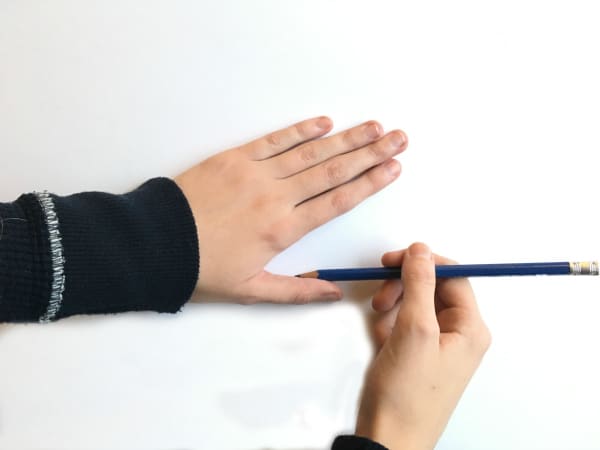
Begin this project by drawing the mittens on the bristol board. Trace a mitten shape around your child's hand onto the board. You can also simply trace a child sized mitten. You will need at least 8 mittens - depends on the size of your child's hand.
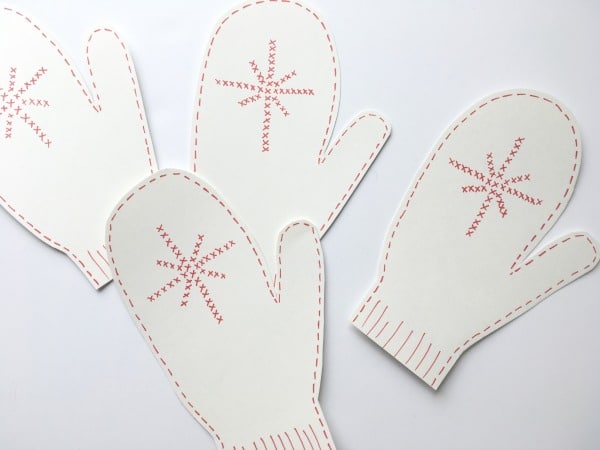
Use the scissors to cut out the mittens. Once the mittens are cut out it is time to create your design. We used the red marker to draw a dotted line along the edge of the mittens...mimicking a line of stitches. To imitate cross stitching, draw little "x's" to make whatever design you like. We went with a simple star/snowflake shape. You could write your family's surname, write "Merry Christmas"...whatever you like.

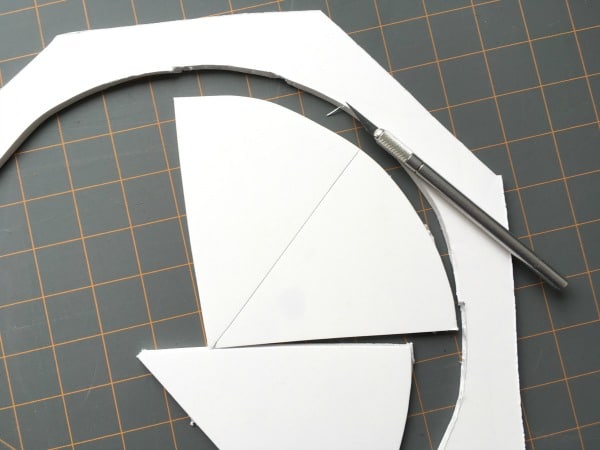
Now it's time to make the wreath frame from the foam core. Use a large plate as a template for the circle. Trace and cut out the plate...using a utility knife to cut the inner ring out of the foam core. Alternately, you can use scissors to cut out the inner ring, it might be a little harder to do than with the knife. If using the knife, be sure to protect your work surface. We use a self healing mat for this reason.
When the mittens are all decorated, it's time to make the wreath. Use the double sided tape to adhere the mittens together making a wreath shape. Run a bead of glue from the glue gun around the wreath frame and adhere the mittens to the frame.
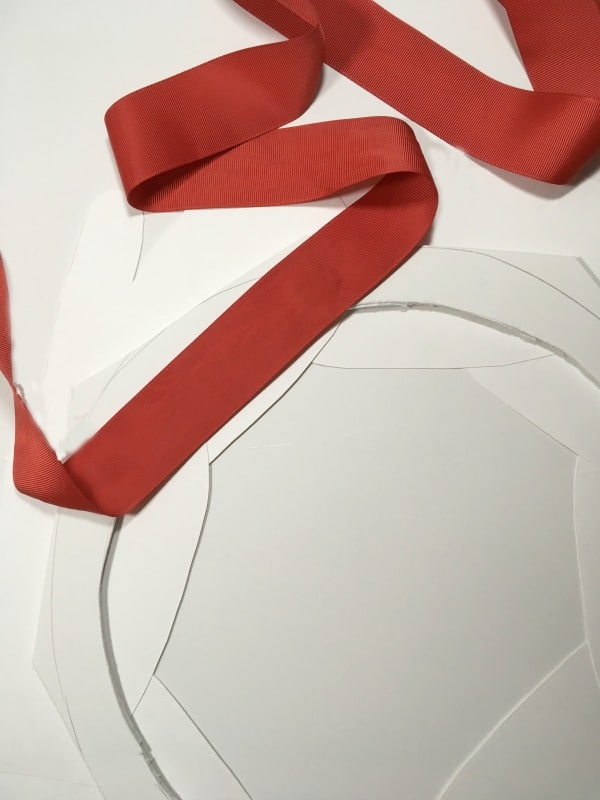
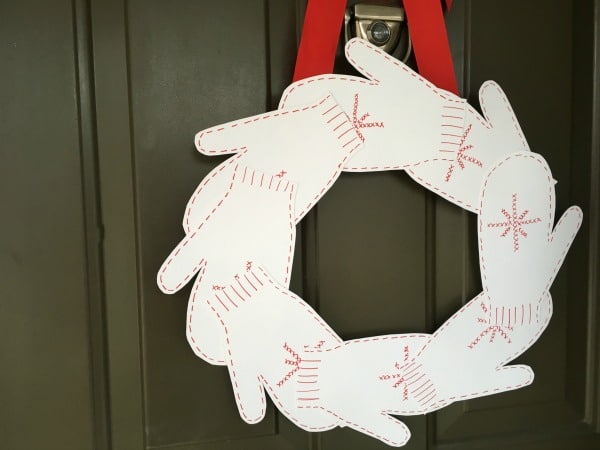
Finally, use the glue gun to secure the ribbon to the back of the wreath. Make sure the ribbon is long enough to hang nicely on your door. I always forget to measure our door and inevitably cover our peep hole with our wreath...not this year! This wreath also makes a nice addition to your holiday mantle.
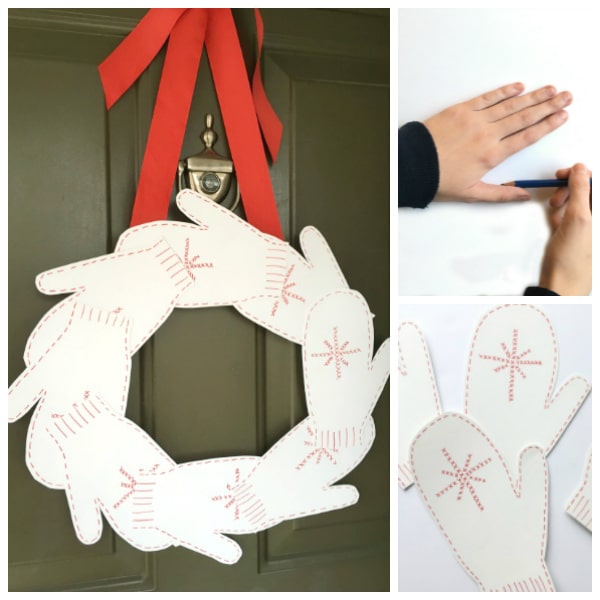
I love this craft project because it is perfect for kids of all ages. My older kids were able to do the tracing, the cutting, the drawing and the taping. Younger children could help with every step as well. The perfect craft for practicing pencil and scissor skills. What design will you choose? What colours will you use? This mitten wreath would love great with multi-coloured wreaths too!
Related Posts
Love this delicious Christmas wreath veggie platter
Skip the veggies and bake a sugar cookie wreath

