
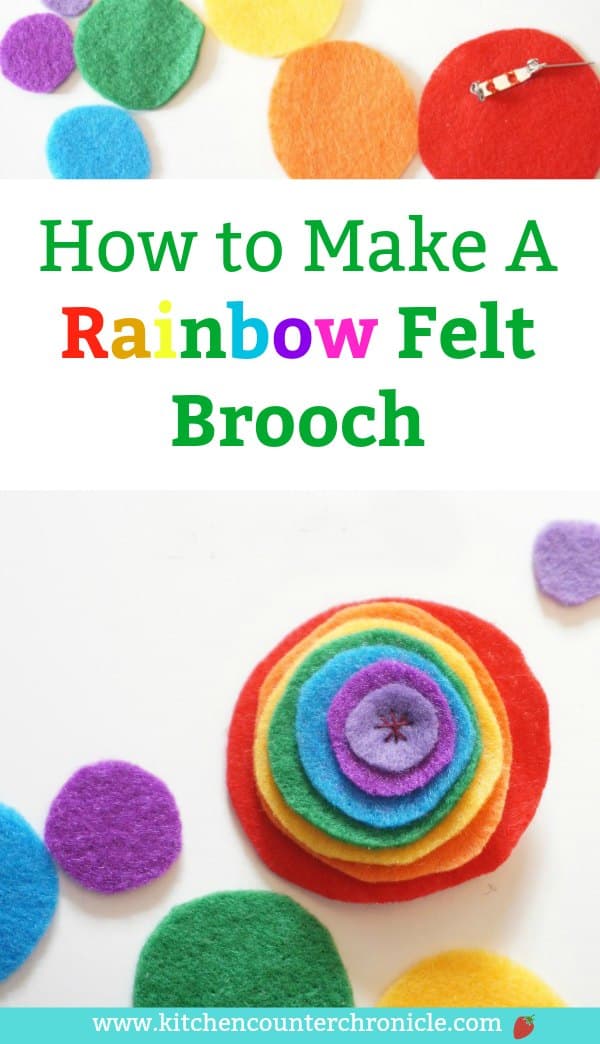
It might be cold outside, but that doesn't mean we can't bring a little spring into our lives. A colourful felt rainbow brooch is a simple way to add some brilliant colour to the grey days.
Disclosure: There are Amazon Affiliate links in this article which means, at no additional cost to you, we could receive compensation for our recommendations. You can read our full disclosure policy on our Disclosure Page for more details.
I love making brooches for my coat. You may remember the felt holly pin I made over the holidays and the poppy brooch I created for Remembrance Day. I find felt brooches an easy way to add colour and personality to an outfit. I wear my coat a lot. In fact, I see the moms and dads in the school yard more often in my coat than without.
So, in an attempt to bring a little spring warmth into our lives, I made these sweet felt rainbow brooches. I even made one for each of my daughters to wear...spread the sunshine.
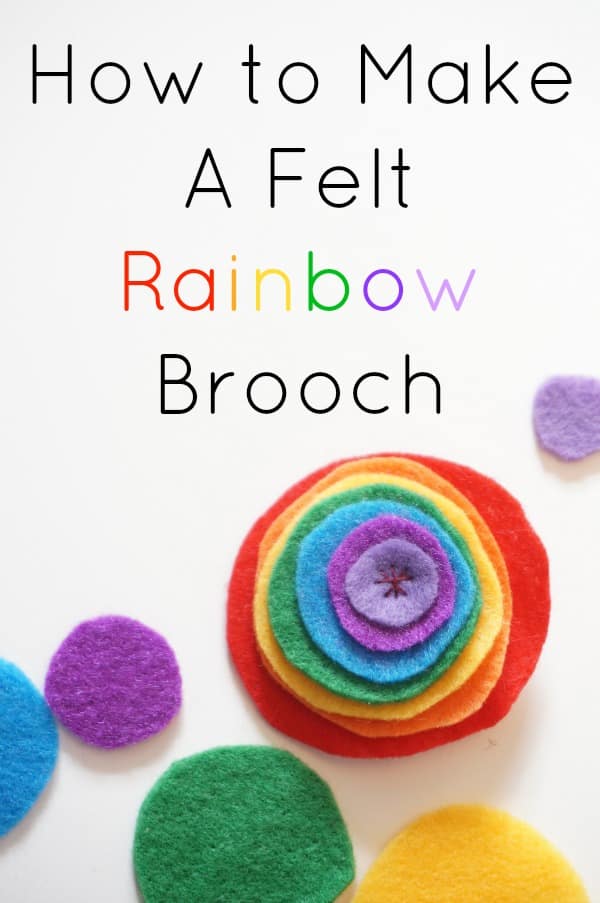
How to Make a Felt Rainbow Brooch
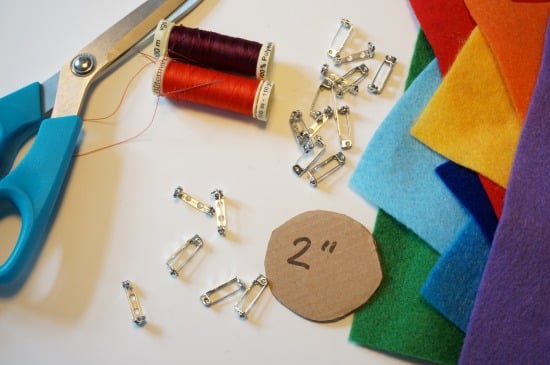
rainbow coloured sheets of felt - red, orange, yellow, green, blue, indigo and velvet
red and purple thread
needle, scissors
bar pins, locking pin back
hot glue gun
2" cardboard disc - cut from a scrap of cardboard
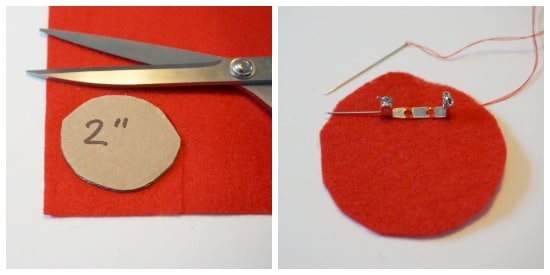
Once our supplies were gathered we started by cutting a 2" disc of red felt...red is the outer colour, or the largest circle, in a rainbow. Once cut out, sew the locking brooch pin back onto the upper third of the brooch. Position the pin back so that ⅔ of the felt is below it...thus the brooch will sit nicely on your coat.
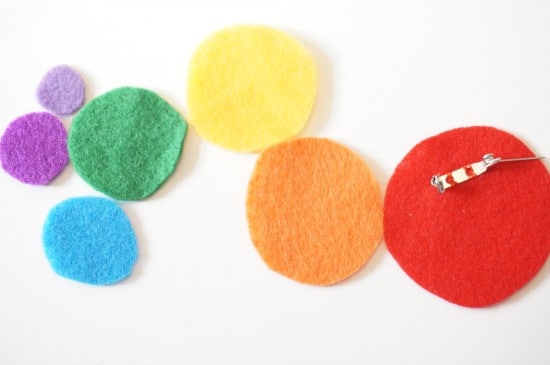
Then cut a disc of the rest of the colours of the rainbow. Making each disc slightly smaller that the previous. Be sure to follow the colours of the rainbow...red, orange, yellow, green, blue, indigo, violet. Or, create your own pattern of colours...as long as you make each disc gradually smaller the brooch will work.
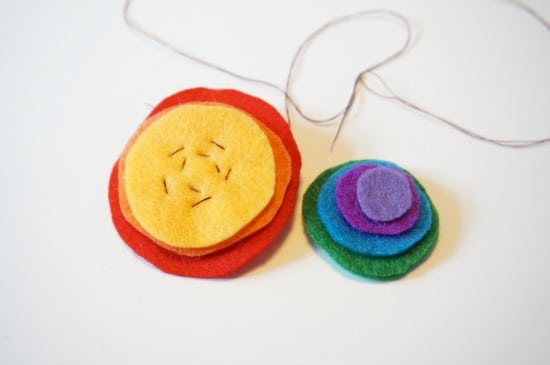
Once all of the discs are cut out, it's time to sew them together. Place the largest three colours together (red, orange and yellow) and sew them together. Then add the rest of the discs on top and sew them in place. Try and be neat with the stitches that are showing on the smallest (violet) disc. These will be showing on the front of the brooch. I used my stitches to make a simple star. Also, be sure to knot the thread on the backside of the brooch...keep all knots on the red felt disc...this will be hidden.

Finally, cut a small disc of red felt...about the size of the blue disc...and position it to cover all the stitches on the backside of the red disc. I used a hot glue to attach it in place, you could use fabric glue. This cleans up the look of the backside of the brooch.
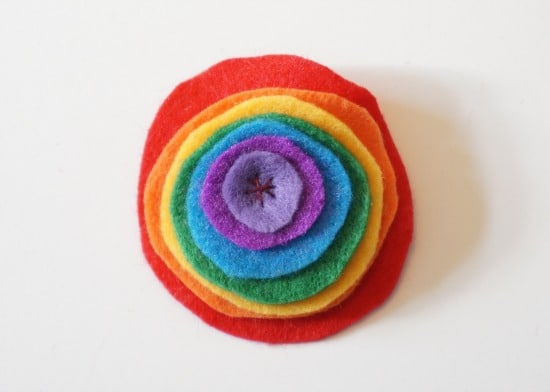
Once complete, this cheery little rainbow can be fastened to your coat, sweater, scarf, hat, hairband, wherever you like. Nature made the most delightful colour combination with the rainbow. Hope this brooch bring a little bit of spring into our lives.
Related Posts
Check out all of our fun St Patrick's Day ideas - crafts, activities, recipes, and more.

Or, bake a batch of rainbow cookies
Ali at kidschaos.com says
love these, so amazingly pretty!
Jen says
Thanks.
MultiTestingMom says
LOVE this! SO cute and colourful and looks super easy too!
Jen says
Thanks for stopping by!
Sheila Zeller says
What a great project Jen, and the colour boost is exactly what's needed right about now where I live. Our snow is melting, and turning to gray, gloomy rain. This little pin made me smile! 🙂
Jen says
Yep, I never know what is worse..snow or slush?
Stephanie says
Great easy to do idea! Perhaps I would try adding on a hair clip or headband for a young child. 🙂
Shauna says
These are so adorable. Sharing with my niece!
Kathryn says
This would be so fun for St. Patty's day.
Dani @ lifeovereasy says
Very cute! And you make it look easy, too!