Jingle all the way to your local Starbucks in style with your very own festive Christmas coffee cup sleeve. We created and shared a Starbucks coffee sleeve template and made super simple coffee cup cozies - but it's the holiday season and time to kick them up a notch!
Disclosure: There are Amazon Affiliate links in this article which means, at no additional cost to you, we could receive compensation for our recommendations. You can read our full disclosure policy on our Disclosure Page for more details.
I am always looking for ways to make it easier to embrace eco-friendly choices. I have my big bag of reusable bags and I even keep at least one in my purse. But, I noticed that the number of disposable coffee cups I've been using was adding up. Enter Starbucks inexpensive reusable coffee cups.

I love these cups because they are lightweight, they are super inexpensive and they have a simple design. But, they still need you to use the cardboard coffee cup sleeve. So, I created a printable coffee cup sleeve template that can be used to make a perfect coffee cup cozy.
It's the Christmas season and I decided this is the perfect time to embrace the holiday spirit and have some fun. So, I added all kinds of fun embellishments to my ugly Christmas sweater inspired coffee cup sleeve (honestly, it's a tea cup sleeve for me).
How to Make a Reusable Christmas Coffee Cup Sleeve
print out our coffee cup sleeve template
festive fabric
cotton batting fabric - or a sheet of heavy felt
festive ribbons
little jingle bells
coordinating thread, needle and scissors
Start off by printing off the coffee cup sleeve template. Then cut out the template. Also, this coffee cup sleeve pattern is based on a Starbucks reusable cup or a Starbucks single-use coffee cup. However, it can fit other cups. If your cup is larger, simply cut the template a little longer.
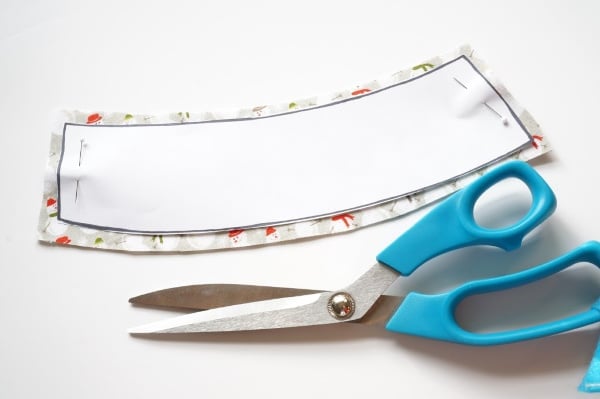
Now it is time to cut out the fabric. Lay the fabric with the wrong sides together. Because this template works for both the outer fabric and the felt liner you want to cut outside of the pattern line for the decorative fabric - as I did in the picture above. Keep in mind that the narrow side of the template will be the bottom of the cozy. Therefore, if your fabric has a pattern that has a "top and bottom" you want to make sure you cut the fabric out in the right direction. Learn from my mistakes...I made my first sleeve UPSIDE DOWN. Oops. Pin the template onto the fabric and cut the fabric
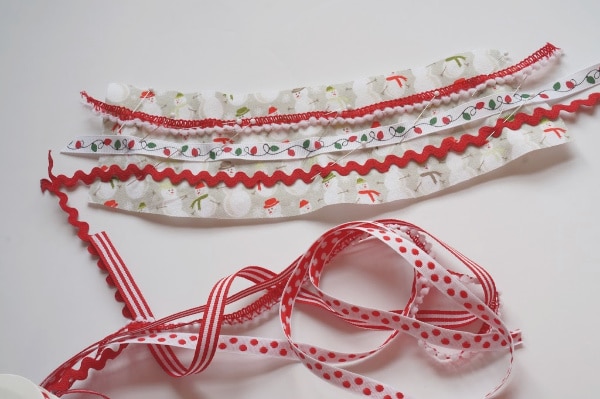
With the fabric cut out, it is time to add the embellishments. Start with the ribbons. Pin them in place. Keep your ribbons at least ¼ inch from the edge of the fabric - as you will be sewing the edges together. Leave a little extra ribbon at each end of the sleeve, so the ribbon will be sewn into the hemming. Add as many ribbons as you like. I added the ribbons with a simple backstitch. You could use a sewing machine if you like.
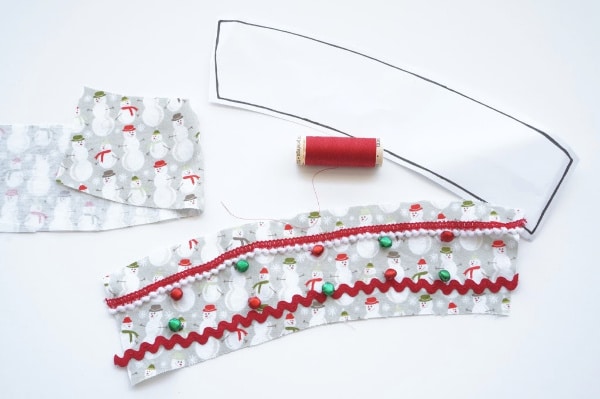
When the ribbons are secure, it's time to move on to the jingle bells. I used colourful bells, but you could totally use silver bells. Hand stitch the bells onto the fabric.
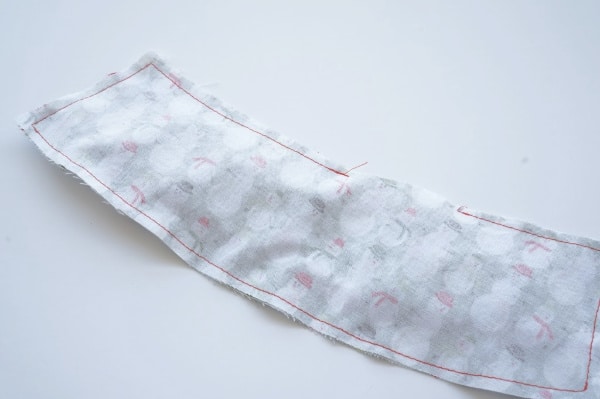
Lay the two pieces of decorative fabric, right sides together. Pin the edges and sew along the edge - be sure to leave a gap in the stitching. This is the space where you will turn the fabric the right way around.
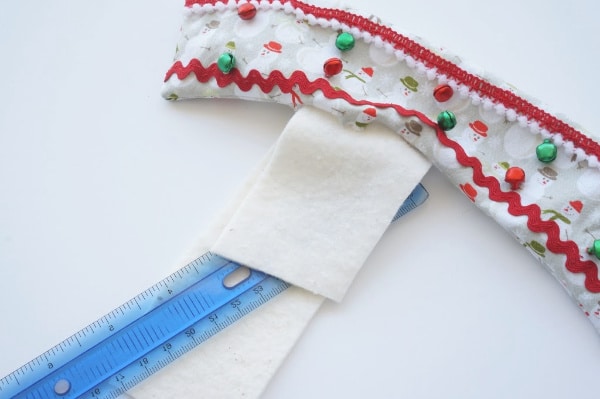
After the sleeve is sewn, turn it the right way around. Feed the sleeve through the hole. I used a rounded ruler to turn the corners. Iron the sleeve, to sharpen the edges.
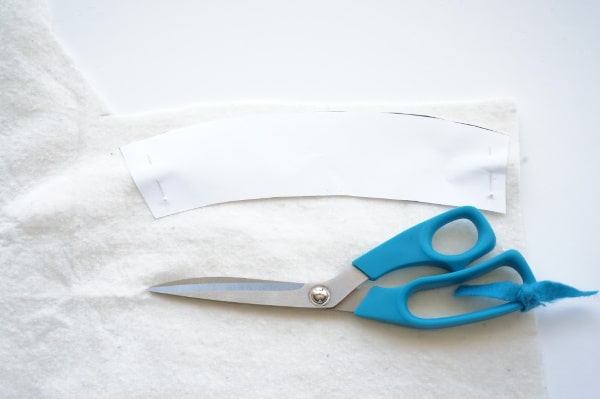
Now it's time to cut out the felt. The felt helps to protect your hand from the heat of the coffee. I used a quilt liner fabric, but a sheet of heavy felt will also do the trick. You will want the felt to be a little smaller than the outer fabric so that it fits nicely inside. At this point, you need to re-cut the template. This time cut along the inside of the template pattern. Pin the template onto the felt and cut it out.
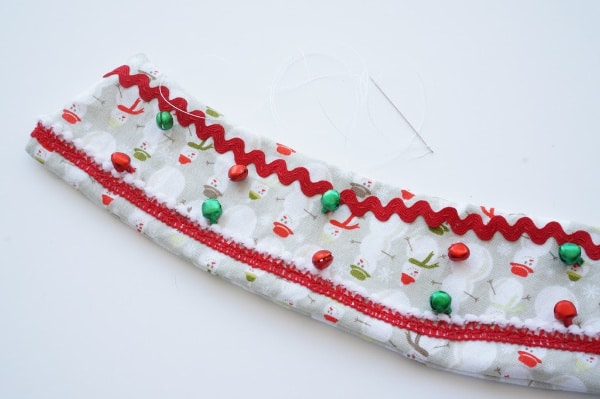
Okay, let's feed the felt into the sleeve. This can be tricky, but with a little patience and the help of the ruler, you can poke the felt into the sleeve.
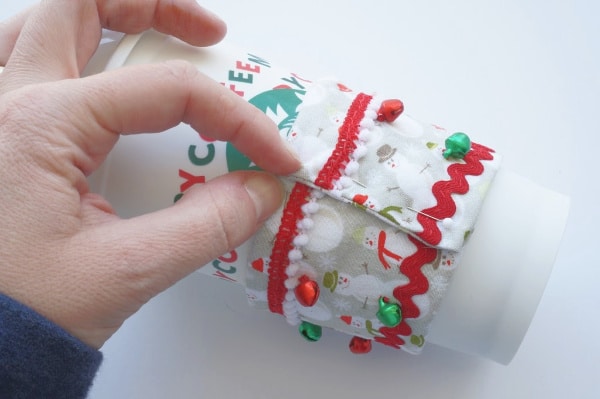
When the felt smoothly in place, it's time to close up the hole in the sleeve. I hand stitched the hole closed.
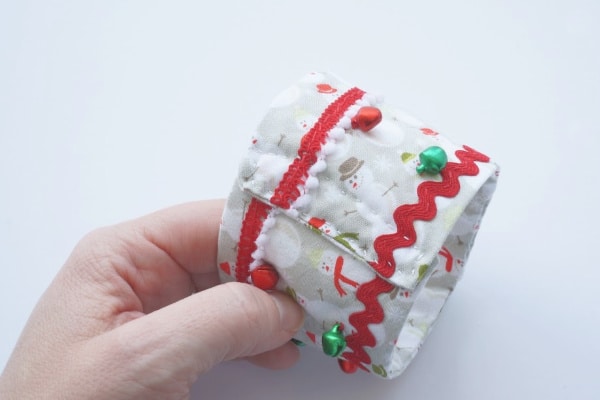
Finally, we can close up the coffee cup sleeve. If you have the coffee cup you are going to put the sleeve onto, wrap the sleeve around the cup and pin it where you like. If you don't have a cup, simply wrap the sleeve ends together and overlap the ends about ½ inch. Pin the ends together and hand stitch to secure the ends together. Done!

What to do with a reusable coffee cup sleeve? This coffee cup sleeve would make a fantastic teacher gift - along with the coordinating cup and a gift card. Or, keep it for yourself and share the Christmas joy as you jingle up to the coffee shop. However, you use your reusable coffee cup sleeve you'll be creating a little less trash this Christmas.
Related Posts
Check out all of our felt Christmas ornaments that you can make and share
Looking for another festive craft project? Learn how to make your own felt balls
Make sure you are following along...
FOLLOW KITCHEN COUNTER CHRONICLES ON
SUBSCRIBE TO KITCHEN COUNTER CHRONICLES TO HAVE OUR DELICIOUS RECIPES, FUN CRAFTS & ACTIVITIES DELIVERED DIRECTLY TO YOUR INBOX.


