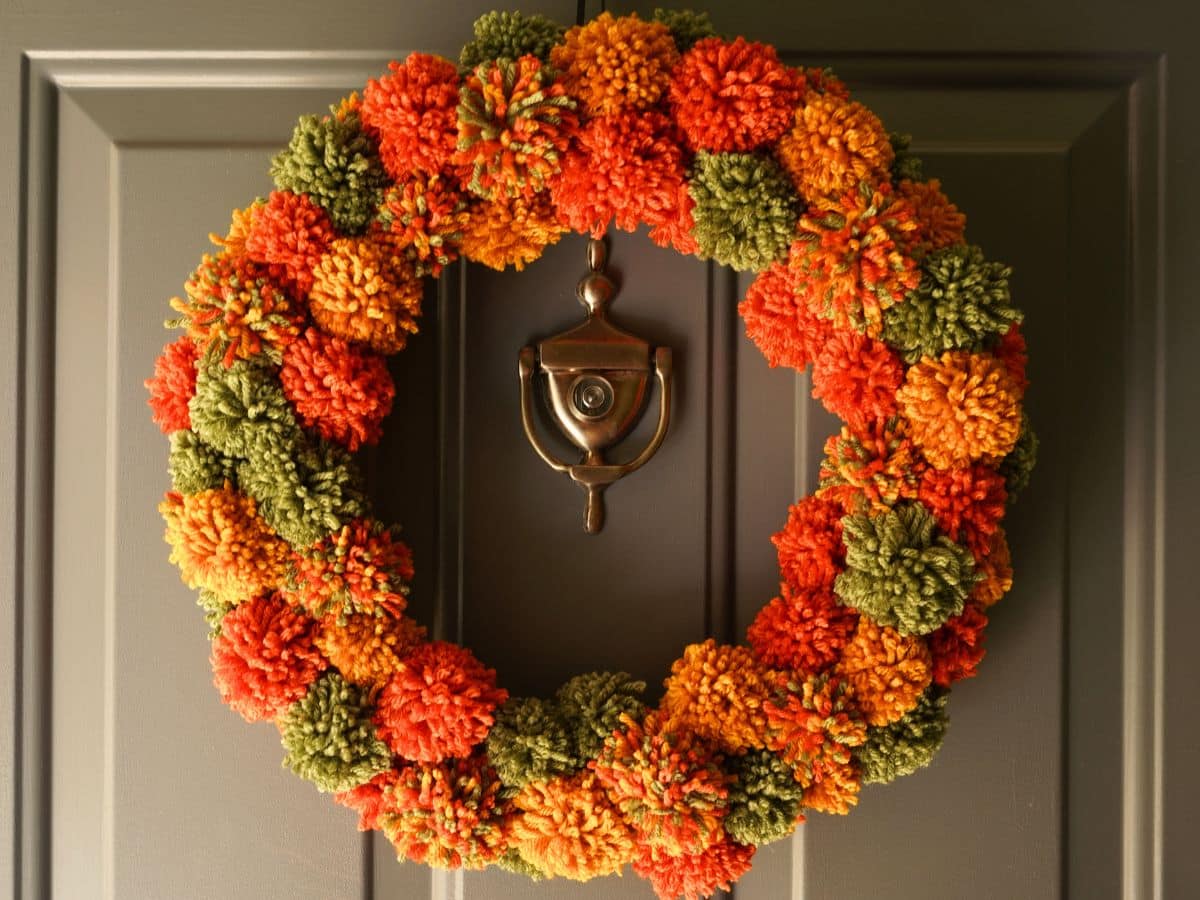
Well, you know how much I love making fun pom pom wreaths and crafts. Once I figured out how to make a basic pom pom there was no stopping me from making piles of pom poms! This fall I wanted to make a cute pom pom craft and landed on making pom pom pumpkins and turned them into the sweetest fall pom pom pumpkin garland.
Disclosure: There are Amazon Affiliate links in this article which means, at no additional cost to you, we could receive compensation for our recommendations. You can read our full disclosure policy on our Disclosure Page for more details.
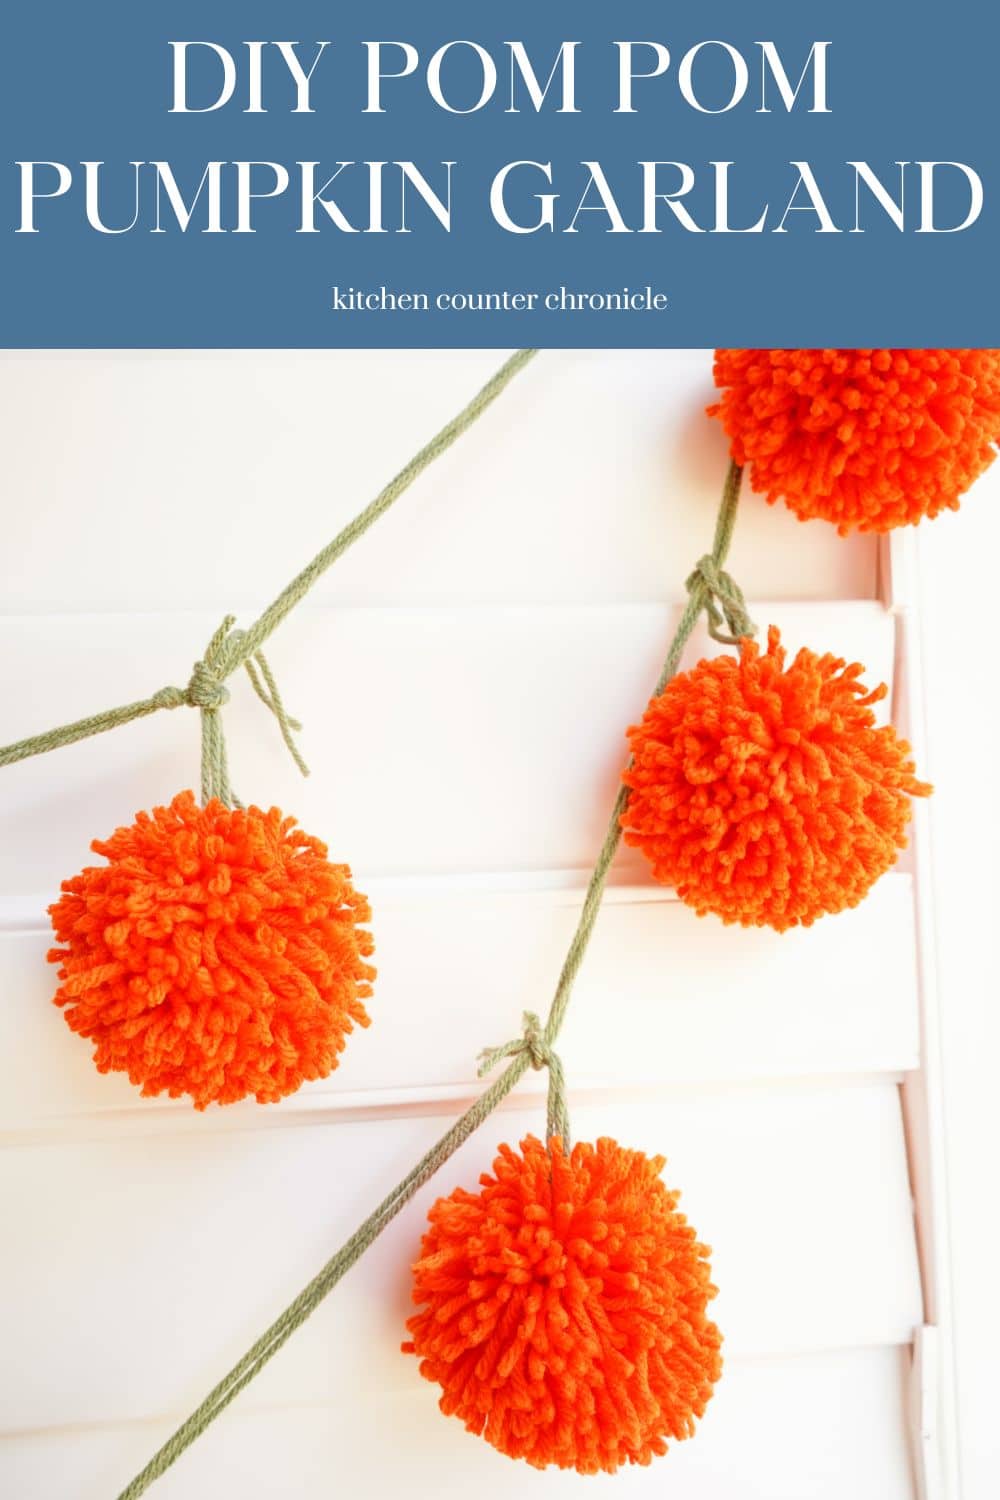
This pumpkin pom pom garland is the perfect addition to your fall decor. I love hanging ours on the wall in our living room. It makes me smile every single day. But, I think it would also look super lovely placed on the Thanksgiving table. The perfect little DIY table runner decoration.
The best thing about pom pom crafts is they are simple enough for kids to make and just as much fun for adults to make too. They really are the best craft projects for everyone and anyone to make and enjoy. So, let's make our pumpkin pom pom garland
How to Make a Pom Pom Pumpkin Garland
orange yarn and green yarn
pom pom maker tool - large
sharp scissors
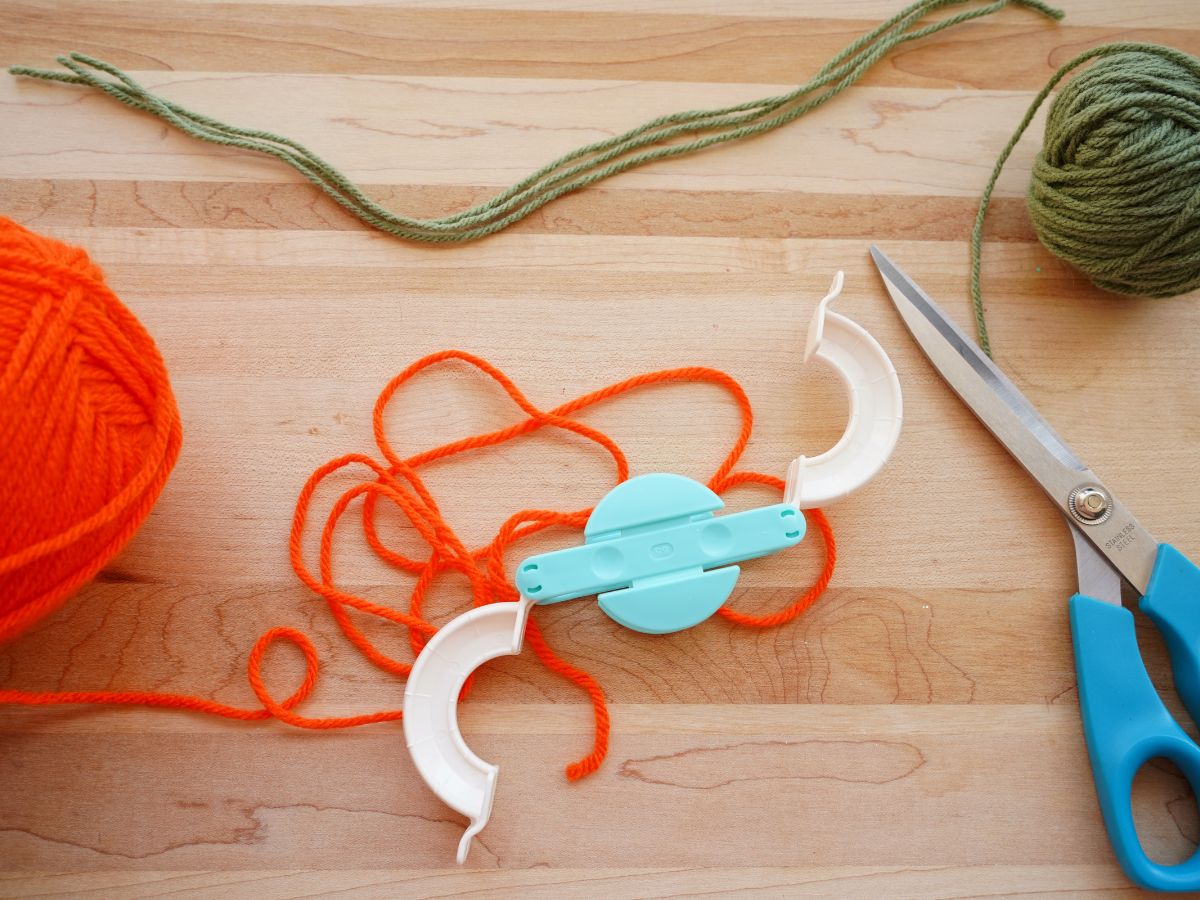
Begin by making a big pile of pom pom pumpkins. For each pumpkin, you will need 3 pieces of green yarn, cut about 6-8 inches long. Set them aside. I’ve created a quick YouTube video that shows you exactly how to make pom poms with the tool. Or, you can check out my first pompom wreath post…I made a Christmas wreath…where I share a photo tutorial of how to use the pompom maker tool. For these pumpkins you will wrap the orange yarn around a large pompom making tool (1 ¾") in the same way, however, there is one change.
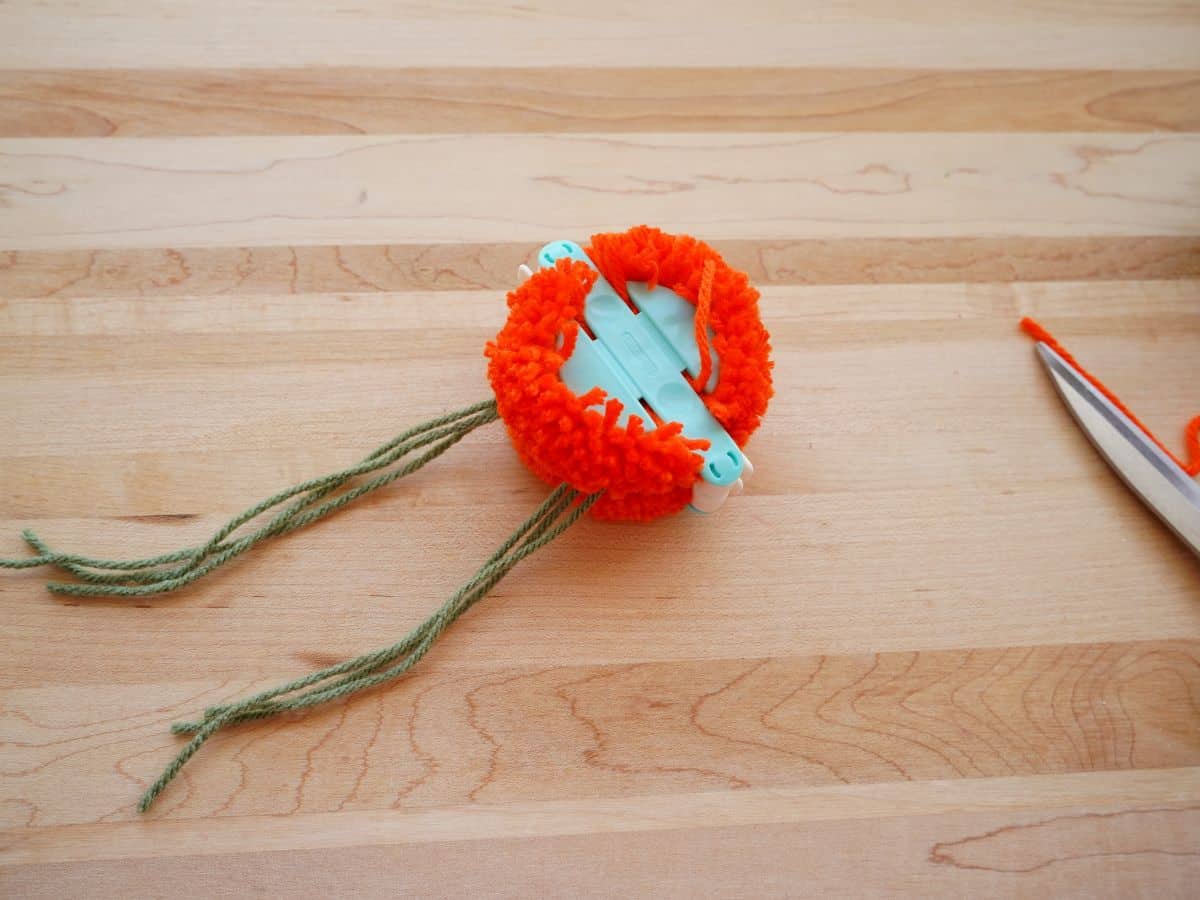
Once the orange yarn is wrapped around both sides of the tool and you have cut the yarn along the middle line of the tool, it is time to slide the 3 strands of green yarn into the middle of the pom pom maker tool. This will become the stalk or stem of your pumpkin. So, wrap it around the pumpkin and tie the ends, tightly. A knot will do the trick to secure your pumpkin. Then open up the tool and you have a pom pom pumpkin.
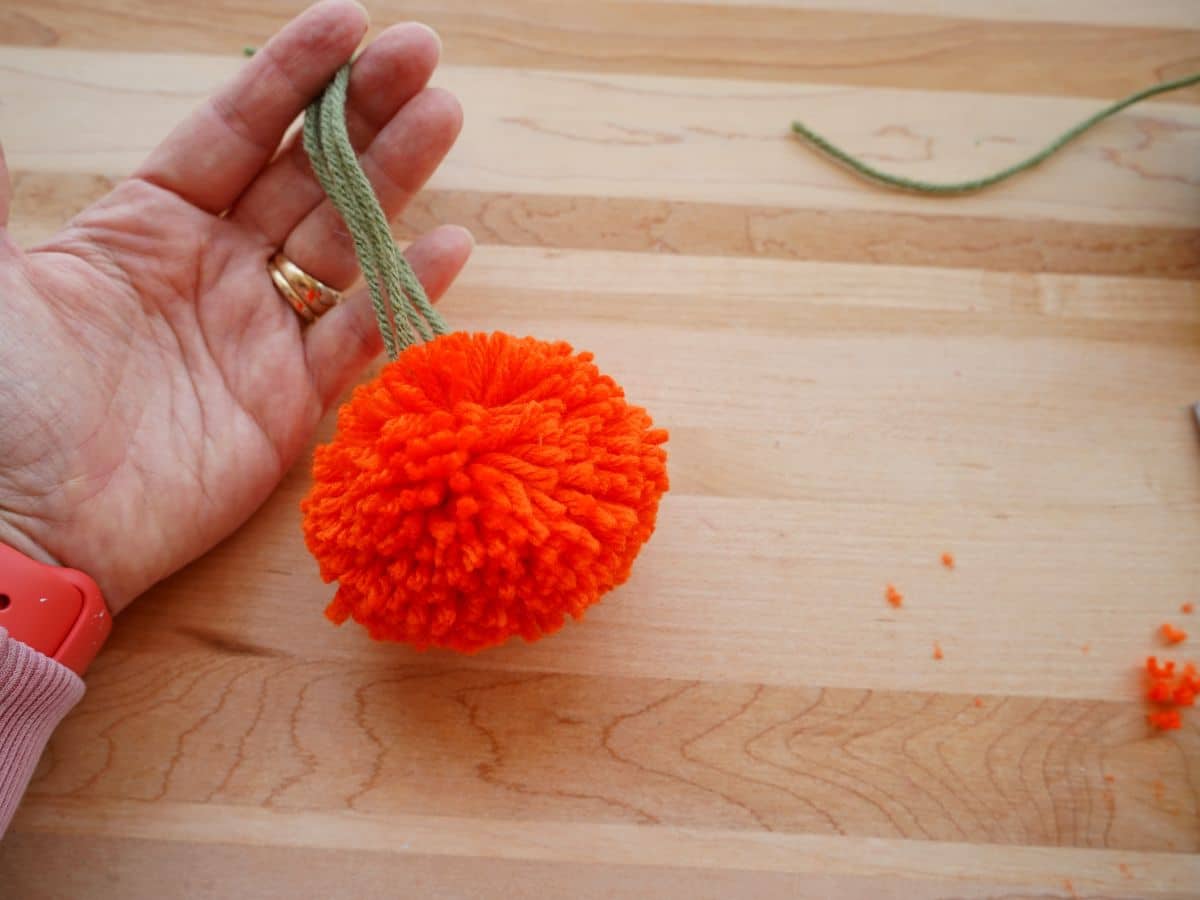
Make 10-12 pumpkins. I like an even number of pumpkins on my garland. When you have all of your pumpkins, it is time to turn them into a garland. Much like how pumpkins grow in a garden you will want to attach all your pumpkins to a main "vine" or stretch of green yarn. Again, cut 3 lengths of green yarn to the length you need. Measure where you want your garland to hang, or perhaps the length of your dining room table?
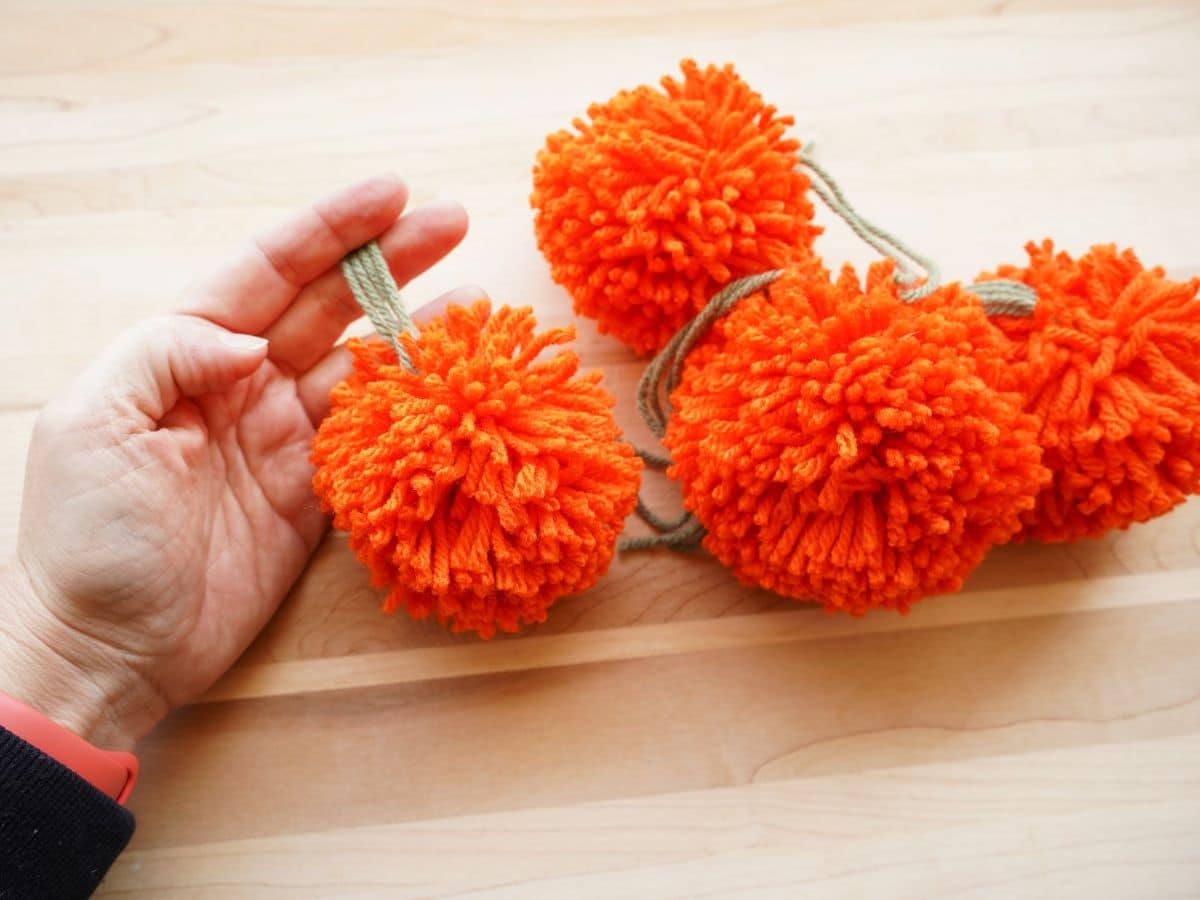
Once you have your 3 lengths cut, bring them together, side by side. They are your "pumpkin vine". Tie the "stem" on the pumpkins to the vine. I didn't worry about the knot being too tight or too perfect. Remember that a pumpkin vine grows all over the place and pumpkins have little vine tendrils too.
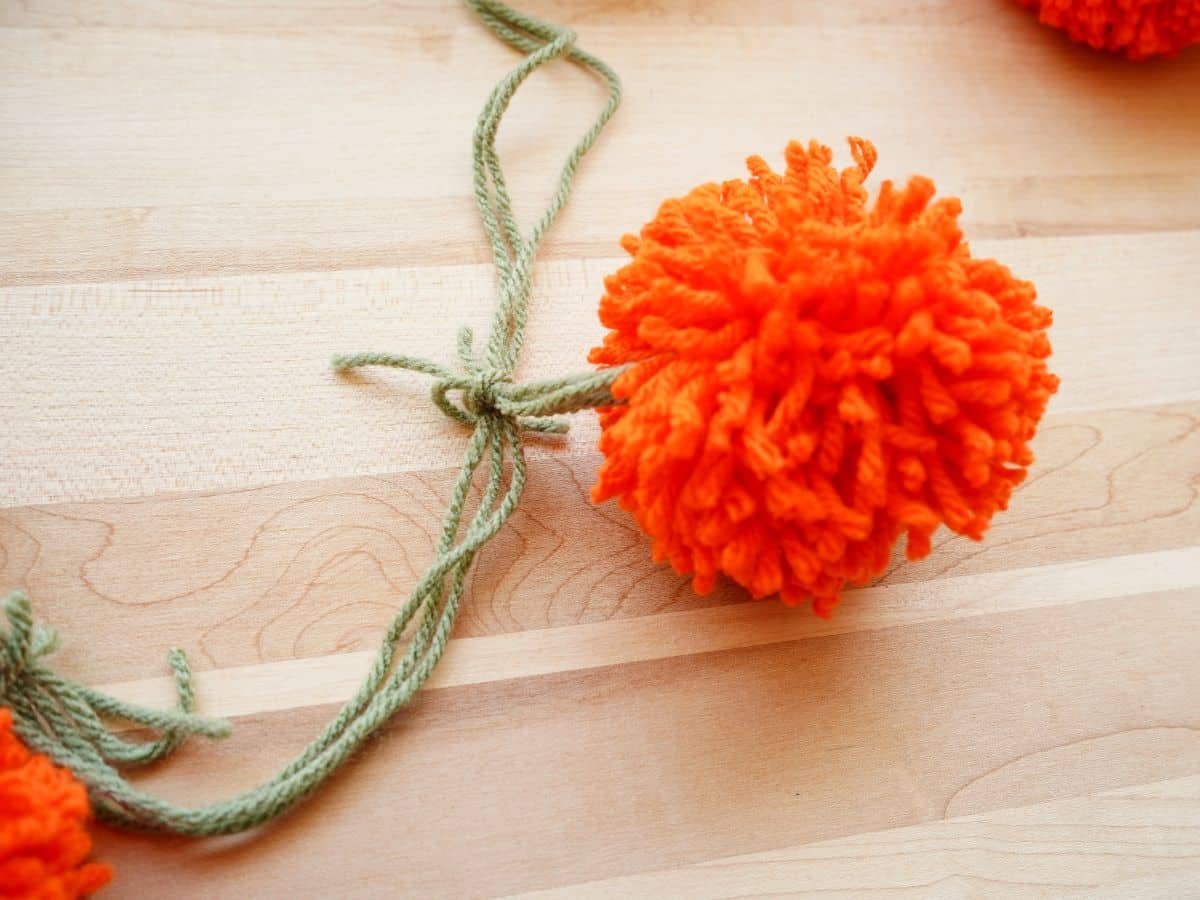
Slide the pumpkin stems along the "vine" until they are in a position you like the best. The spacing of the pumpkins will depend on what you like. When your pom pom pumpkin garland is complete, hang it in place and enjoy!
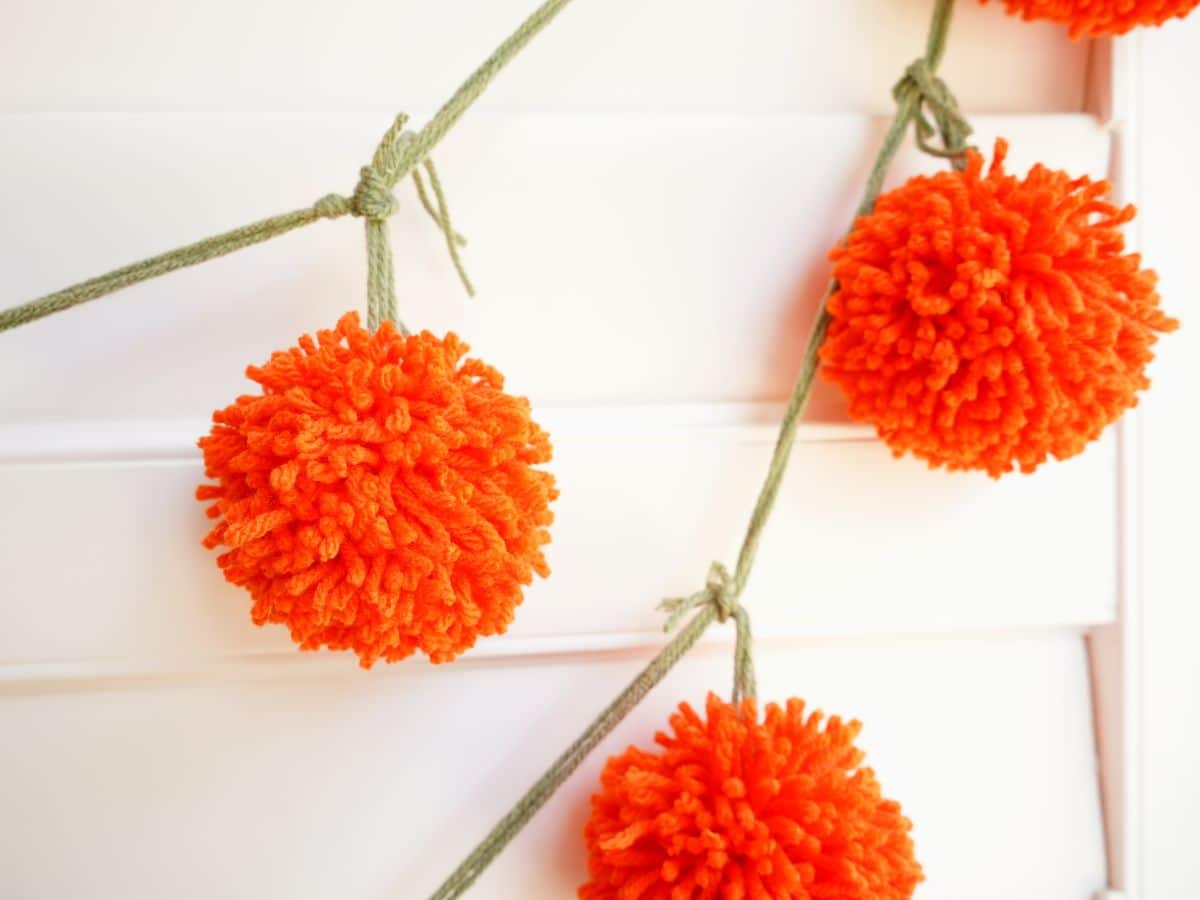
I love how our pom pom pumpkin garland turned out, don't you?! I really like the little pieces of vines hanging, it looks very natural, just like the pumpkin patch we visit each year.
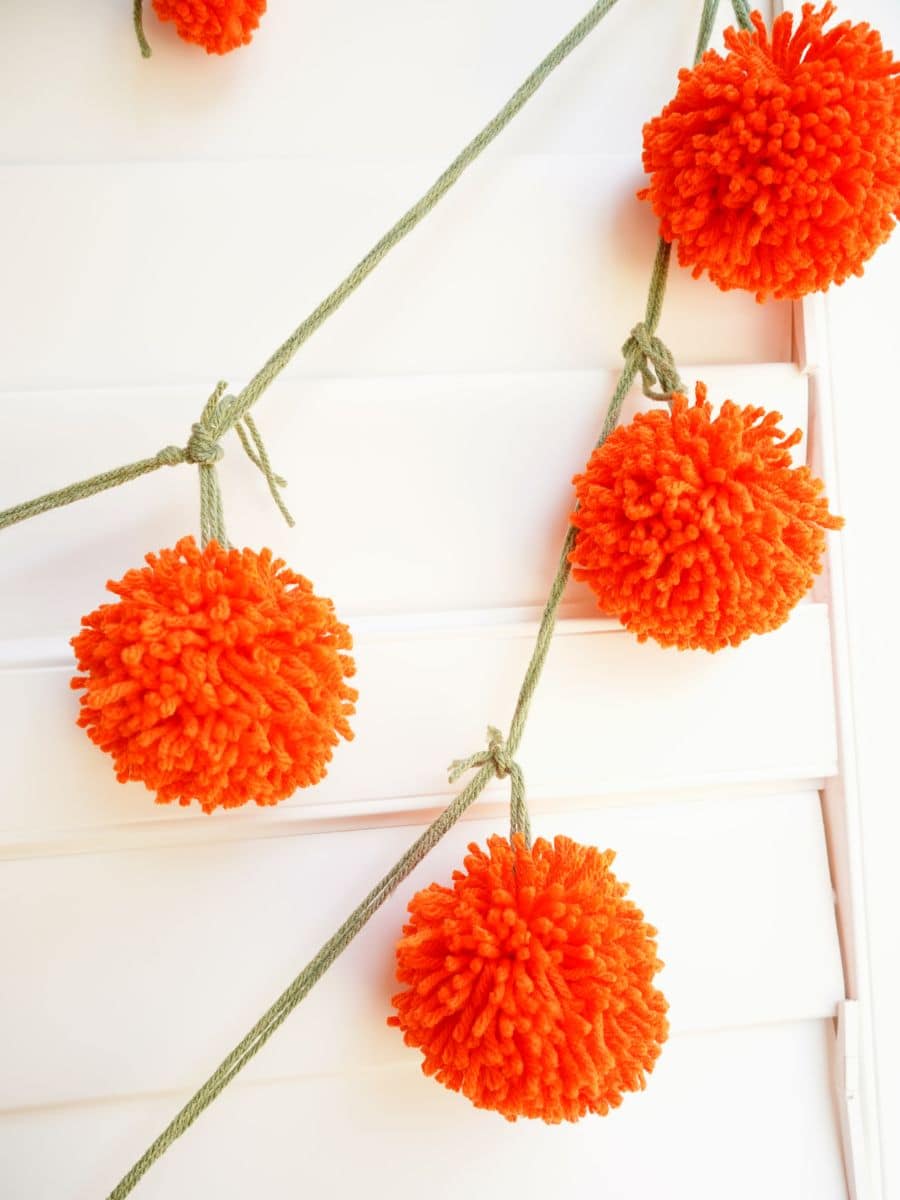
I suppose you could transform these pumpkins into jack-o'lanterns pretty easily. If you cut little eyes and a mouth from sheets of black felt and use a glue gun to adhere them to the pumpkins. But, I like that these are not specific to Halloween and I can enjoy them all autumn long.
Make a fall pom pom wreath
Make sure you are following along...
FOLLOW KITCHEN COUNTER CHRONICLES ON
SUBSCRIBE TO KITCHEN COUNTER CHRONICLES TO HAVE OUR DELICIOUS RECIPES, FUN CRAFTS & ACTIVITIES DELIVERED DIRECTLY TO YOUR INBOX.


