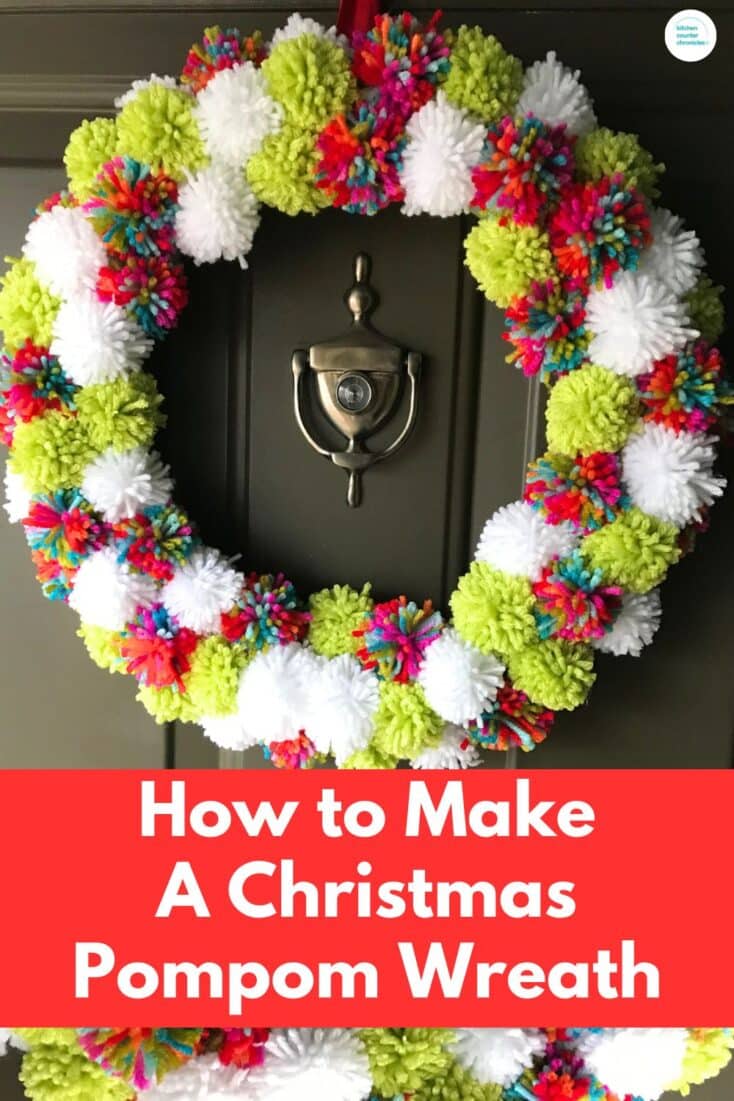
Making a colourful pom pom wreath has been on my to do list for a number of years now - and I'm happy to share the how-to with you. You know how much I love sharing awesome Christmas crafts for kids, teens and adults to make. A Christmas pompom wreath is a super cute Christmas DIY wreath project!
Disclosure: There are Amazon Affiliate links in this article which means, at no additional cost to you, we could receive compensation for our recommendations. You can read our full disclosure policy on our Disclosure Page for more details.
As I was browsing through my local craft store, a few holiday seasons ago, I came across the most cheerful and colourful yarn. I picked up a skein, knowing full well that I have absolutely no knitting skills. I simply knew that I wanted to make something with it.
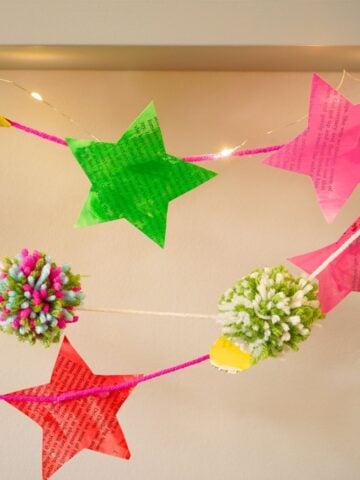
Last year my daughter and I turned the yarn into the sweetest pom pom garland for our Christmas tree. The pom poms were big and loose and fluffy...kid-made and glorious. The pom poms got me thinking and planning. I knew what I wanted to make - a pom pom wreath.
How to Make a Christmas Pom Pom Wreath
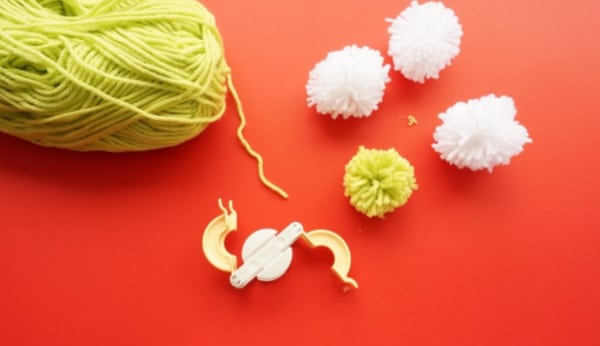
Clover Pom Pom Maker - medium size
foam wreath form - 14"
3 colours of yarn - acrylic craft yarn
glue gun and glue sticks
ribbon to hang the wreath
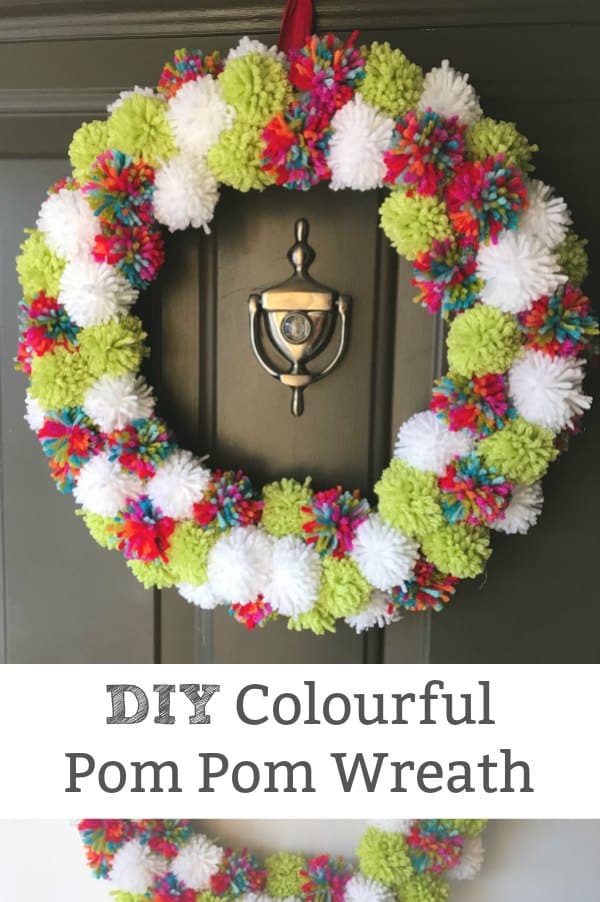
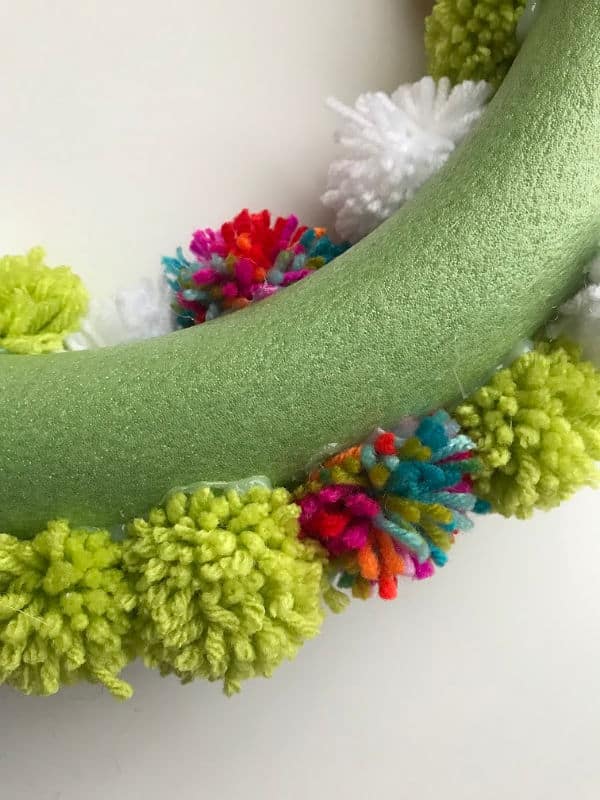
Start by selecting the size of the wreath that you would like to make. I chose a 14" green foam floral wreath form. I liked the weight and density of the form. You want something sturdy that will stand up to the door being opened and closed and the weather.
Next, select your yarn. I used my colourful yarn as the jumping-off point. I decided to also use white and bright green. If you are going for colourful, I would suggest thinking of holiday colours like pink and blue and green - bright colours. White is a good base to have as your third colour.
Pompom making time. I love the Clover pom pom maker! We have made our pom poms using a cardboard template and that works fine. But, the pom pom maker cut the time in half...seriously.
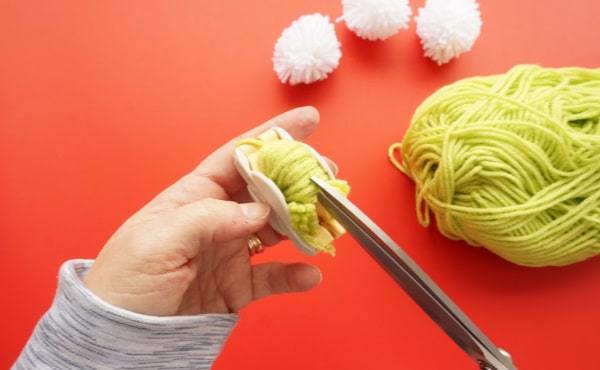
To make the pom poms, start by cutting 15, 4-inch strips of yarn, these will be the pieces you use to tie up the pom poms. Keep them in a pile close at hand.

Next, wrap one side of the pom pom maker with the yarn. It took a couple of tries to get the density right - don't be afraid to make a couple of text pom poms. The thickness of your yarn will impact how many times you can actually wrap around the maker.
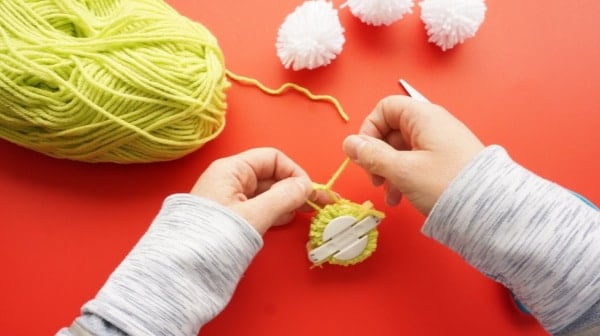
Wrap around both sides. Close the sides together. Snip along the seam. Use one of your strips of yarn to tie the pom pom - tie it tightly. Then pull the maker apart and ta-da - pom pom! Trim any long strings and keep them ongoing.
You will need about 30 pom poms in each colour. I know that sounds like a lot. You'll get into a rhythm and be done in no time...okay I worked on mine off and on over a couple of days. Maybe about 60 minutes total?
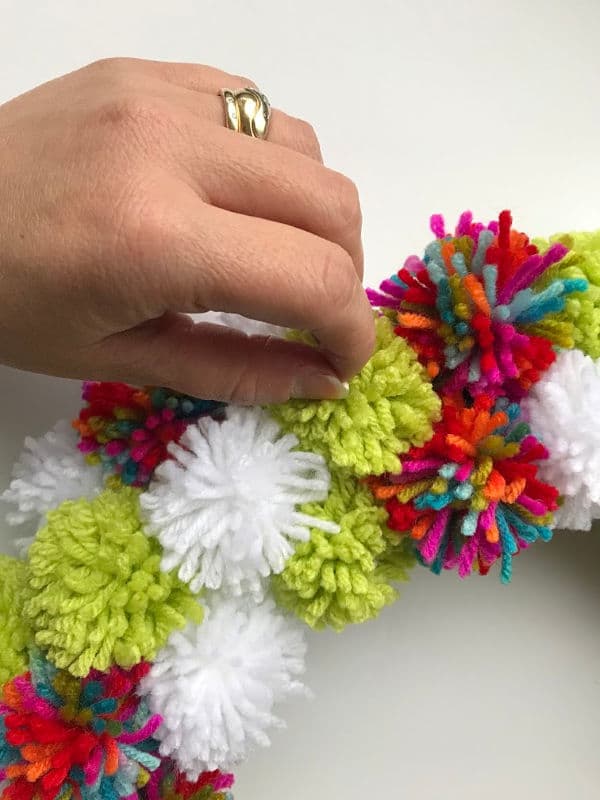
Once you have all of your pom poms made, it's time to have some fun. You can skip this step and go straight to glueing the wreath together, but I'm more of a planner. So, I used straight pins to pin all of the pom poms in place. This way I could step back and look at the colour and pattern. I was sure I didn't have too many clumps of one colour. Planning makes perfect.
When the pinning is done, bust out the glue gun and stick the pom poms in place. Be generous with the glue. You want this wreath to last many seasons. You are going to use a lot of glue.
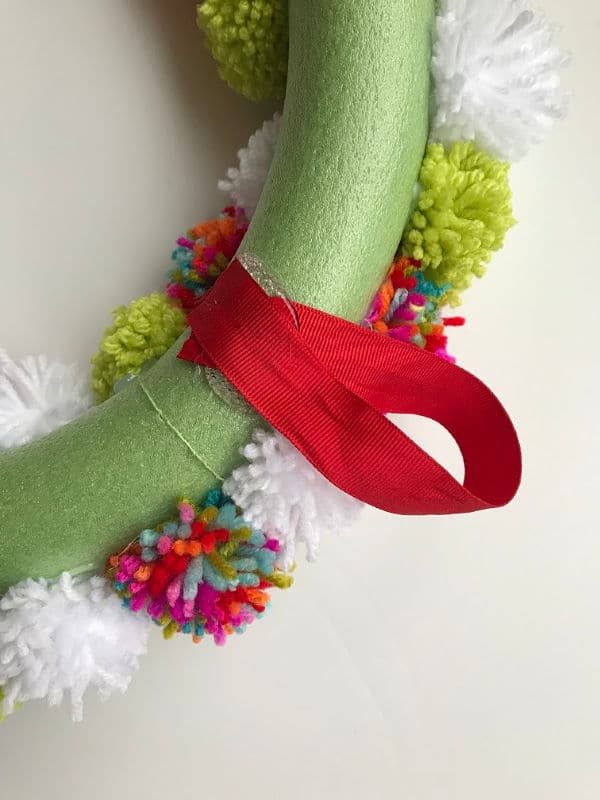
When all the pom poms are in place, select the top of your wreath and use the glue to adhere the ribbon on the back.
Once you hang the wreath you may see some spots where you need to add more pom poms. My green-coloured wreath form worked really well, it coordinated with the yarn.
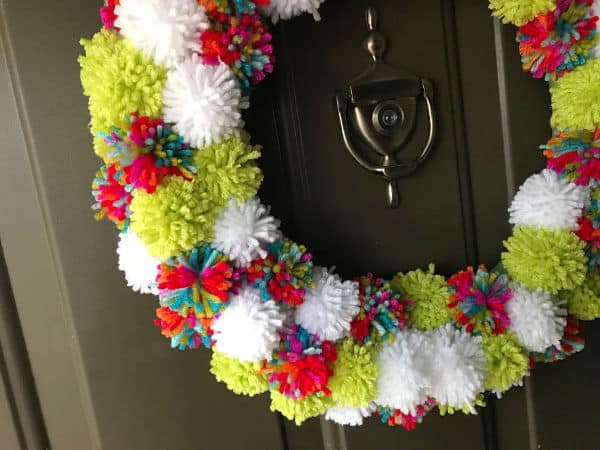
My wreath will be hanging on my front door, so I only placed pom poms on the front of the wreath. However, if you are going to be hanging your wreath on a mirror or window, you are going to want to make twice the pom poms and after the ribbon is glued in place, repeat the pinning and glueing process.
I love our wreath! It was so satisfying making those pom poms and watching the wreath come to life. This would be a fun project to take on with the kids. My kids didn't have the patience to make more than two pom poms...they moved on to other things.
Which is fine, because I am now addicted to making pom poms. I'm already dreaming up ALL the pom pom projects.
Be sure to check out my YouTube video tutorial for how to make a pompom.
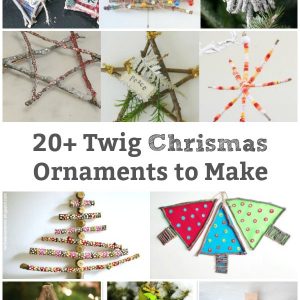
Continue the boho holiday style with twig ornaments
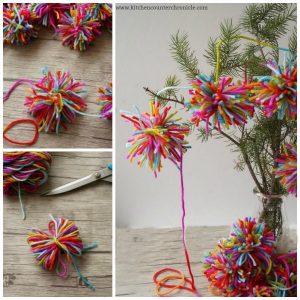
make a pom pom garland with the kids
Make sure you are following along...
FOLLOW KITCHEN COUNTER CHRONICLES ON
SUBSCRIBE TO KITCHEN COUNTER CHRONICLES TO HAVE OUR DELICIOUS RECIPES, FUN CRAFTS & ACTIVITIES DELIVERED DIRECTLY TO YOUR INBOX.