I love making Christmas crafts. I especially love making Christmas crafts that I can share. The front window in our living room is a big window. Every holiday season I like to create a different window display. It is almost like a storefront window...it's that big.
Disclosure: There are Amazon Affiliate links in this article which means, at no additional cost to you, we could receive compensation for our recommendations. You can read our full disclosure policy on our Disclosure Page for more details.
In previous years, I've filled the window with felt snowballs, shiny ornaments and even a cut paper Christmas village. However, this year I wanted to do something connected to all the COVID craziness. Since March, we have been decorating our window with rainbow coloured designs. In the spring, we made a colourful collage. For the summer we filled the window with giant colourful polka dots. To celebrate the fall we made a display of brightly coloured fall leaves. So, I knew that I needed to create something festive and colourful for the holidays.
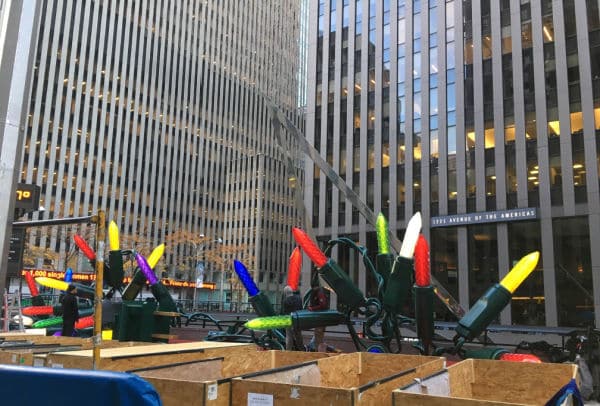
I took inspiration from a set of GIANT Christmas lights I saw in New York City. We were visiting NYC as every store and city street was being decorated for Christmas. We walked past these giant Christmas lights being installed...can you see how tall they are. See the man on the left side of the picture? How cool are those? So, this year I decided to make our own strand of bright, giant paper Christmas lights. Big and bold and Christmasy. I love watching the neighbourhood kids' faces as they walk by and discover our window designs. This was a lot of fun to pull together, and I knew I wanted to share how I made it.
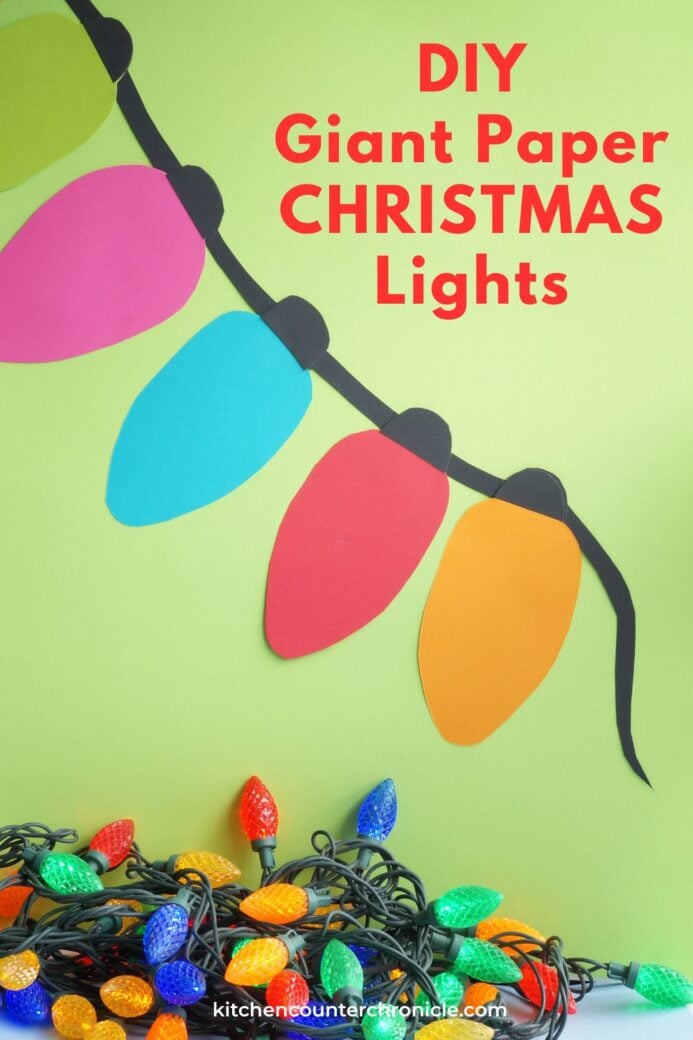
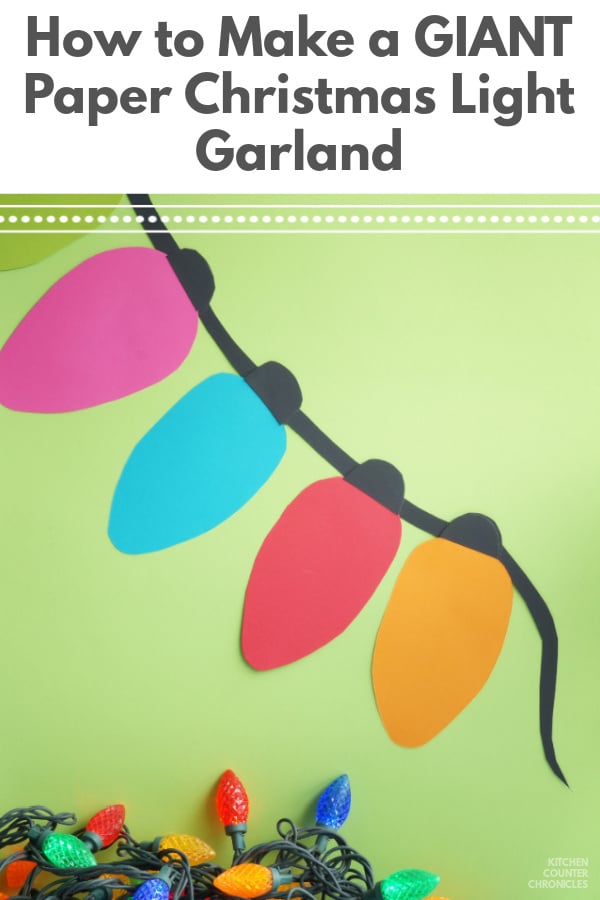
How to Make a Giant Paper Christmas Lights Garland
colourful cardstock - 3-4 different shades
black cardstock or bristol board
cellophane tape
double-sided tape
scissors

The first step is making the colourful lightbulbs. We decided to make a variety of different bright colours for our Christmas lights. You could choose to stick with traditional red or white - whatever you like. Fold the pieces of card stock in half. Use a pencil to draw a large oval on the folded card stock. A light bulb is a little fatter at one end of the bulb. So, add a wider end to the oval.
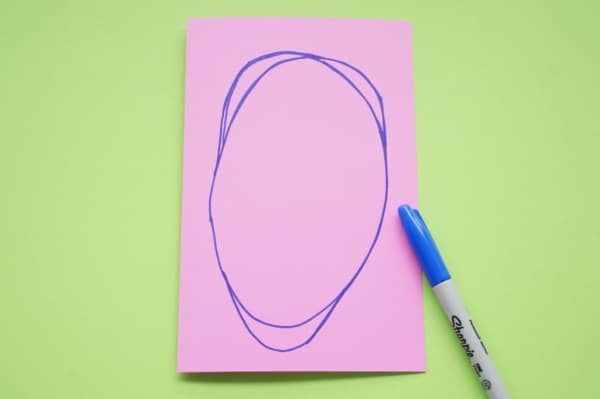
A lightbulb also has the part that sticks into the cord...so, draw a little bump in the wider end of the oval. The first one is going to look messy, that's okay. Play with the drawing until you are happy with the shape.
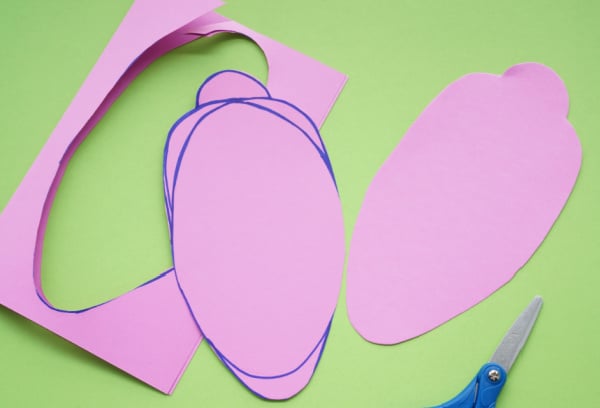
Once you have a light bulb shape that you like, cut it out...cut out both pieces of card stock. Now you have a paper Christmas light template and your first paper light bulb. Fold a whole pile of card stock in half. Each piece of card stock gives you 2 Christmas lights. Trace the template onto the folded card stock and start cutting the lightbulbs out.
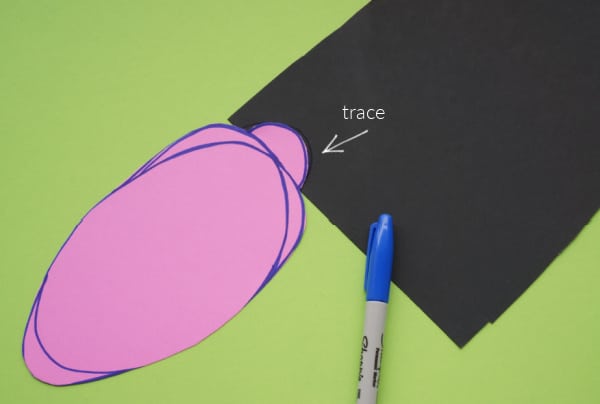
When you have a big pile of light bulbs it is time to make the little black part that will cover the little bump at the top of the bulb. Place your original template light bulb onto the black bristol board. Trace the bump-out. Cut out the bump. Now you have a template for the bump piece. If you are going to hang the strand of lights in a window, you will need 2 black bumps for each light bulb. One for the back and front - because you will be able to see each side of the strand of lights. Cut out all of the bumps.
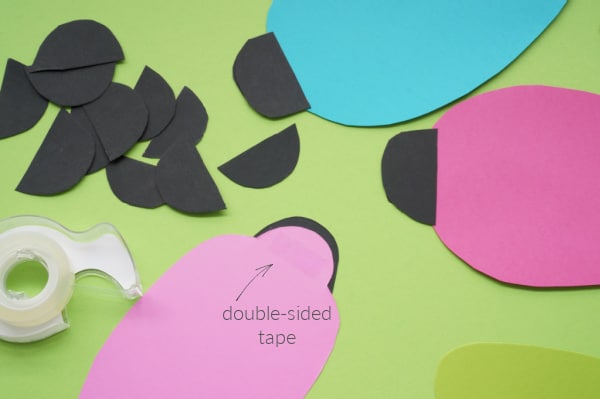
Use the double-sided tape to adhere the black pieces onto the bumps. You could also use white craft glue...but the double-sided tape is so quick and easy to use.
Okay, it's time to hang up the light bulbs (we will make the light cord in a minute). Take your time planning and moving the lights around. I used a small piece of tape to secure the bulbs to the window. Space the bulbs out in the same way that bulbs are spaced on a string of lights. If you are going to be hanging the lights on a wall, you will still need to tape the "cord" to the backside of the bulbs. You have two options (1) tape the lights in place and leave enough give for the lights to be lifted and the cord to be tucked behind the bulbs. Or, (2) make the light cord on a table and then flip it over and attach it to the wall when the cord is attached and the lights are fully assembled. That is what I've done in this example. Have fun with the arranging.

When you have all the lights hung up (or arranged on a flat surface), it's time to make the black cord. While it will look like one continuous electrical cord, it will actually be pieces of paper between 2 lightbulbs. To keep the proportions correct, cut ½" strips of black bristol board. I simply eye-balled the length...but you could totally use a ruler to measure the length. It's best to cut the strips with a bit of a curve in them...looks more natural than a straight strip of paper.
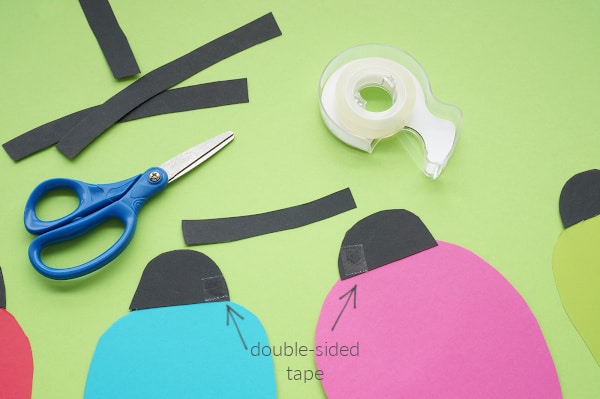
With the paper strips cut, place a piece of double-sided tape on the back of 2 of the black bulb toppers. Then press the strip in place. Move along to the next pair and so on...all the way along the string of lights.
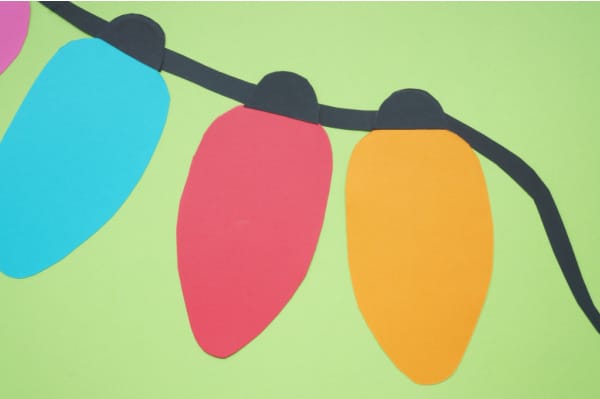
When you come to the end of the string of lights you have two choices - simply stick a black "cord" strip into the side of the window or make a strip of black that looks like the cord is hanging. We like the hanging cord option for the one end.
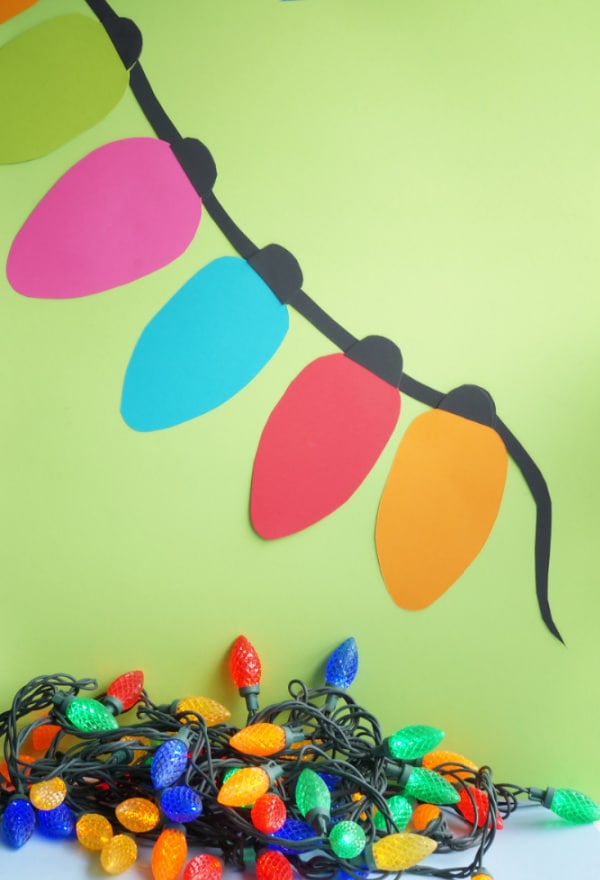
There you have it! A bright and colourful strand of paper Christmas lights to hang in your window, on your front door, or on any wall in your house. These lights can go anywhere and everywhere.
What colour combo will you use?
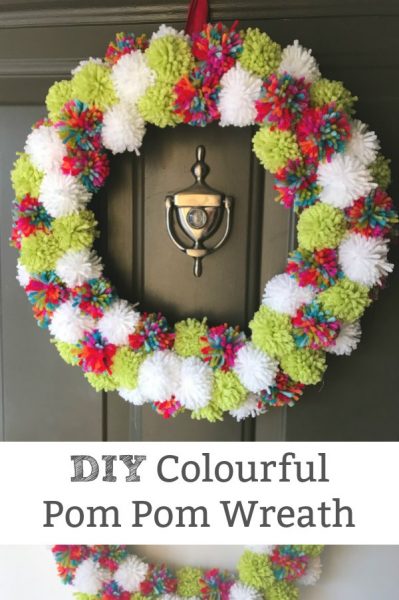
Our colourful Christmas pompom wreath is another amazing addition to your Christmas decor
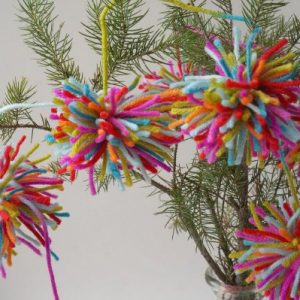
What about making a colourful pompom garland
Make sure you are following along...
FOLLOW KITCHEN COUNTER CHRONICLES ON
SUBSCRIBE TO KITCHEN COUNTER CHRONICLES TO HAVE OUR DELICIOUS RECIPES, FUN CRAFTS & ACTIVITIES DELIVERED DIRECTLY TO YOUR INBOX.
FACEBOOK:: PINTEREST::INSTAGRAM