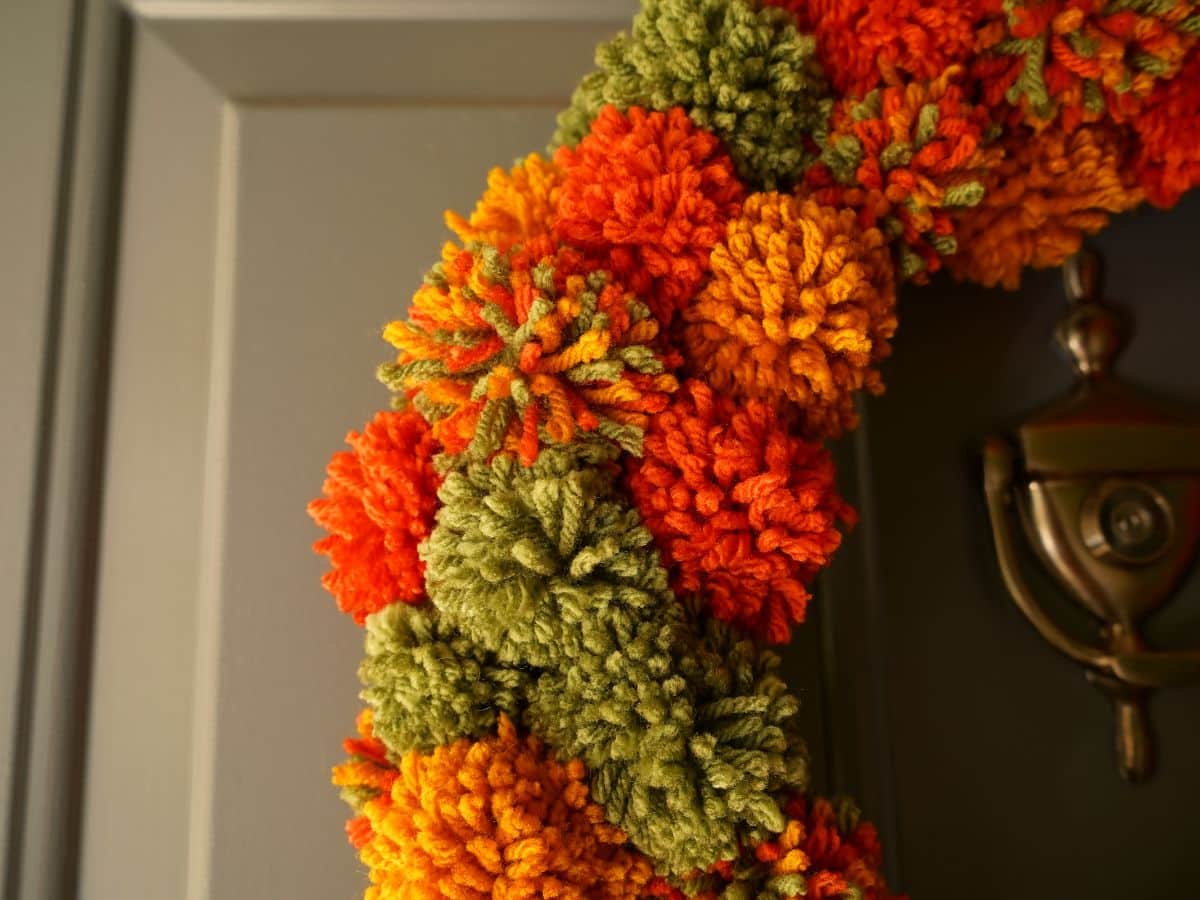
Love making fall crafts and have made many different wreaths over the years. With the changing seasons, it was time to swap out our summery egg carton flower wreath for a new fall pom pom wreath. We are going to really enjoy coming home to this delightful wreath all autumn long.

Disclosure: There are Amazon Affiliate links in this article which means, at no additional cost to you, we could receive compensation for our recommendations. You can read our full disclosure policy on our Disclosure Page for more details.
A few years ago I made my first pompom and I haven't looked back since. There are so many fun things you can make from a simple pompom. And, while there are various techniques for making pompoms available to you, I have found that I get the absolute best results from using the Clover tool. There are a few sizes available and it is super easy to use.
How to Make a Pom Pom
I've created a quick YouTube video that shows you exactly how to make pom poms with the tool. Or, you can check out my first pompom wreath post...I made a Christmas wreath...where I share a photo tutorial of how to use the pompom maker tool. Have fun, make your first pom pom and I know you'll make a big pile of pom poms in no time at all.
How to Make a Fall Pom Pom Wreath
clover pom pom making tool
30-40 pompoms (depending on the size)
various fall colors of yarn - green, orange, dark yellow
sharp scissors
glue gun and glue
14" foam wreath form
coordinating ribbon
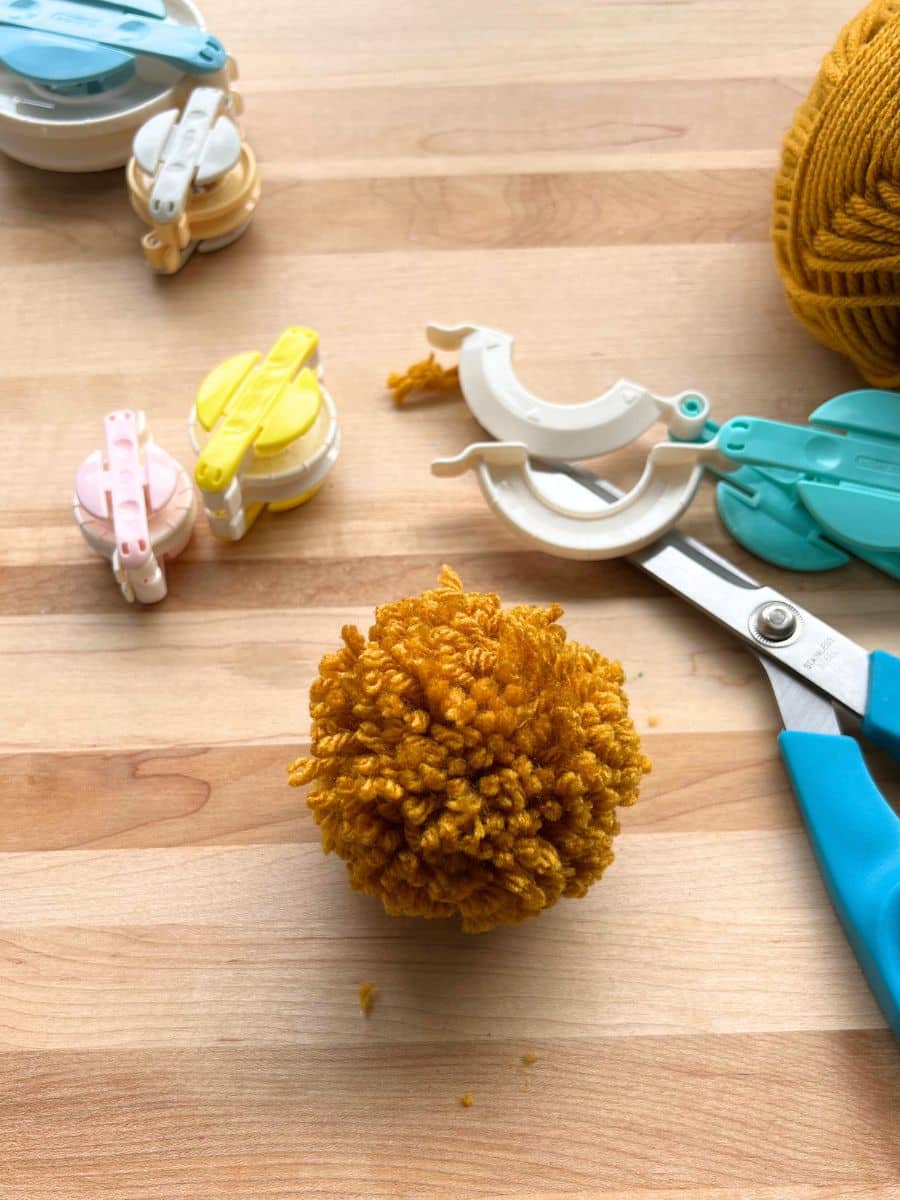
Begin by making a big pile of pompoms. I made mostly 2 ½ inch pompoms and some smaller 1 ¾ inch pompoms to use to fill in any gaps. I used 3 colors of yarn. For the multicolor pompoms, I simply combined the yarn in my hand and wrapped all three colors at once around the tool. Play around with the color and the size of your pompoms. You will need at least 30-40 for the 14" wreath.
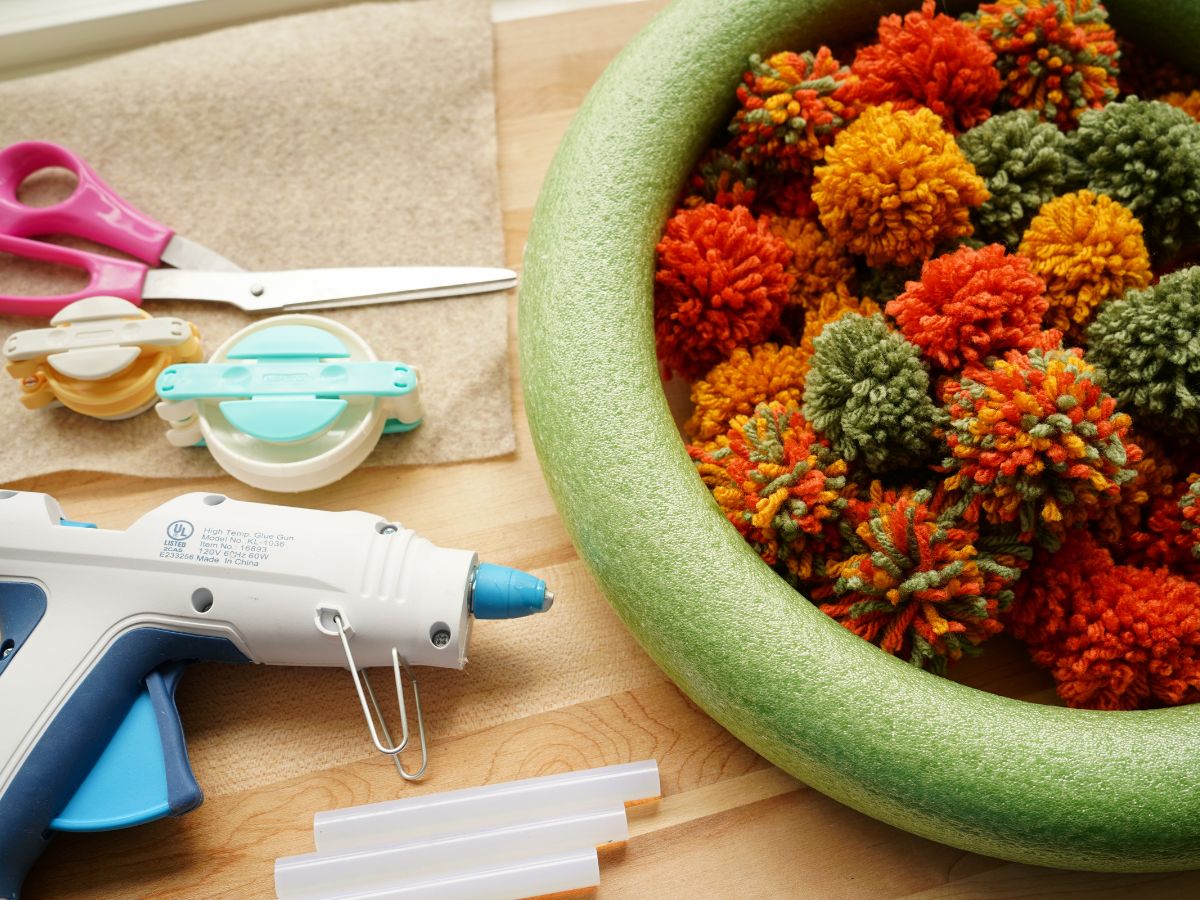
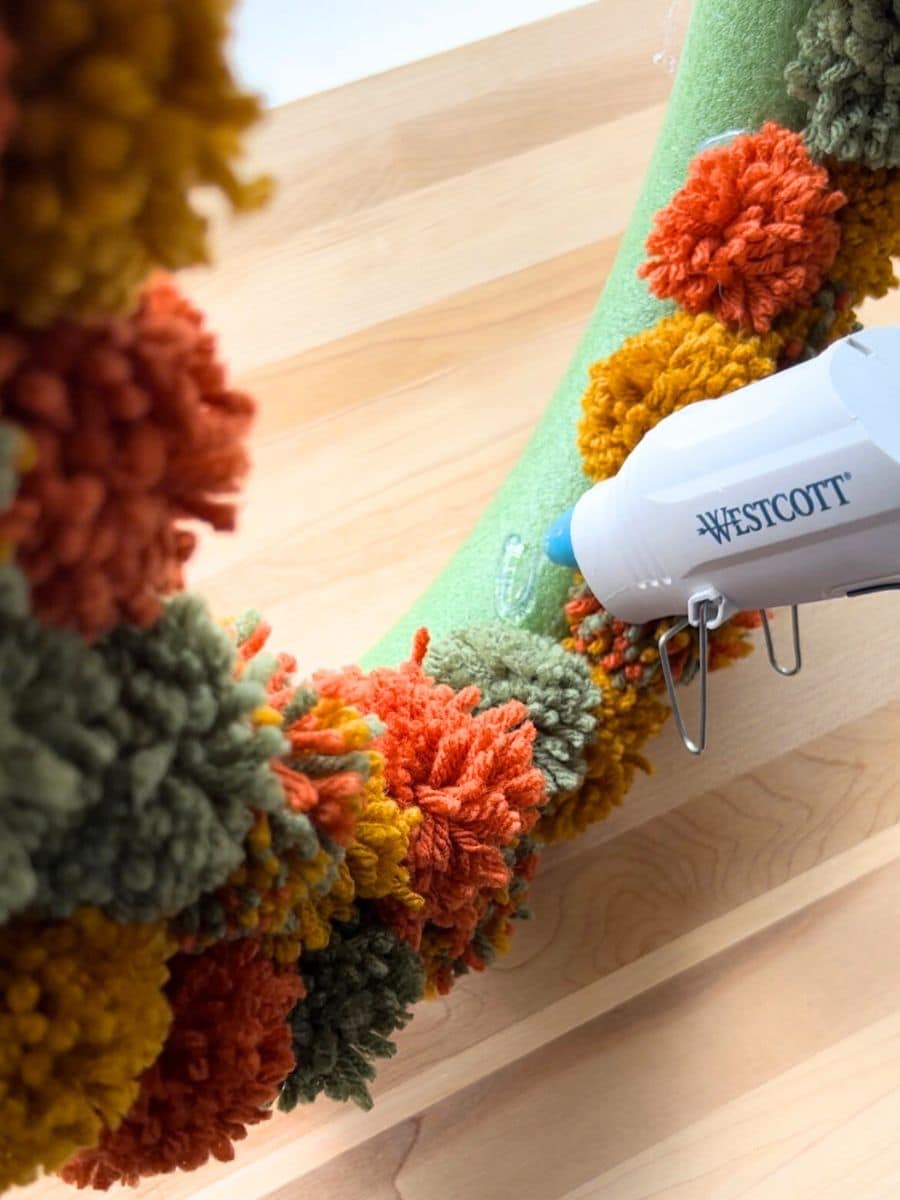
Once you have the pom poms ready to go, it's time to glue them to the wreath. I like using the round, green, foam wreath form. The round form means the pompoms wrap nicely around the wreath. I don't mind the green poking through in some spots. Pick a spot to start and add a large dollop of hot glue to the wreath.
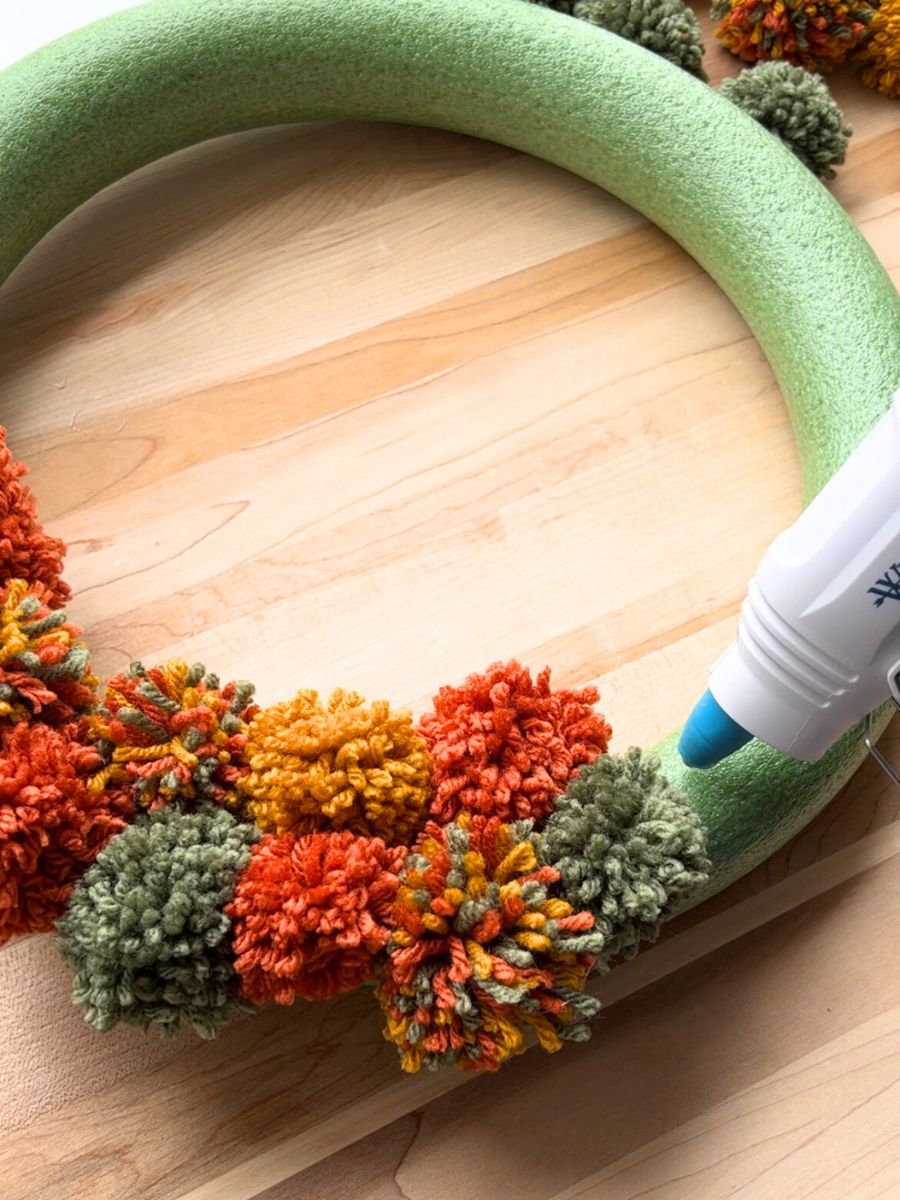
Then press the pompom into the glue. Hold it in place for a few seconds. Now, the glue is HOT. So, be careful. My fingers are pretty resilient and can handle hot pots, pans, and glue, but if your hands are more sensitive be careful. You can keep a bowl filled with ice water on hand, in case you happen to get the glue directly on your skin...to prevent blisters. But, as long as you press the pompom from the top, you should be fine. The pompom will be secure. Move onto the next pompom and carry on all the way around the wreath.
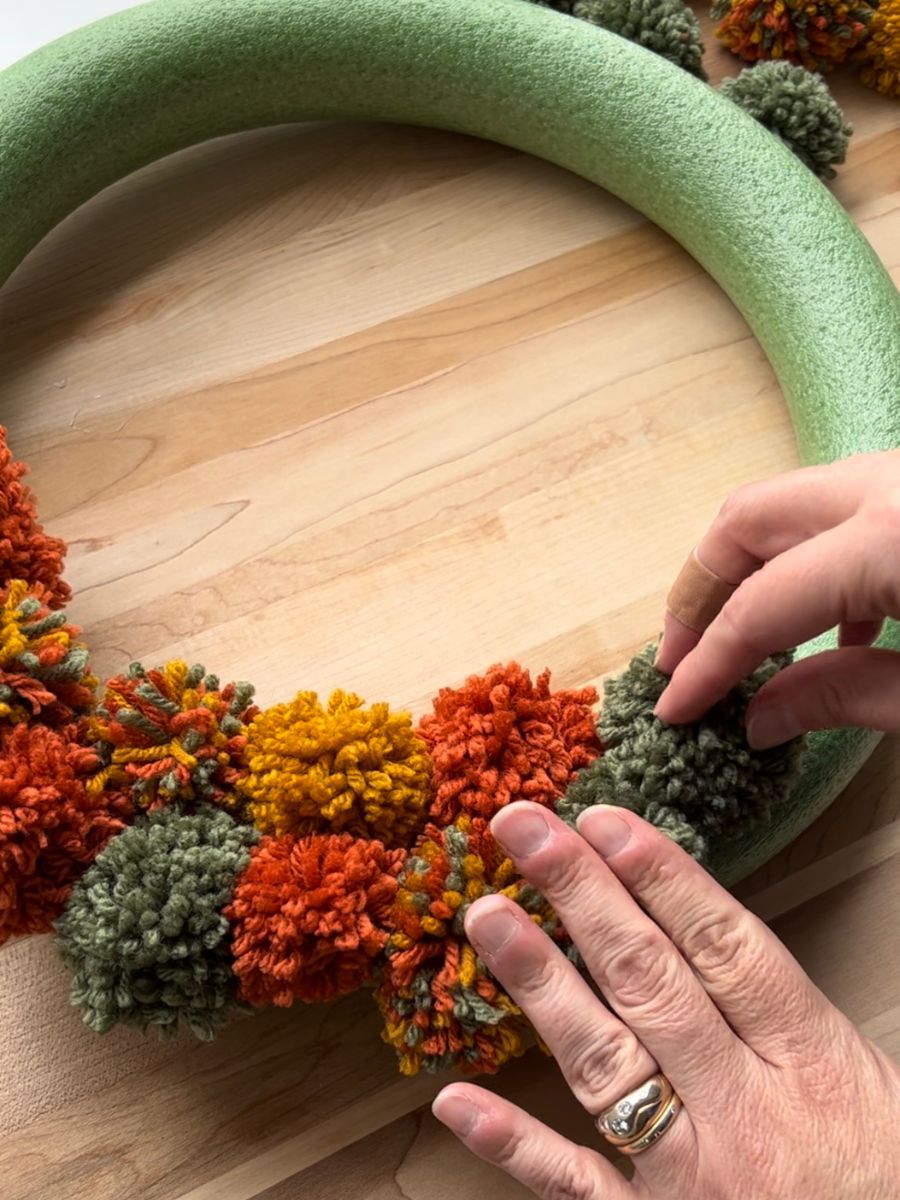
Try and stagger the pompoms, and mix up the colors too. When you've gone all the way around, it's time to fill in the gaps. Hold up the wreath look at the sides and fill in any blank spots with the smaller pompoms, or even the larger ones, if you need.
When the wreath looks full and fluffy and you're happy with the coverage you have it is time to add the hanger. To determine the length of ribbon you will need, take your wreath to the door you want to hang it on and test the placement. I have a little hook on my front door, where I hang my wreaths. The most important thing I've learned is that my wreath cannot block our peephole (I've done that before). So, measure from the hook to where you'd like the top of the wreath to hang, double it, and add an inch. Cut your length of ribbon.
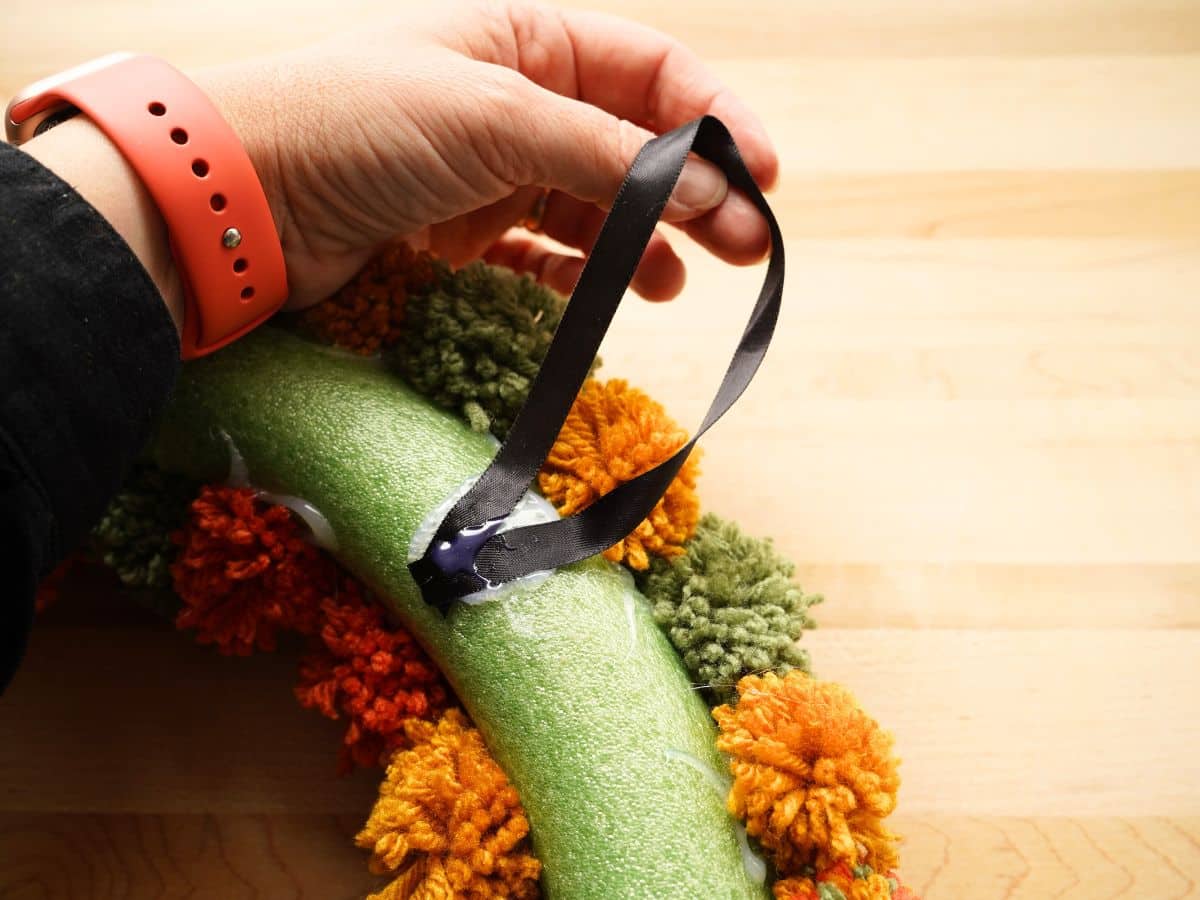
Flip over your wreath and add a big dollop of glue to the "top" of the wreath. Press one end of the ribbon into the glue, then add another little spot of glue and press the other end in place. You will want to use something other than your fingers to do the pressing. I use the tip of my scissors.
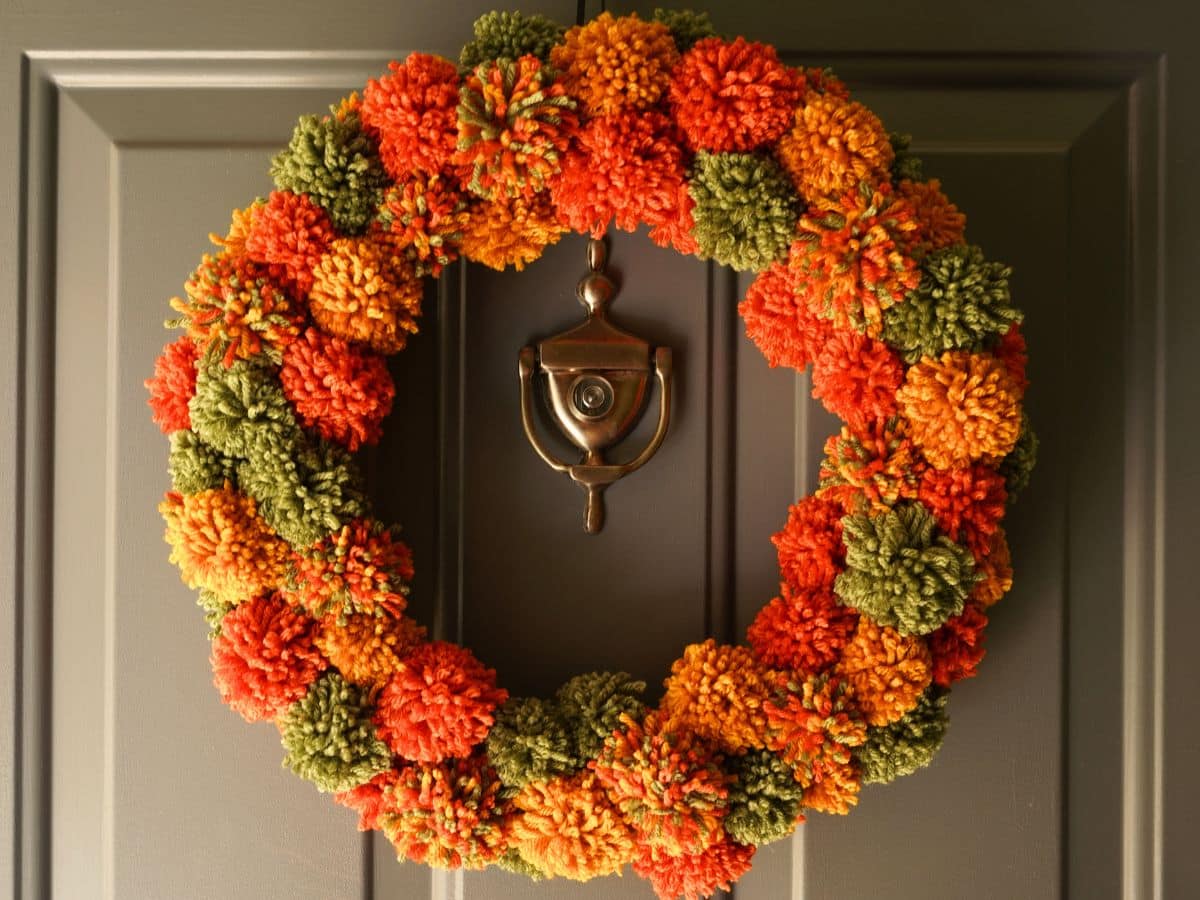
Let the glue dry completely and then hand your beautiful fall pompom wreath and enjoy!
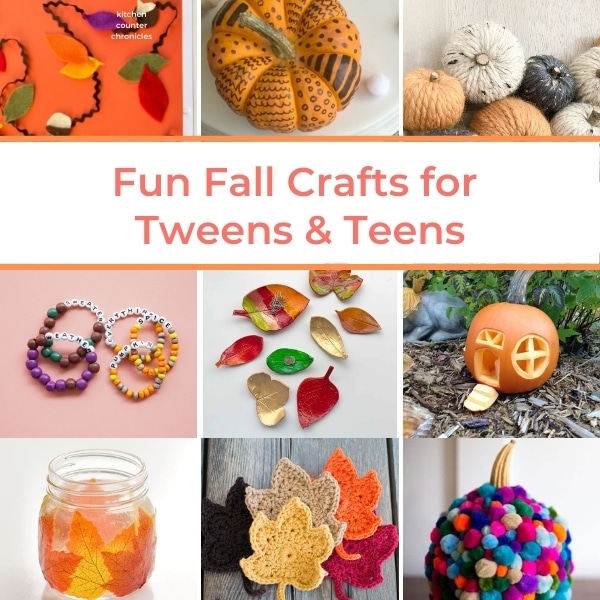
Check out all of our amazing fall craft projects for tweens, teens, and adults
Make sure you are following along...
FOLLOW KITCHEN COUNTER CHRONICLES ON
SUBSCRIBE TO KITCHEN COUNTER CHRONICLES TO HAVE OUR DELICIOUS RECIPES, FUN CRAFTS & ACTIVITIES DELIVERED DIRECTLY TO YOUR INBOX.