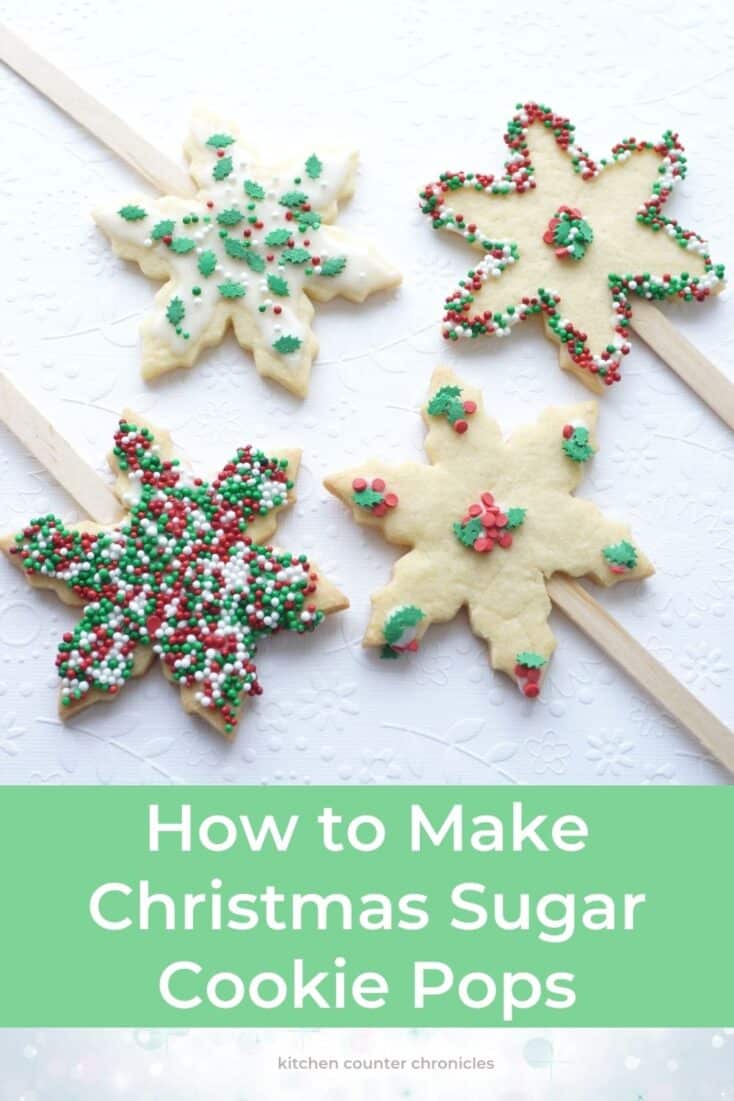
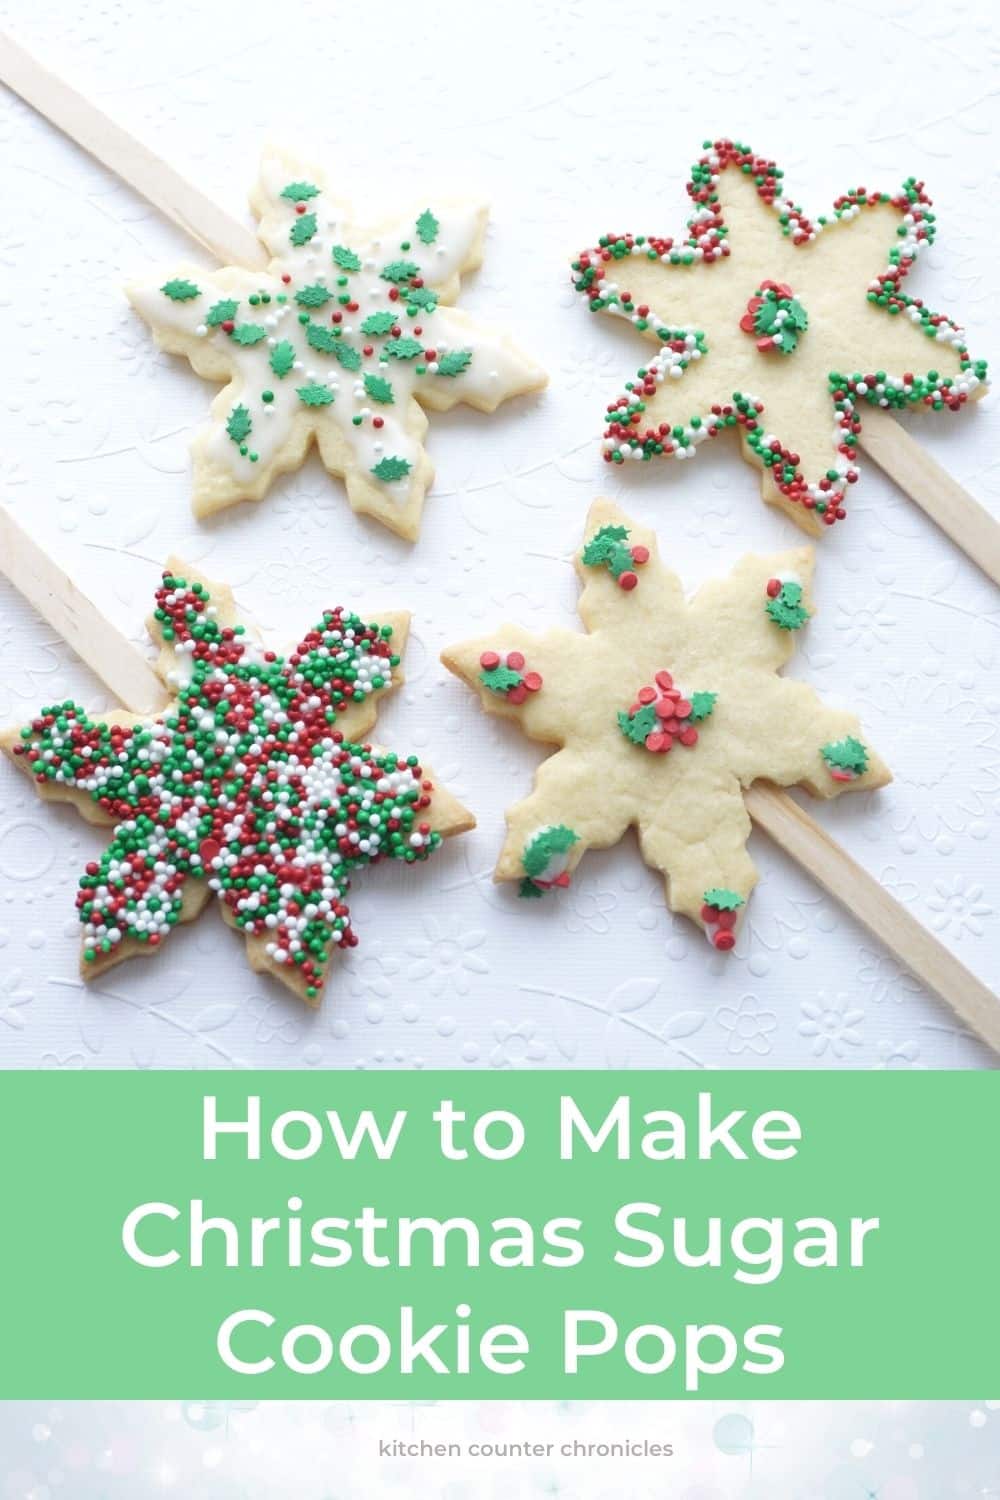
We are all about baking...all year round...but especially in December. I mean, who needs a better reason to bake than sharing treats with friends and family? These Christmas cookie pops are the perfect cookie to gift to classmates, teachers, coaches, and family. They are a super fun Christmas cookie to bake with kids.
Disclosure: There are Amazon Affiliate links in this article which means, at no additional cost to you, we could receive compensation for our recommendations. You can read our full disclosure policy on our Disclosure Page for more details.
What happens when you put a delicious sugar cookie on a popsicle stick? It instantly becomes more fun to eat. We have a super reliable sugar cookie recipe - that makes a sweet and sturdy cookie - that can handle being placed on a stick. Who will your kids make these cookies for this year?
Fun Christmas Cookie Pops
2 cups all-purpose flour
½ teaspoon baking powder
¼ teaspoon salt
½ cup unsalted butter, room temperature
1 cup granulated sugar
1 large egg
1 teaspoon vanilla extract
½ teaspoon cinnamon
For Royal Icing
1 cup icing sugar
1 tablespoon meringue powder
1 tablespoon water (plus more to reach your desired icing thickness)
various Christmas sprinkles
plastic bags
craft sticks (wooden, uncoloured sticks)
snowflake cookie cutter
Begin by whisking together the flour, baking powder, salt and cinnamon in a small bowl and set aside.
Next, beat the butter and sugar together until creamy. Stir in egg and vanilla extract. Beat until combined.
Now, turn the mixer down to a low setting and gradually add the flour mixture, until dough forms. It should pull away from the sides of the mixing bowl.
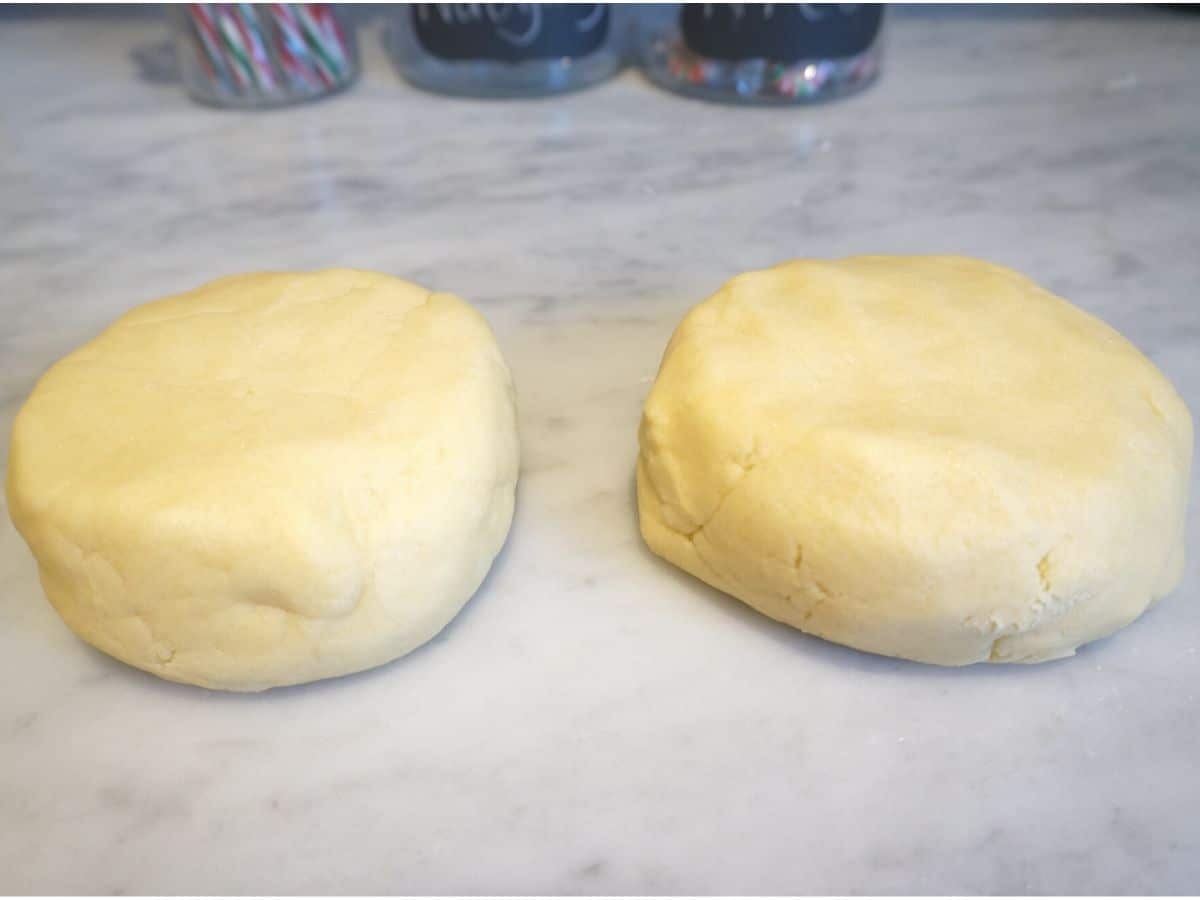
Divide the dough into two portions and wrap each in plastic wrap. Cool dough in the fridge for at least 1 hour.
Now, it's time to shape the cookies. Roll out the dough on a lightly floured surface…roll to ¼″ thickness. Use the snowflake cookie cutter to cut out snowflakes. Keep the scraps of dough wrapped and set aside.
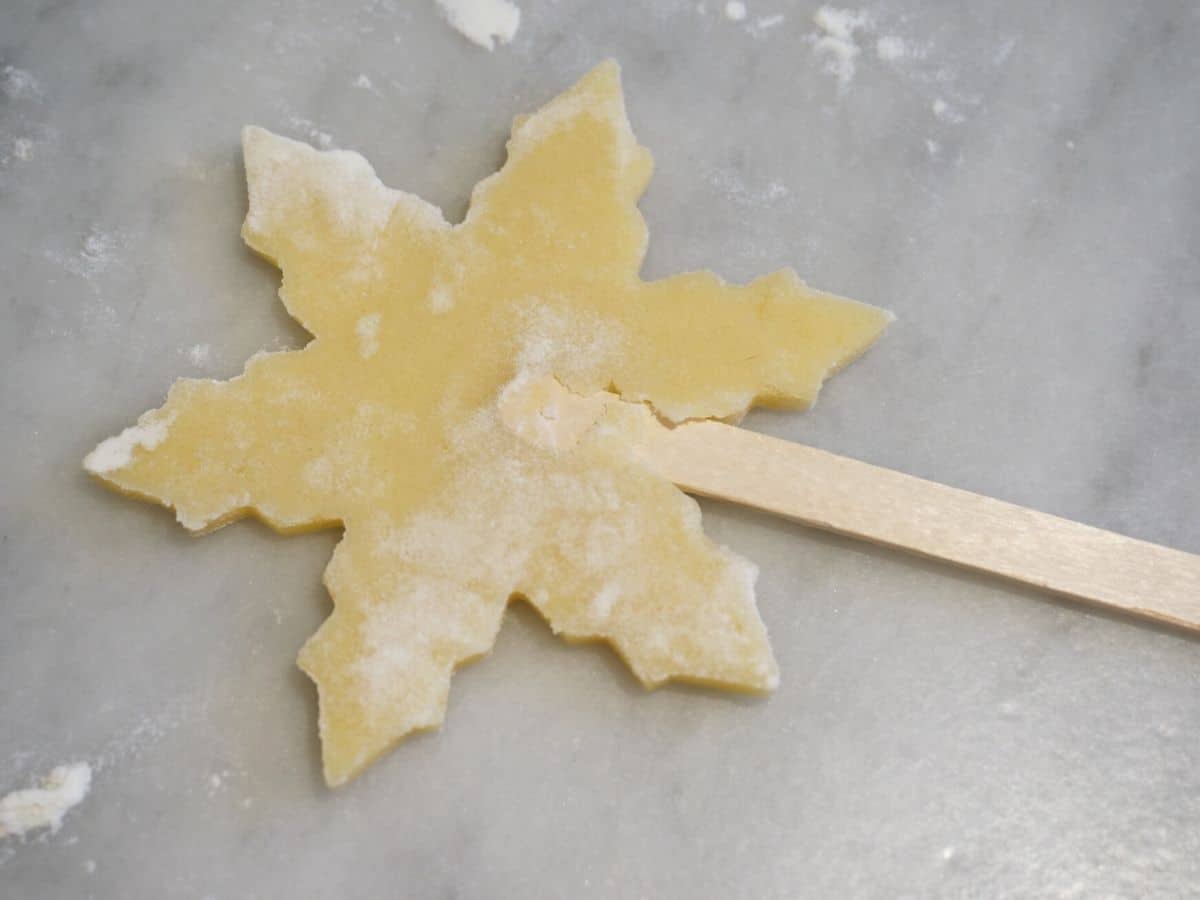
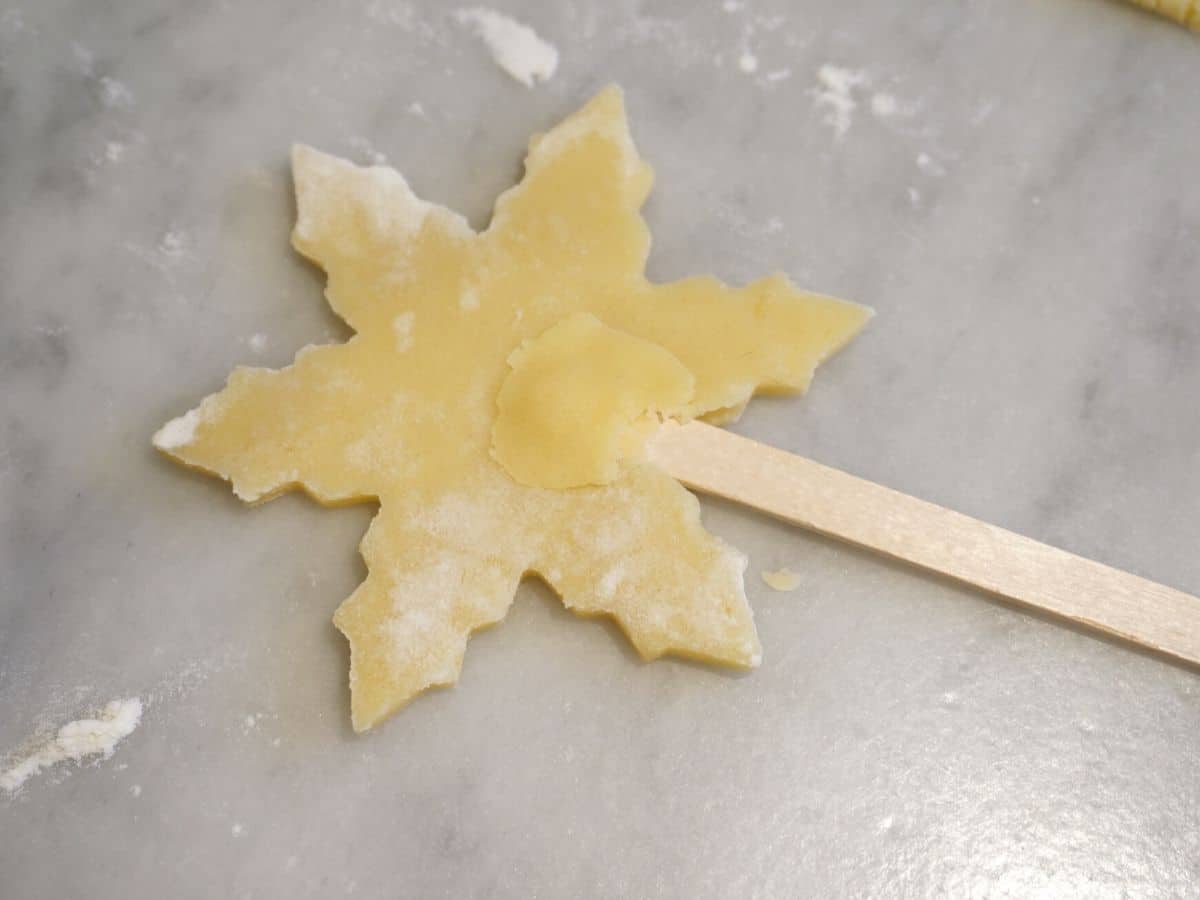
Place the unbaked snowflakes on a parchment paper-lined baking sheet. Press the popsicle stick into the back of the snowflake. Now it's time to use the dough like play-dough. Press a patch of cookie dough over the popsicle stick. This will secure the popsicle stick in place, so make sure the popsicle stick is completely covered. Gently, flip the cookie over. You want the mended side to be facing down.
Bake the cookies in a 350°F oven for 10-12 minutes, until they are lightly golden brown. Let the cookies cool on the baking sheet for 5 minutes and then set aside on a cooling rack.
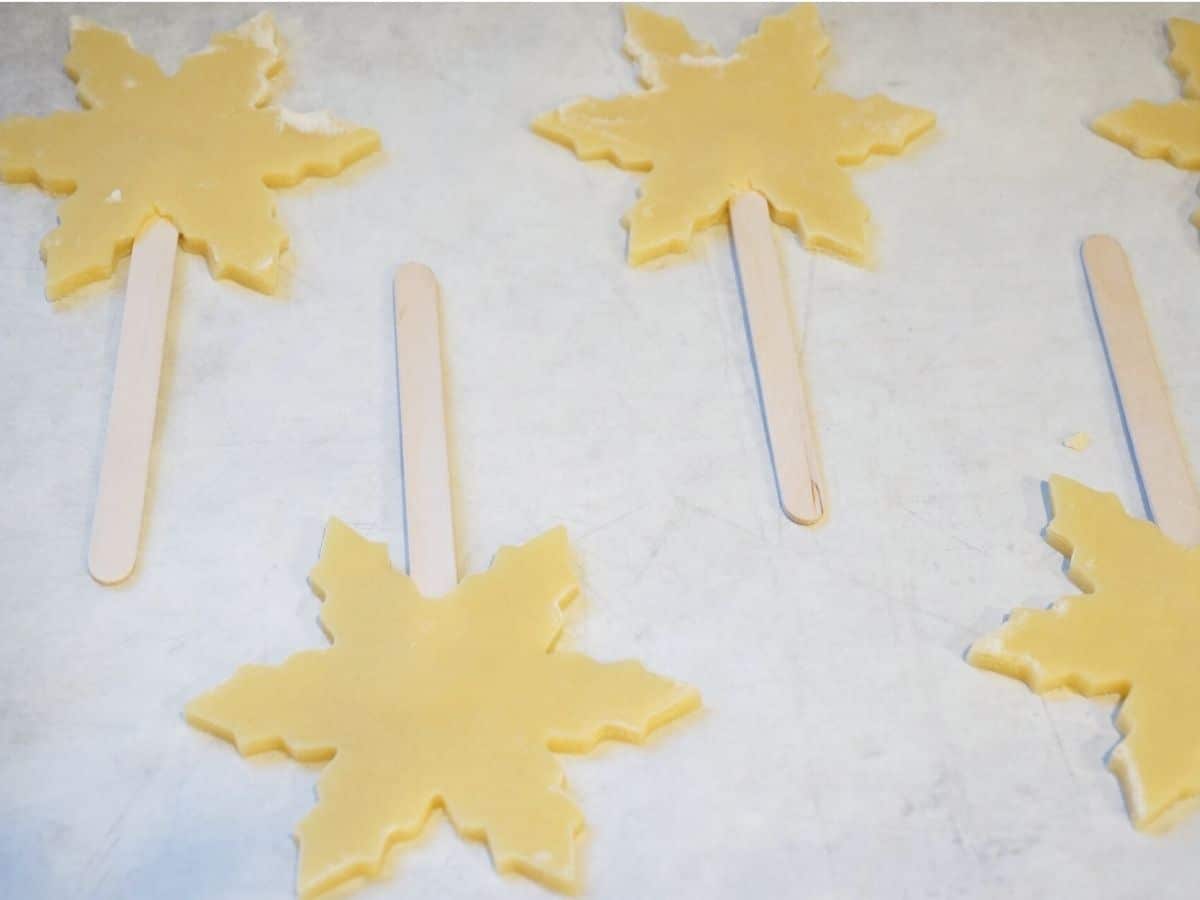
When the cookies are cool it is time to have some fun! The cookies should be pretty sturdy...but I wouldn't whip them around too much. So, set up a Christmas cookie decorating station for your kids.
Make a batch of royal icing - in a small bowl whisk together the icing sugar and meringue powder. Slowly whisk in the water...1 tablespoon at a time...until the icing reaches the consistency that you want. Transfer the icing to a piping bag and use the scissors to clip a small opening.
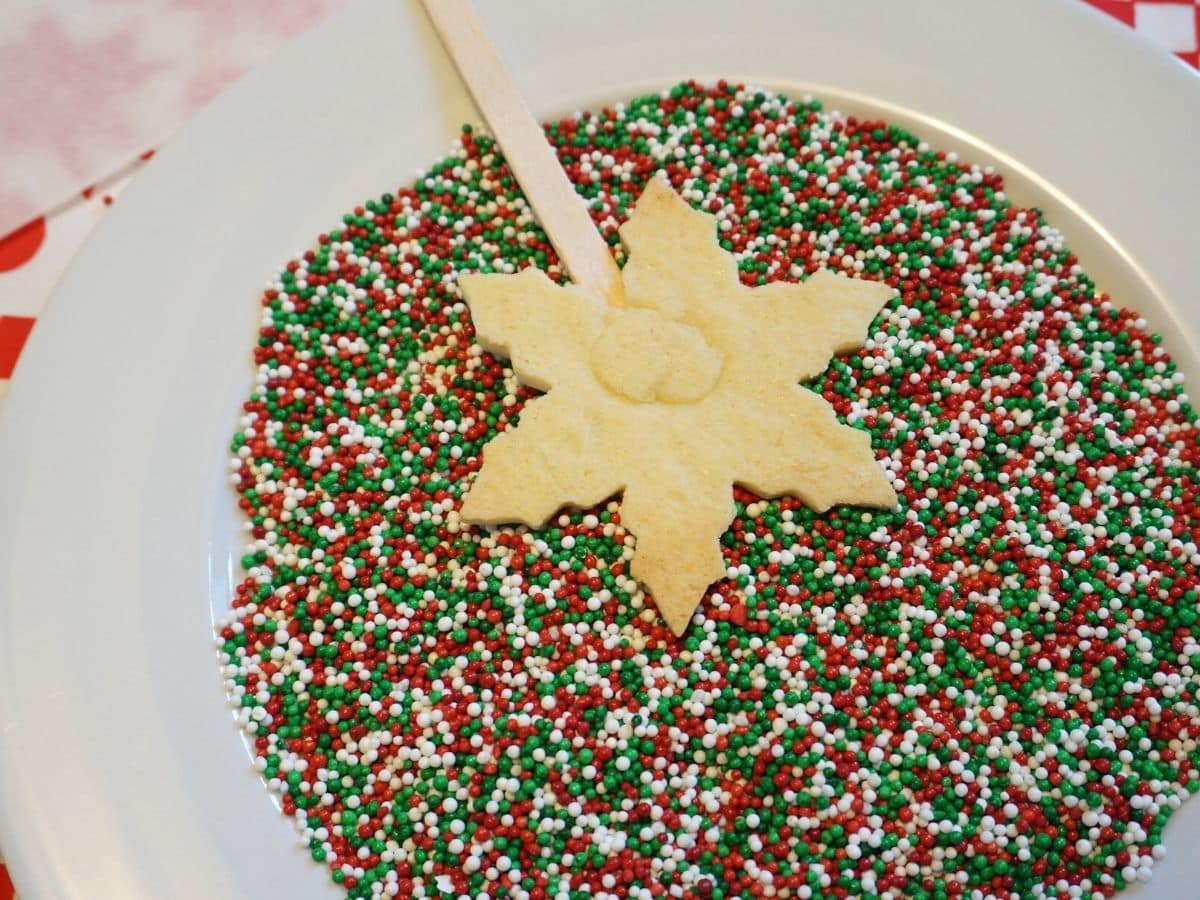
Fill small bowls with different Christmas sprinkles. Let the kids have fun decorating the cookies however they like. I love how creative the kids get with the cookies. My kids love piping or spreading on the cookies and then dipping the iced cookies into the Christmas sprinkles...face down...big dip.
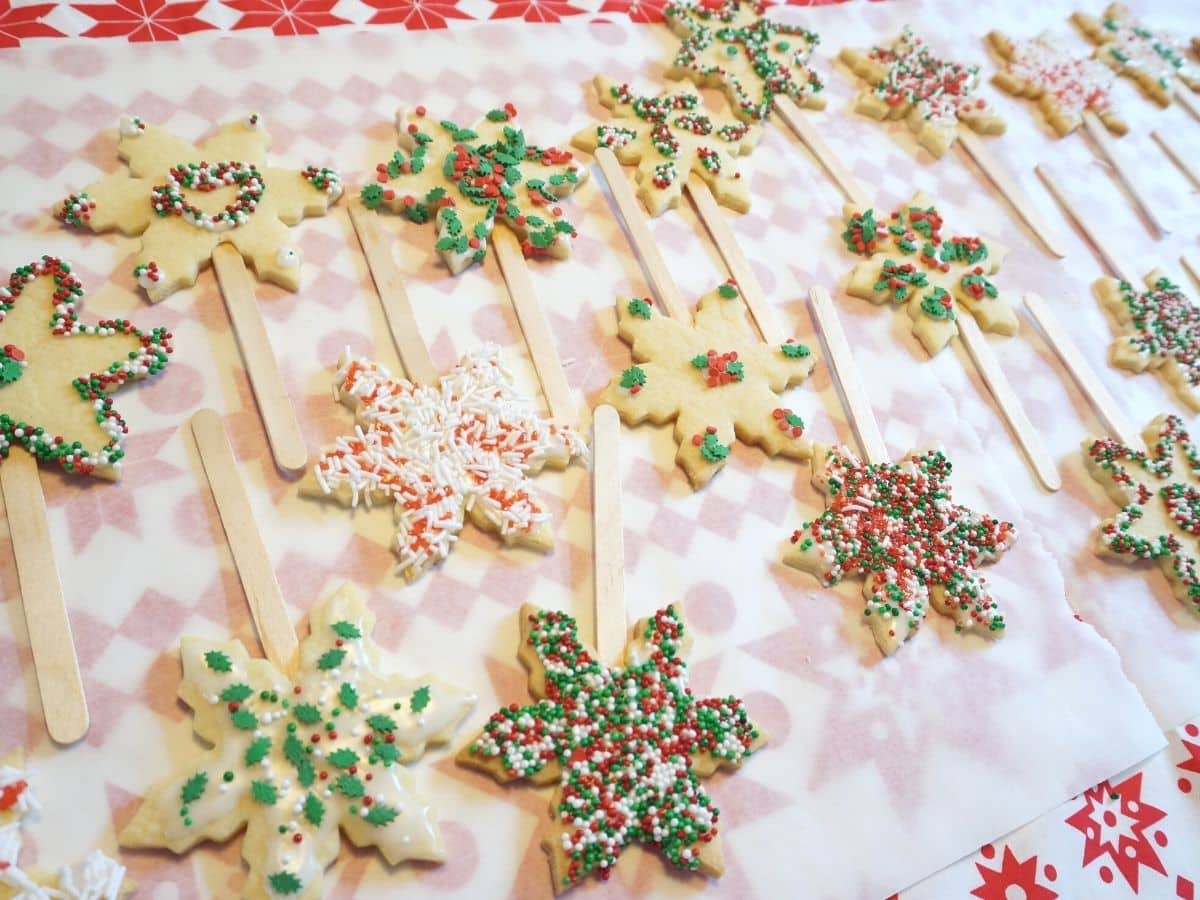
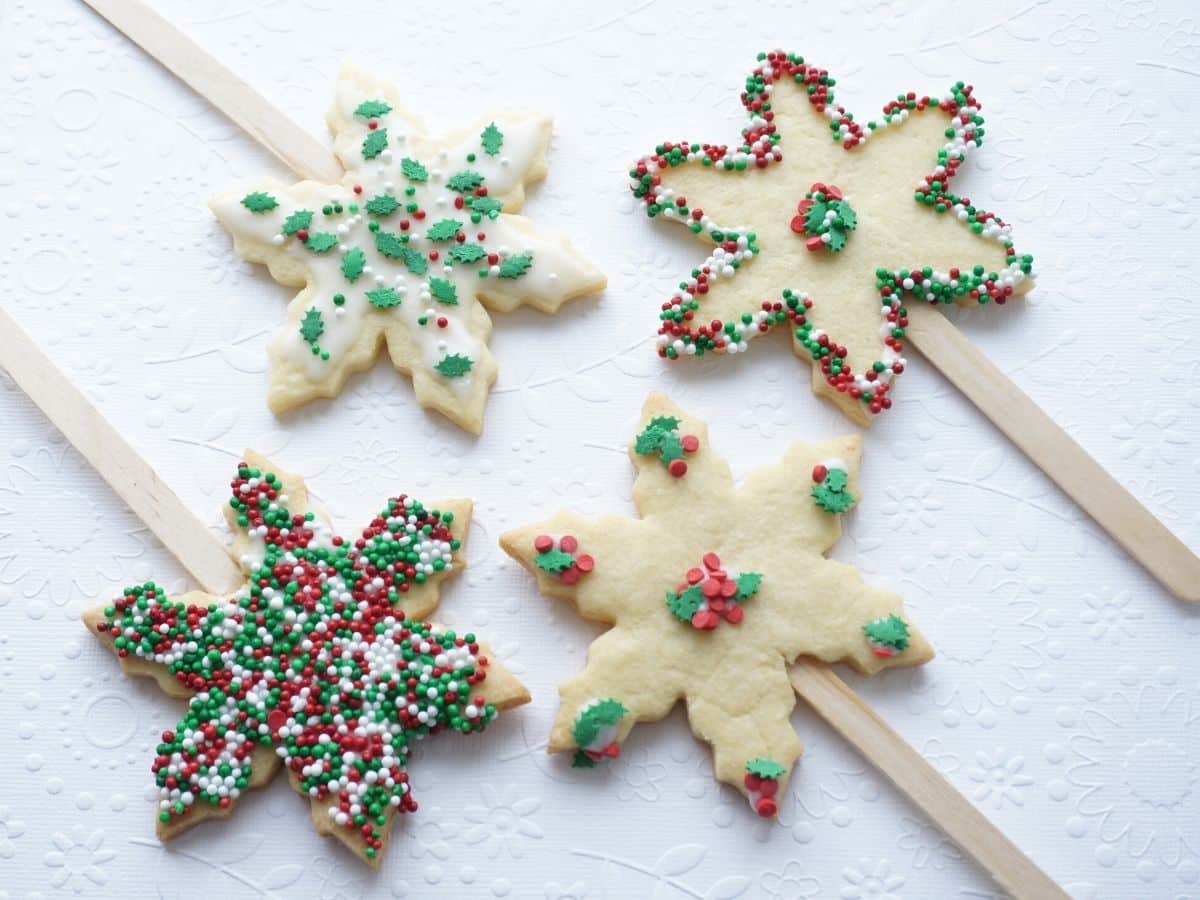
When the cookies are done being decorated set them aside to dry. When you touch the icing and it is firm, slide the cookies into the plastic bags and wrap a piece of ribbon around the bag to seal it up. My kids placed all of their Christmas cookie pops into a big gift bag and carried them to school for their classmates and teachers.
Have fun decorating and sharing these fun Christmas cookies on a stick!
Christmas Cookie Pops
Ingredients
- 2 cups all-purpose flour
- ½ teaspoon baking powder
- ¼ teaspoon salt
- ½ cup unsalted butter room temperature
- 1 cup granulated sugar
- 1 large egg
- 1 teaspoon vanilla extract
- ½ teaspoon cinnamon
Royal Icing
- 1 cup icing sugar
- 1 tablespoon meringue powder
- 1 tablespoon water plus more to reach your desired icing thickness
- various Christmas sprinkles
Instructions
- Whisk together the flour, baking powder, salt and cinnamon in a small bowl and set aside.
- Beat butter and sugar together until creamy. Stir in egg and vanilla extract. Beat until combined.
- Turn the mixer down to a low setting and gradually add flour mixture, until dough forms. It should pull away from the sides of the mixing bowl.
- Divide the dough into two portions and wrap each in plastic wrap. Cool dough in the fridge for at least 1 hour.
- Roll out dough on a lightly floured surface…roll to ¼″ thickness. Use the snowflake cookie cutter to cut out snowflakes. Keep the scraps of dough wrapped and set aside.
- Place the unbaked snowflakes on a parchment paper-lined baking sheet. Press the popsicle stick into the back of the snowflake. Now it's time to use the dough like play-dough. Press a patch of cookie dough over the popsicle stick. This will secure the popsicle stick in place, so make sure the popsicle stick is completely covered. Gently, flip the cookie over. You want the mended side to be facing down.
- Bake the cookies in a 350°F oven for 10-12 minutes, until they are lightly golden brown. Let the cookies cool on the baking sheet for 5 minutes and then set aside on a cooling rack.
- While the cookies cool, make a batch of royal icing - in a small bowl whisk together the icing sugar and meringue powder. Slowly whisk in the water...1 tablespoon at a time...until the icing reaches the consistency that you want. Transfer the icing to a piping bag and use the scissors to clip a small opening.
- Fill small bowls with different Christmas sprinkles. Let the kids have fun decorating the cookies however they like. I love how creative the kids get with the cookies. My kids love piping or spreading on the cookies and then dipping the iced cookies into the Christmas sprinkles...face down...big dip.
- When the cookies are done being decorated set them aside to dry. When you touch the icing and it is firm, slide the cookies into the plastic bags and wrap a piece of ribbon around the bag to seal it up.
Notes
Nutrition
More Christmas recipes
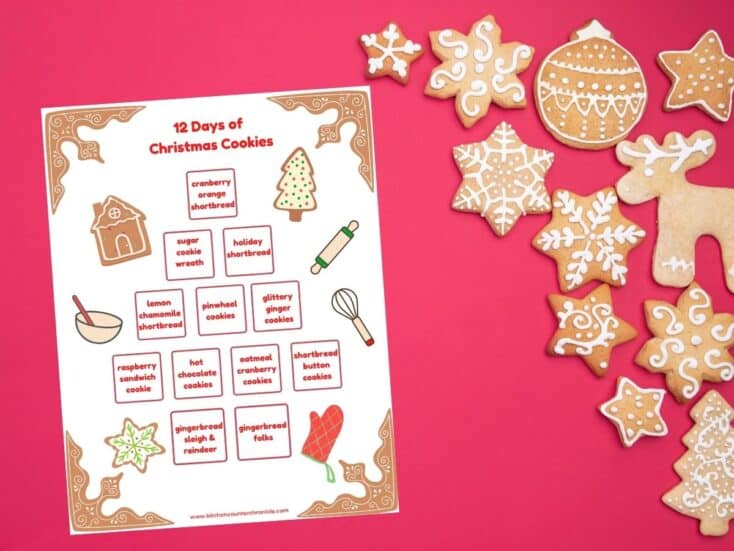
Bake your way through our 12 Day of Christmas Cookies collection of Christmas cookies
Check out all of these fun Christmas vegetable trays...play with your food
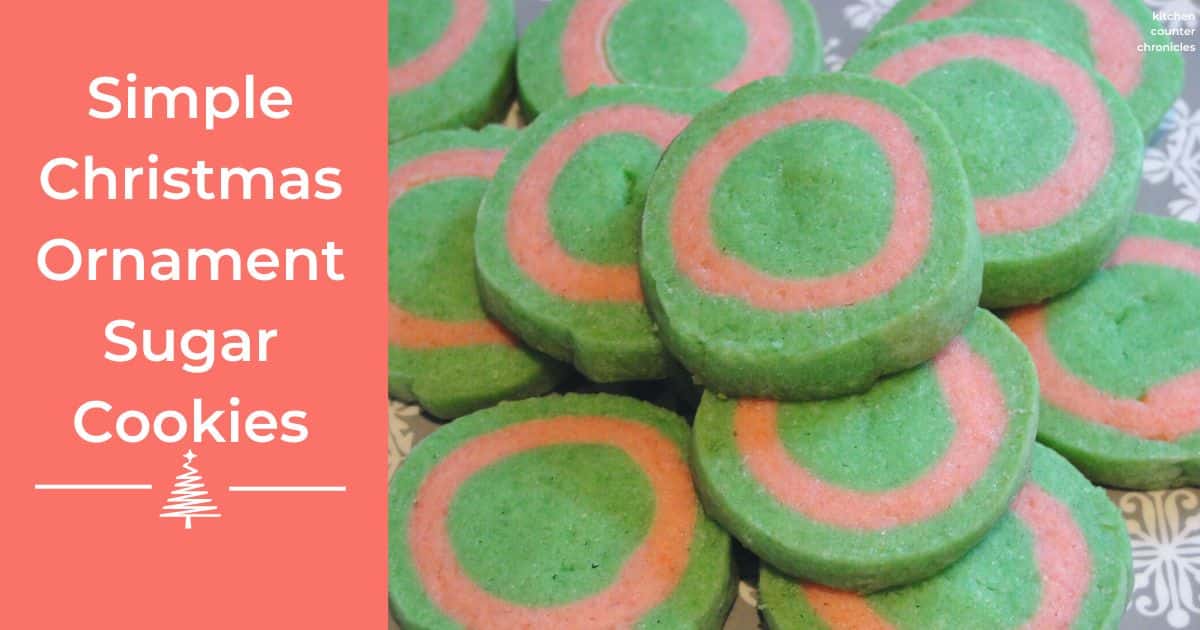
Looking for more cookies to bake with the kids - bake our simple Christmas ornament cookies
Make sure you are following along...
FOLLOW KITCHEN COUNTER CHRONICLES ON
SUBSCRIBE TO KITCHEN COUNTER CHRONICLES TO HAVE OUR DELICIOUS RECIPES, FUN CRAFTS & ACTIVITIES DELIVERED DIRECTLY TO YOUR INBOX.

