We love a good salt dough Christmas ornament. We've made all kinds of salt dough Christmas ornaments over the years and we have shared many, many fun reindeer crafts - but we haven't combined the two. This year seemed like a great time to make Rudolph and his team of reindeer salt dough ornaments for the Christmas tree.

Disclosure: There are Amazon Affiliate links in this article which means, at no additional cost to you, we could receive compensation for our recommendations. You can read our full disclosure policy on our Disclosure Page for more details.
In fact, I shared how to make Rudolph cookies over on my friend Cerys' site, Rainy Day Mum. And when I made the cookies, I didn't think about the salt dough possibilities. It wasn't until my daughter mentioned how we could make the cookies into ornaments that I realized we had a fun craft that needed to be made.
Everyone has a heart-shaped cookie cutter and we have a super simple Christmas salt dough recipe - that's all you need to make these silly reindeer ornaments.
DIY Salt Dough Reindeer Ornaments
Salt Dough Recipe
1 cup all-purpose flour
½ cup table salt (iodized salt)
1 tablespoon vegetable oil
½ cup warm water - more if needed
chopstick or straw
brown, black, red and green acrylic paints
paint brushes
black and red pompoms
googly eyes
decorative string
glue gun
mod podge
Whisk together flour and salt in a large bowl. Once whisked together make a well (a dip) in the middle of the flour and pour in the oil and water. Mix together until a dough forms. Drop the dough onto a clean work surface and knead it together into a smooth ball if it's a bit too sticky and a bit more flour.
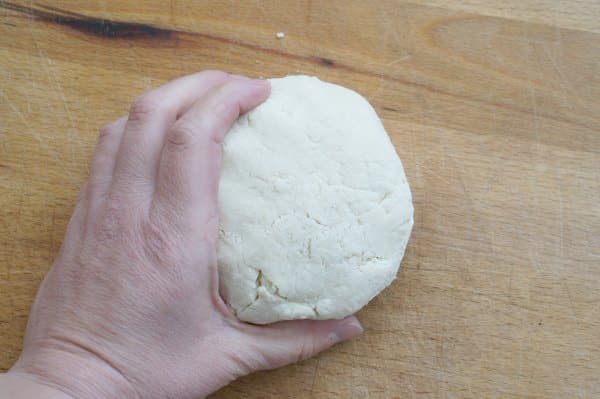
Roll the dough to about ¼" thickness. Cut the dough into heart-shaped ornaments with a 2" heart cookie cutter. Place the unbaked ornaments onto a parchment paper-lined baking sheet. Don't forget to poke a hole in the ornament, for the string loop. I used the end of a chopstick, you could also use a straw to poke the hole. Bake them in a 250°F oven for 2 hours. You will know they are done when they are firm to the touch. Once they're baked set them aside to cool.
Okay, the hearts are ready to go. Scrape any little bits of clay the may be inside the hole, where the string will loop. Paint the entire ornament with brown acrylic paint. Set aside to dry.

Once dried, it's time to add the noses and eyes. Use a glue gun to adhere the eyes and nose in place. We used a variety of sizes of eyes and noses. Only one Rudolph in our team of reindeer!

Now that the faces are in place it's time to add the antlers. Make a dark brown by combining black and brown or simply use dark brown paint. With a thin paintbrush, paint on the reindeer antlers. The more "branches" the better.

When the antlers are done drying it's time to add a little sparkle...the Christmas lights. Do you know how to make polka dots with a paintbrush? Flip the paintbrush around and dip the round end of your brush into the paint. Then dot-dot-dot the paint all over the antlers. Experiment with adding more and less paint to make BIG and little dots. We went with red and green dots, but you could do any colours you like. Let everything dry.

If you want to you can add a little more personality to your reindeer by adding eyebrows and eyelashes with a permanent marker. And don't forget to add the year to the back of your ornaments.

Now it's time to seal your ornament. Use a craft sealer, we used Modge Podge, for this job. Paint it on and then let it dry.

Finally, it's time to hang up your salt dough reindeer ornaments. Feed a piece of decorative string or ribbon through the holes and hang it on your tree. These little cuties would also make a great gift topper. Will you make Rudolph and his entire team for your tree?
More Christmas Ornaments
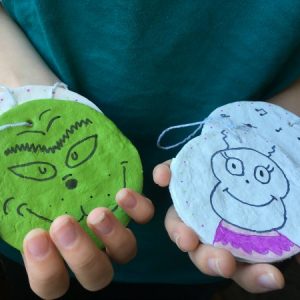
If you love the Grinch, check out our simple salt dough Grinch Christmas ornaments
Check out all of our other awesome reindeer crafts for kids
Make sure you are following along...
FOLLOW KITCHEN COUNTER CHRONICLES ON
SUBSCRIBE TO KITCHEN COUNTER CHRONICLES TO HAVE OUR DELICIOUS RECIPES, FUN CRAFTS & ACTIVITIES DELIVERED DIRECTLY TO YOUR INBOX.

