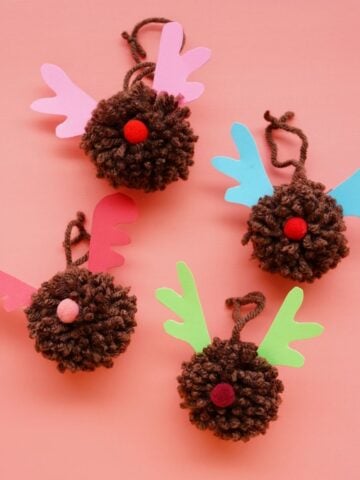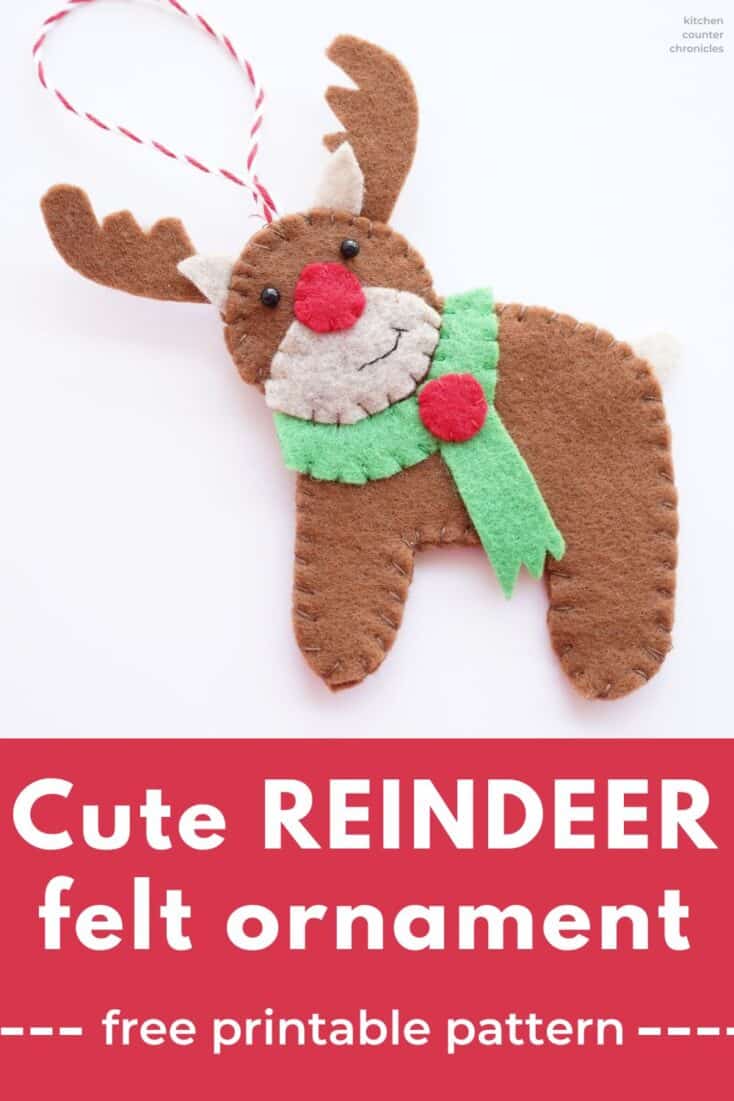
We do love reindeer, don't we?! We've shared all kinds of awesome reindeer crafts for kids and adults to make and these felt reindeer ornaments have been on my to-do list for a few years now. I'm so happy with how they turned out and I hope you have fun filling your tree with felt reindeer too!

Disclosure: There are Amazon Affiliate links in this article which means, at no additional cost to you, we could receive compensation for our recommendations. You can read our full disclosure policy on our Disclosure Page for more details.
Felt is an easy fabric to work with. It is easy to pin, cut, and sew. The edges don't fray and the colours you can get at your local craft store are amazing. This is why I love making felt Christmas ornaments and decorations.
This felt reindeer ornament is a great Christmas craft for older kids, tweens, and teens to make. I'm going to take you step-by-step through this entire craft project. Let's have some fun!
DIY Felt Reindeer Ornament
felt sheets - dark brown, light brown, green, and red
thread - dark brown, light brown, green, black, and red
small black beads (for the eyes)
Christmas string or ribbon
needle
straight pins
scissors
our felt reindeer ornament pattern
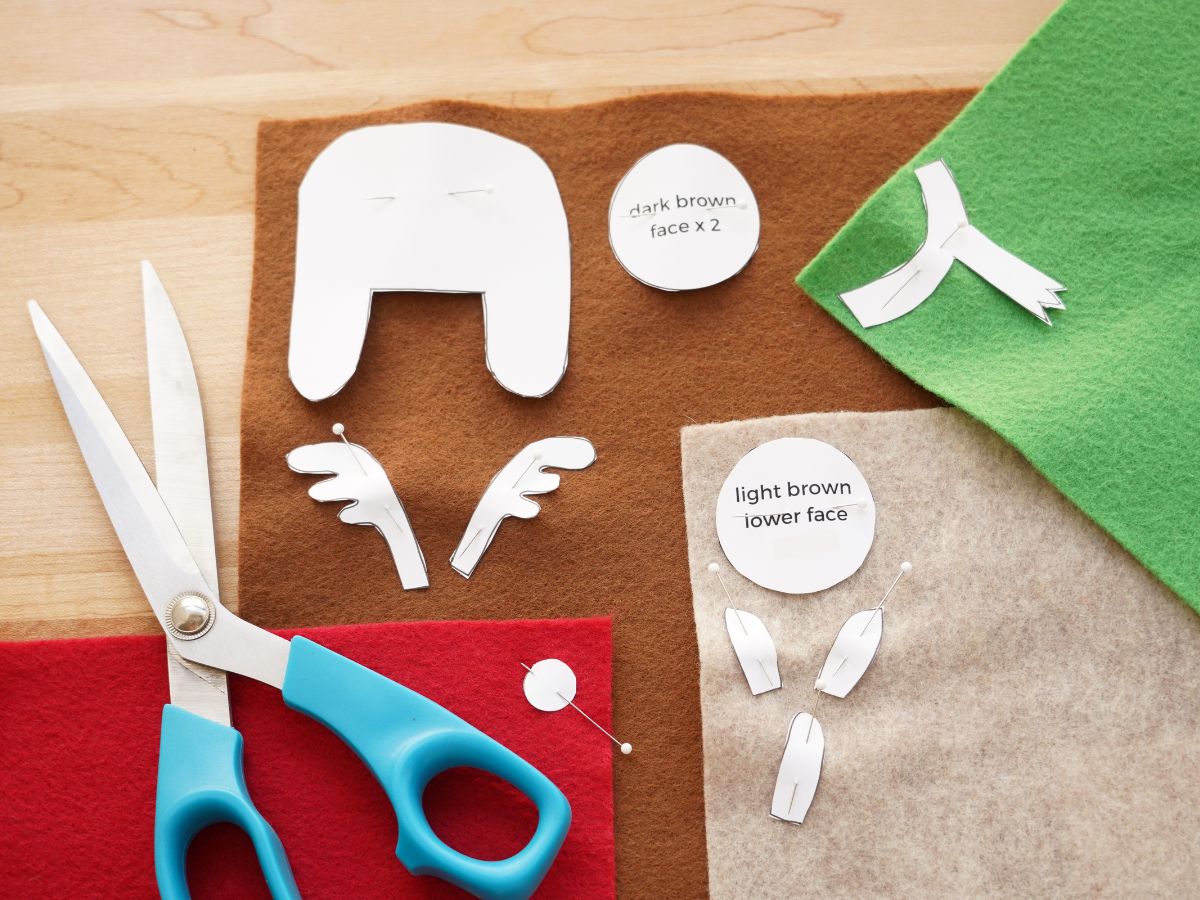
The first step is to print our felt reindeer ornament pattern. Once you have this printed, cut out all of the felt reindeer ornament pattern pieces.
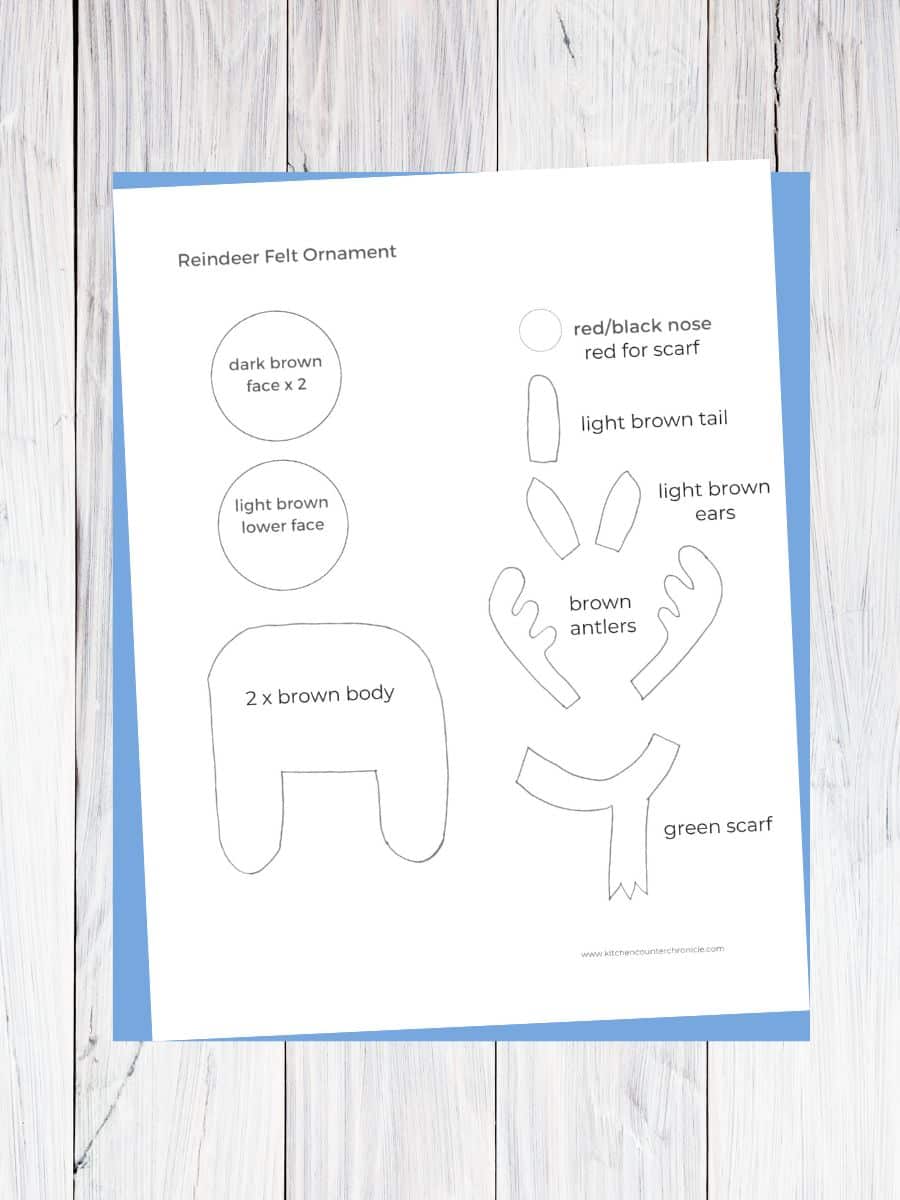
Pin the pattern pieces to the felt sheets and cut out everything you need. You will need:
- 2 dark brown head circles
- 1 light brown head circle
- 2 dark brown body pieces
- 2 dark brown antlers
- 2 light brown ears
- 1 light brown tail
- 2 red small circles (nose and scarf)
- 1 green scarf
Now that you have everything cut out, let's start with the head of the reindeer. First, you will need to cut down the light brown circle. This will give the face more dimension. Place the light brown piece on the dark brown piece - about halfway, or wherever you want to make the face as you like - then trim off the excess light brown felt. I left this dimension to your preference.
When you have the light brown felt piece cut, use the light brown thread to secure it in place. Use a simple whip stitch to secure it in place. Now pin the nose in place. With the nose pinned in place, you can decide where you want the eyes and mouth to be.
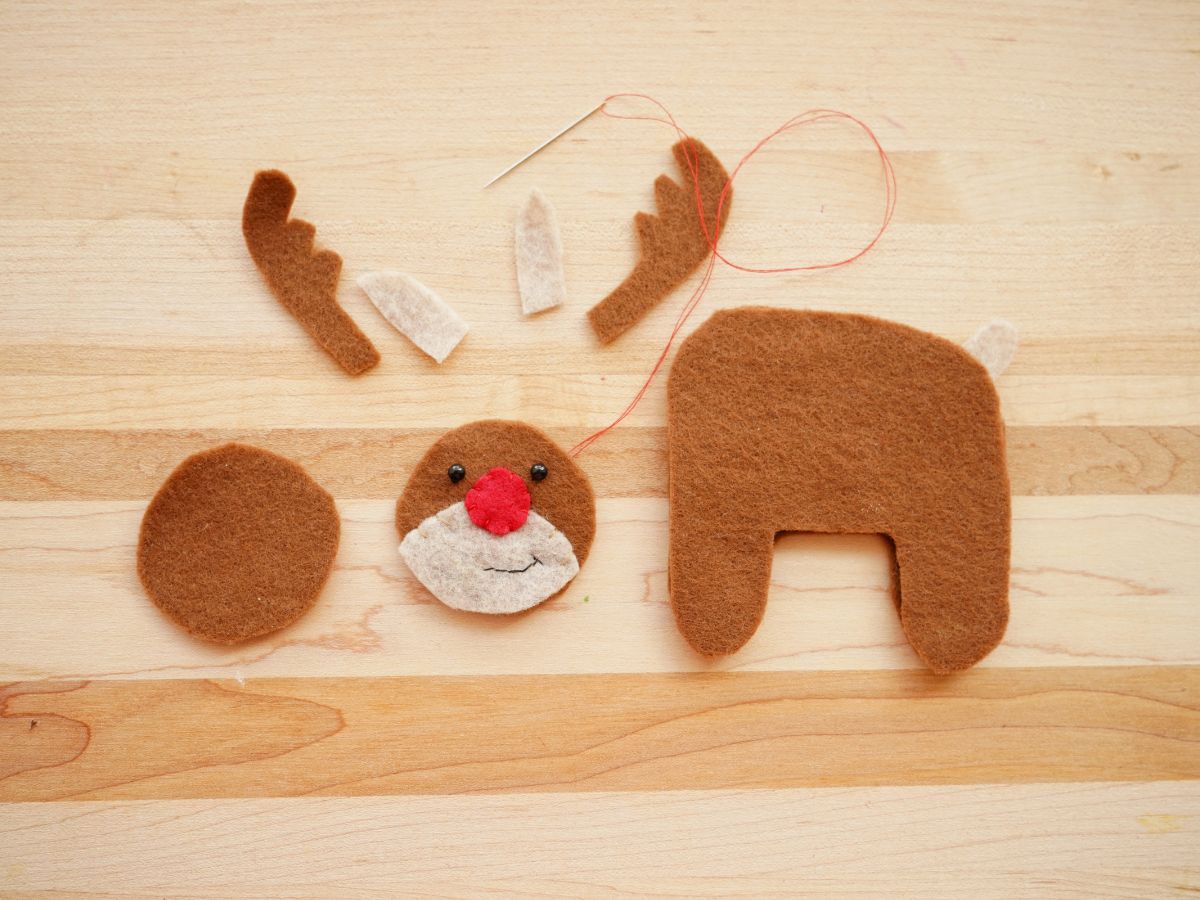
Use a straight stitch, with the black thread, to make the reindeer's mouth. Without knotting the thread in the back, move on to attaching the eyes. Again, use the black thread to secure the eyes in place. Feed the thread through the beads at least 3 times so they are good and secure. Work on one eye at a time. When the eyes are done, knot the black thread in the back of the head.
Now, you can use the red thread, again with a simple whip stitch, to attach the nose to the face. All the pieces that need to be applied to the face are complete. It's time to place the ears and antlers in place and use the straight pins to secure them in place. Also, create a loop of ribbon or thread and tie the end. This will be the loop you use to hang the ornament. Pin the knot between the ear/antlers. When you have everything pinned in place it's time to close the back of the head.
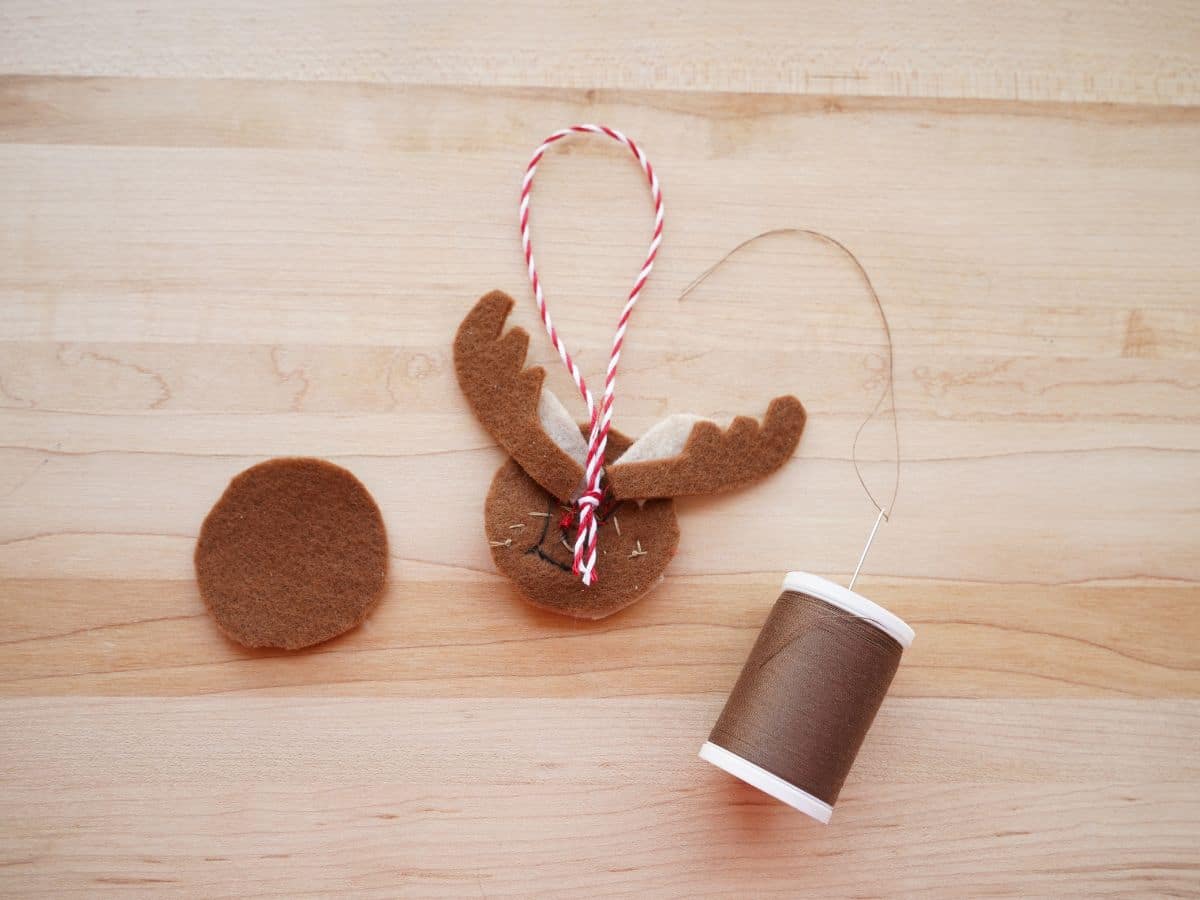
Place the second head circle of dark brown felt on the back of the head, and tuck everything inside. Run a blanket stitch all the way around the head. As you stitch over the ear and antlers and string, you will be securing them in place, so make sure you don't skip over them accidentally. Now, the head is done!
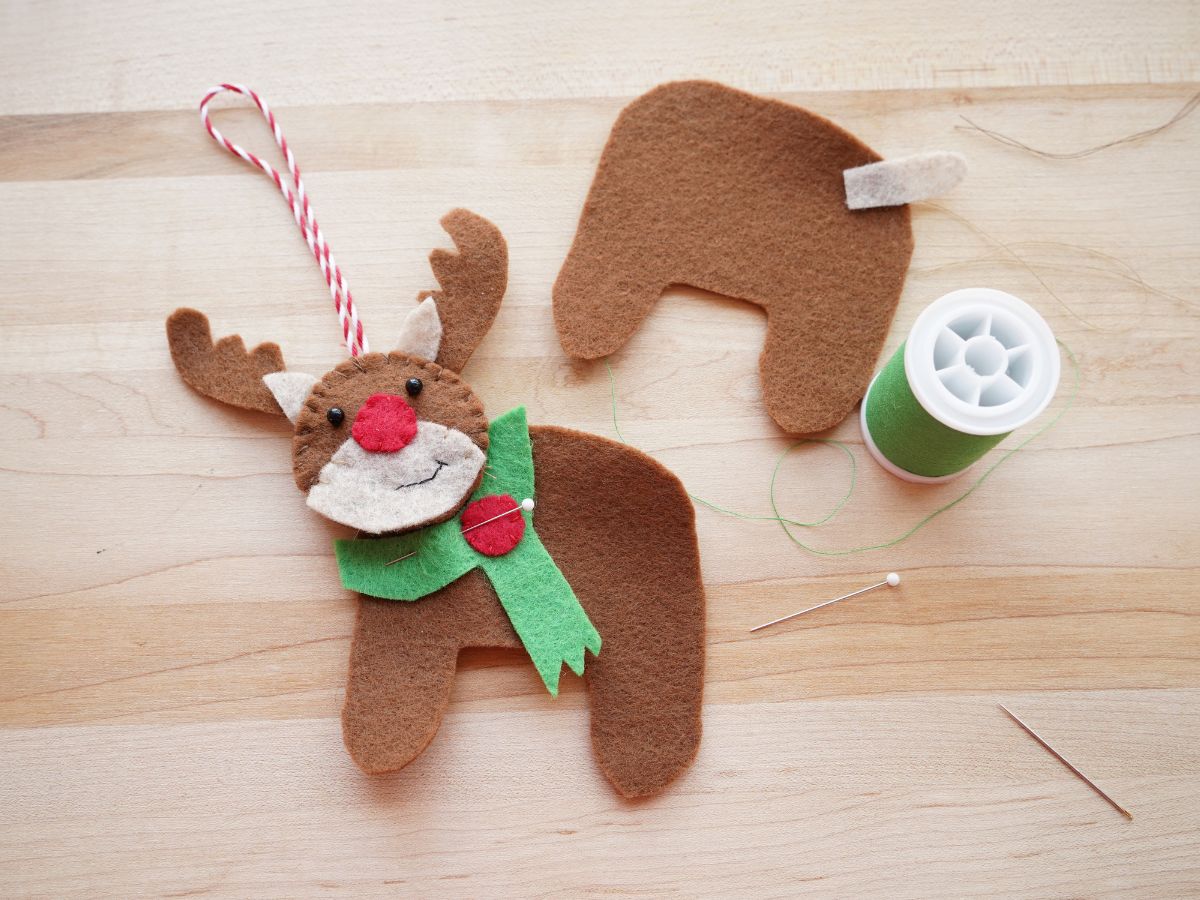
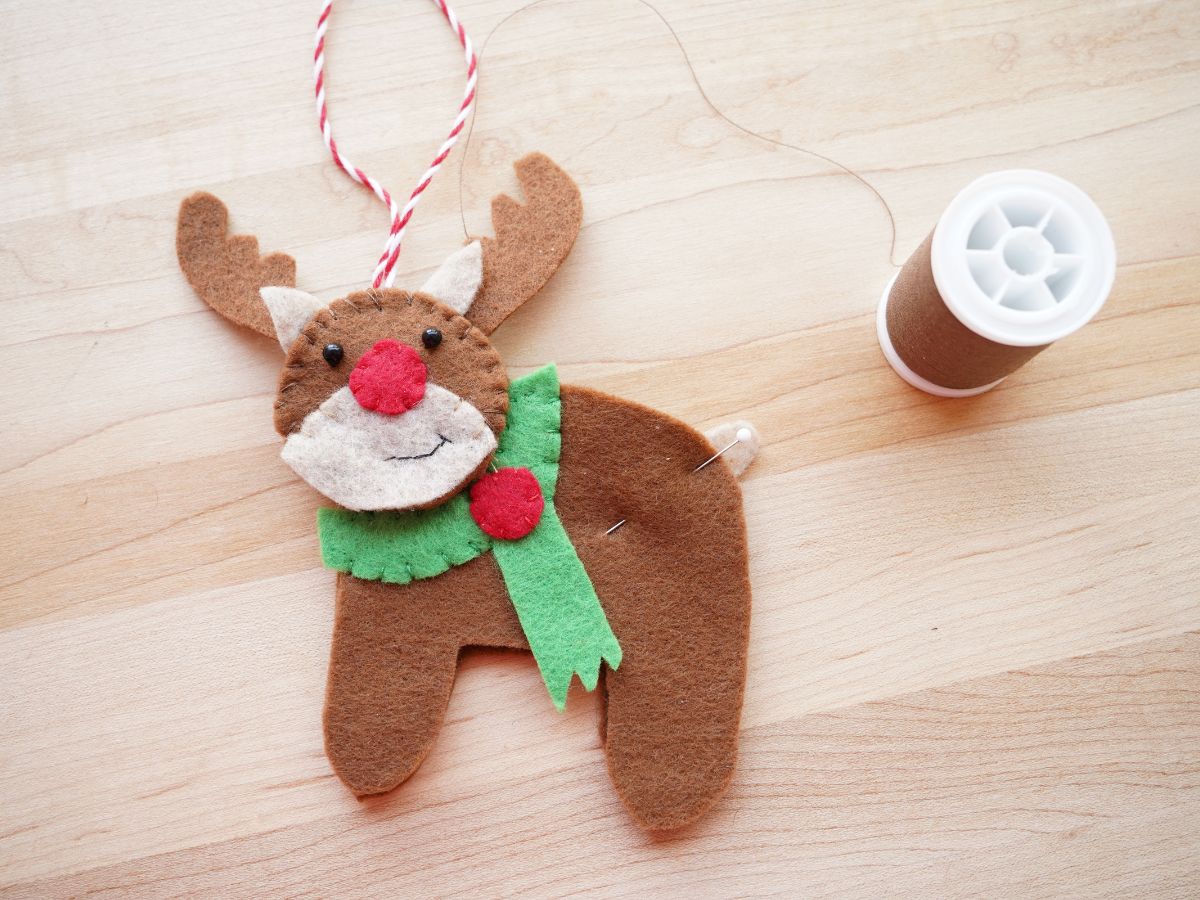
It's time to work on the body of the reindeer ornament. Start by using a whip stitch to attach the red dot to the scarf. Then place the scarf on one piece of the dark brown body felt. Put the head in place too. This will help you properly position the scarf in place. Pin the scarf in place and then use a whip stitch to secure it to the single layer of the body. Again, this will hide all the stitches inside the body.
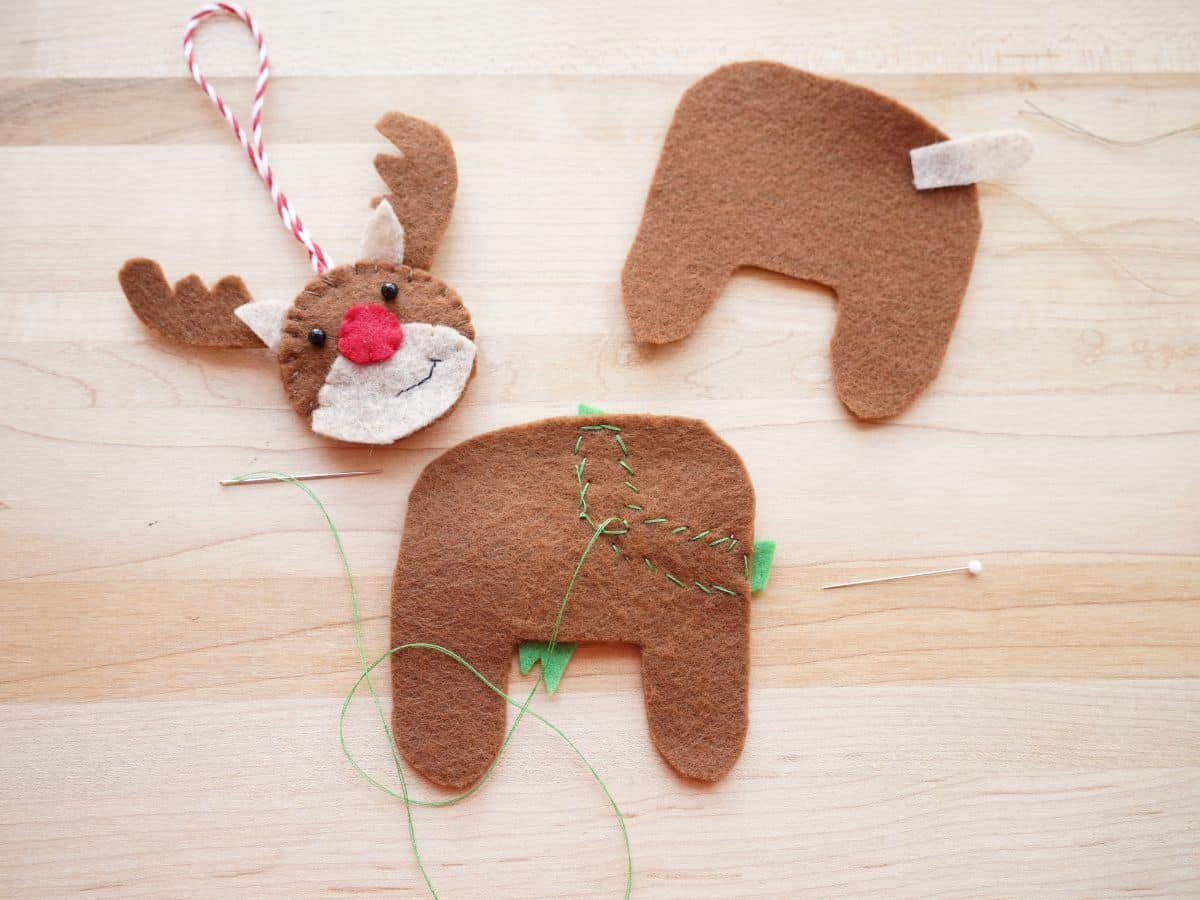
Now, it's time to place the tail where you like and pin it in place. Pin the second dark brown body piece to the front piece. Then pin the head in place. Use a whip stitch to secure the two body pieces together. Run it all the way around the body and when you get to the head you will run a line of whip stitch along the chin of the reindeer, this will secure the head to the body.
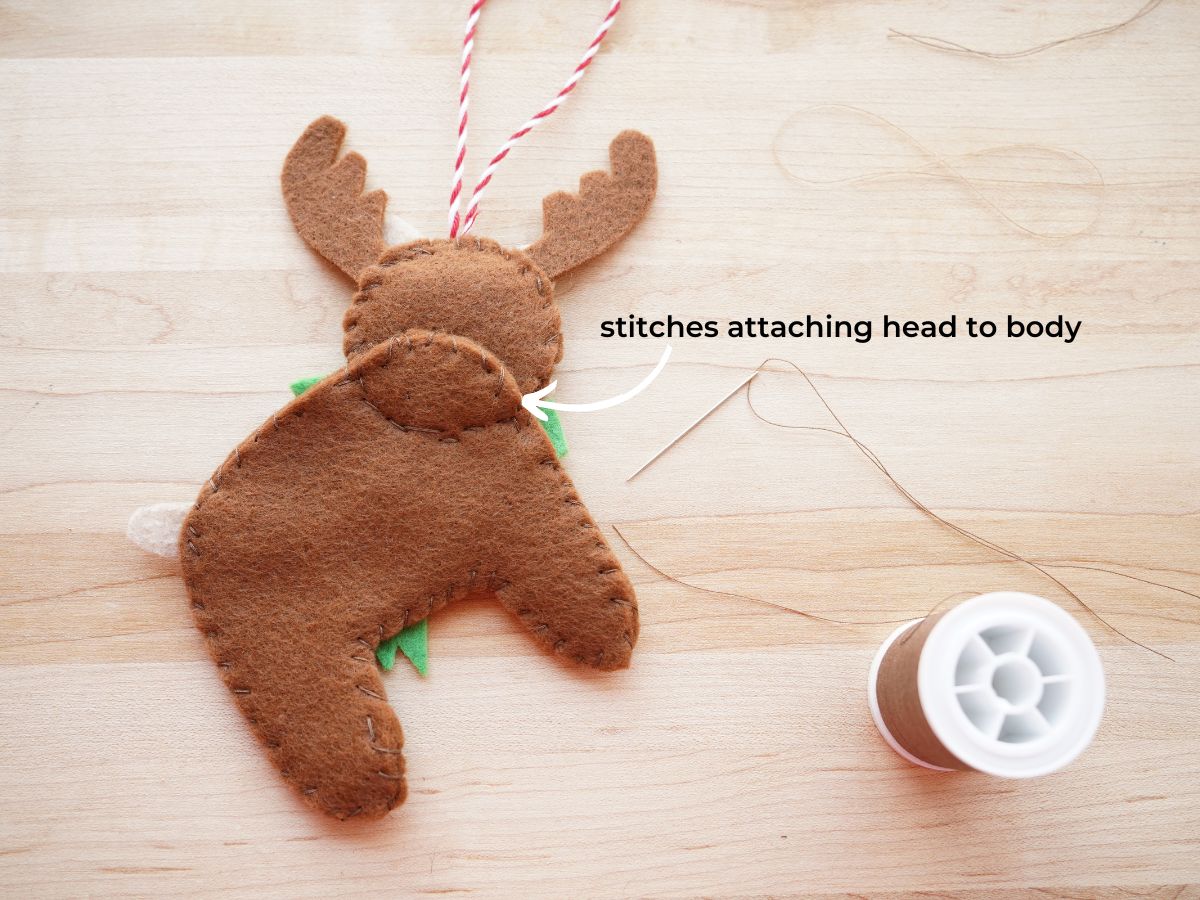
Finish by whip stitching the top of the body piece to the back of the reindeer's head. These stitches shouldn't go all the way to the front of the face, just catch the back piece of the head felt.
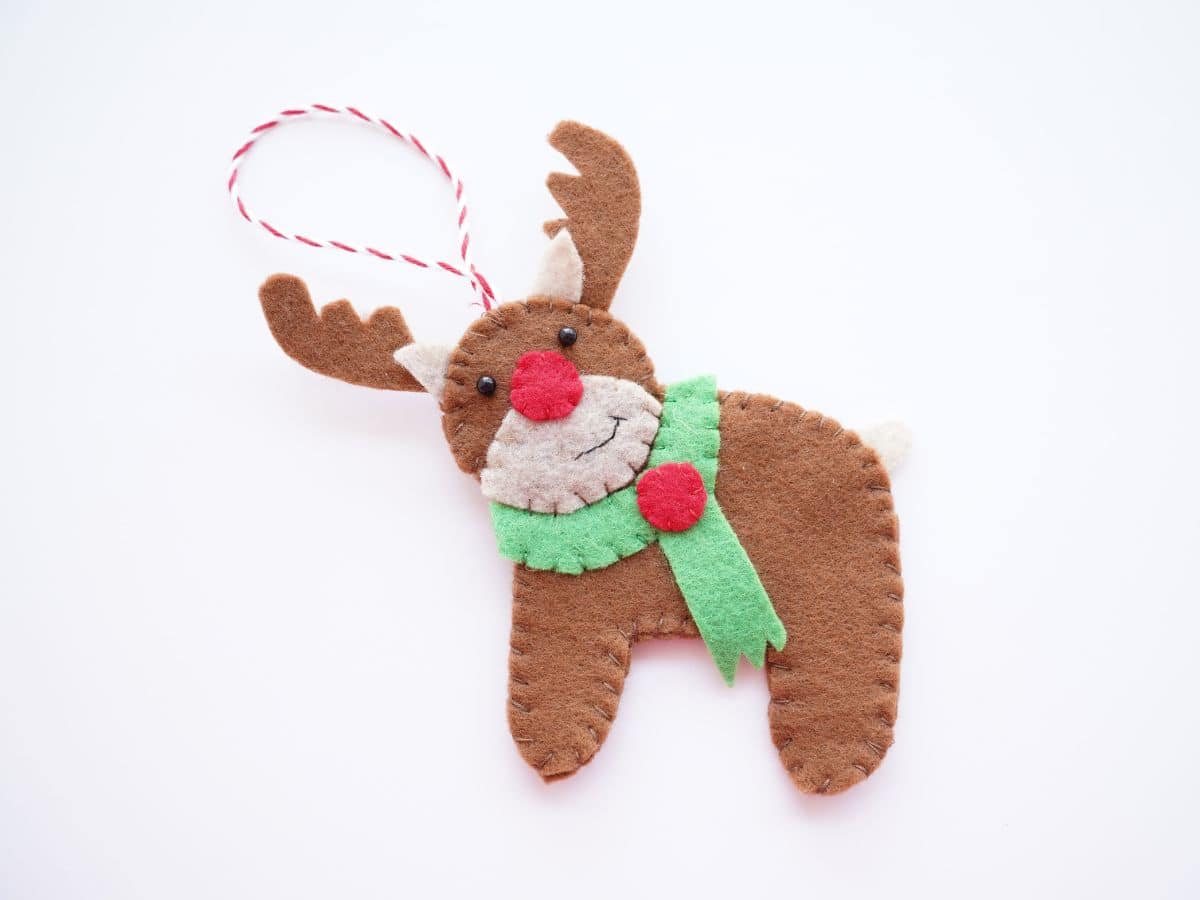
Your reindeer ornament is done and ready to hang on the Christmas tree.
You may even want to hang him with his good friend Santa Claus. I have a tutorial for making a felt Santa ornament too. I suppose that if I have a felt Rudolph ornament I need to make all the other reindeer...eight more reindeer!

More felt Christmas Ideas
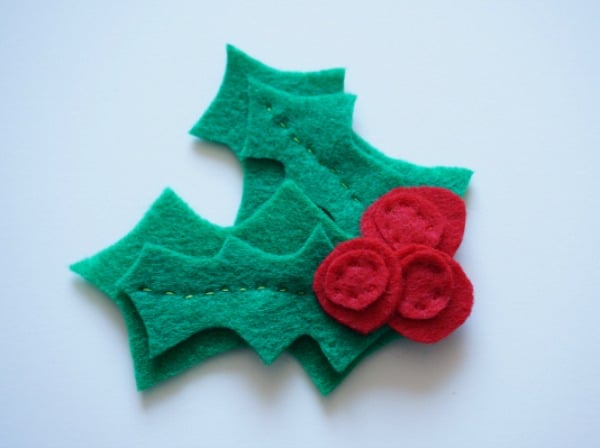
Make our beautiful felt holly brooch
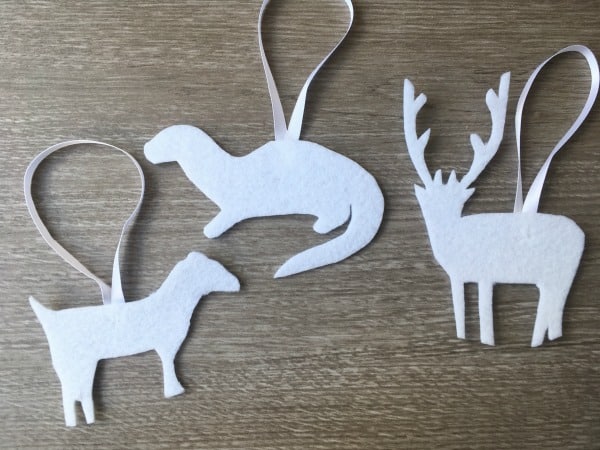
Or, make a felt Harry Potter ornament - your own Patronus ornament
Make sure you are following along...
FOLLOW KITCHEN COUNTER CHRONICLES ON
SUBSCRIBE TO KITCHEN COUNTER CHRONICLES TO HAVE OUR DELICIOUS RECIPES, FUN CRAFTS & ACTIVITIES DELIVERED DIRECTLY TO YOUR INBOX.