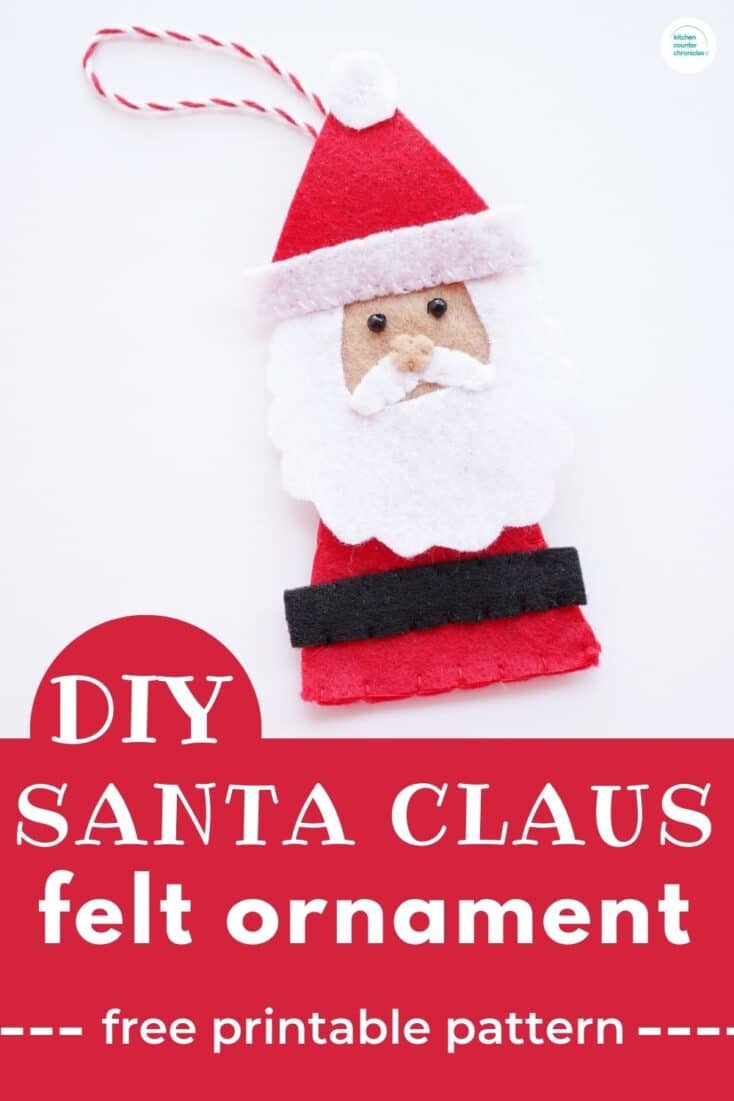
Who's the jolly little fella with the long white beard? Santa! The majority of my Christmas decorations are Santa Claus or reindeer. I love the guy in the big red suit. So, after I made the sweetest felt reindeer ornament I wanted to share how to make a Santa felt ornament. Such a sweet Santa Christmas craft to make.
Disclosure: There are Amazon Affiliate links in this article which means, at no additional cost to you, we could receive compensation for our recommendations. You can read our full disclosure policy on our Disclosure Page for more details.
I really love crafting with felt. It is an easy fabric to work with. It is easy to cut, pin, and sew. The edges won't fray and you can find some pretty awesome colours at your local craft store. My husband's grandmother made a collection of felt Christmas ornaments when he was a little boy. We still hang those ornaments on our tree. They've lasted all these years. This is why I love making felt Christmas ornaments and decorations. They can adorn your tree for decades to come and be passed down for generations to come.
DIY Felt Santa Ornament
felt sheets - red, white, black, flesh tone
thread - white, black, flesh tone
black beads
needle
straight pins
fabric glue
Christmas string
our felt Santa ornament template
The first step is to print our felt Santa ornament template. Once you have the Santa pattern printed, cut all the pieces out of the paper. Then pin the pattern pieces to the felt sheets.
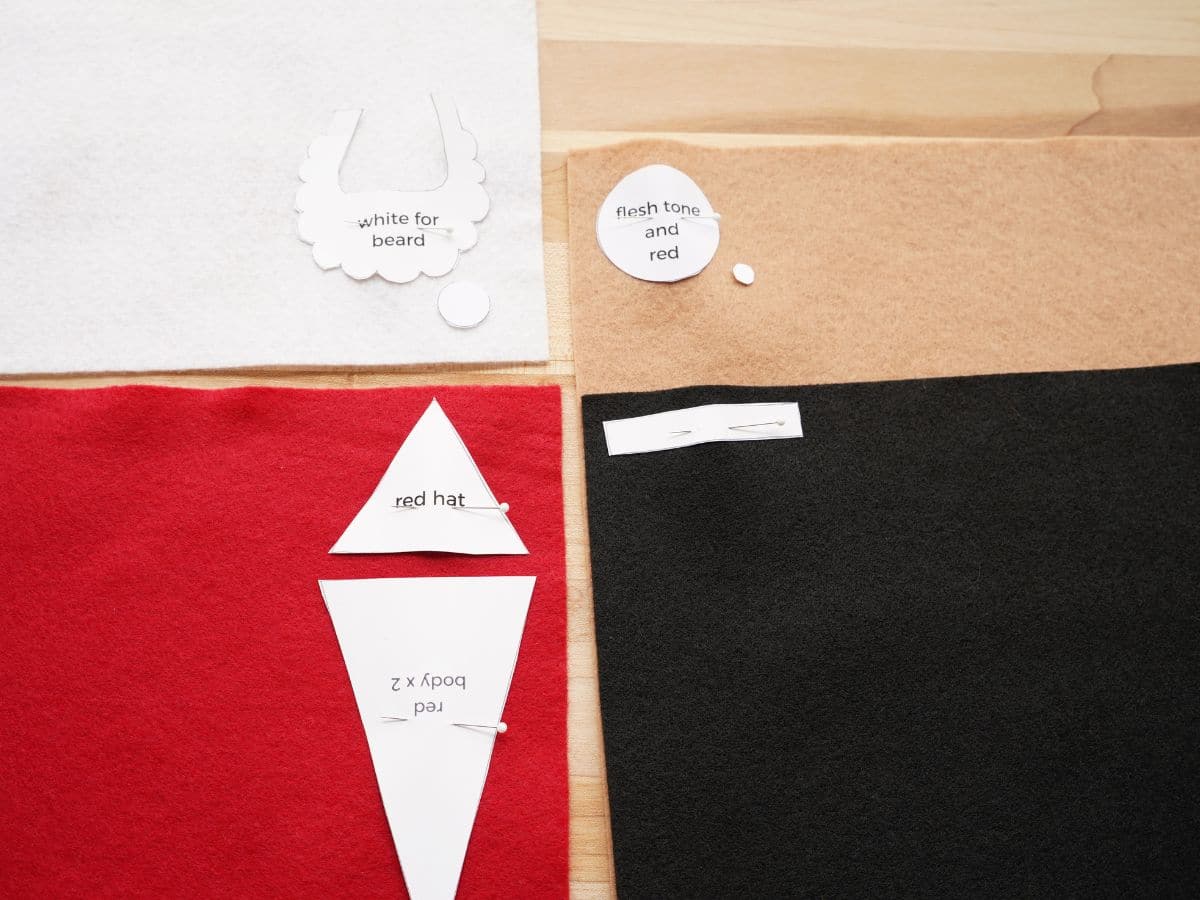
You will need
- 1 red hat
- 2 red body pieces
- 1 red face circle (this will go on the back of the head)
- 1 white beard piece
- 1 white moustache piece
- 1 white hat trim piece
- 1 hat pompom circle
- 1 black belt
- 1 flesh tone face circle
- 1 flesh tone face circle
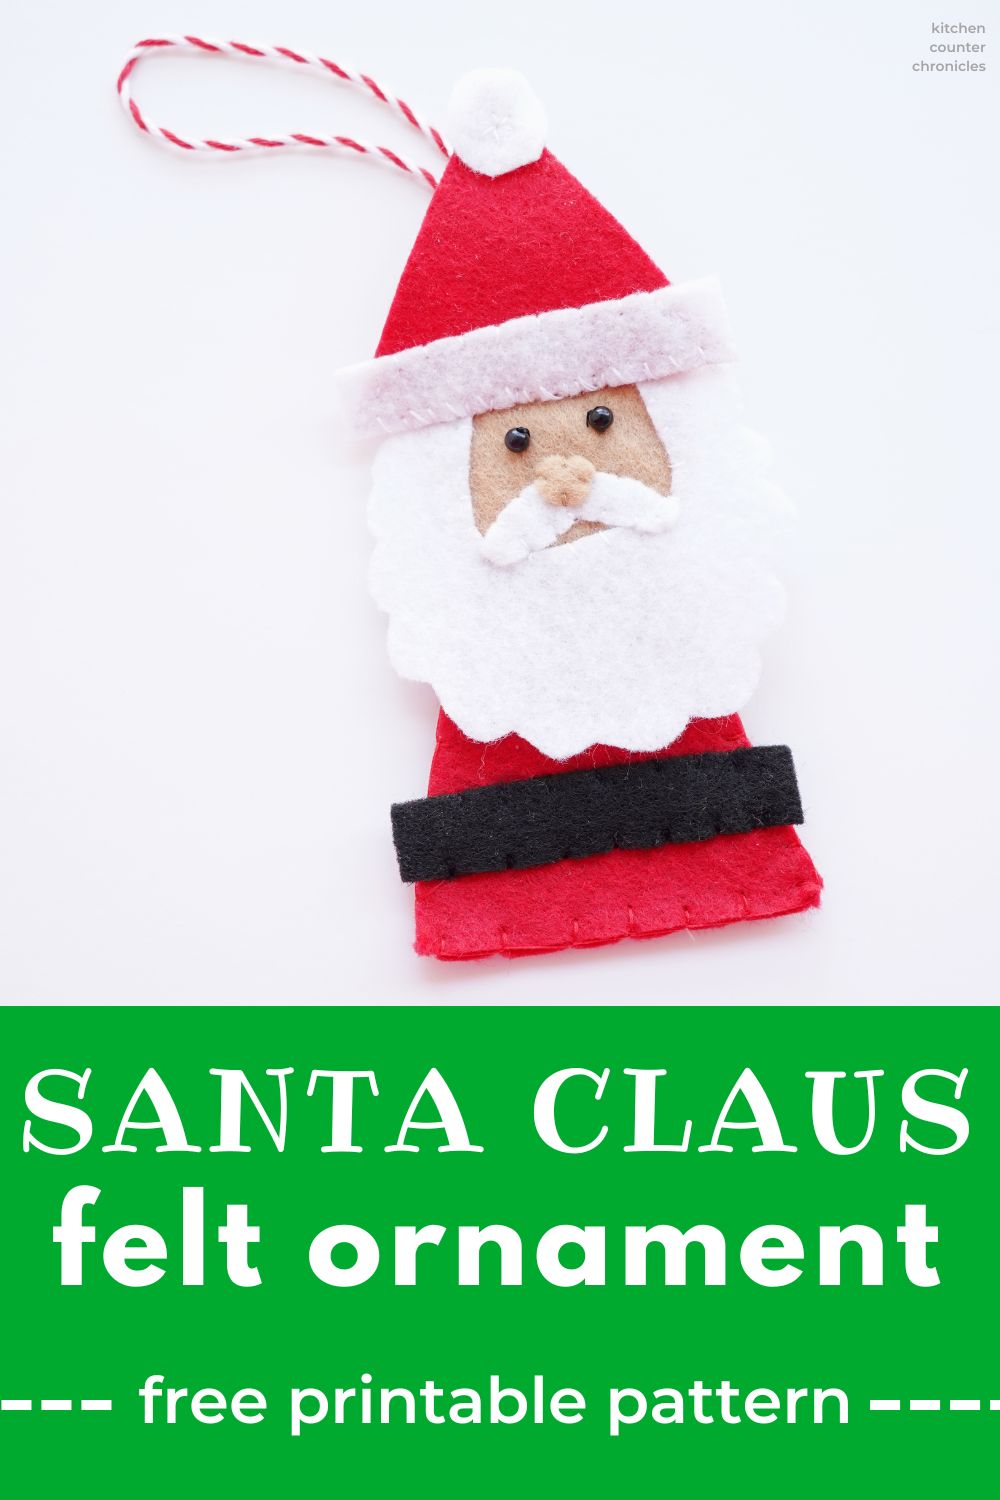
When you have everything pinned and cut out it is time to make your felt Santa (yes, my picture is missing the moustache...oops). Begin with the face. Pin the beard in place on Santa's face and then use a simple whip stitch to attach the beard to the face - use the white thread. When you have the beard in place you can pin and then whip stitch the moustache in place. When the moustache is in place, add the nose. It should slightly overlap the moustache, just like Santa's actual face. When the nose is in place, it's time to add Santa's eyes. Use the black thread to secure the small black beads in a position that you like. You may want to place the hat on the head before you decide where you want the eyes to go. This way you have an idea of how low the hat will end up on the face. Repeat a few stitches of black thread to secure the eyes in place.
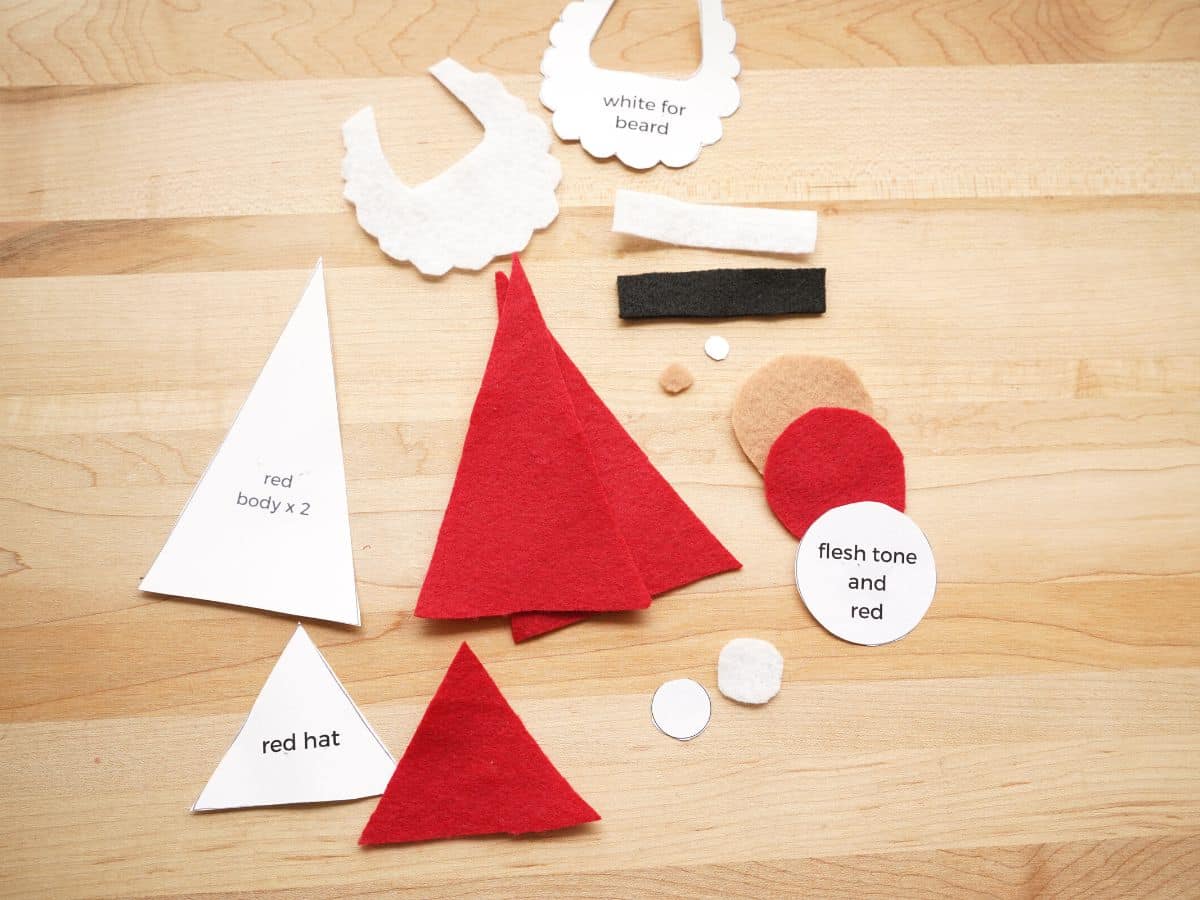
Now, it's time to make the hat. Again use a whip stitch to attach the white hat trim to the wide edge of the hat. And, use a few stitches to secure the felt circle or pompom to the top of Santa's hat. You could glue an actual pompom at the top of the hat if you prefer.
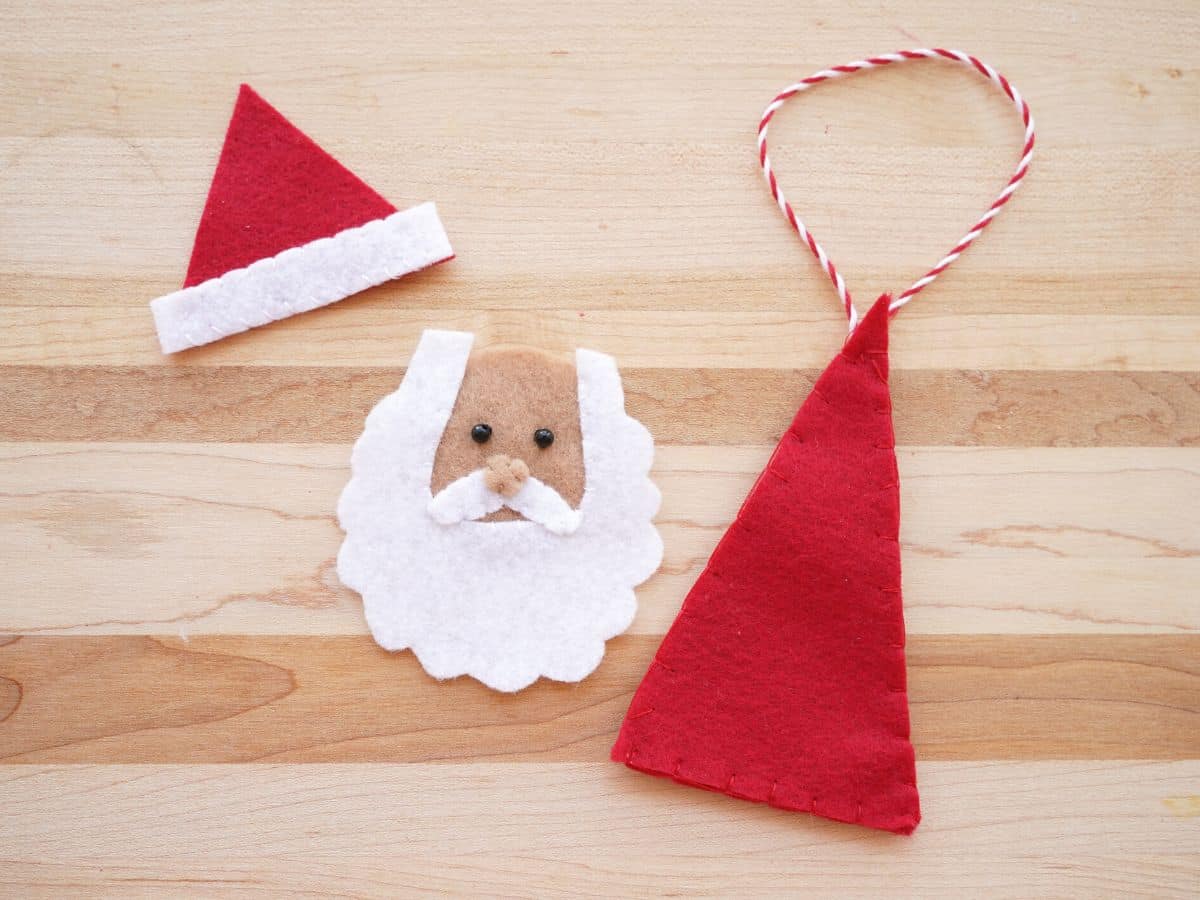
Next, use the black thread to stitch the belt to one piece of Santa's body. I let the ends of the belt hang over the sides of Santa's body, but you could trim it down if you like. Then sew the 2 body pieces together. Use the red thread and run a blanket stitch all the way around the body. Using 2 pieces will give Santa's body a little more structure. Make a long loop of Christmas string and tie a knot in one end. This will be the loop you use to hang the ornament. Use a few stitches of red thread through the knot, to secure the string to the top of Santa's body.
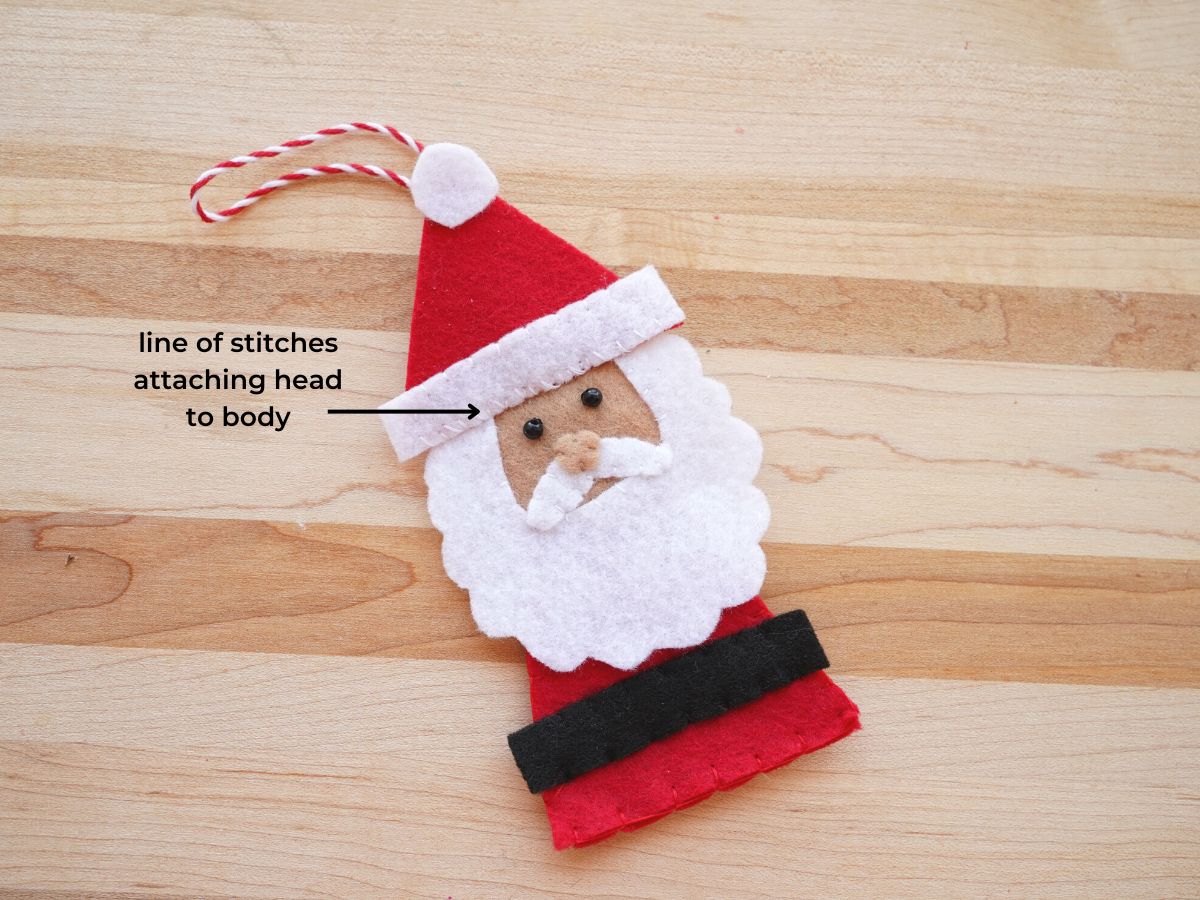
With the body and face complete it's time to sew them together. Place the head where you like it and then use a line of white thread to stitch the hat trim to the body. This will secure the head to the body.
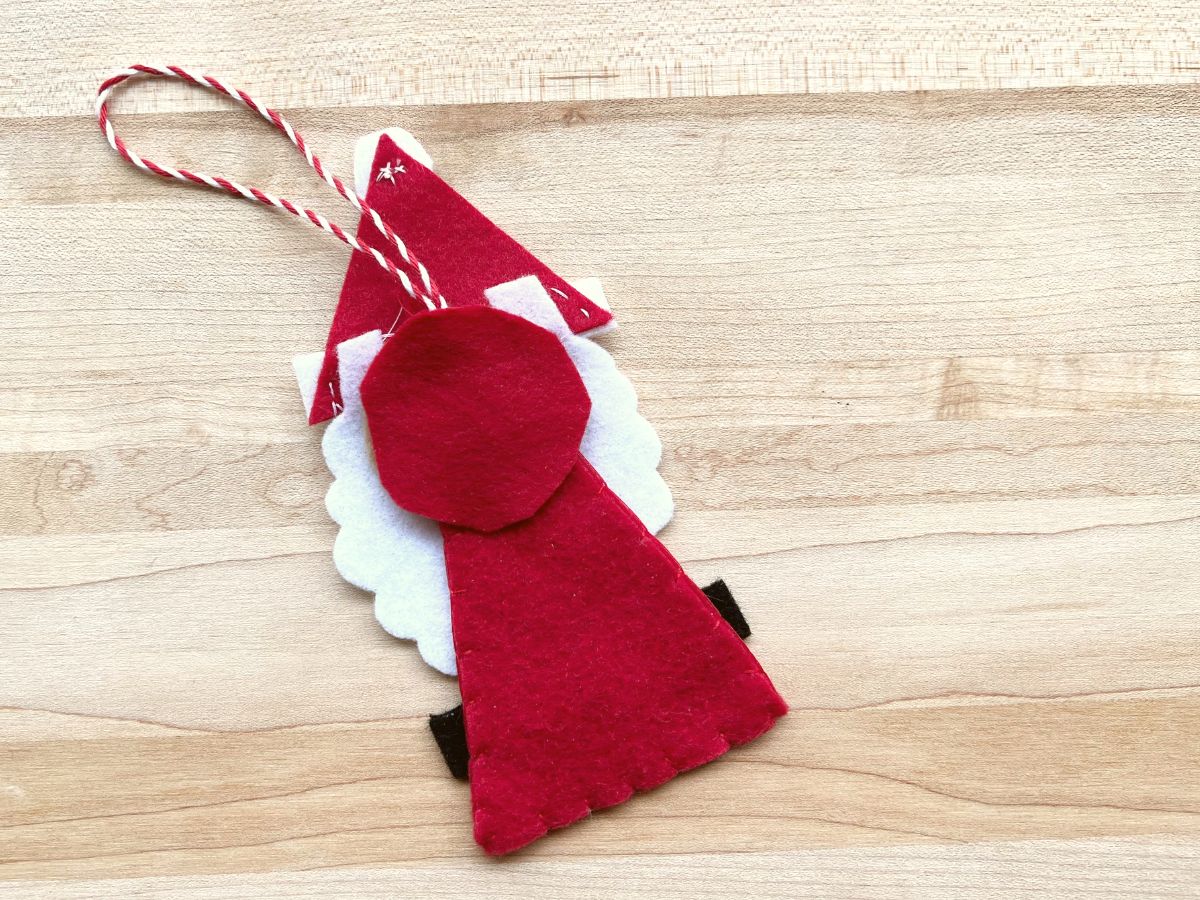
When the body and head are secure, you can use the fabric glue to adhere the red "face" circle to the back of Santa's head. This will cover up all the messy stitches in the back of the ornament. I like using fabric glue in these instances, it gives you a nice and neat back of the ornament.
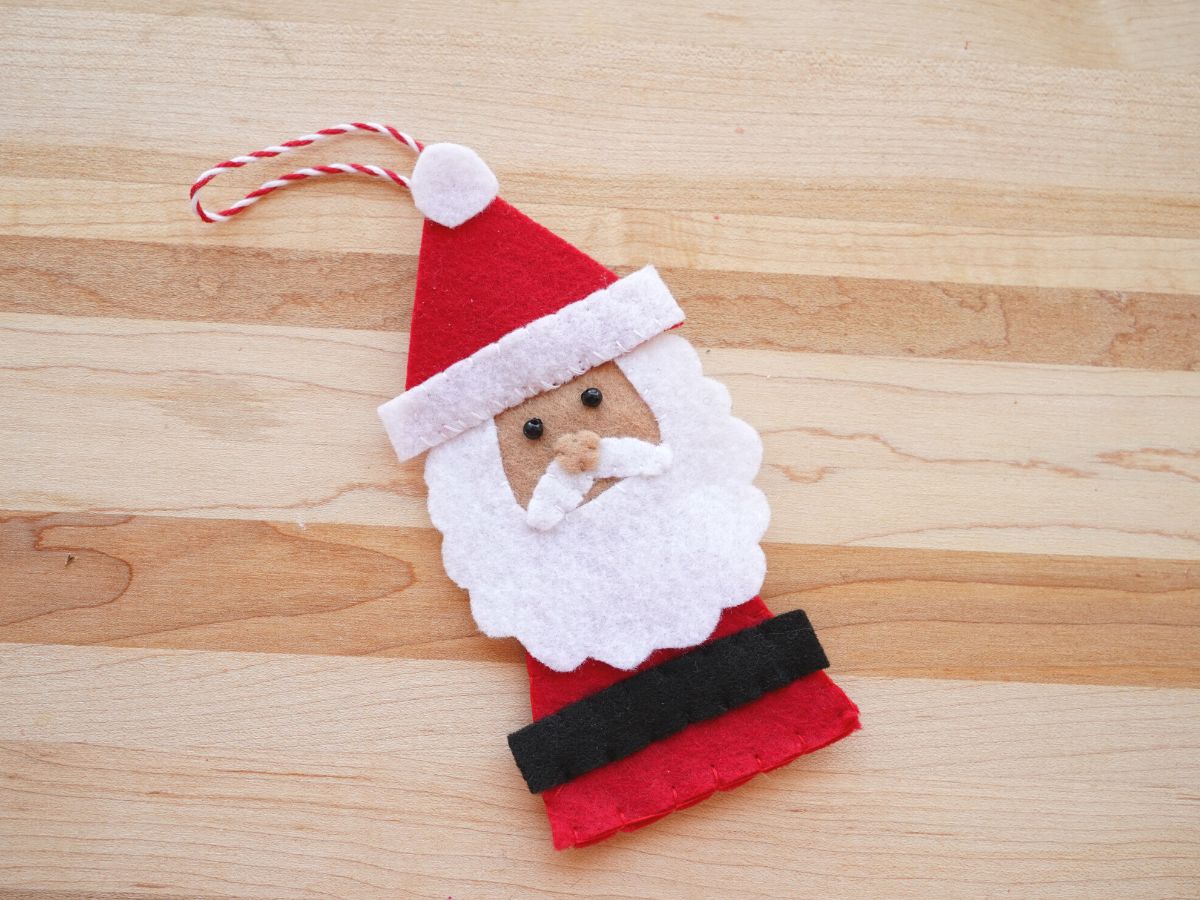
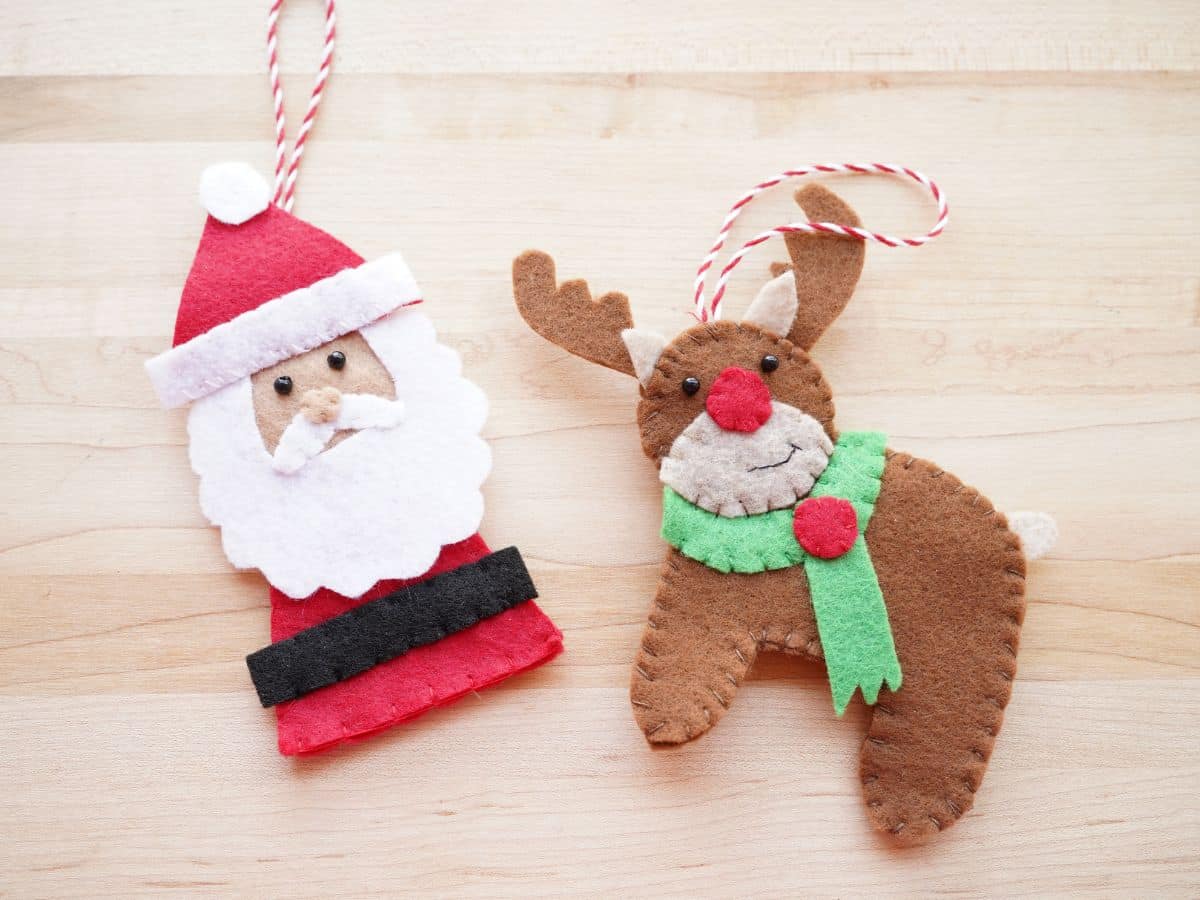
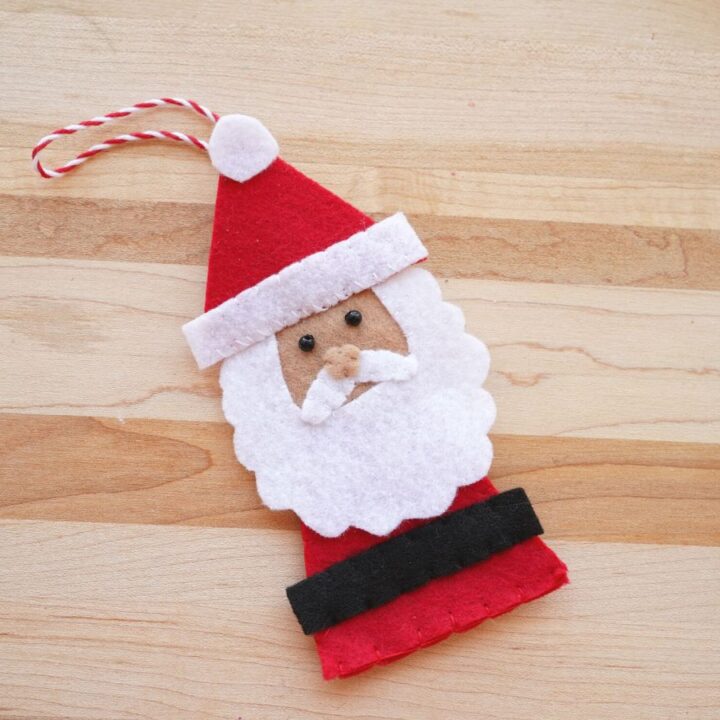
Now, Santa is ready to hang from the tree. He might even like to hang with his old pal, our felt Rudolph ornament. They make quite a cute pair, don't they?!
How to Make Felt Santa Ornament
Learn how to make a felt Santa ornament with our printable felt Santa template and full instructions.
Materials
- felt sheets - red, white, black, flesh tone
- thread - white, black, flesh tone
- black beads
- Christmas string
- our felt Santa ornament template
Tools
- scissors
- needle
- straight pins
- fabric glue
- printable felt Santa ornament template
Instructions
1. The first step is to print our felt Santa ornament template. Once you have the Santa pattern printed, cut all the pieces out of the paper. Then pin the pattern pieces to the felt sheets.
2. You will need to cut:
- 1 red hat
- 2 red body pieces
- 1 red face circle (this will go on the back of the head)
- 1 white beard piece
- 1 white moustache piece
- 1 white hat trim piece
- 1 hat pompom circle
- 1 black belt
- 1 flesh tone face circle
- 1 flesh tone face circle
3. When you have everything pinned and cut out it is time to make your felt Santa (yes, my picture is missing the moustache...oops). Begin with the face. Pin the beard in place on Santa's face and then use a simple whip stitch to attach the beard to the face - use the white thread.
4. When you have the beard in place you can pin and then whip stitch the moustache in place. When the moustache is in place, add the nose. It should slightly overlap the moustache, just like Santa's actual face. When the nose is in place, it's time to add Santa's eyes. Use the black thread to secure the small black beads in a position that you like. You may want to place the hat on the head before you decide where you want the eyes to go. This way you have an idea of how low the hat will end up on the face. Repeat a few stitches of black thread to secure the eyes in place.
5. Now, it's time to make the hat. Again use a whip stitch to attach the white hat trim to the wide edge of the hat. And, use a few stitches to secure the felt circle or pompom to the top of Santa's hat. You could glue an actual pompom at the top of the hat if you prefer.
6. Next, use the black thread to stitch the belt to one piece of Santa's body. I let the ends of the belt hang over the sides of Santa's body, but you could trim it down if you like. Then sew the 2 body pieces together. Use the red thread and run a blanket stitch all the way around the body. Using 2 pieces will give Santa's body a little more structure. Make a long loop of Christmas string and tie a knot in one end. This will be the loop you use to hang the ornament. Use a few stitches of red thread through the knot, to secure the string to the top of Santa's body.
7. With the body and face complete it's time to sew them together. Place the head where you like it and then use a line of white thread to stitch the hat trim to the body. This will secure the head to the body.
8. When the body and head are secure, you can use the fabric glue to adhere the red "face" circle to the back of Santa's head. This will cover up all the messy stitches in the back of the ornament. I like using fabric glue in these instances, it gives you a nice and neat back of the ornament.
9. Now, Santa is ready to hang from the tree. He might even like to hang with his old pal, our felt Rudolph ornament.
More Santa Christmas Ideas

Make a toilet paper roll Santa Claus
Or, what about a Santa veggie tray
Make sure you are following along...
FOLLOW KITCHEN COUNTER CHRONICLES ON
SUBSCRIBE TO KITCHEN COUNTER CHRONICLES TO HAVE OUR DELICIOUS RECIPES, FUN CRAFTS & ACTIVITIES DELIVERED DIRECTLY TO YOUR INBOX.

