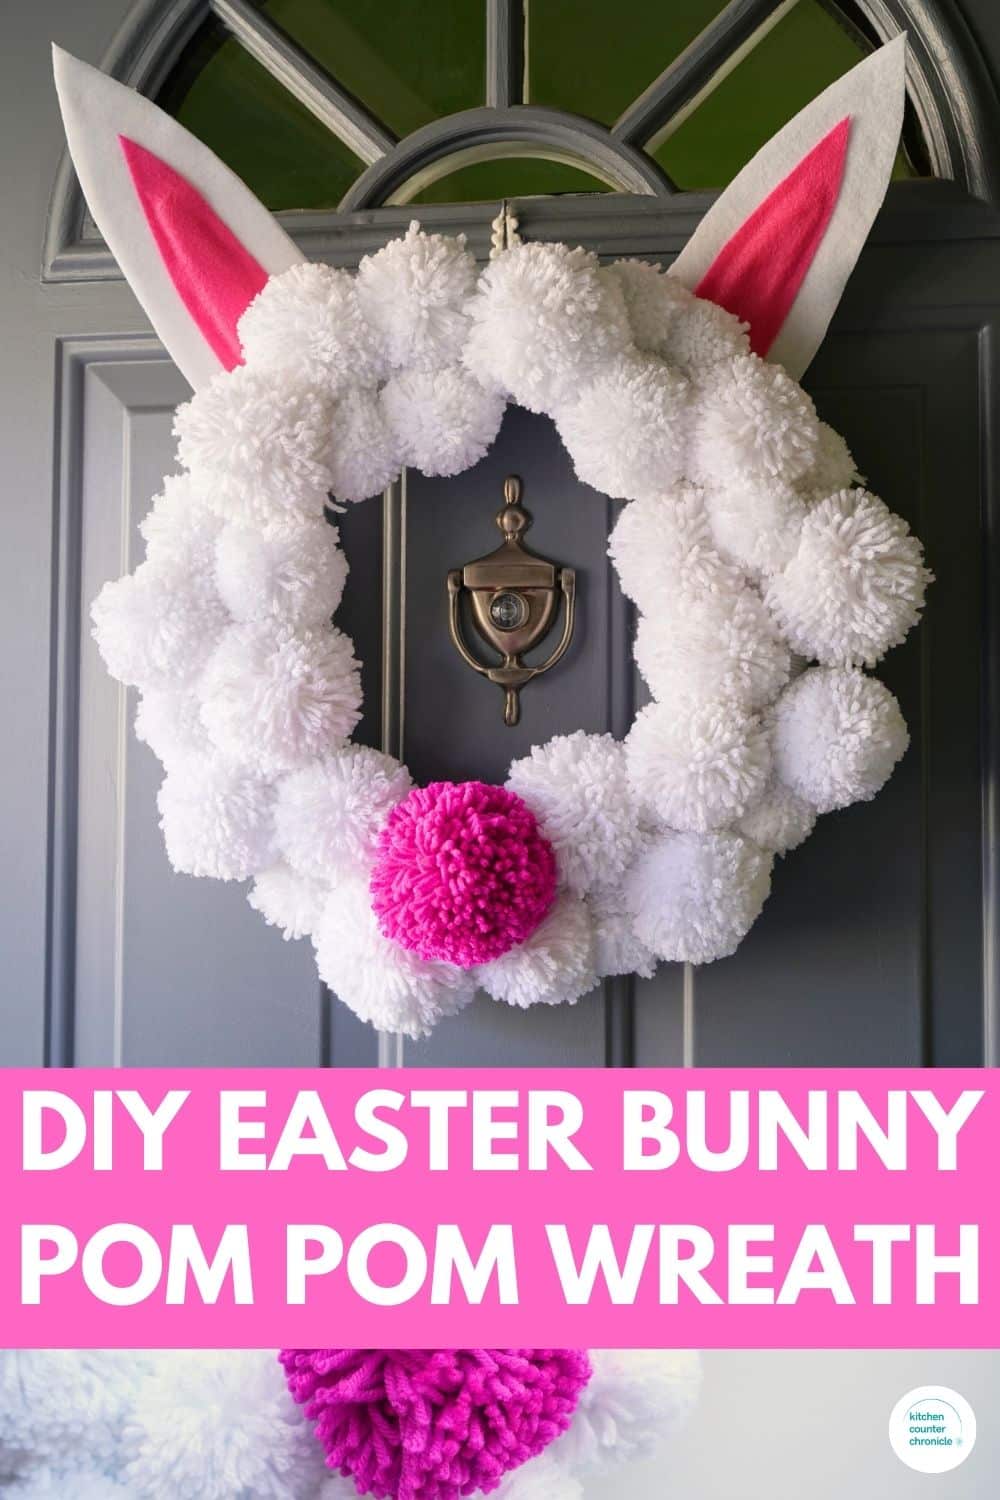
I love welcoming guests to our home with a fun and festive wreath. I've shared many different DIY wreaths over the years - kid-made and mom-made. I absolutely love how this cute Easter pom pom wreath turned out. It may be one of my favorite Easter crafts. I love the fluffy Easter bunny pom pom wreath and I think you will too.
Disclosure: There are Amazon Affiliate links in this article which means, at no additional cost to you, we could receive compensation for our recommendations. You can read our full disclosure policy on our Disclosure Page for more details.
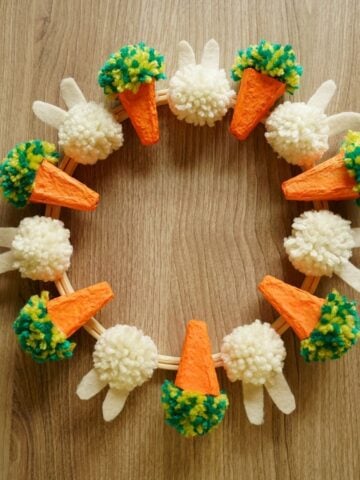
This past Christmas I made a fluffy white pom pom wreath and I shared how it could be easily changed up. I created a base of white pom poms and then showed you how to make removable items to add and remove from the wreath. I was looking for a versatile wreath that I could change from Christmas to winter. Well, this time around I'm using the same white pom pom wreath and adding some fun Easter bunny pieces, and the wreath is totally transformed into a sweet Easter pom pom wreath.
Easy Easter Pom Pom Wreath
green foam wreath form (12")
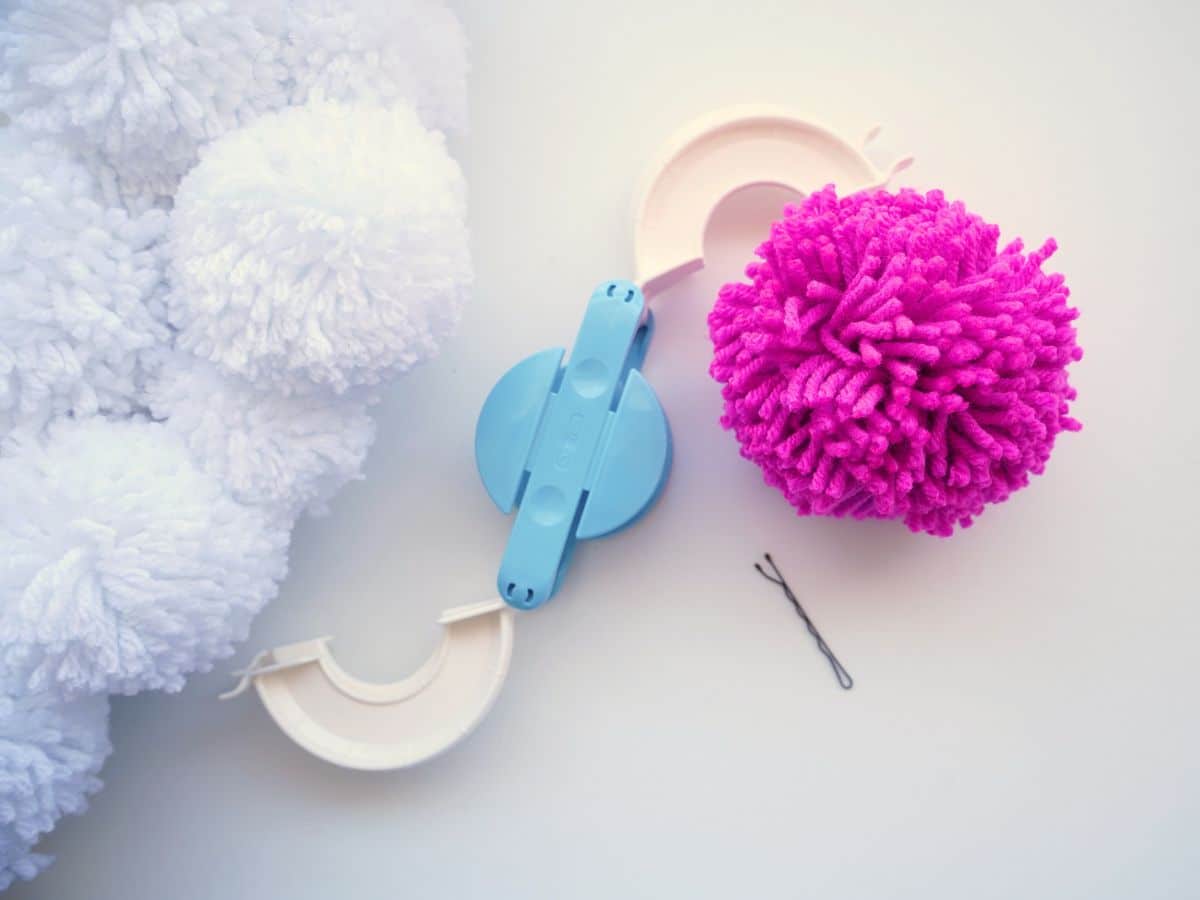
pom pom maker tool
white yarn
pink yarn
2 sheets of white felt and 2 sheets of pink felt
2 pink pipe cleaners
hot glue gun
bobby pins
white ribbon
The first step is making a pile of white pom poms. I have created a video and a post where I give the full instructions for using the pom pom making tool to make pom poms. If you’ve never made a pom pom, the post and video are a great place to start. You will want to make at least 14 white pompoms in 3 sizes – 1 ⅜″, 3 ⅜″, and 2 ½″.

For this wreath, I started with a green foam wreath form. You can find these at most craft stores. Because it is green I covered the form by wrapping it with white yarn. Add a dollop of hot glue to the wreath form and press the end of the white yarn into the glue, securing it to the wreath. Wrap the white yarn around and around, all the way around the form. Add a dollop of glue about halfway around the wreath for extra security. And, another dollop of glue when you reach the end. Now you have a white yarn wrapped wreath.
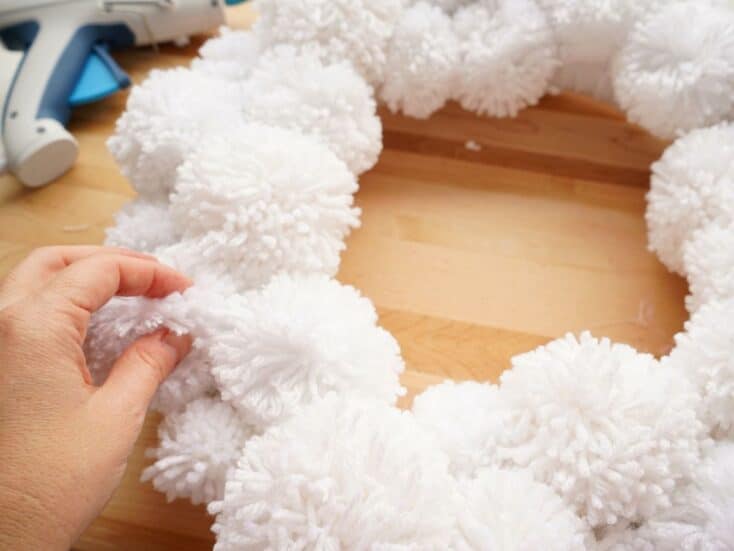
Squeeze a large dot of hot glue onto the wreath and press a pom pom into the glue. Press for a few seconds, to be sure it is secure. Once you have your first pompom in place more pompoms all the way around the wreath. The key is to add the pom poms in a scattered pattern, kind of like a brick pattern. Mix adding large and medium sized pompoms. Use the small pompoms at the end, to fill in any gaps or spaces. I like adding the smaller pompoms around the inner edge and the outer edges of the wreath. I don't add pom pom on the backside of the wreath. I like the wreath to sit flush with the wall, you could place it on the backside, but your wreath will sit away from the wall or door.
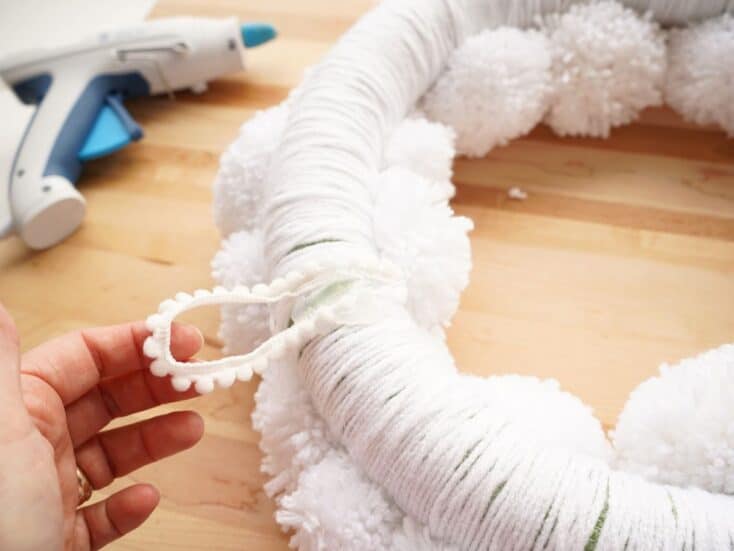
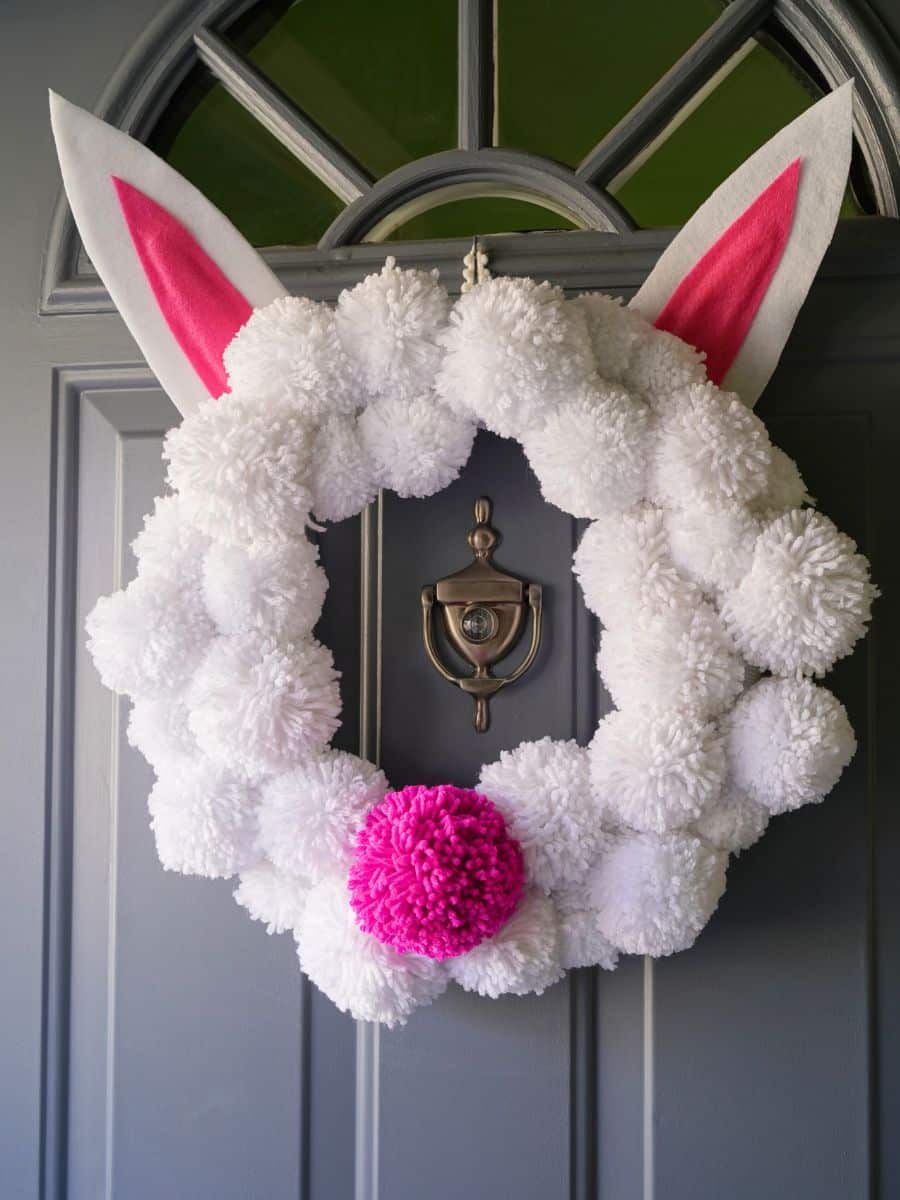
Once the wreath is covered in pom poms it's time to glue on a loop of ribbon for the wreath to hang from. If you know where you will be hanging the wreath you can set it in place and measure how long you need the loop to be. I always make sure the wreath will hang around my front door's peephole - I don't want it to block my peephole. Now the wreath is ready for its Easter glow-up!
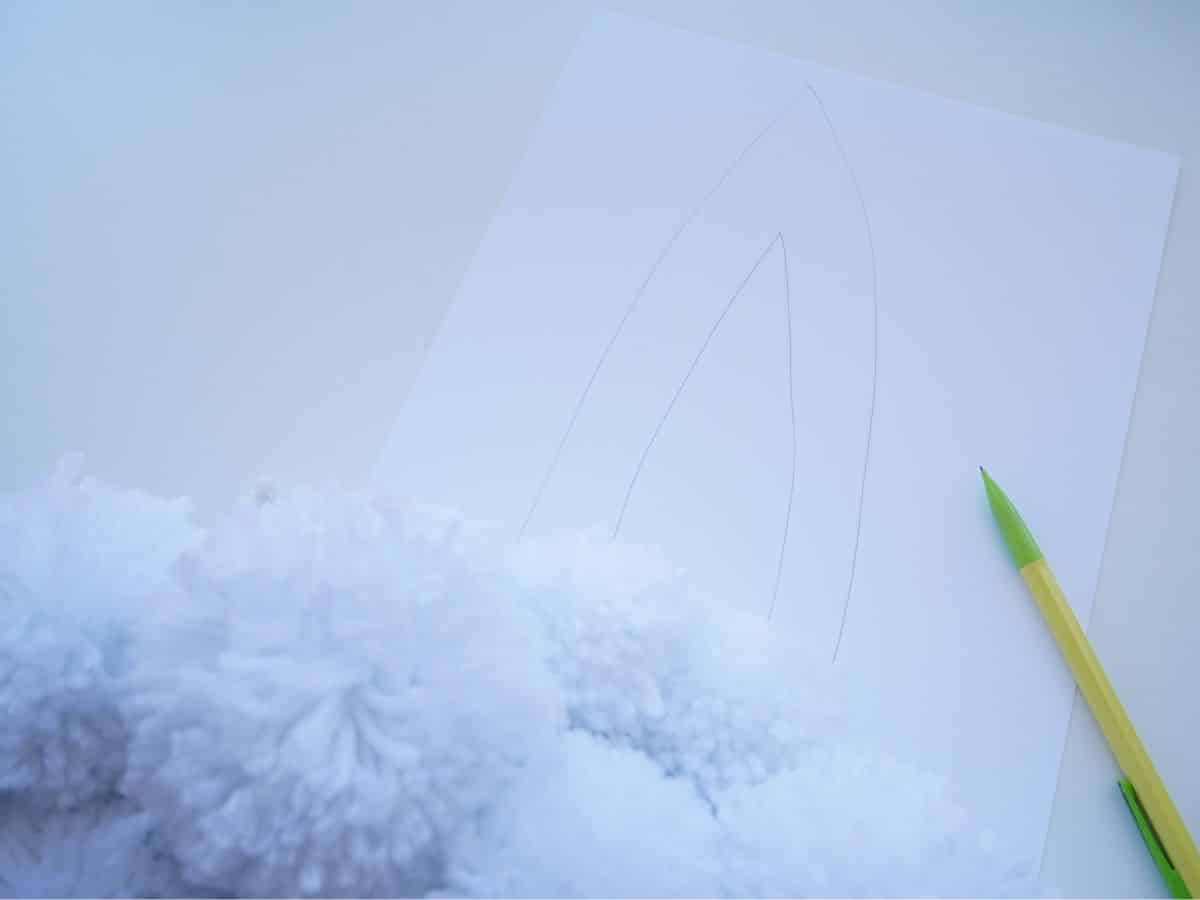
It's time to make the felt Easter Bunny ears. Place the wreath down on a table and set a piece of paper behind the wreath. Draw a bunny ear on the paper, the size that you like. Mine ended up being about 7 inches long and 4 inches wide at the base.

Cut out the bunny ear template from the paper and then cut out 4 ears from the white felt. I cut out 4 ears because I like the felt to be more substantial and thick. I will double up the felt. Use the glue gun to adhere the two ear pieces together.
Once you have the white of the ears complete you can work on the inner pink of the bunny ear. Use the original paper bunny ear template and draw on an inner pink area that you like. Cut this piece out and then cut out 2 pink inner bunny ear pieces.
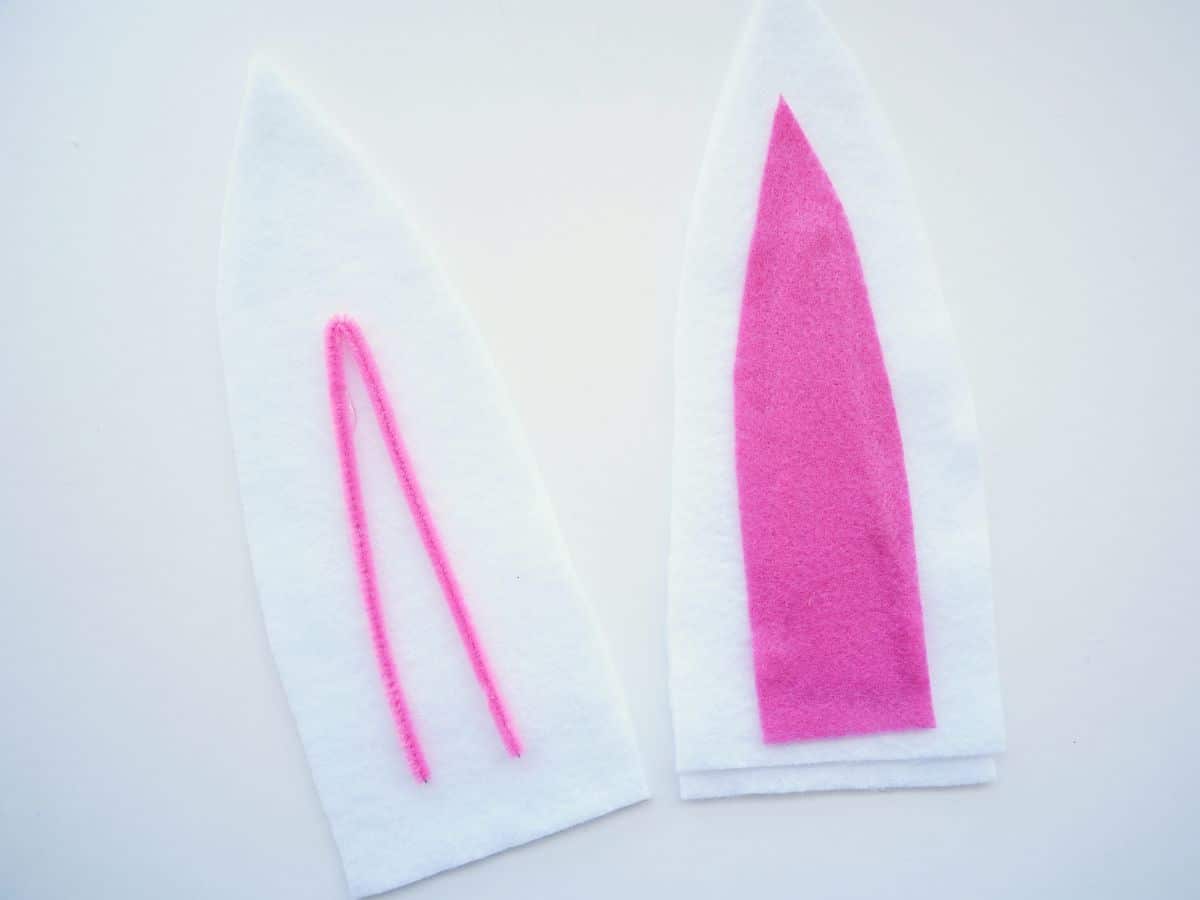
Now, it's time to add the secret to these bunny ears. The addition of the pipe cleaners means the ears will be stiff and even bendable. Fold a pink pipe cleaner in half and use the hot glue to glue it in place on the white felt. Make sure it will be hidden by the pink inner ear piece.
Once the pipe cleaner is glued in place, glue the pink inner ear piece over the pipe cleaner. Now the ears are fully assembled and ready to be attached to the wreath. If you want to make this wreath permanently an Easter wreath then feel free to use the hot glue gun to adhere the ears to the wreath. However, I love that this wreath is changeable from season to season.
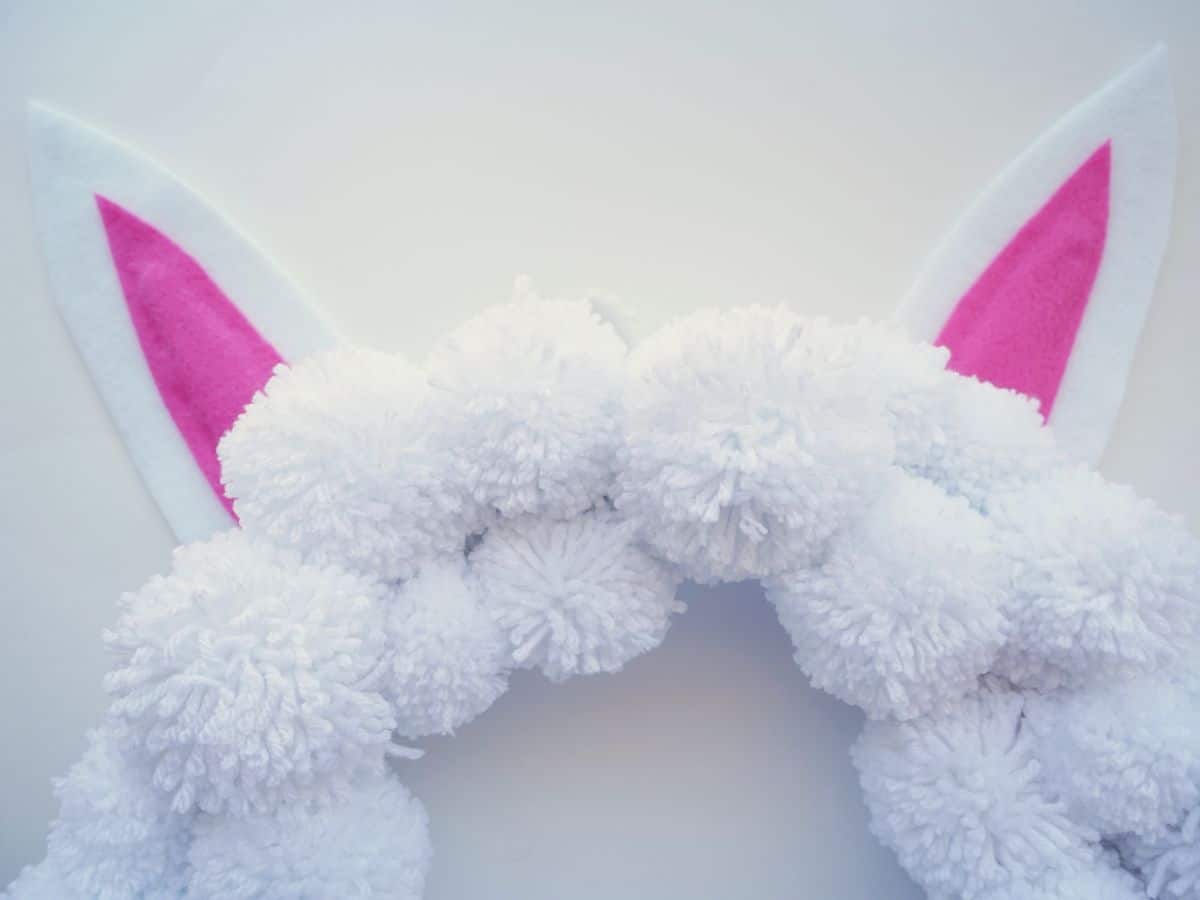
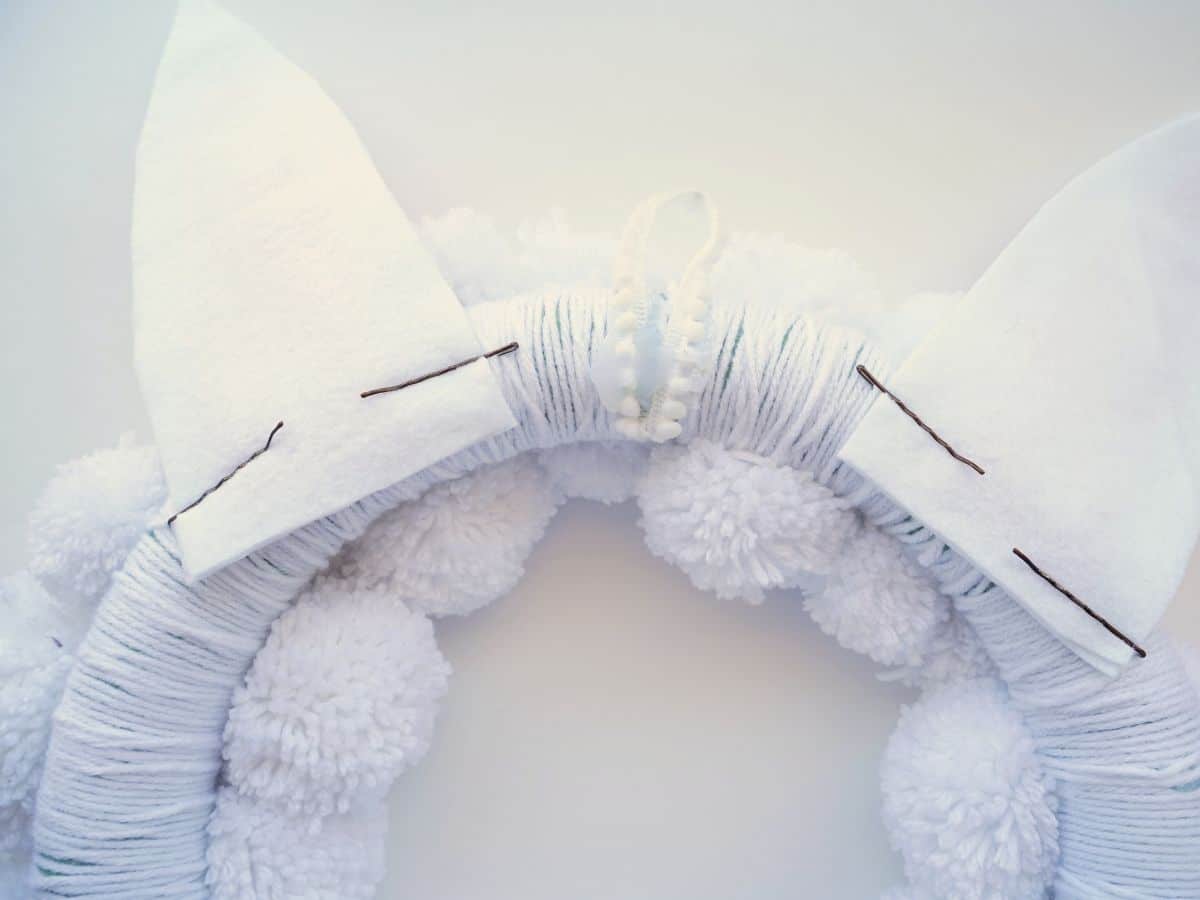
So, to achieve this I slid two bobby pins on the end of the bunny ears. Then place the ears where you want them to be and slide the bobby pins through the white yarn that is looped around the wreath. This is another reason why we wrapped the wreath form with the yarn.
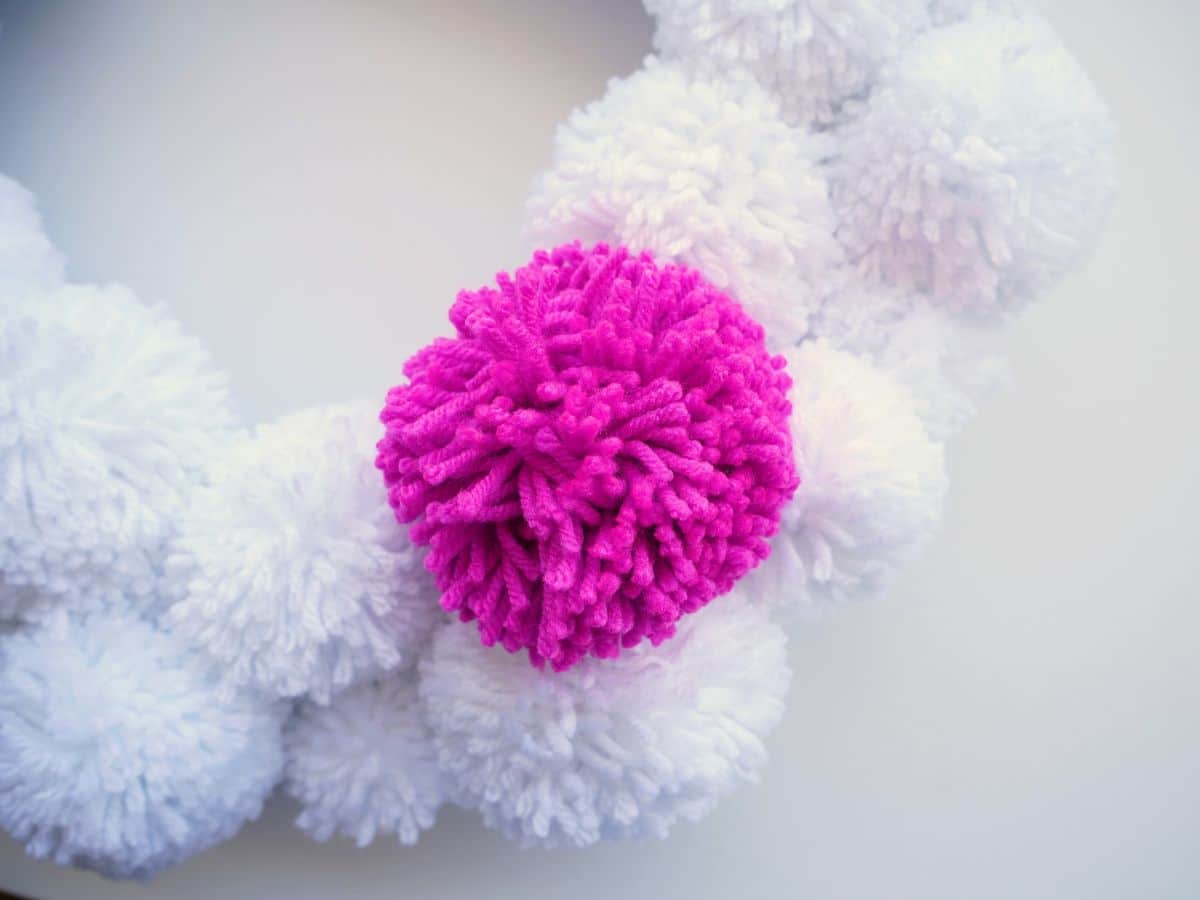
Finally, we added a big fluffy pink pom pom to the middle of the bottom of the wreath. Again, I used bobby pins to secure the pom pom to the wreath. I used 4 bobby pins and attached the pink pom poms to the white pom poms. I'm not sure if the pink pom pom is a bunny nose or a bunny tail. What do you think?
I love how this Easter wreath turned out. Another successful pom pom wreath! I even got a text from my teenage daughter letting me know that she loves the wreath...I'll take the praise from my kiddo.
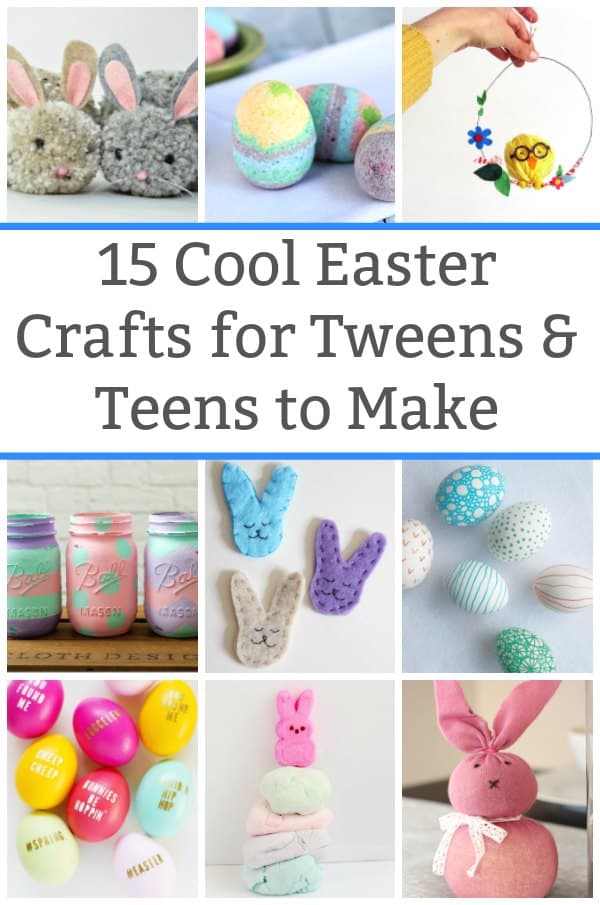
Check out all of the fun Easter crafts for tweens and teens to make.
Make sure you are following along...
FOLLOW KITCHEN COUNTER CHRONICLES ON
SUBSCRIBE TO KITCHEN COUNTER CHRONICLES TO HAVE OUR DELICIOUS RECIPES, FUN CRAFTS & ACTIVITIES DELIVERED DIRECTLY TO YOUR INBOX.