We have shared many, many amazing art projects for kids. Recently, we pulled out our easel, canvases and paint to create dog paintings. We dove into the world and art of George Rodrigue...we had a blast. So, when we were wondering what artist to explore this time around, our first stop was the library.
Disclosure: There are Amazon Affiliate links in this article which means, at no additional cost to you, we could receive compensation for our recommendations. You can read our full disclosure policy on our Disclosure Page for more details.
We scoured the bookshelves and landed on a really fun DVD; "WOW: Mastering the Louvre". As soon as I saw that this film was all about venturing through the Louvre I knew the girls would love it. When I think of the Louvre, I think of the most famous painting in the world the Mona Lisa by Leonardo Da Vinci. Ta-Da...another artist to explore!
We found a great book about Da Vinci and learned some amazing facts - "Leonardo Da Vinci (Famous Artist Series) by Antony Mason. Did you know that Da Vinci wrote everything backwards!? In order to read something he wrote you had to place it in front of a mirror, really. As we read we focused on a painting technique called "fresco." Fresco comes from the Latin word for "fresh". It simply means painting on fresh plaster. This was a common way to paint inside cathedrals and churches. Da Vinci's most famous fresco is "The Last Supper". I remember being in high school art class and creating my first fresco. I loved that art class with Mr. Fermanchuck...what a great teacher! I really wanted to experiment with fresco with my girls. Here is what we did.
How to Paint a Fresco with Kids
plaster of paris
sketchbook
paintbrushes
acrylic paints
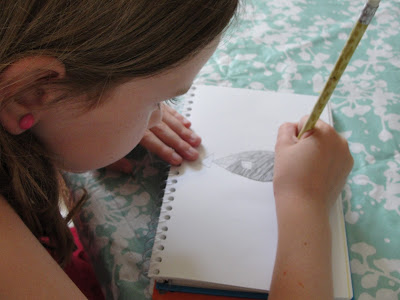
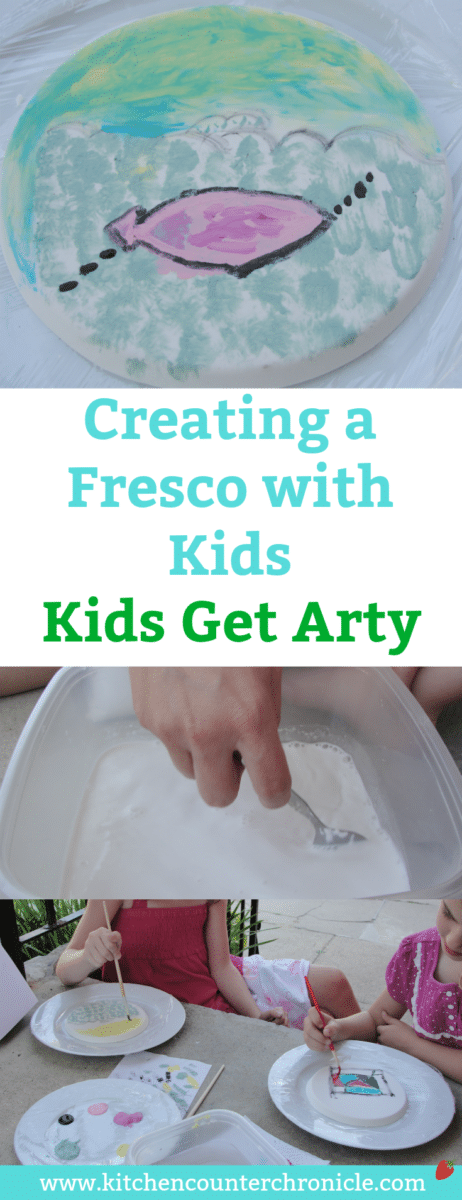
Since the very nature of a fresco is to work in fresh plaster, it is important to have a plan or a sketch from which to work. The girls grabbed some paper and began sketching.
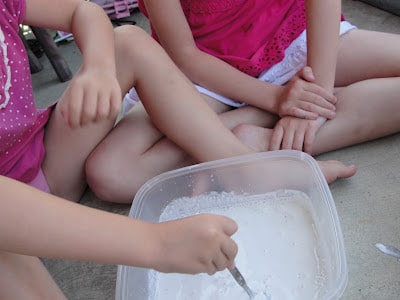
Next, we brought all of our supplies outside onto the front porch. It was a beautiful day, so why not head outside? We mixed up the plaster of paris (that we picked up at our local art supply store) according to the package directions. We used small plastic plates as our forms.
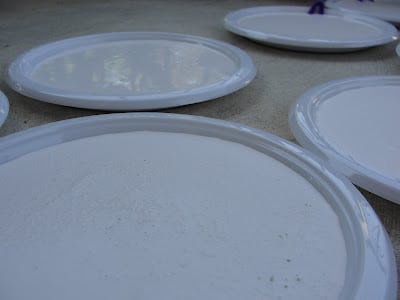
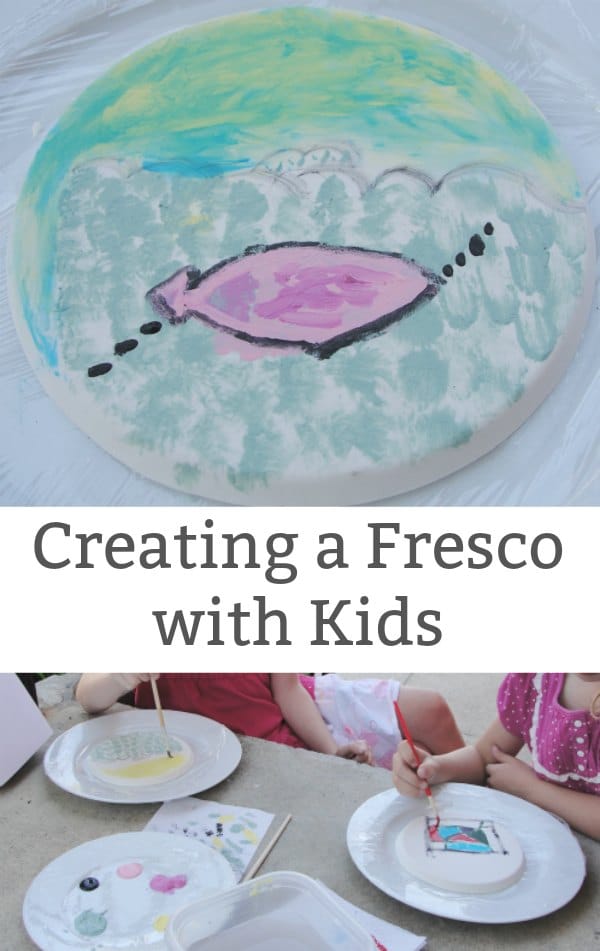
We allowed the plates of plaster to dry for about 10 minutes until they started to harden. The girls then started painting. It is important to work quickly. My youngest daughter wanted to flip out the plaster and paint on the smoother side...so I flipped it out.
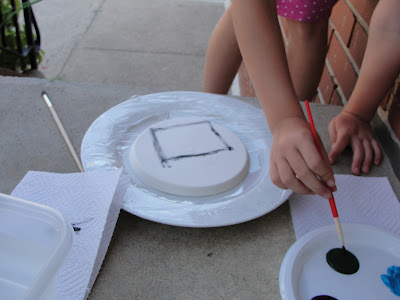
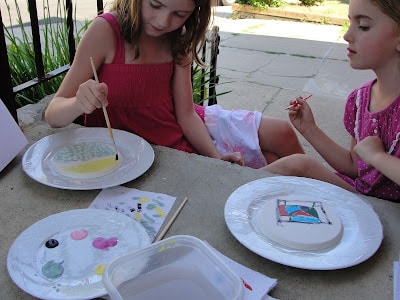
When their frescoes were complete they were lovely. We noted how quickly the plaster had hardened...much faster than it would have traditionally. I think our new-age quick-drying plaster was probably not the best choice, oh well. In the end, the girls could see that their brushstrokes actually moved the plaster and embedded it into the plaster. This technique is much more 3D than working on a canvas, although you can create 3D art on canvas too...that's another story.
I really enjoy these multi-step art projects. Following a project from the research, planning, mixing and creating is an easy way to teach children organization skills. Having kids participate in the sequence of events lifts the "veil" on the finished piece of art. Now when we visit the gallery, my girls will truly understand what it takes to make a fresco. Wonderful!
We are very excited to be linking up again with Kids Get Arty - Exploring the Great Artists over at Red Ted Art. You really must head over and check out all the other incredible art projects from around the world. Did your kids get arty lately, please feel free to link up your experiences too!
Related Posts
Explore the art of Yayoi Kusama with kids
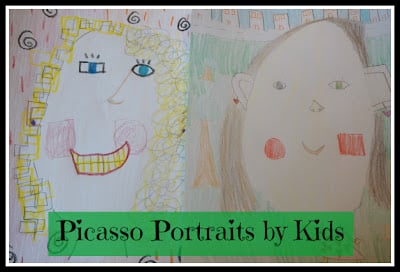
Create Picasso inspired portraits with kids
Make sure you are following along...
FOLLOW KITCHEN COUNTER CHRONICLES ON
SUBSCRIBE TO KITCHEN COUNTER CHRONICLES TO HAVE OUR DELICIOUS RECIPES, FUN CRAFTS & ACTIVITIES DELIVERED DIRECTLY TO YOUR INBOX.


rachelle | tinkerlab says
What a delightful project! I'm captivated by experiences that encourage children to test and play with new materials and it looks like your kids had a lot of fun with this. Okay, off to pin it!
KitchenCounterChronicles says
Thanks Rachelle! It really was fun!
MaryAnne K says
This is very cool! I've never done anything with Plaster of Paris, and I want to try it out sometime.
Thanks for sharing with learning laboratory =)
KitchenCounterChronicles says
I was so excited to work with Plaster of Paris...memories of my childhood!
Artchoo! says
I love that not only did you tackle Da Vinci as your artist, you also dove into working with plaster! Great project, and great idea using the plates. My daughter will LOVE doing this. Thanks! Found you through the Kids Get Arty link!
KitchenCounterChronicles says
Thanks for stopping by! It really was very simple and fun to do!
Mom to 2 Posh Lil Divas says
I have never worked with plaster of paris - what a fun project! Love the different steps involved. 🙂
maggy, red ted art says
How wonderful to all the way back to da vinci. Fantastic. And the plaster of paris is a genius idea. What a great project and fantastic pieces of art!
Thank you so much for joining us on our Kids Get Arty journey!
Maggy
Julie says
Thank you so much for the explicit directions! I am making frescoes with several children at one time, and I needed to know how long to let it set before turning it over and painting! Excellent.
Cathy B. says
I love this tutorial! Thank you. What kind of paint did you use for the fresco? Tempera, Acrylic, watercolor? Cathy
Jen says
Acrylic paints. Thanks for stopping by.