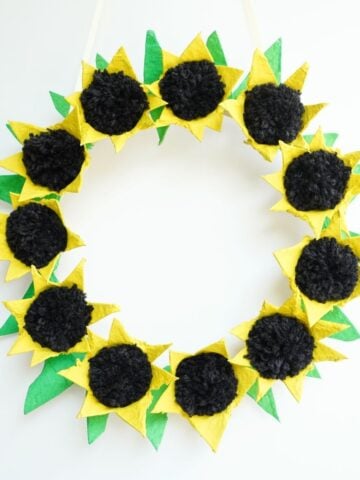
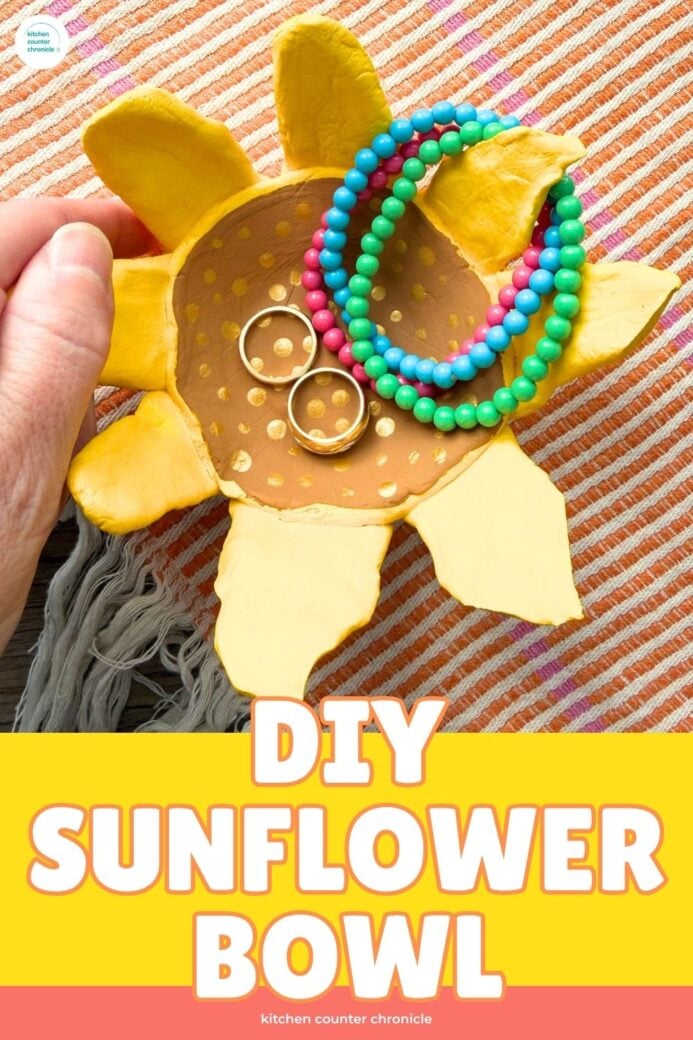
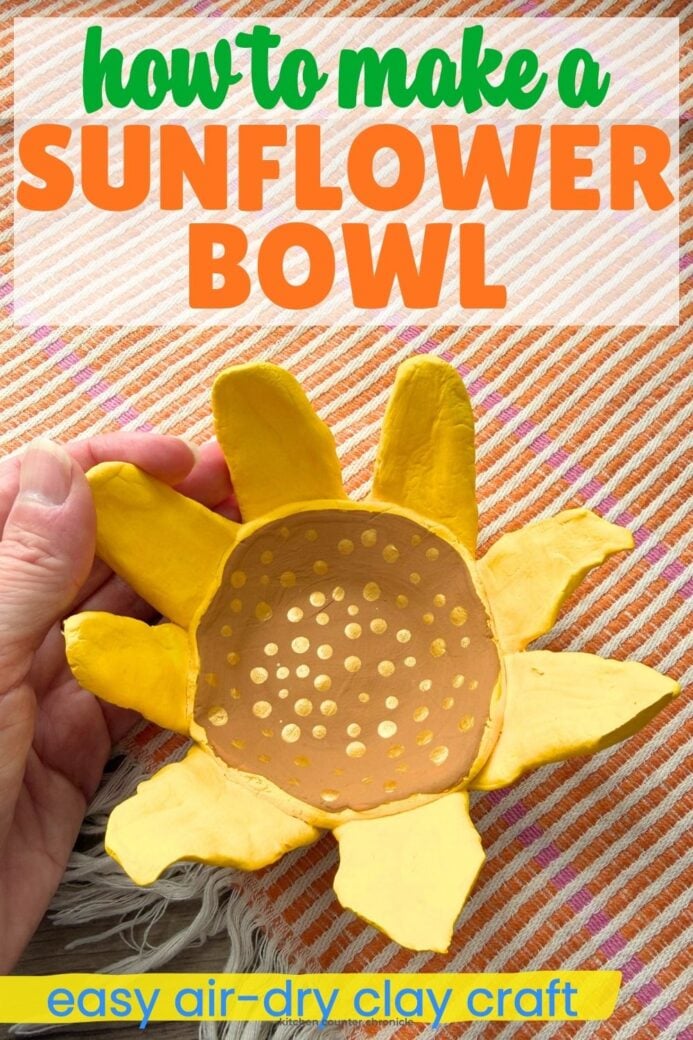
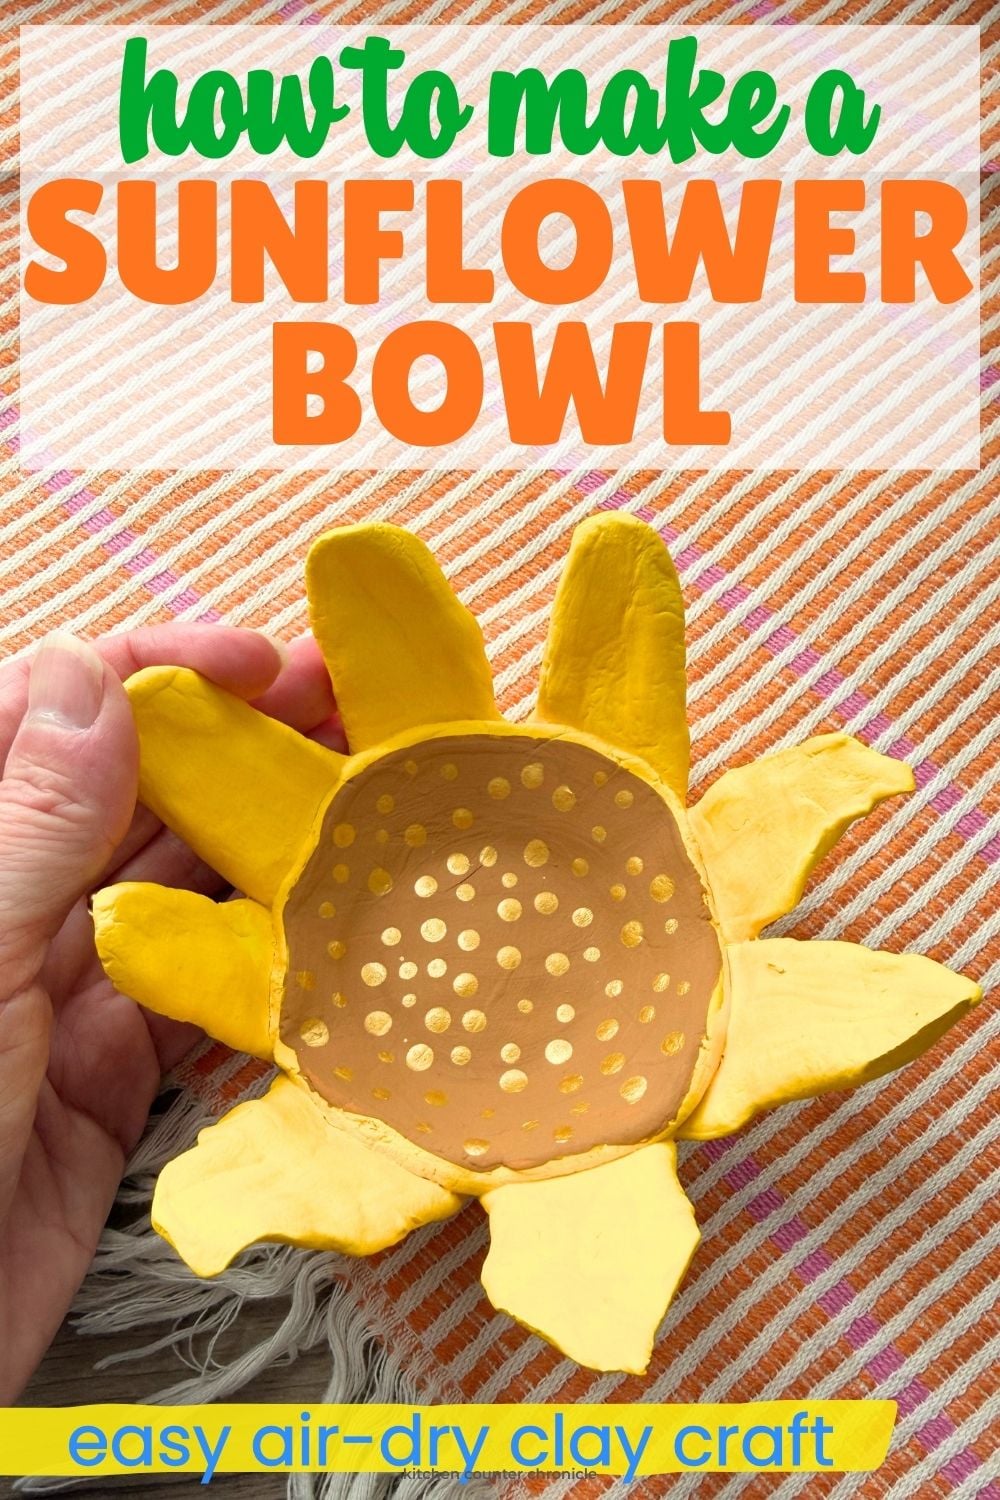
Well, you know I love a sunflower craft. I've made some lovely sunflower crafts in the past - it's almost time to hang up my egg carton sunflower wreath. So, this fall I wanted to make another cute sunflower craft. And I decided to add another functional diy air-dry clay dish to my collection. I wanted to figure out how to make a sunflower bowl with air-dry clay.
Disclosure: There are Amazon Affiliate links in this article which means, at no additional cost to you, we could receive compensation for our recommendations. You can read our full disclosure policy on our Disclosure Page for more details.
I have always loved sunflowers in the fall. Many years ago, I drove from Toronto to Vancouver with my future mother-in-law. If you aren't familiar with Canada, then let me assure you we drove through every kind of landscape on that drive (which took 1 week). Mountains, cities, around lakes, and through forests like you've never seen before. As we drove through the prairies, I looked out my side window and saw an endless field of sunflowers...out both sides of the car. Seriously, as far as the eye could see, there were sunflowers smiling back at us. It was amazing. I'll never forget those fields.
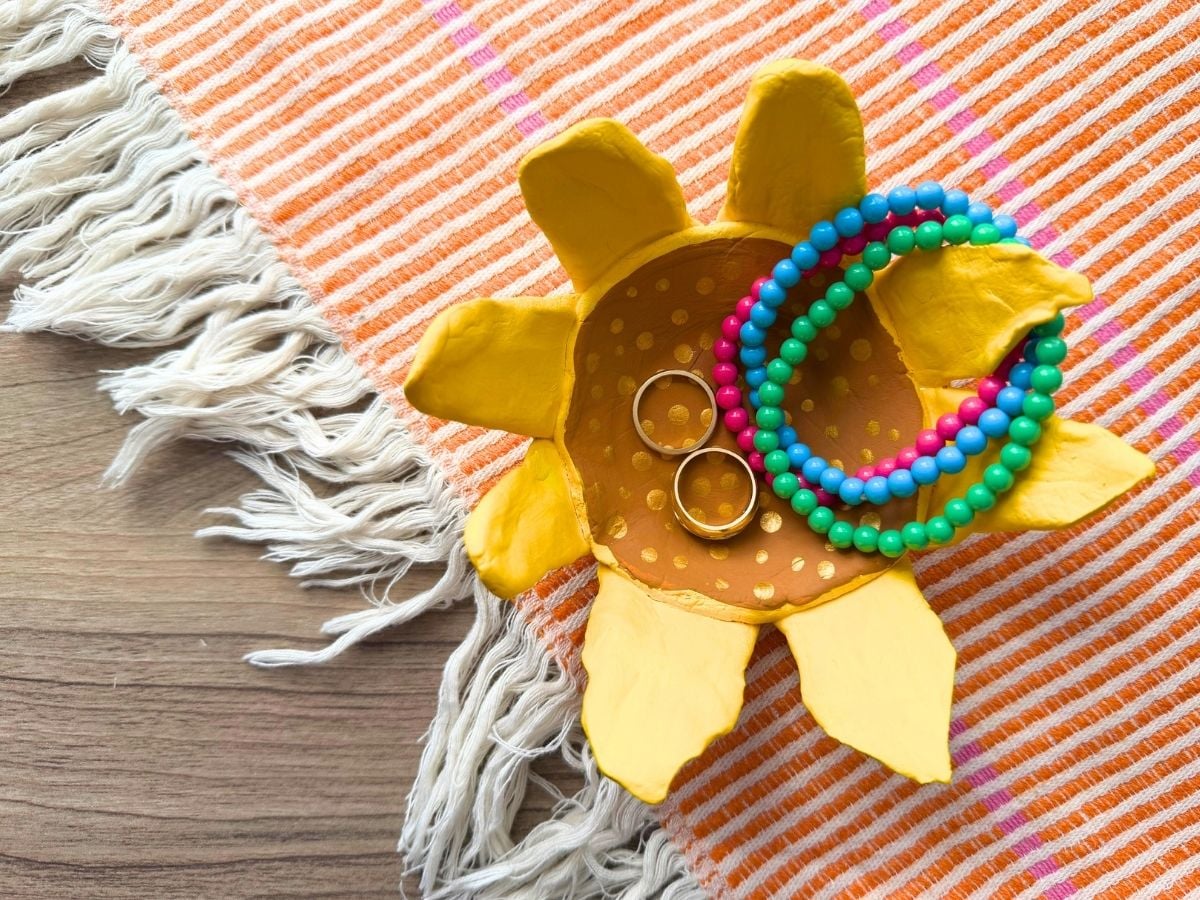
Ever since then, I've loved making sunflower crafts. And air-dry clay is so easy to work with. This diy clay sunflower bowl is a great craft project for kids and adults to make.
DIY Sunflower Clay Bowl Craft
air-dry clay - this is my favorite air-dry clay
bowl of water
jar with lid
acrylic paints - yellow, brown, and gold
paintbrushes - one to paint with and one that has a narrow, rounded end
small bowl
plastic wrap
How to make clay slip
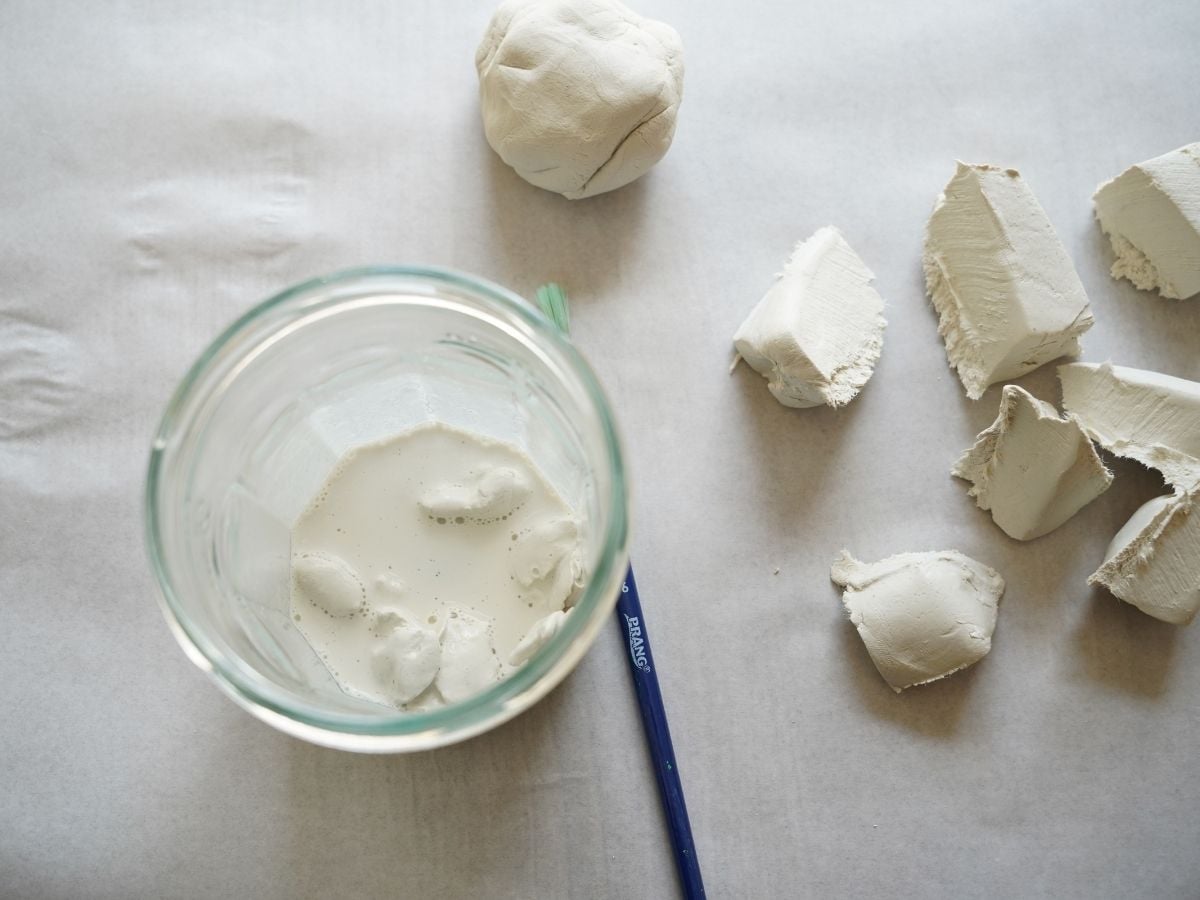
The first step is making a little batch of clay slip. What is slip, you ask? Well, slip is the watery clay mixture that you use as a "glue" to stick pieces of clay together. To make slip, rip some clay into small pieces. Place the clay pieces in a jar. Now, add a little water to the bowl. Start with a teaspoon or two of water. Then use a paintbrush to stir the clay in the water and start dissolving the clay in the water. You are trying to make a soupy clay mixture. You don't need to completely dissolve the clay, you just need to make a wet clay mixture. Add more pieces of clay to thicken the slip. Once you have made the slip, screw the lid on your jar so it doesn't dry out.
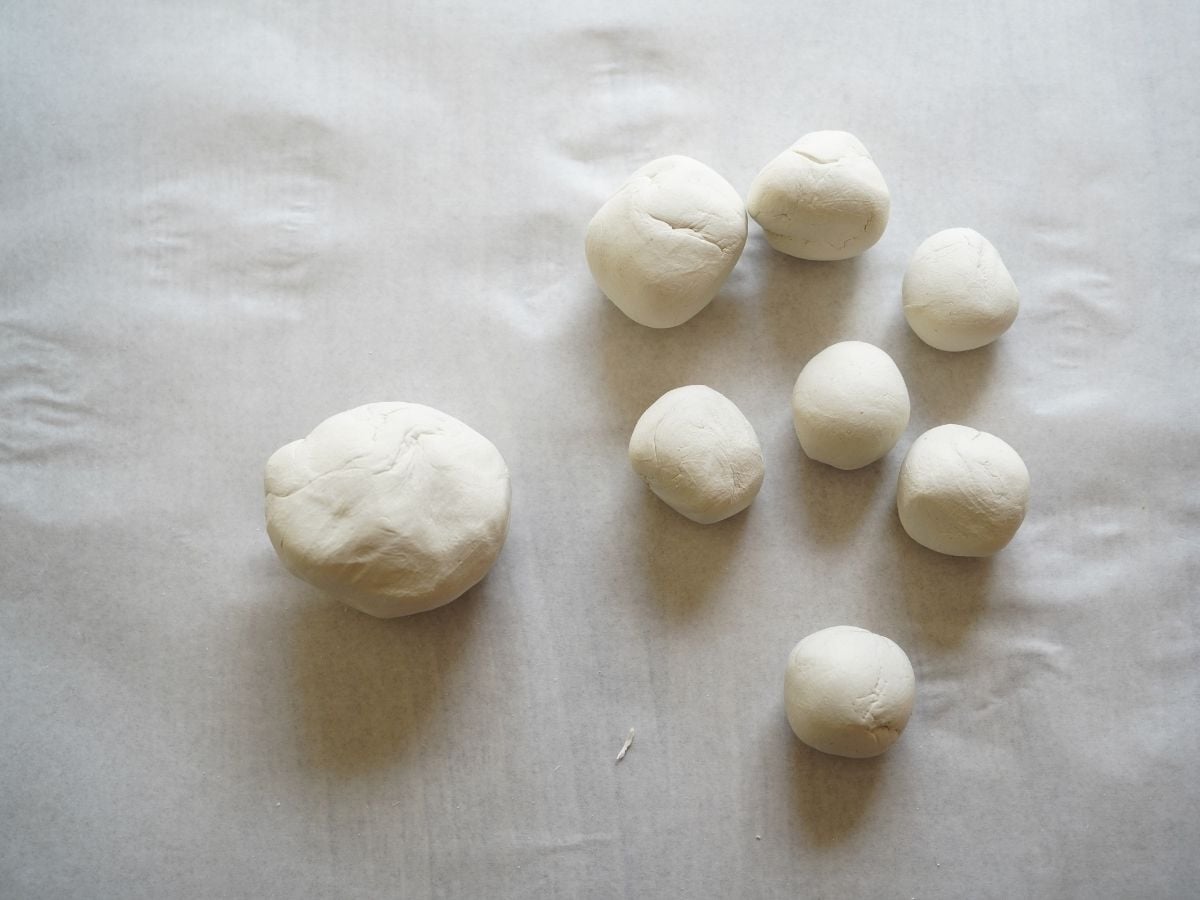
Now, it's time to make the inner circle of the sunflower. Make a ball of clay and then use your fingers to press and flatten the ball into a circle. The circle will determine the size of your bowl's base, so make it as large as you like. I like a ¼ inch thick disc of clay for the bowl's bottom.
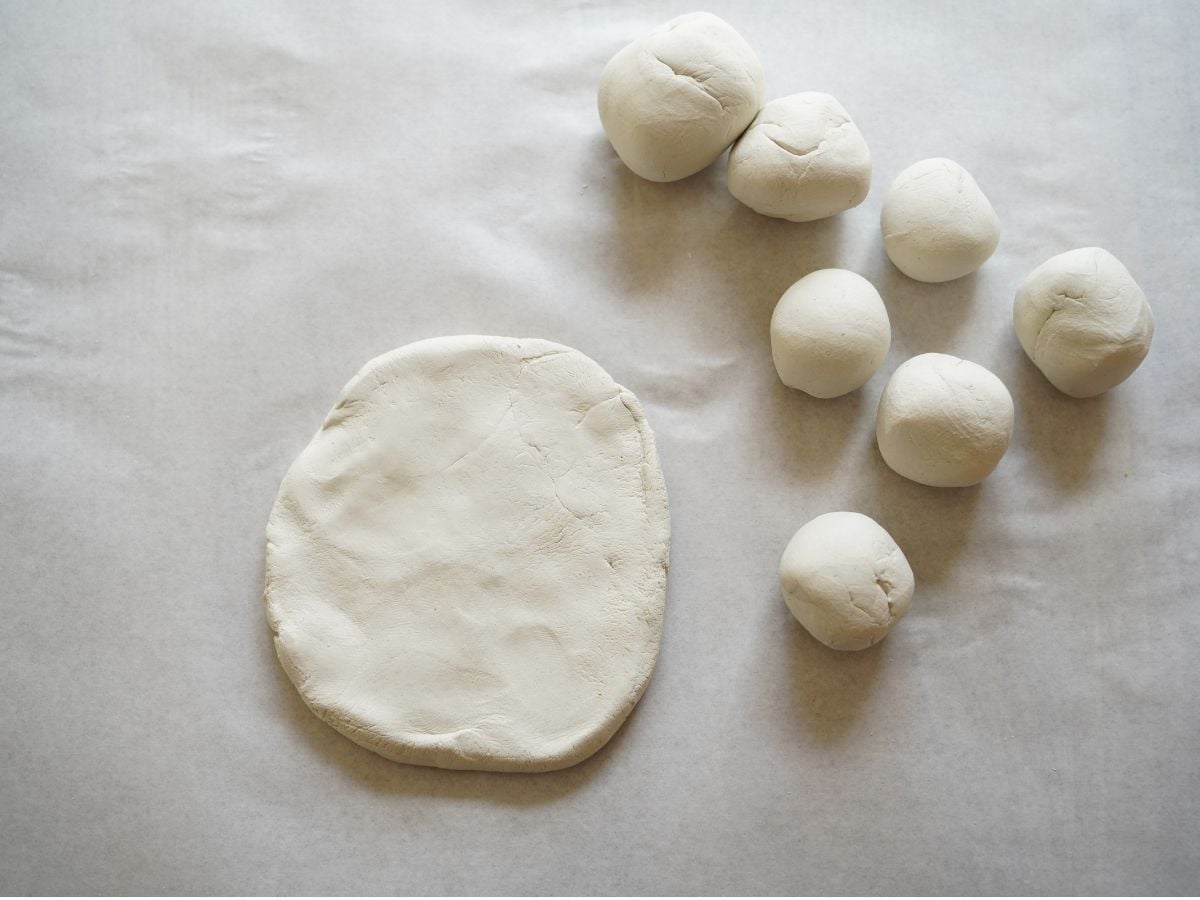
Wet your fingers and rub them along the edge of the disc to round the edges of the disc.
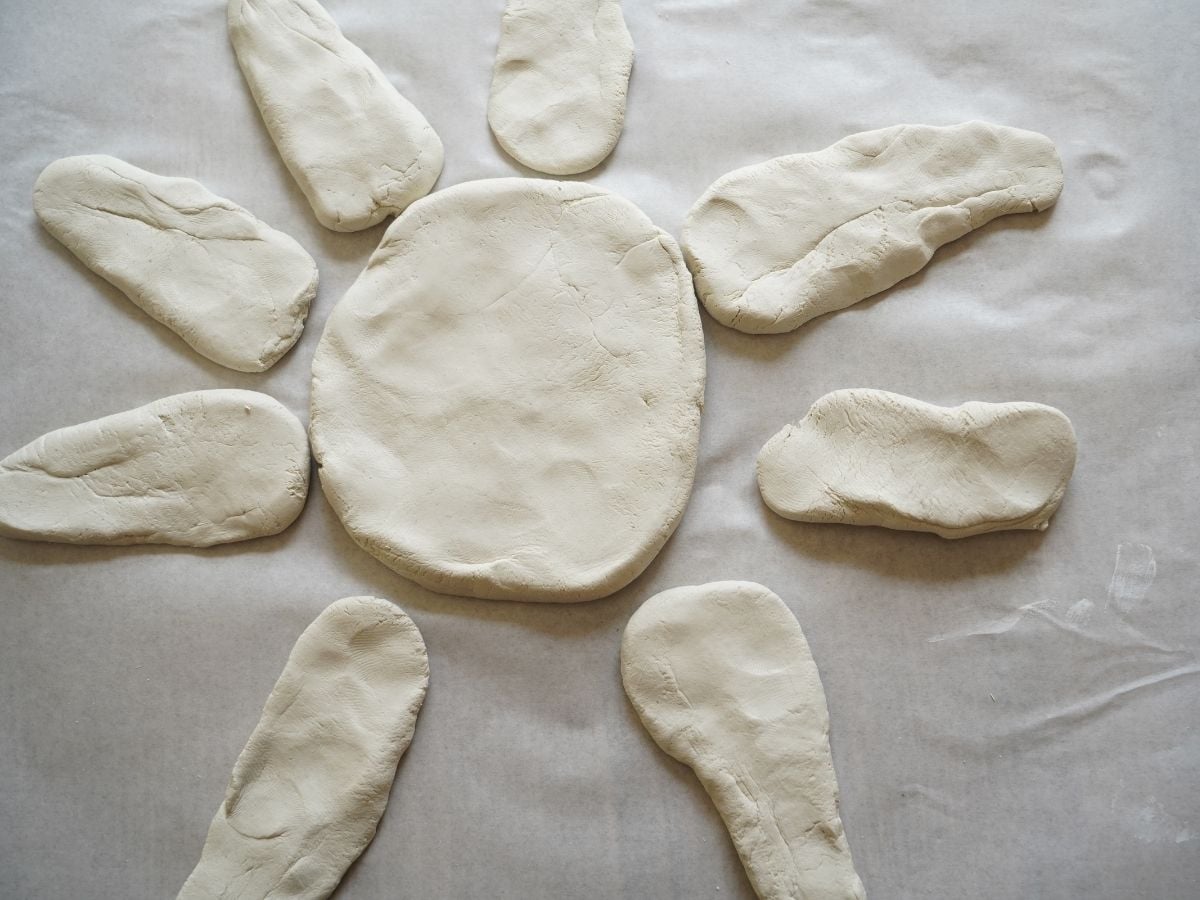
Now that you have the center of the sunflower, it is time to work on the petals of the flower. Again, roll 6-7 small balls of clay. Each ball will be a petal. Press the balls into a sunflower petal shape - that is about ¼ inch thick. I liked making my petals this way, because they felt more organic. Shape the petals however you like. Remember that sunflower petals have a slightly pointed end to them. I used my wet fingers to round the edges of the petals.
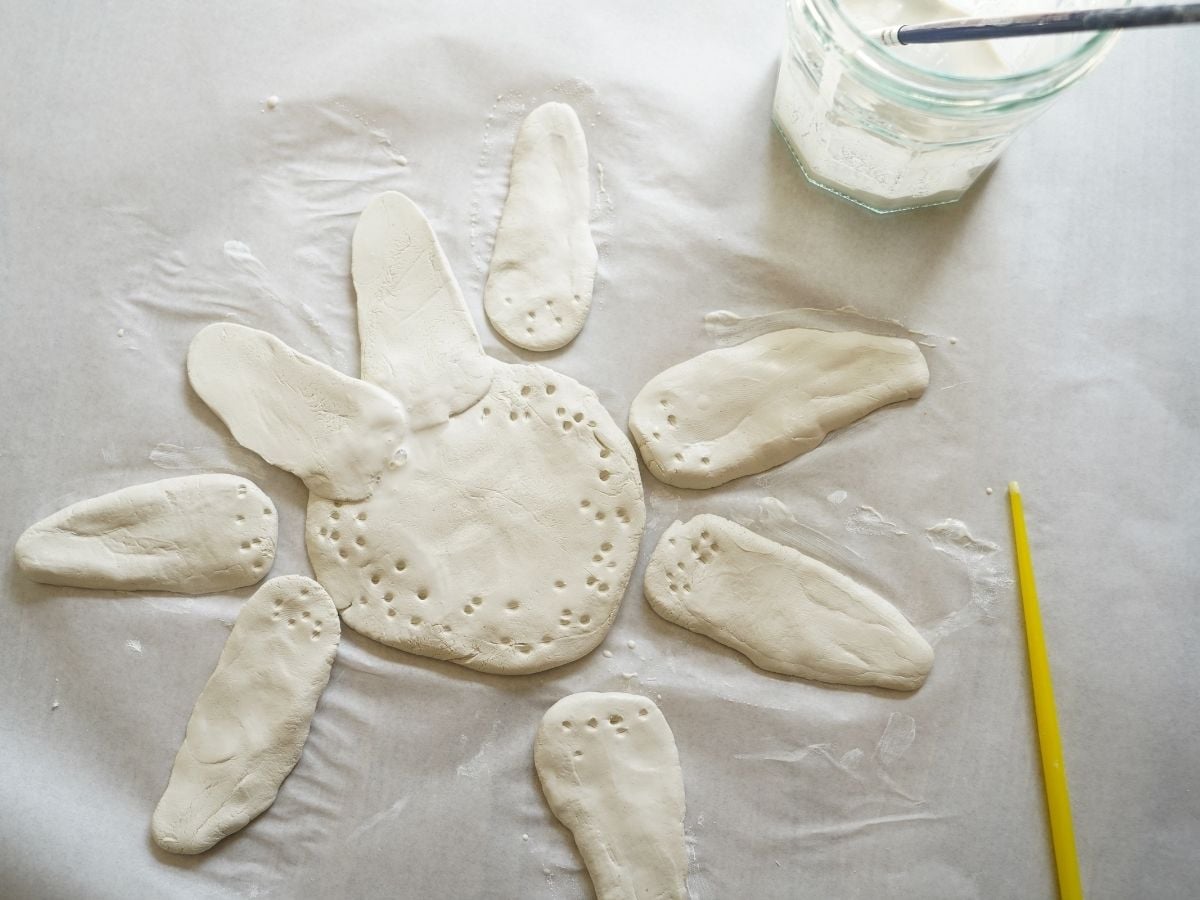
When you have made all of your petals, it's time to attach them to the flower's center. Use the narrow, rounded end of the paintbrush to press shallow holes into the parts of the petal and flower center where you want the pieces to overlap and bond together. Don't poke all the way through the clay, just make shallow holes where the slip will pool. Remember that the petals will be attached to the underside of the flower base.
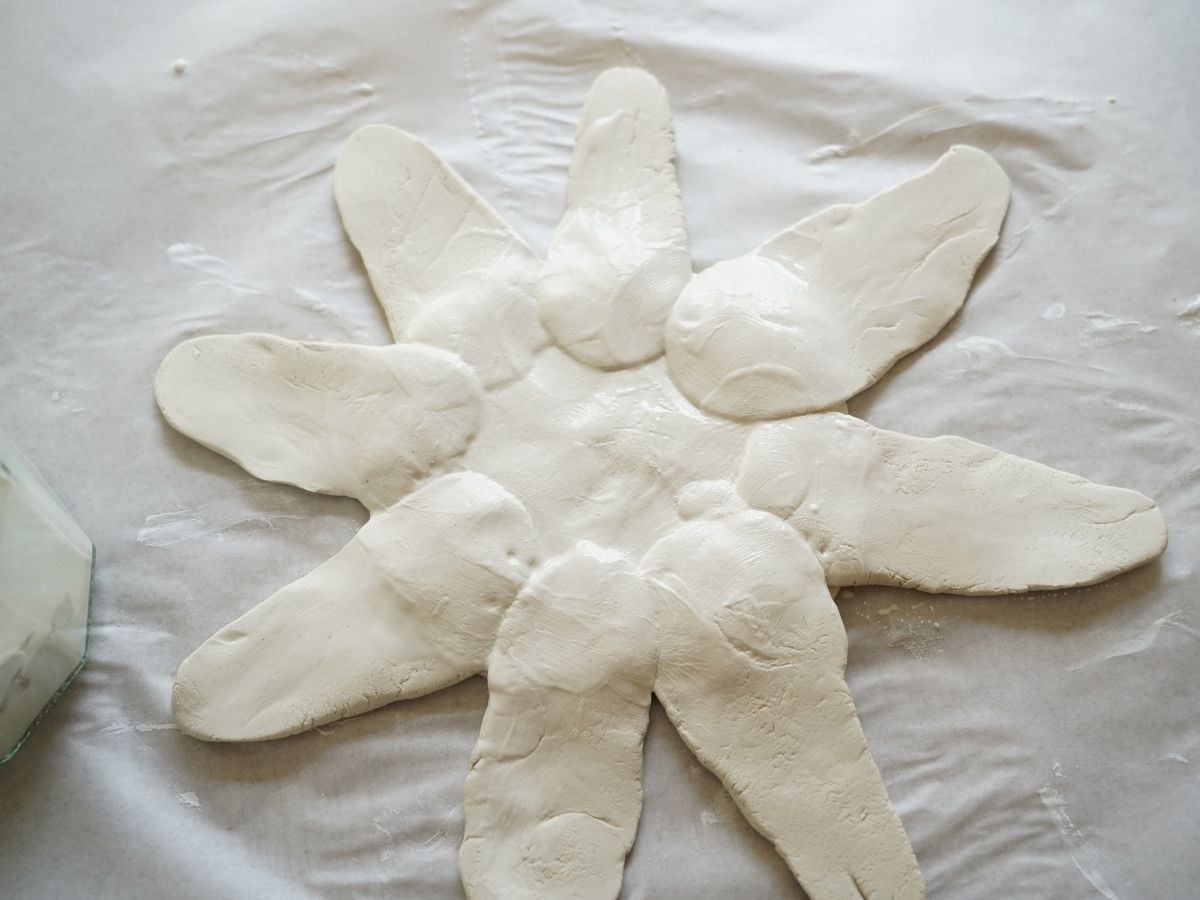
Now use the paintbrush to "paint" a layer of slip into the holes on the petals and on the flower middle disc. Press the pieces together. Use your wet fingers to press the petals into the backside of the flower base. Work your way all the way around the sunflower. Add petals with the slip.
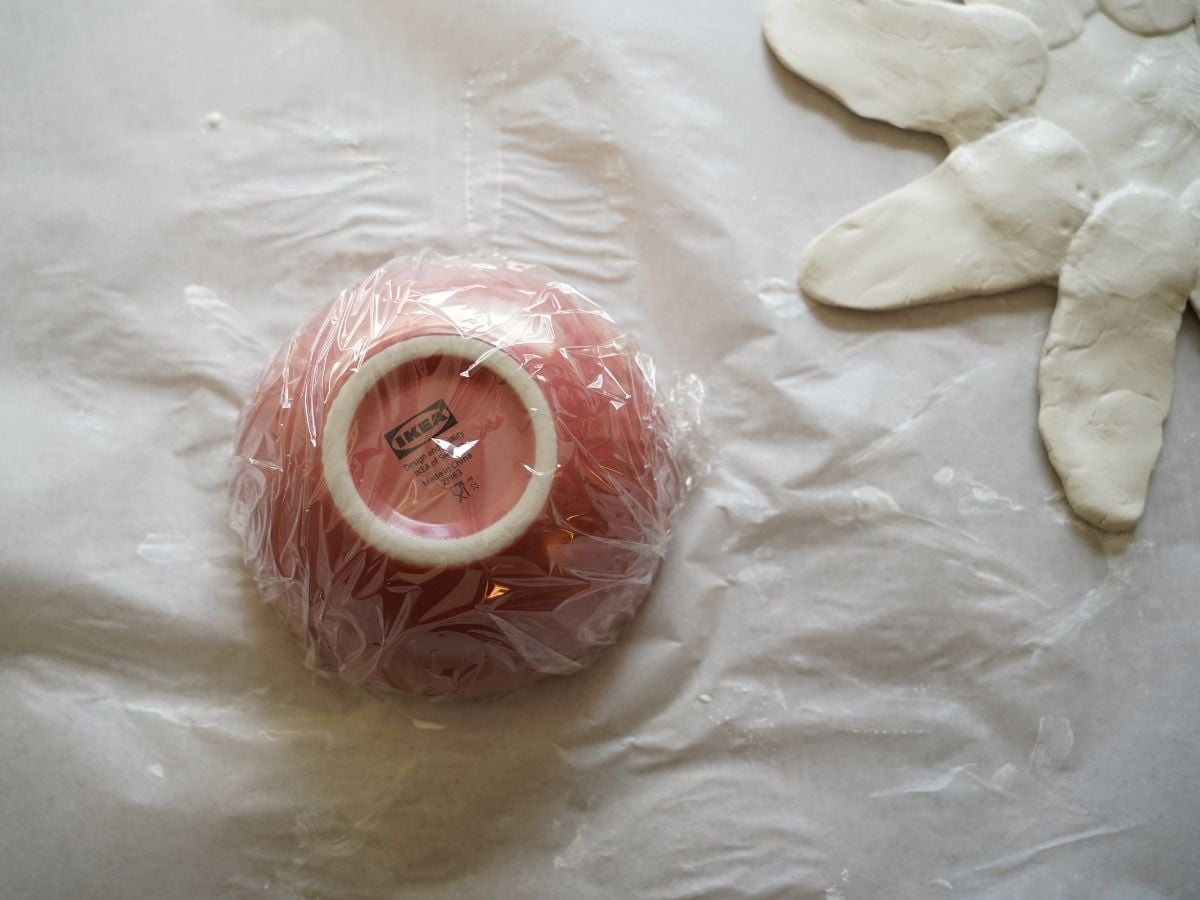
When all the petals are attached to the base, it's time to make the bowl shape and dry the bowl. I wrapped a small bowl with plastic wrap and draped the clay sunflower over the bowl. If you don't have a bowl to drape the bowl over, you could use a tennis ball, an inflated balloon, or make a ball with crumpled paper. Whatever bowl shape you use, be sure to wrap it with plastic wrap, so the clay doesn't dry to the surface.
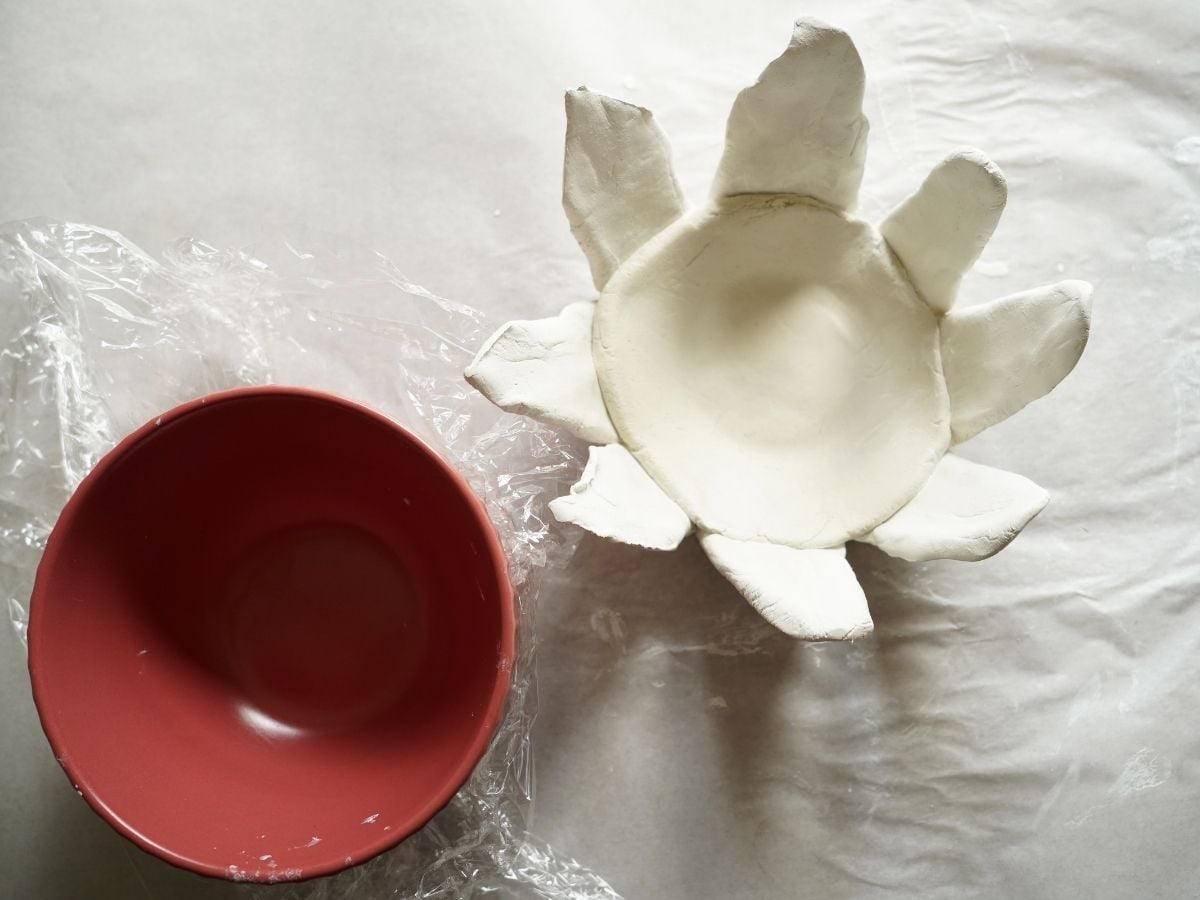
Set aside to dry. My bowl took a day or two to fully dry. After a day, I pulled it off of the bowl and was able to flare the petals outward a little. I liked the more natural flower shape of the petals.
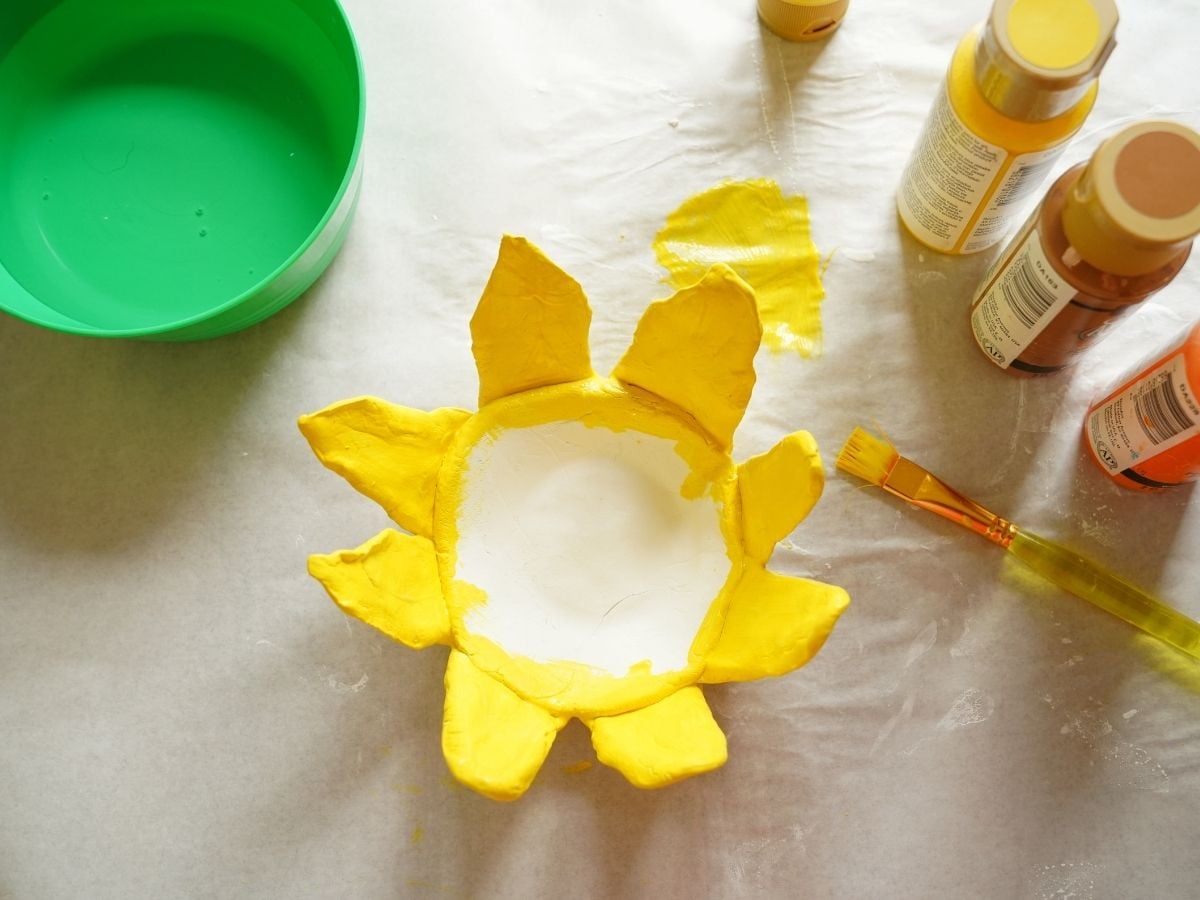
Once the clay is dried, it's time to paint. I started by painting the petals and the edge of the middle with the yellow paint. I chose a darker yellow paint. Don't forget to paint the inside and outside of each petal. I ended up needing to do two coats of yellow paint on the petals.
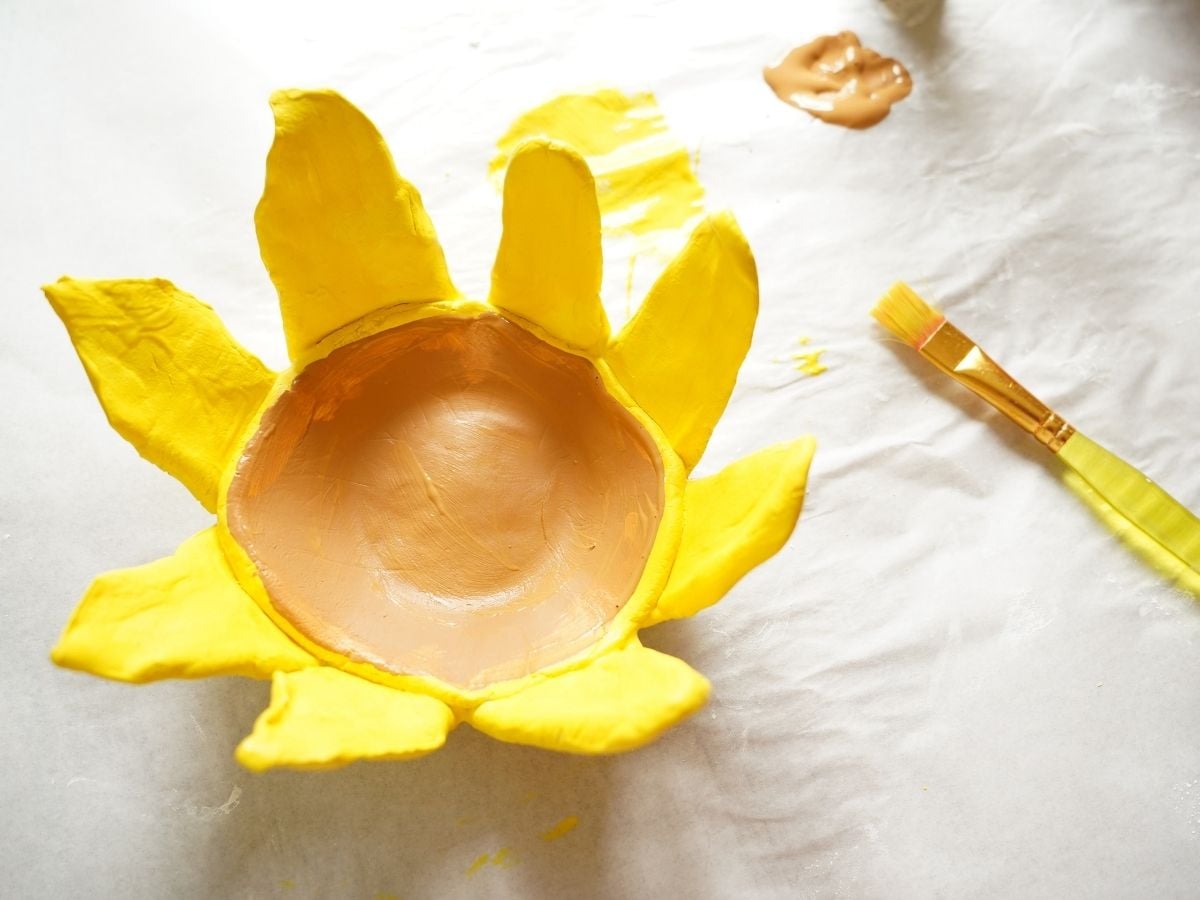
Then, I moved on to painting the inner part of the flower. I used brown to paint the sunflower center. Again, I painted two coats of the brown paint.
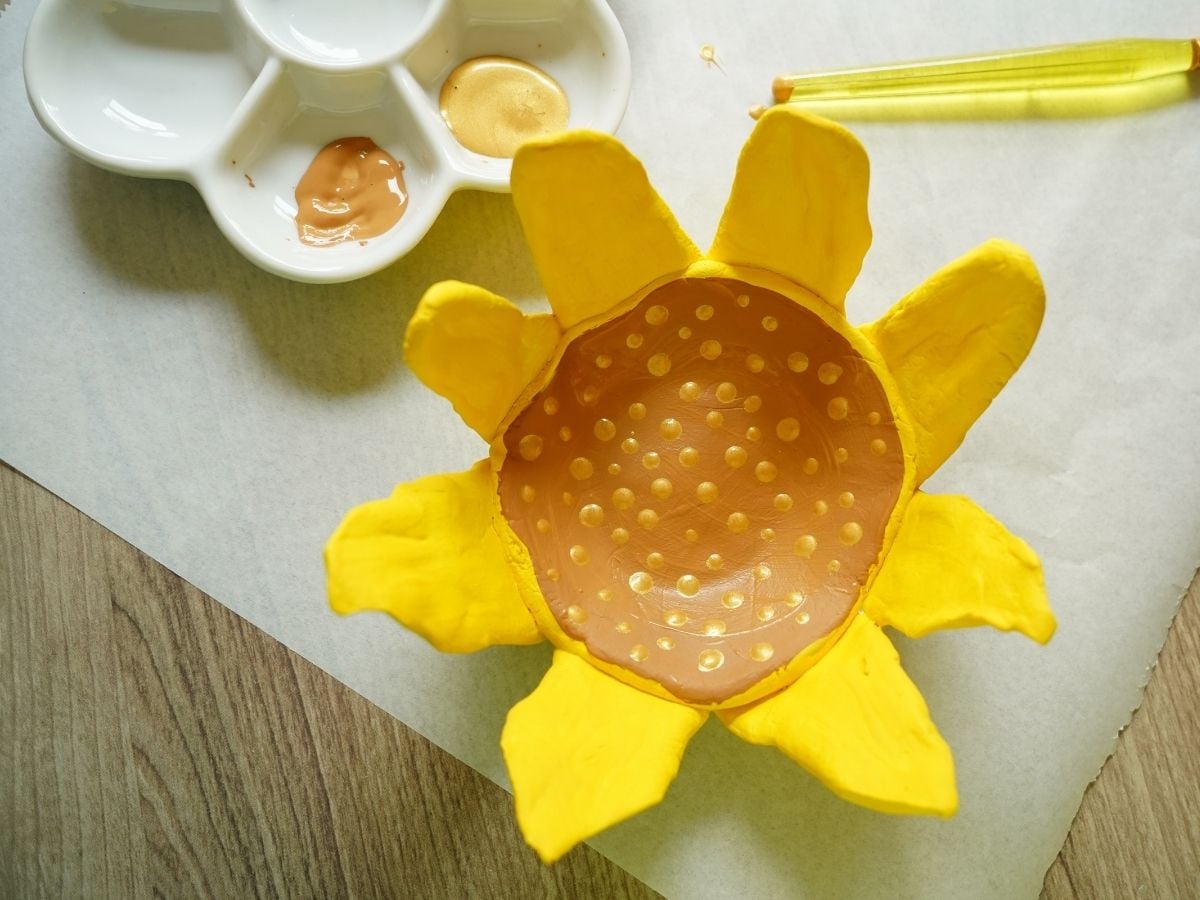
When the paint was dry, I added the gold polka dots of paint to represent the seeds in the sunflower. To make the perfect polka dots, I dipped the round end of the paintbrush into a little pool of gold paint. Then dab the paint on the brown flower center. Add more and more dots until you like how it looks. Set it aside to dry.
For the underside of the pot, I waited until the paint was completely dry, and then I flipped it over and painted the bottom with the gold paint.
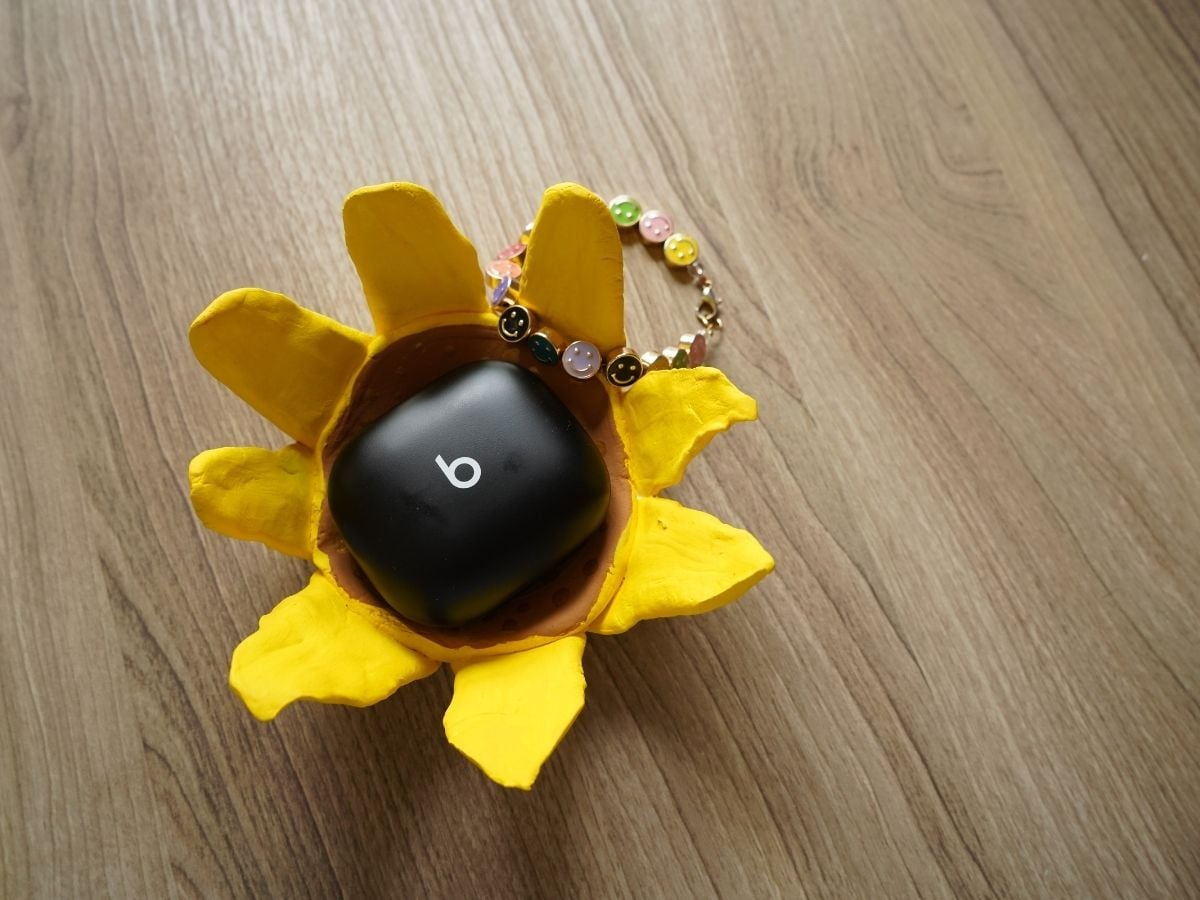
Once the paint has dried, you can add a coat of sealer. I like to use matte Mod Podge. I prefer the matte finish, but you could use a high-gloss finish if you'd like.
Let it all dry and then use the little bowl that you've made. I've put my little sunflower dish on my desk, right beside my clay eyeglasses tray. I pop my headphone case and my jewelry inside it every day.
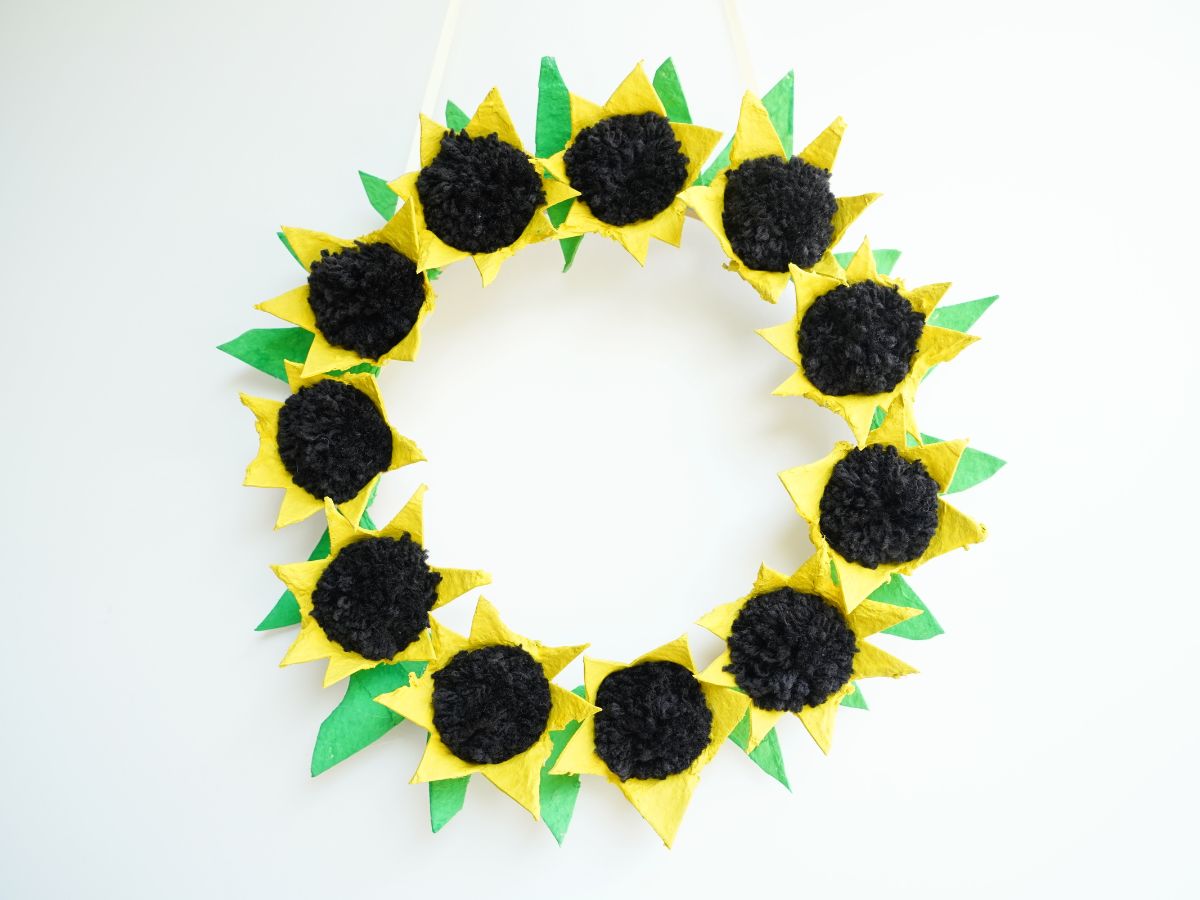
Learn how to make a sunflower wreath with an egg carton sunflowers
Make sure you are following along...
FOLLOW KITCHEN COUNTER CHRONICLES ON
SUBSCRIBE TO KITCHEN COUNTER CHRONICLES TO HAVE OUR DELICIOUS RECIPES, FUN CRAFTS & ACTIVITIES DELIVERED DIRECTLY TO YOUR INBOX.