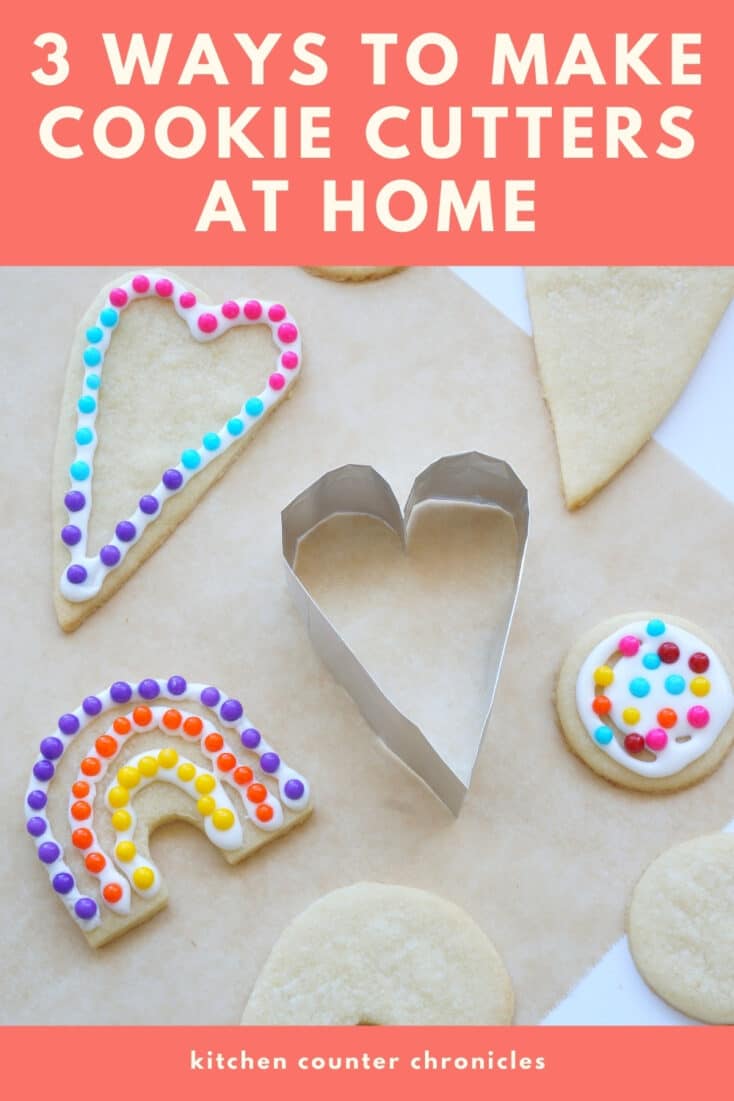
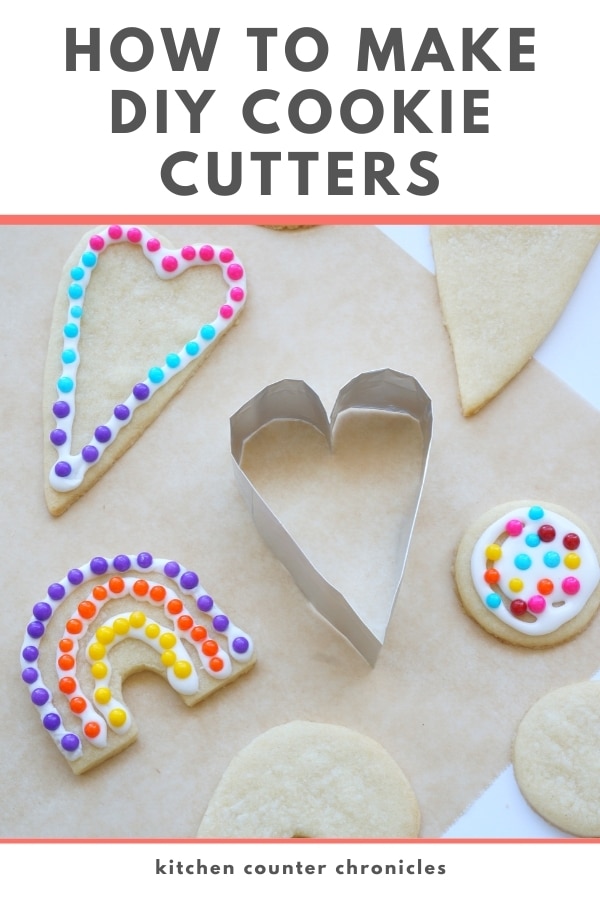
You really want to make the cookies (or the cookie cutter birdseed bird feeders) and you reach for the perfect cookie cutter...and it's not there! Never fear. We've got not 1, not 2, not 3, but 4 different ways to make a cookie cutter at home. Let's do this.
Disclosure: There are Amazon Affiliate links in this article which means, at no additional cost to you, we could receive compensation for our recommendations. You can read our full disclosure policy on our Disclosure Page for more details.
Yep, I wondered how to make my own cookie cutter. Then I remembered baking with my grandmother. She didn't have a whole lot of fancy tools. She certainly didn't have a big box filled with cookie cutters. She had her imagination and a knife. Enter our first way to make a homemade cookie cutter.
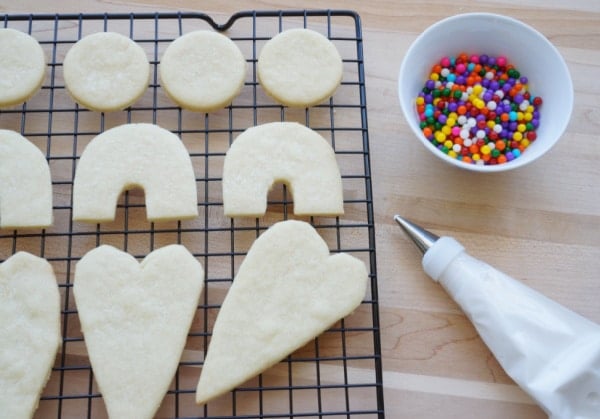
How to Make a Cookie Cutter at Home
Easy Homemade Cookie Cutter
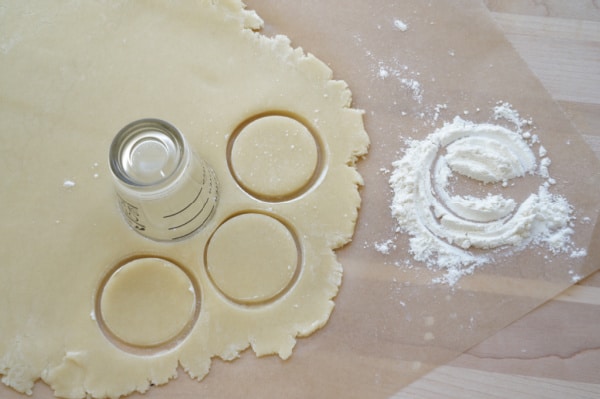
You already have everything you need for this cookie cutter. My grandmother's favourite cookie cutter was a drinking glass. Yep, flip over your drinking glass and dip the edge in some flour. Then press it into your cookie dough. You probably have all kinds of different sizes of glasses - a shot glass, a juice glass, a wine glass, a coffee mug. The thinner the edge of the glass the better, but seriously any glass will do.
Yet Another Way to Make a DIY Cookie Cutter
Okay, you've hunted through the bin and you can't find the rainbow shaped cookie cutter you need. And a glass won't cut it. What's the next option for making cookie cutters? For this one, you are going to need some cardboard or cardstock, scissors, a sharp paring knife, a pencil and your imagination.
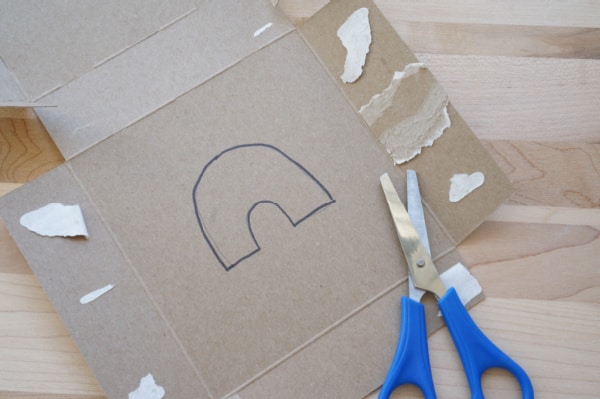
Grab a piece of clean cardboard - the best cardboard to use for this is a cereal box. Draw the shape you want onto the cardboard, with the pencil. If you are looking for a unique shape, check online for a template. Print off the template, cut it out and trace it onto the cardboard.
Once you have drawn the shape onto the cardboard, cut it out. You might want to cut out a few copies of the shape - this way you have spares.
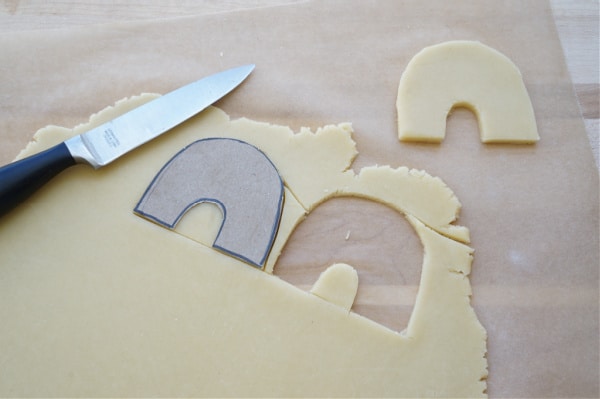
Take your cardboard cutout to your rolled-out cookie dough. Use the sharp tip of a knife to trace around your shape. When I cut rounded corners I cut short lines all the way around the curve. You can smooth out any rough edges in the dough with your finger.
This is a great method for making personalized shapes out of cookie dough. Maybe you want a cookie that looks just like your dog, or a favourite toy. You won't find the cookie cutter at the store, you have to make the cookie cutter yourself.
One More Way to Make a Cookie Cutter at Home
For this final method, we are going to need some foil. It is possible to quite literally make a cookie cutter using aluminum foil. You will need a roll of heavy-duty foil, a pencil, paper, tape and scissors.
Let's say you want to make a heart cookie cutter. Start by drawing a heart on a piece of paper. This way you know the size of cookie cutter you want to make.
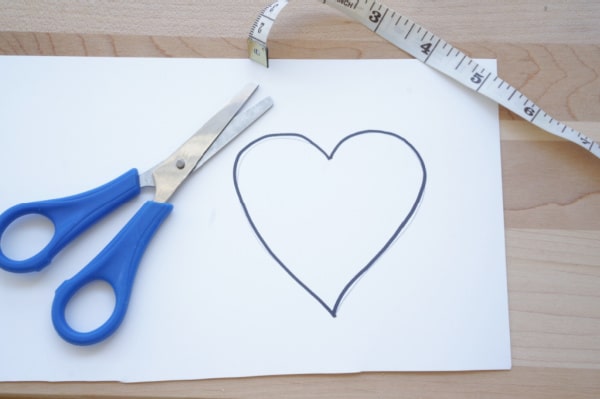
Next, if you want to be super precise, use a cloth measuring tape to measure the perimeter of the cookie cutter. It's actually pretty easy because most rolls of foil are 12 inches wide and that's a great size for the perimeter of most cookie cutters. The perimeter of our heart is 10 inches. This means we need a length of foil that is 12 inches, to allow for overlapping the ends.
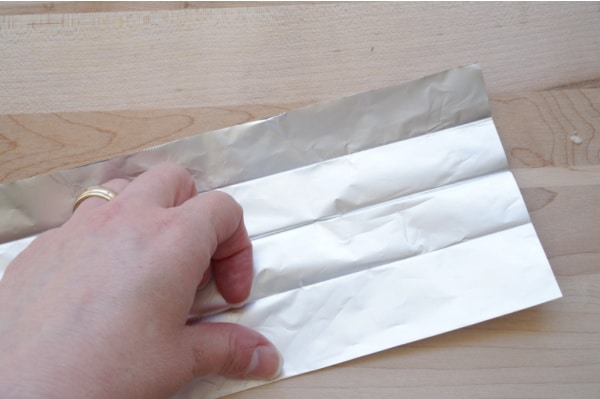
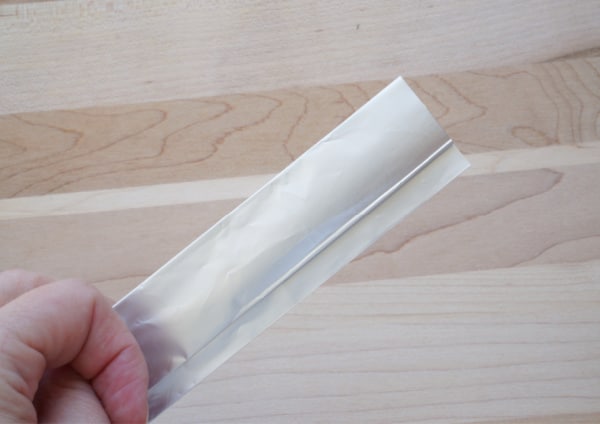
Okay, cut a strip of foil that is 12 inches long and 8 inches wide. Fold the strip in half, so the piece is 4 inches wide. We are trying to make the strip as sturdy as possible by adding more folds to the structure. Now, fold the foil 1 inch down from the top over and over until you have a strip that is about 1 inch wide and 12 inches long.
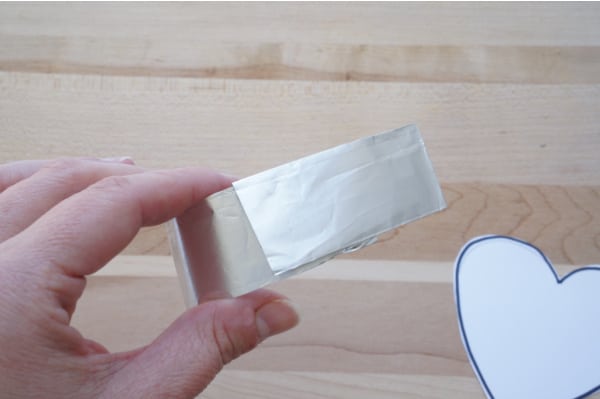
Now it's time to connect the two ends of the foil strip. Tuck one end under the other end, overlapping by about an inch. Press the overlap closed. Wrap the overlap with a piece of tape, to totally secure the ends together. Shape the foil strip into a heart shape. You want the ends to come together on the side of the heart, not at either of the points, or the curves. A straight spot is the best spot for linking the ends together. You now have a reusable metal cookie cutter. FYI - you can make an even stronger cookie cutter if you use the same procedure, but use an aluminum foil pan or lid. The heavy gauge foil makes for a sturdy cookie cutter.
Dip the cookie cutter into some flour and then press it into your dough. Depending on your foil shaping skills you could totally make any shape you want using this method.
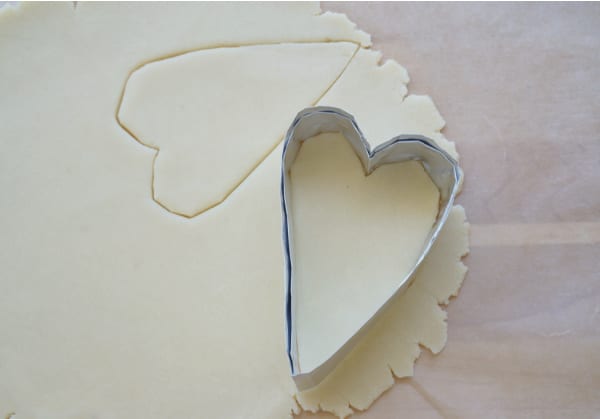
No matter which method you choose to make your own cookie cutter the end goal is the same...baking delicious cookies! I think my grandmother would be pretty happy with this collection of easy homemade cookie cutter ideas. Which one are you going to try?
Related Posts
Bake a batch of these simple lemon and chamomile shortbread cookies
Or, bake a batch of our delicious heart sandwich cookies, filled with raspberry buttercream
Make sure you are following along...
SUBSCRIBE TO KITCHEN COUNTER CHRONICLES TO HAVE OUR DELICIOUS RECIPES, FUN CRAFTS & ACTIVITIES DELIVERED DIRECTLY TO YOUR INBOX.
FOLLOW KITCHEN COUNTER CHRONICLES ON
FACEBOOK:: PINTEREST :: TWITTER::INSTAGRAM