In the summertime, we are all about creating beautiful home gardens. We've shared all kinds of home garden inspiration over the years. From garden design to gardening tips - like using those coffee grounds in the garden. This time around we are making plans to make an addition to our already amazing bee-friendly garden by adding a bee bath with marbles.
Disclosure: There are Amazon Affiliate links in this article which means, at no additional cost to you, we could receive compensation for our recommendations. You can read our full disclosure policy on our Disclosure Page for more details.
We just planted our vegetable patch. We are growing all kinds of lettuce, herbs, and tomatoes this year. I cannot wait to start harvesting from our little urban vegetable patch in our city backyard. Over the years we have learned there are a few essential ingredients you need to grow a successful garden.
You need plenty of sunshine, great soil, water, and bees. Yep, we can't grow anything without our buzzing friends. This is why we have built our gardens to support bees (and butterflies and other pollinators). Bee-friendly gardens include things like brightly colored flowers, not using any pesticides, and adding a water source. Yep, bees need water.
In the past, we shared how to build a basic bee bath, or bee waterer, using an old planter and some rocks. This time around we are making a bee bath with marbles. We always have fun when we come up with new ways to play with marbles and this marble bee bath is something the kids can totally help pull together.
How to Make a Bee Bath with Marbles
a selection of marbles
a shallow dish - we used a terracotta saucer
rocks, if you'd like
water
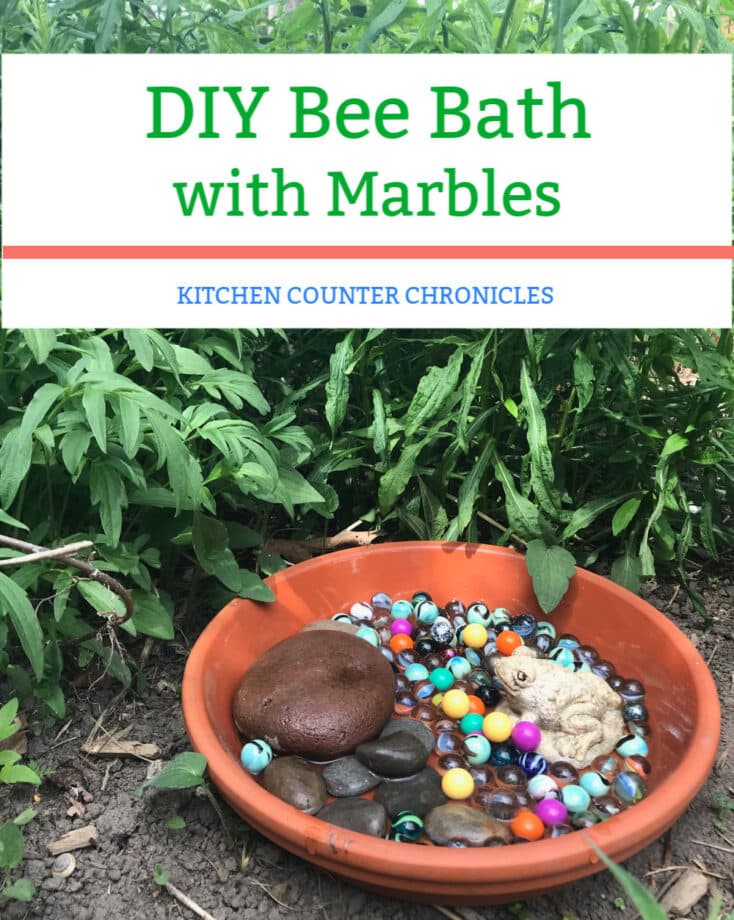
The first step is selecting your shallow dish for the bee bath. You are looking for a shallow dish because we don't want to drown the bees in a deep dish. The goal of our bee bath is to give the bees somewhere to safely drink water. We chose to use a terra-cotta pot tray, you could also use the resin plastic version, but stay away from black because it will become too hot. Be sure the dish you are using is watertight - you want the dish to retain the water and not have the water seep out.
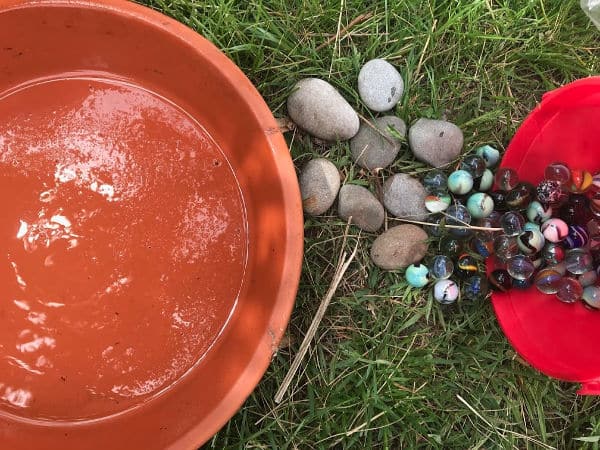
The next step is to pour in a layer of marbles. Bee bath marbles don't have to be any special kind of marble. Bees do like bright and colorful flowers, so I thought it might be nice to include some bright marbles. I simply gathered up whatever marbles we had at home for this project. We are always looking for ways to put our marble collection to good use.
We also added in a few rocks. The large rock will be a great landing spot for butterflies. Butterflies like to have a sunny, dry spot to rest in gardens. Our big flat rock will be perfect for butterflies to rest their wings.
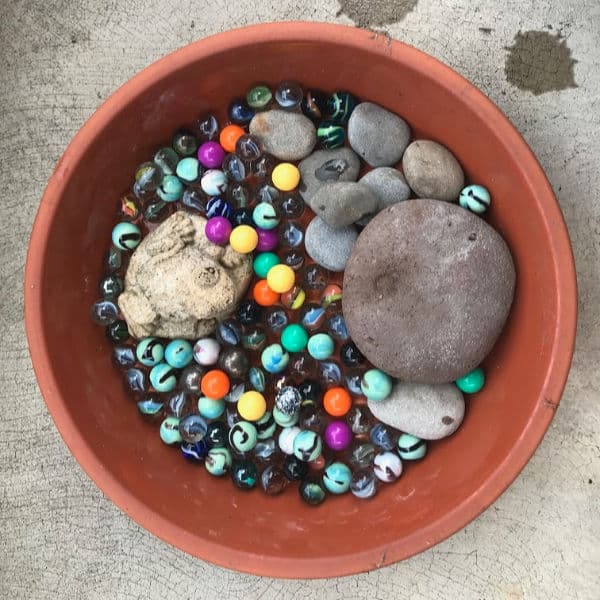
I also happened to have a cute frog stone statue, so I decided to pop him in too. After all, we have made a little pond of sorts...for our bees and butterflies.
Where to place a bee bath?
Once your bee and butterfly bath it is time to figure out how to attract bees to the water source. You want to place the bee bath in a spot where the bees are actively buzzing around. Now, I had planned on putting our bee waterer in our vegetable patch. But, since things are slowly growing out there right now, I decided to start the bee bath out in our front flower bed. The bees love jumping around our flowers in early spring. We have a very popular lilac bush and a clover lawn the bees enjoy. Once the veggies start to mature I will transfer the bath to our vegetable garden. Or, maybe I'll just make a second bee bath with all the marbles we've collected.
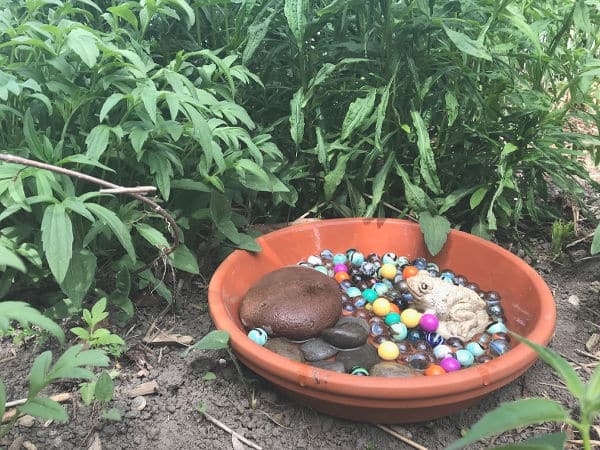
It is best to tuck the bee bath into a partially shady spot in the garden. Otherwise, a very sunny and exposed spot will result in the water evaporating too quickly - leaving nothing for the bees and butterflies to drink. A sheltered spot will also keep the bees and butterflies out of the wind and they will feel safe enough to stop for a drink.
What's the most important part of the bee bath?
The absolute most important part of the bee bath (or bee waterer) is the water. Yes, you could leave it to mother nature and let the rainwater fill your bath for you...but, that won't work. It is important to check your bath every day. The water should rise up the sides of the marbles, but not completely cover the marbles. If the water is looking dirty, rinse off the bee bath marbles. Don't use any harsh soaps to wash the marbles - remember we are trying to avoid chemicals and keep these bees happy and healthy. Adding fresh water every day should do the trick.
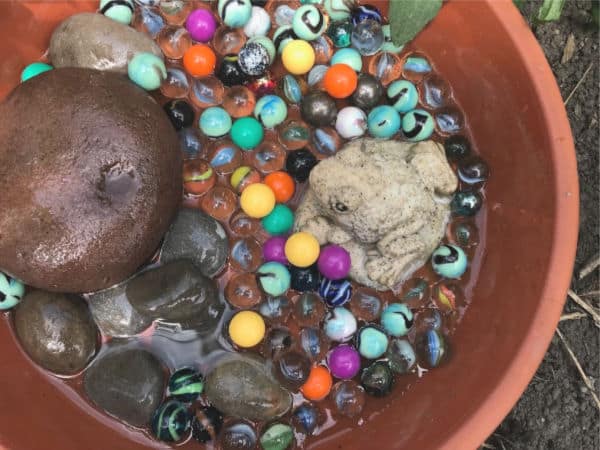
I cannot wait to keep an eye on our bee bath and see when your first little bee or butterfly stops by for a drink.
More Bee Garden Ideas
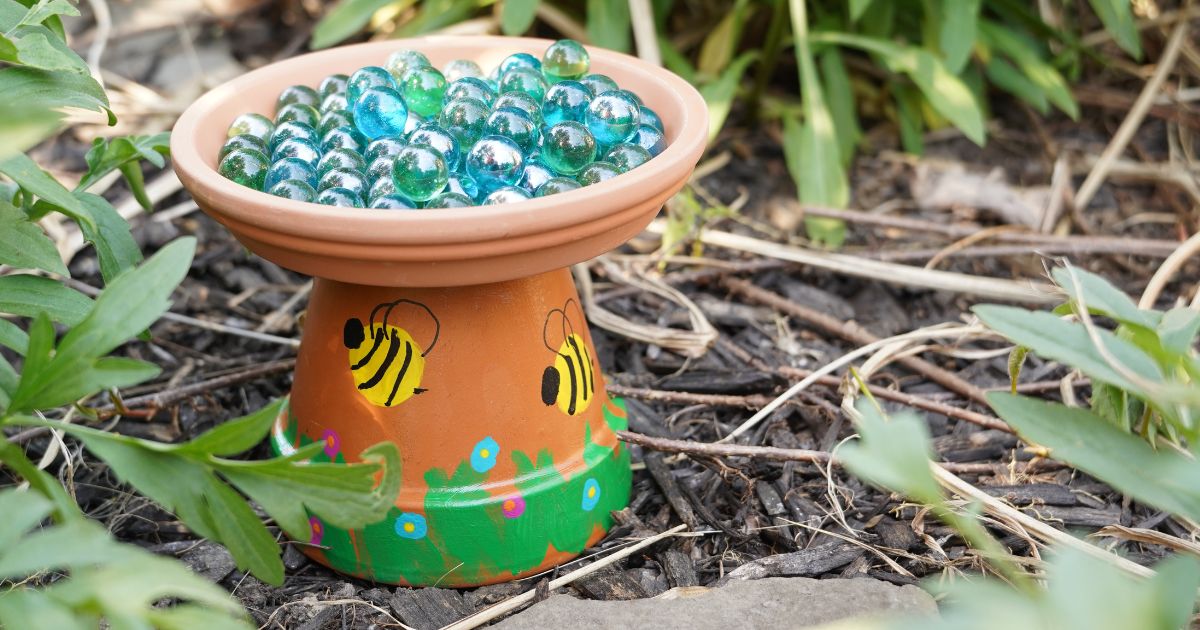
If you like this, try making a terracotta pot bee bath with marbles!
Planting a bee-friendly garden? Check out our list of plants that will attract bees to your garden
Make sure you are following along...
FOLLOW KITCHEN COUNTER CHRONICLES ON
SUBSCRIBE TO KITCHEN COUNTER CHRONICLES TO HAVE OUR DELICIOUS RECIPES, FUN CRAFTS & ACTIVITIES DELIVERED DIRECTLY TO YOUR INBOX.

