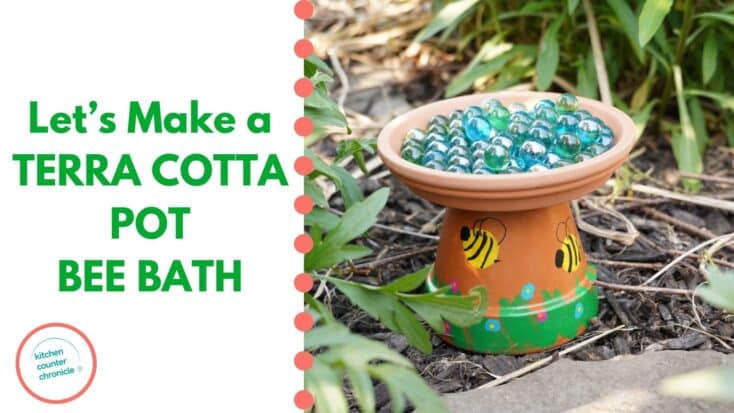
We love finding new ways to build up our bee-friendly garden. We know how critical bees are to our ecosystem and how important it is to help bees lead healthy, happy lives. So, we've shared many tips for creating great home gardens and we've also shared how to make a bee bath with rocks and how to make a simple bee bath with marbles. However, this little terracotta pot bee bath with marbles takes things up a notch - with its pedestal style and sweet bee painting.

Disclosure: There are Amazon Affiliate links in this article which means, at no additional cost to you, we could receive compensation for our recommendations. You can read our full disclosure policy on our Disclosure Page for more details.
I love finding ways to get crafty and creative in the garden. This homemade bee bath project is perfect for kids of all ages to make. They can add their own creative, functional art piece to the garden.
What is a Bee bath?
Now, you might be asking yourself, what is a bee bath? Have you ever heard of a bee bath, a bee waterer, or a butterfly bath? A bee bath is a safe, clean, and shallow source of water for bees and other pollinators in your garden. The water needs to be shallow, so the bees (or butterflies) won’t drown. Often you will see bees drowned in bird baths, as the water is simply too deep for them.
Why Do Bees Need a Bee Bath?
Well, like every living thing on Earth, bees need water to survive. Beyond drinking water to keep hydrated, bees need water for the well-being of their bee hives. Bees take water back to the hive. The water keeps the humidity levels under control, cools the hive, and helps in the production of honey. Therefore, our little bee bath can not only help one little bee, but it can also help an entire hive. Amazing!
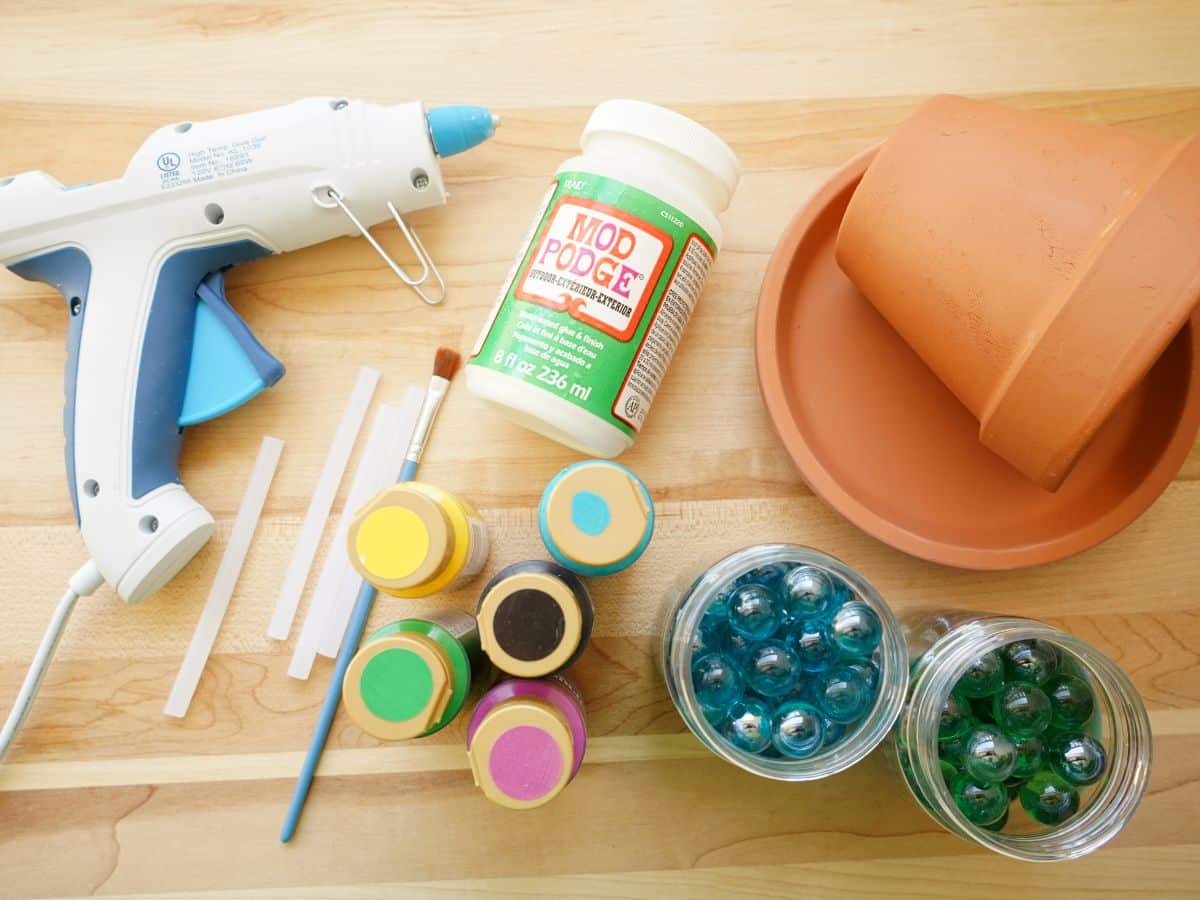
DIY Terra Cotta Bee Bath with Marbles
small terracotta pot with saucer (about 4")
assorted marbles
glue gun
acrylic paints
clear, craft sealer - for outdoors
paintbrush
The first step is deciding on the size you would like your bee bath to be. We opted for a small terracotta pot, our pot is only 4 inches tall. And, we went with a 4 ½-inch saucer. I wanted this bee bath to tuck into a small spot in our front garden, so a small pot was the way to go. However, if you have a larger space, go with a larger pot. Just be sure to get a saucer that matches the pot. If the saucer is too large, the whole thing will tip easily. Once you select your pot and saucer, it is time to get creative.
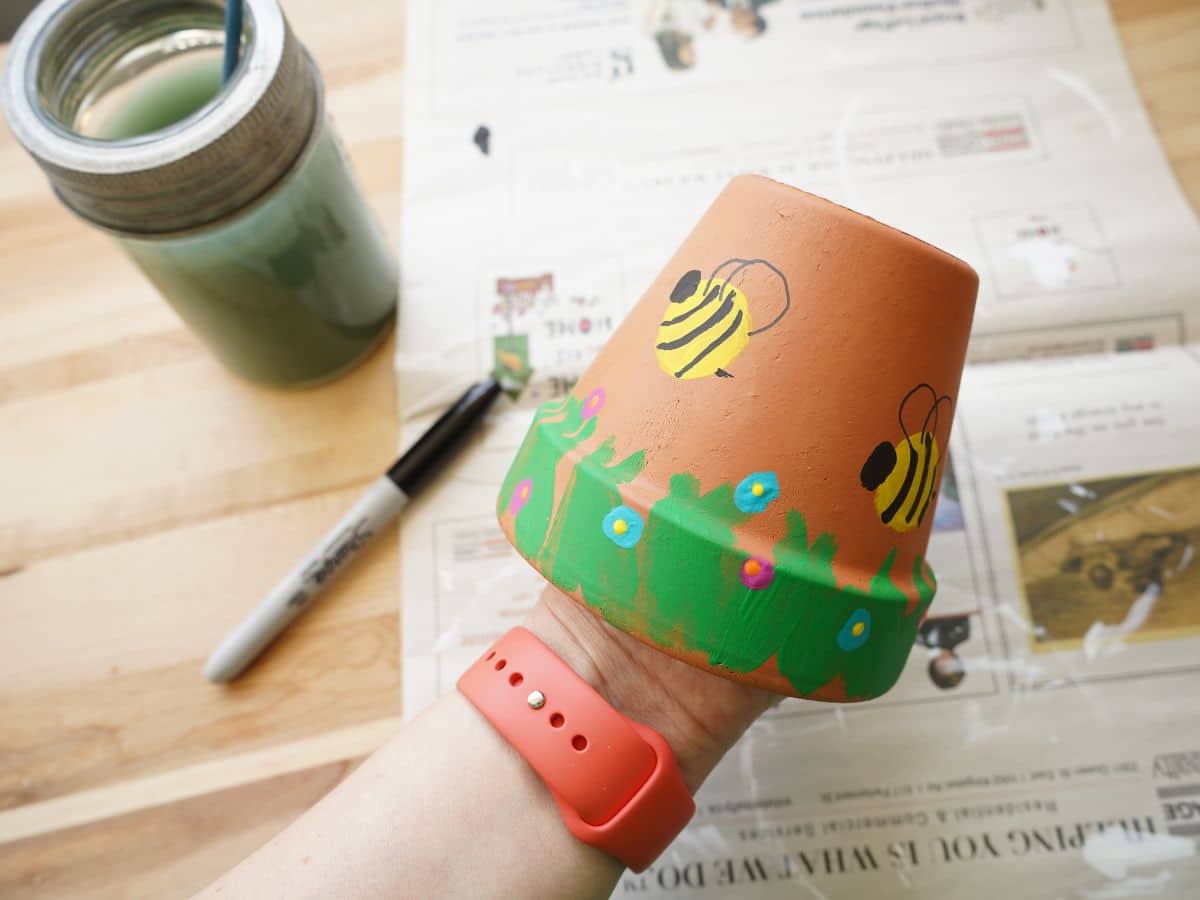
Grab the paints and paint whatever you like on your pot. Remember, the pot will be upside down when you build the bee bath, so make sure your image is painted facing the right direction. We painted on some grass, some little flowers, and a few bees flying around. I used the marker to draw on the bees' wings. You might like to add some butterflies and taller flowers. Whatever you like. Set it aside to dry.
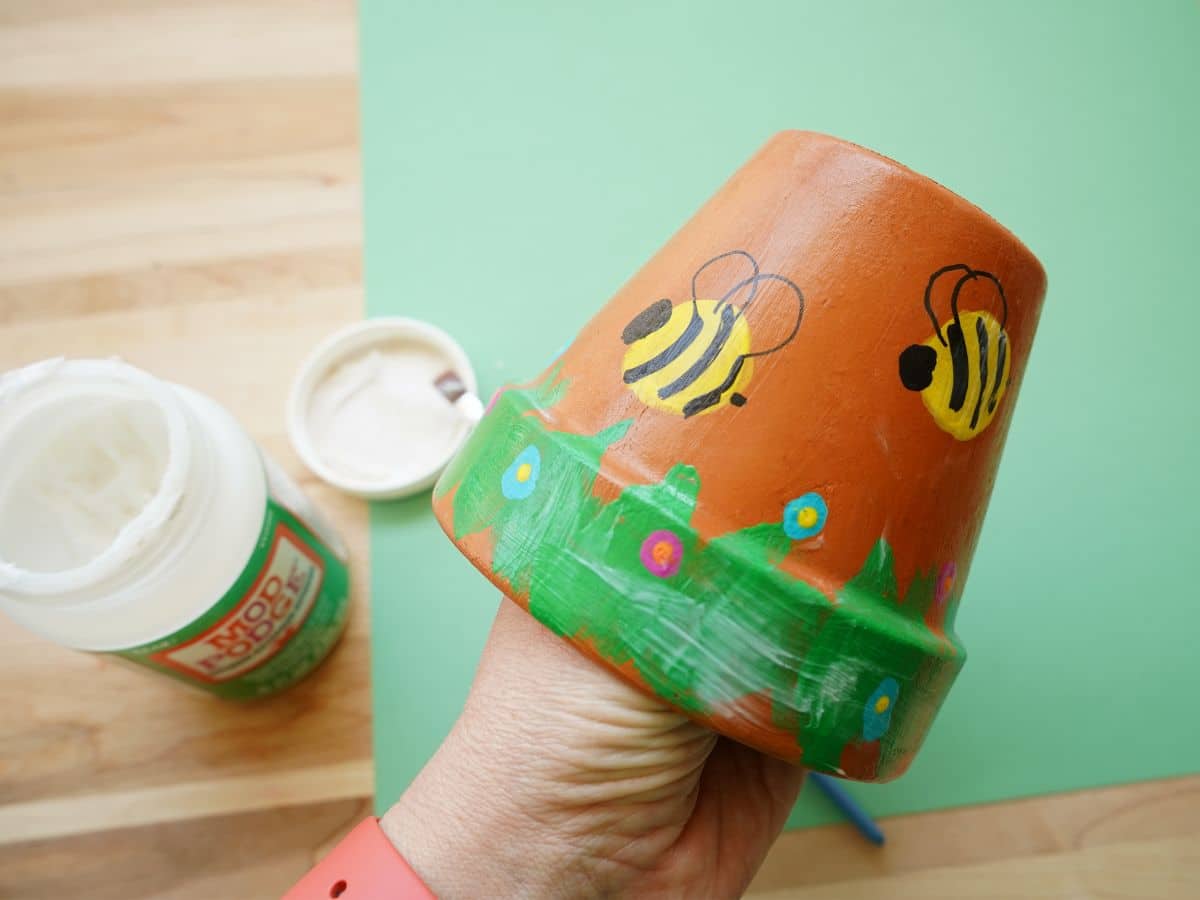
Once your paint has dried, apply a coating of a clear, outdoor sealer to the pot. This will protect your painting from the elements - rain and sun. I like using Modge Podge products, they will appear to be white when it is painted on but will dry clear. Set aside to dry.
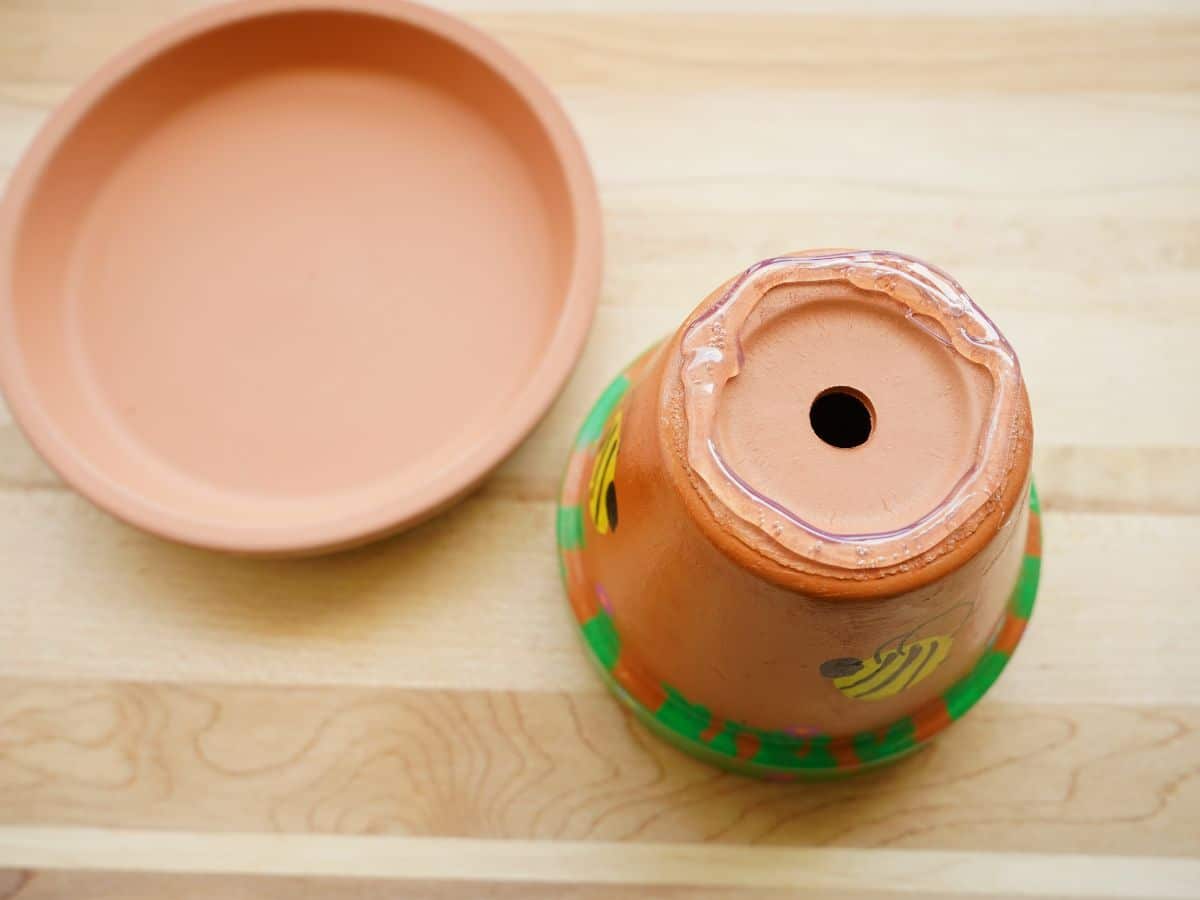
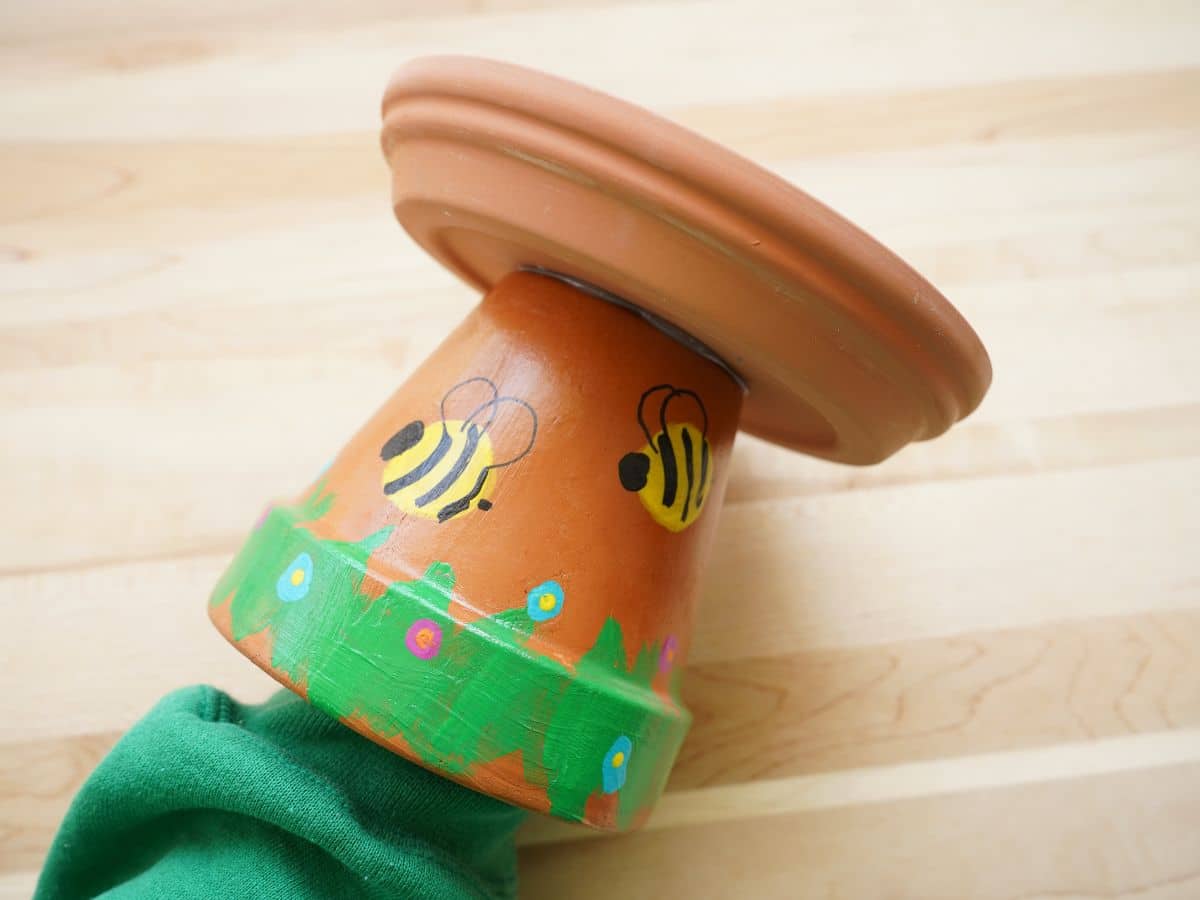
Okay, it is time to assemble the bee bath. Apply a liberal amount of glue (using your glue gun) to the underside of the pot. And, place the saucer (with the lip of the saucer facing up) onto the glue. Press the saucer in place, to ensure a good seal is created. Let the glue cool and fully adhere before moving it around.
Where to Place Your Bee Bath?
Now, take your bee bath outside. I prefer a partially sunny spot that is near bee-friendly flowers. You want to place it where the bees and butterflies will be hanging out. Partially sunny is best because the water will evaporate super quickly if you set it in a very sunny spot. Pour the marbles into the saucer. It's okay if you overfill the saucer. If the marbles double up in some spots, it will give the bees a place to rest.
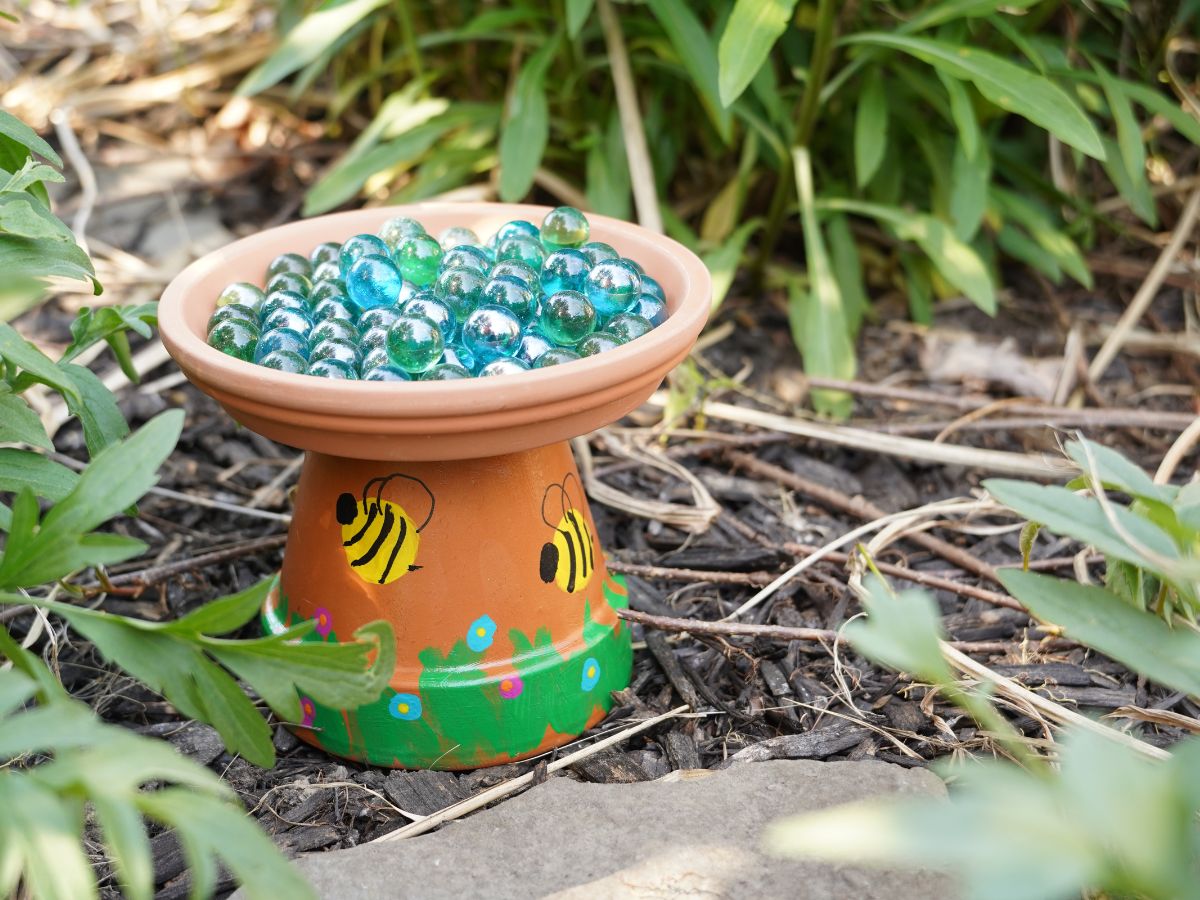
It's time to pour in some water. Fill the bee bath about ¾ of the way up with marbles. This allows the bees to keep dry while they drink.
Why use marbles in a bee bath?
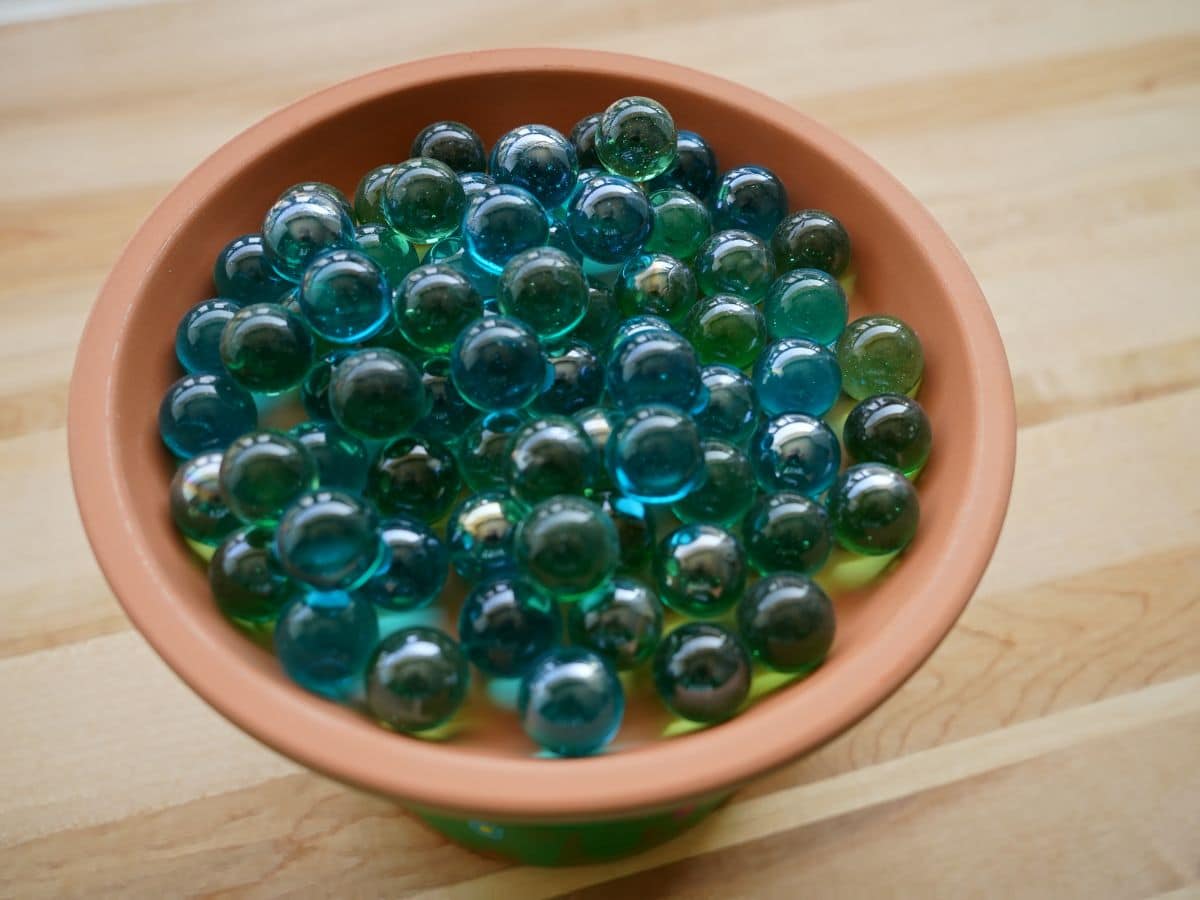
Marbles are a great choice for a bee bath for a couple of reasons. First, bees can easily perch on top of the marbles and keep their feet dry while drinking. And, marbles look nice when they glint in the sunlight...so your bee bath is functional and a lovely addition to your garden!
Be sure to subscribe to my YouTube channel, where you will find a video for this activity and many more!
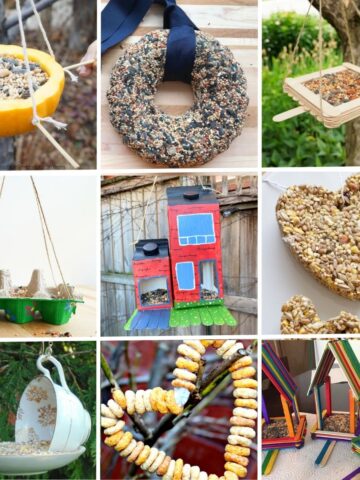
check out all of our tips for growing a bee-friendly garden
Make sure you are following along...
FOLLOW KITCHEN COUNTER CHRONICLES ON
SUBSCRIBE TO KITCHEN COUNTER CHRONICLES TO HAVE OUR DELICIOUS RECIPES, FUN CRAFTS & ACTIVITIES DELIVERED DIRECTLY TO YOUR INBOX.