I love a pom pom craft. For Christmas this year, I wanted to find fun ways to add more pom pom crafts to our holiday crafting. You may have seen the cute pom pom Christmas tree I made. Or, the silly pom pom reindeer I created. Well, I wanted to make another pom pom Christmas craft, and I came up with this super fun pom pom star ornament.
Disclosure: There are Amazon Affiliate links in this article which means, at no additional cost to you, we could receive compensation for our recommendations. You can read our full disclosure policy on our Disclosure Page for more details.
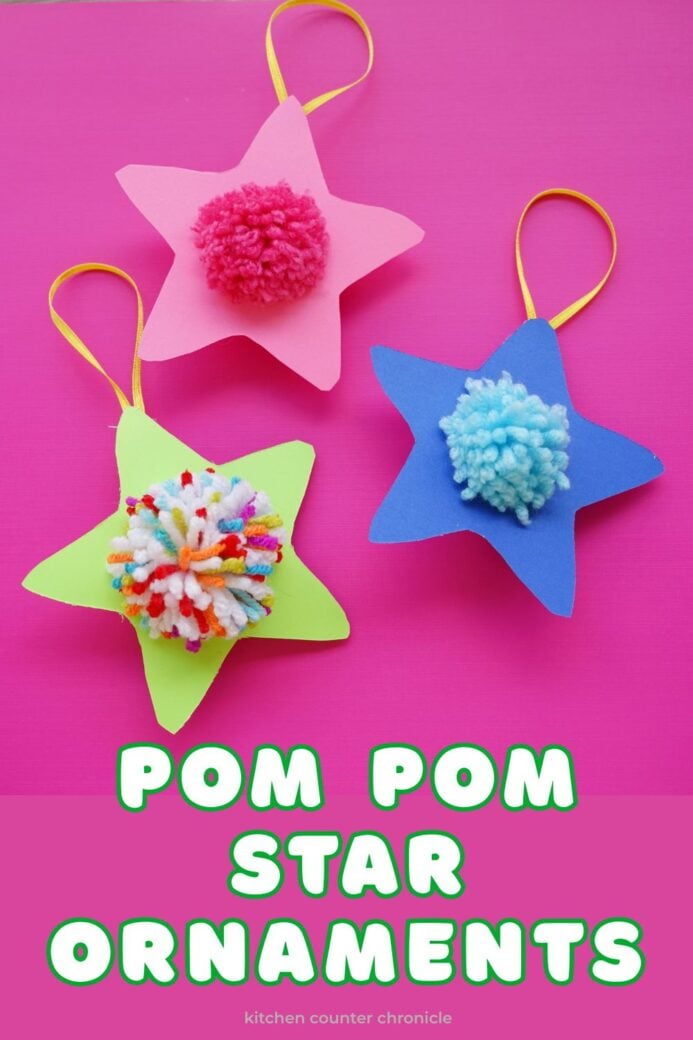
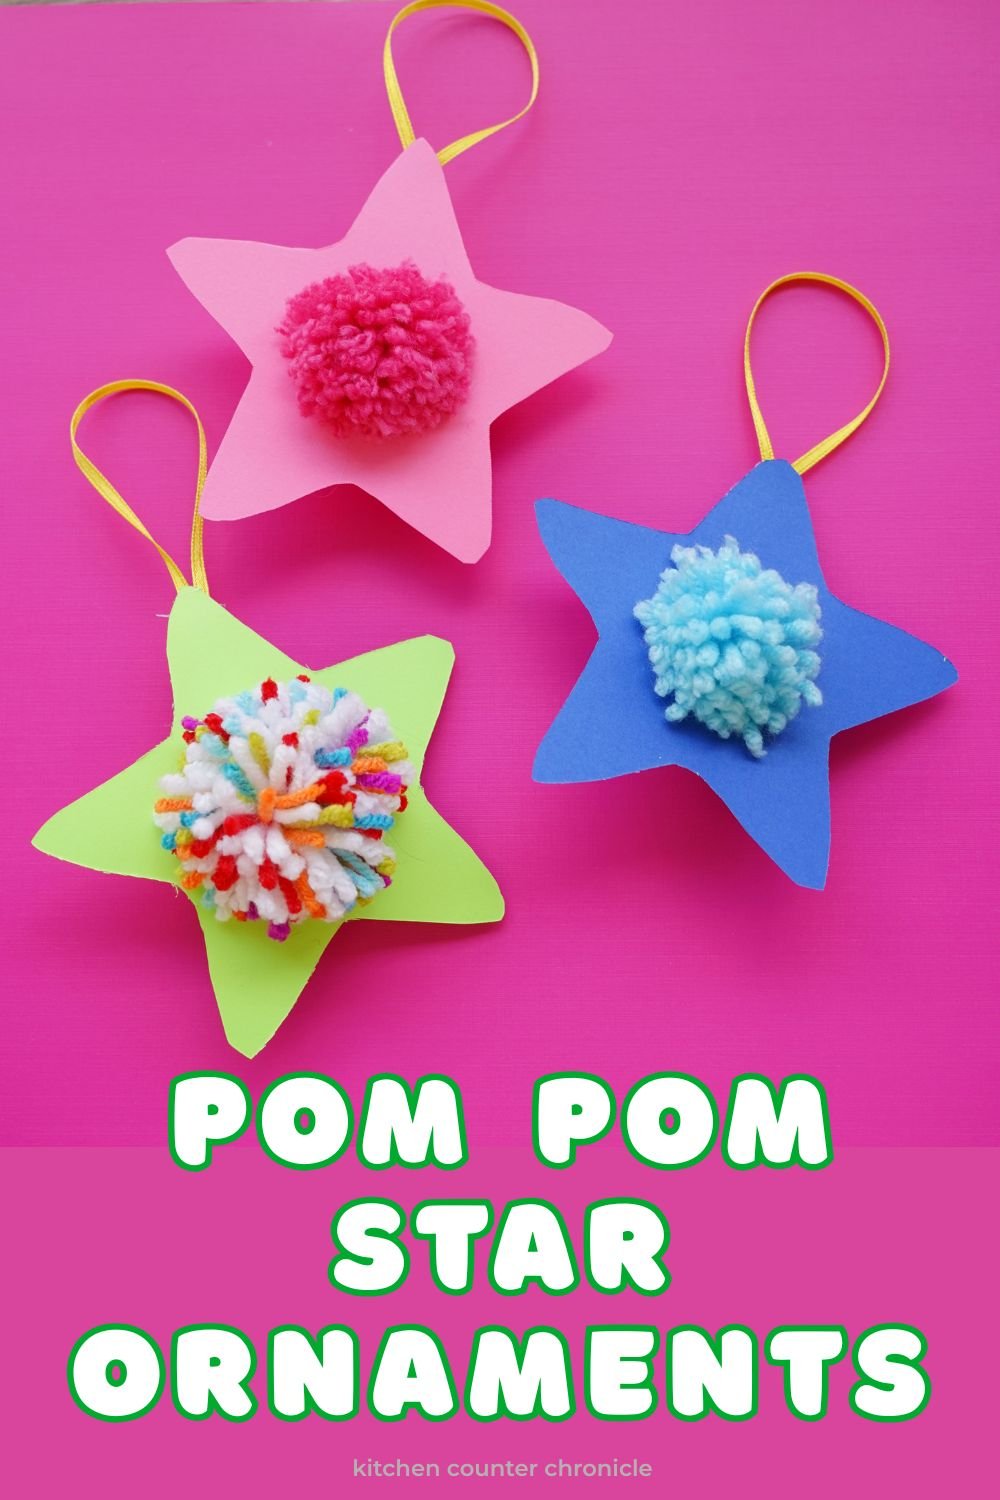
DIY Pom Pom Star Ornament
pom pom maker tool
Christmas color yarn
scissors
craft knife
our printable pom pom star ornament template
colorful cardstock
ribbon
glue gun

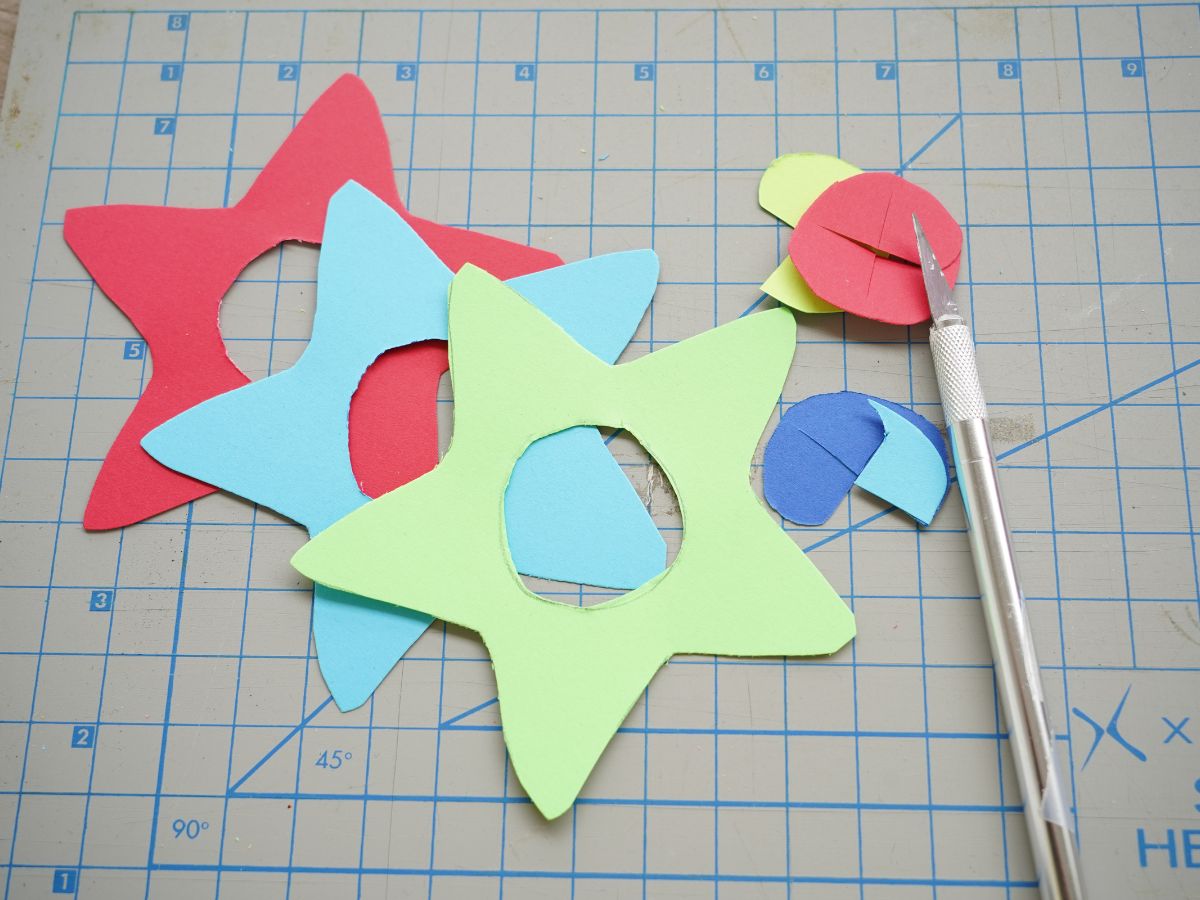
Start by printing our pom pom star template. Once printed, cut out the star shape and cut out the middle of the star too. The middle of the star is where your pom pom will go.

Trace the star template onto colorful cardstock. You need to use cardstock because you need the paper to be sturdy. To remove the centre circle of the star, use a utility knife to cut an "x" in the middle of the circle. Then slide your scissors into the "x" and cut out the circle. Cut out as many stars as you like.
For these pom pom star ornaments, you are going to need one pom pom for each ornament. Choose whatever colors you like. I went with bright colors - pink, green, and even mixed a few colors together to make some customised pom poms. You can coordinate the color of the yarn with the color of the cardstock you use. I always use my absolute favorite pom pom maker tool when I create any pom pom crafts. I have found that this handy tool works the absolute best. For these stars, you need to use the 1 ¾" maker tool or the 2 ½" maker tool. The 1 ¾" is the ideal size of pom pom.
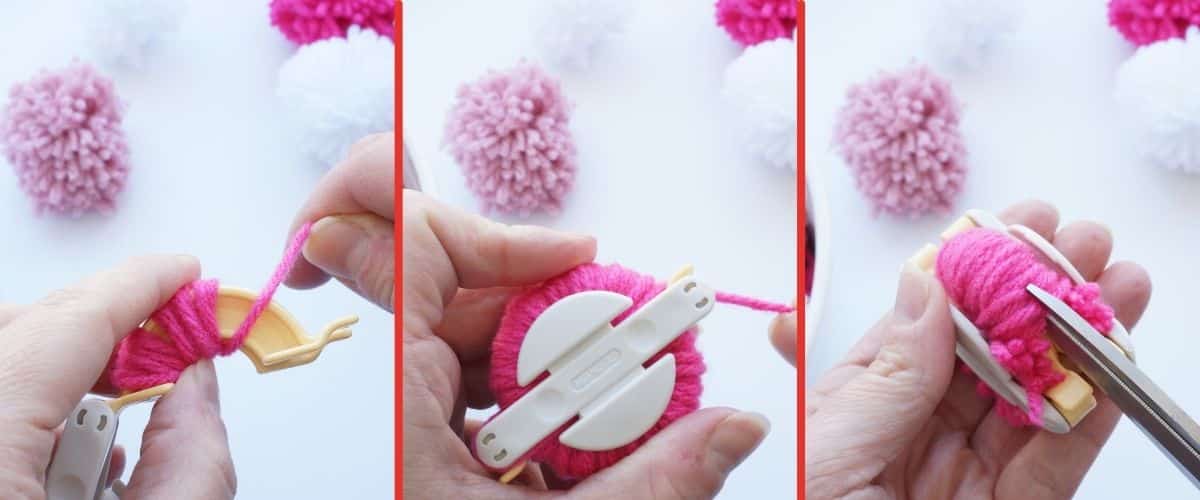
To make a pom pom, I have created a video over on YouTube showing exactly how to make a pom pom, but here's an overview. Start by wrapping yarn tightly around one side of the pom pom tool. Once wrapped, close that side of the tool. Then move to the second side of the tool, and wrap tightly. Once wrapped, close this side of the tool. You now have a fully wrapped pom pom maker, too.

Trim all the way around the pom pom tool, cutting down the center channel of the tool. Be sure to keep the tool closed tightly as you cut around. When you have cut all the way around, wrap a length of the same yarn into the channel of the tool. Tie at least two knots, as tightly as you can. This will secure your pom pom. When the pom pom is ties, open the tool and the pom pom will pop right off. Trim the pom pom to get the exact shape that you like.

Okay, now you have a pile of pom poms and the stars. It's time to assemble the ornaments. Pop a pom pom inside the hole in the star. Fluff the pom pom so that it is halfway through. It should be a snug fit. If by some chance it fits a little loosely, you can always add a dab of hot glue to the star to secure the pom pom.
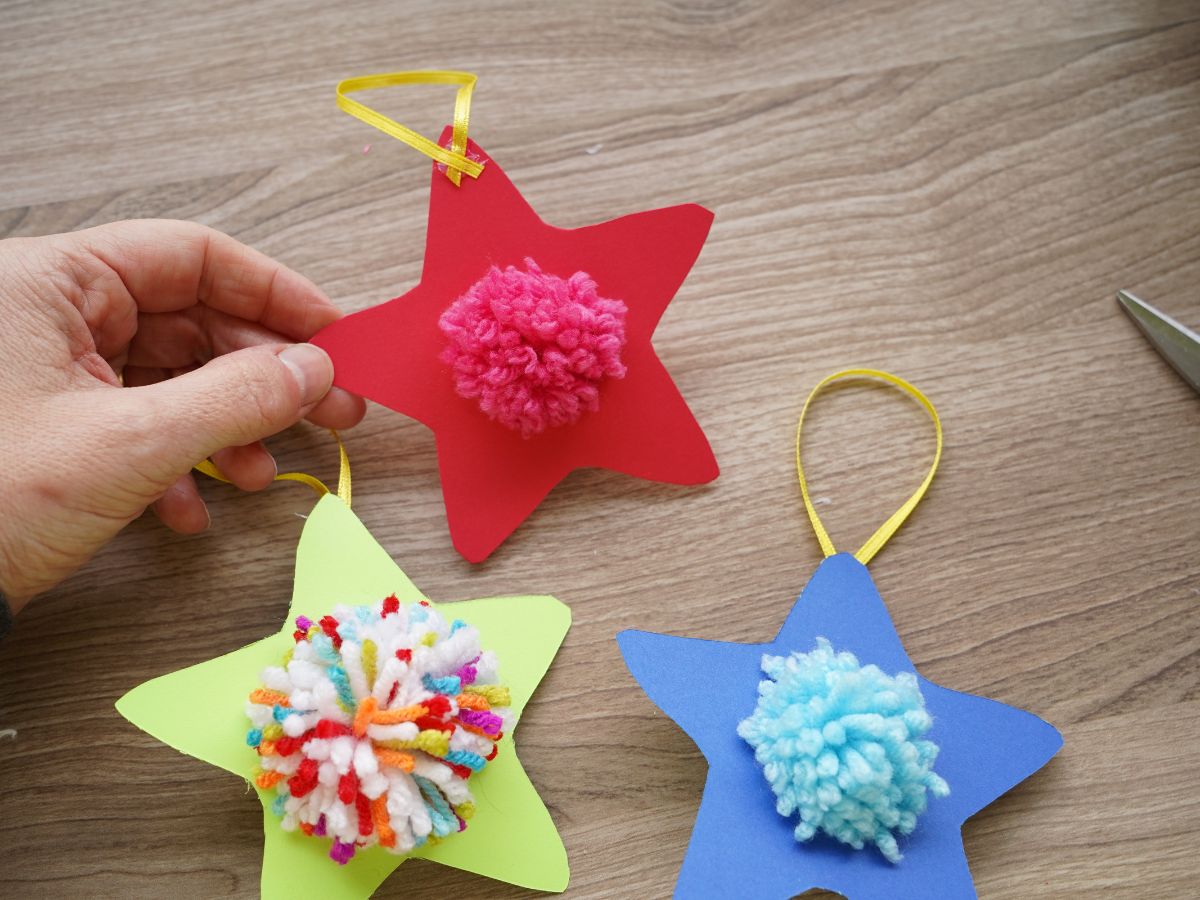
The final step is to glue a loop of ribbon that you will use to hang your ornament from the tree. Add a dollop of hot glue to one tip of the star and adhere the loop of ribbon.
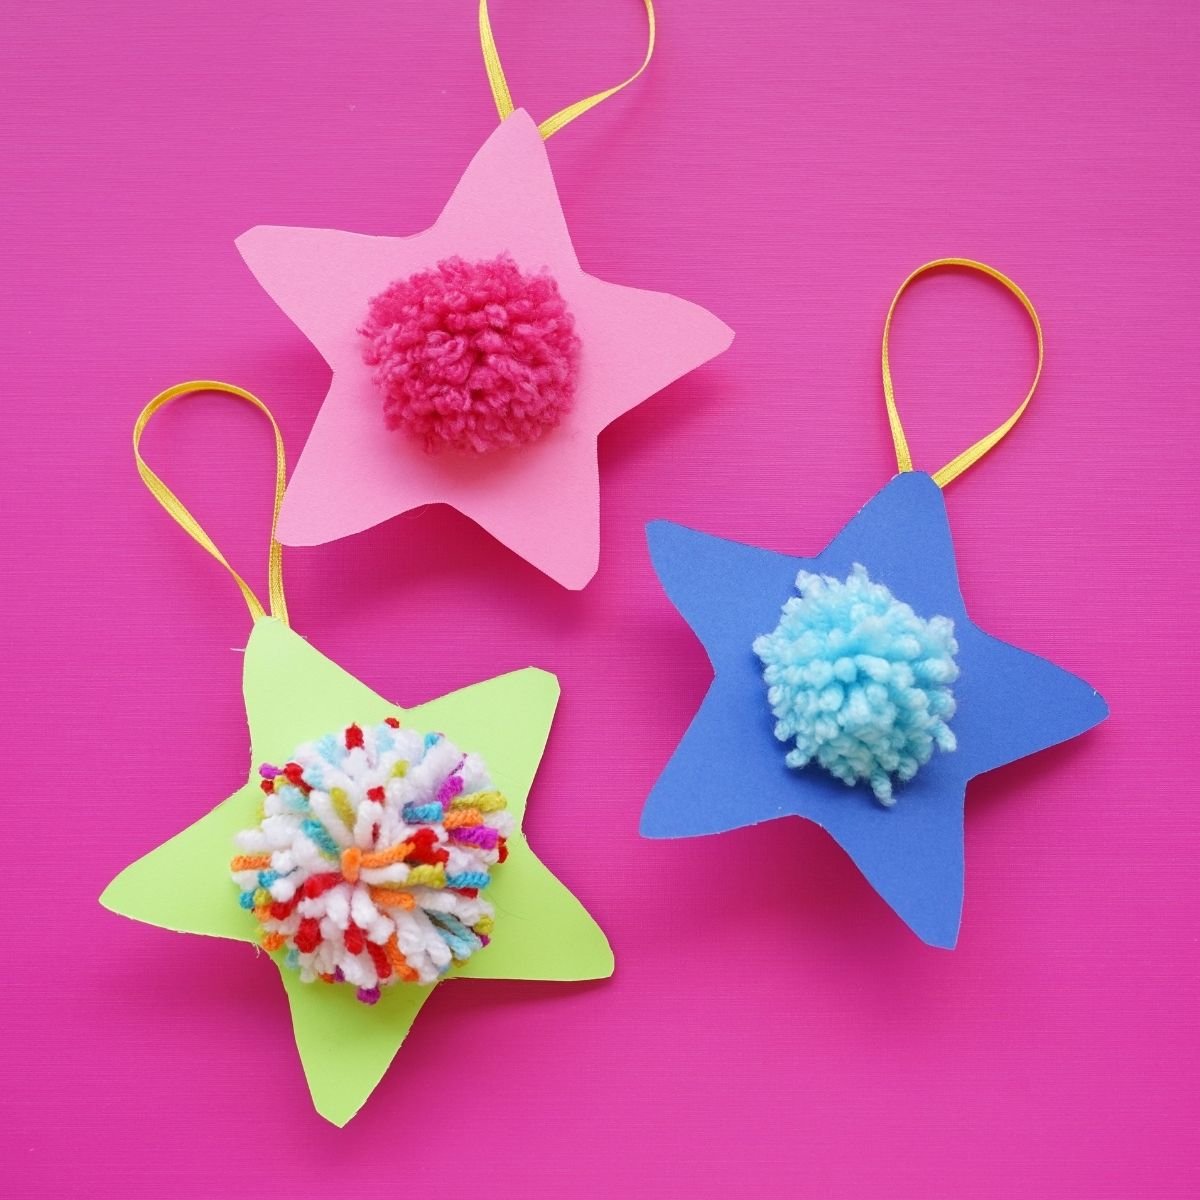
You can make an endless number of colorful pom pom stars to hang on your tree. I also think they would make a super cute garland. If you glued them to a length of string and hung them up. I think I'm going to add them to any bottle of wine that I gift this year.
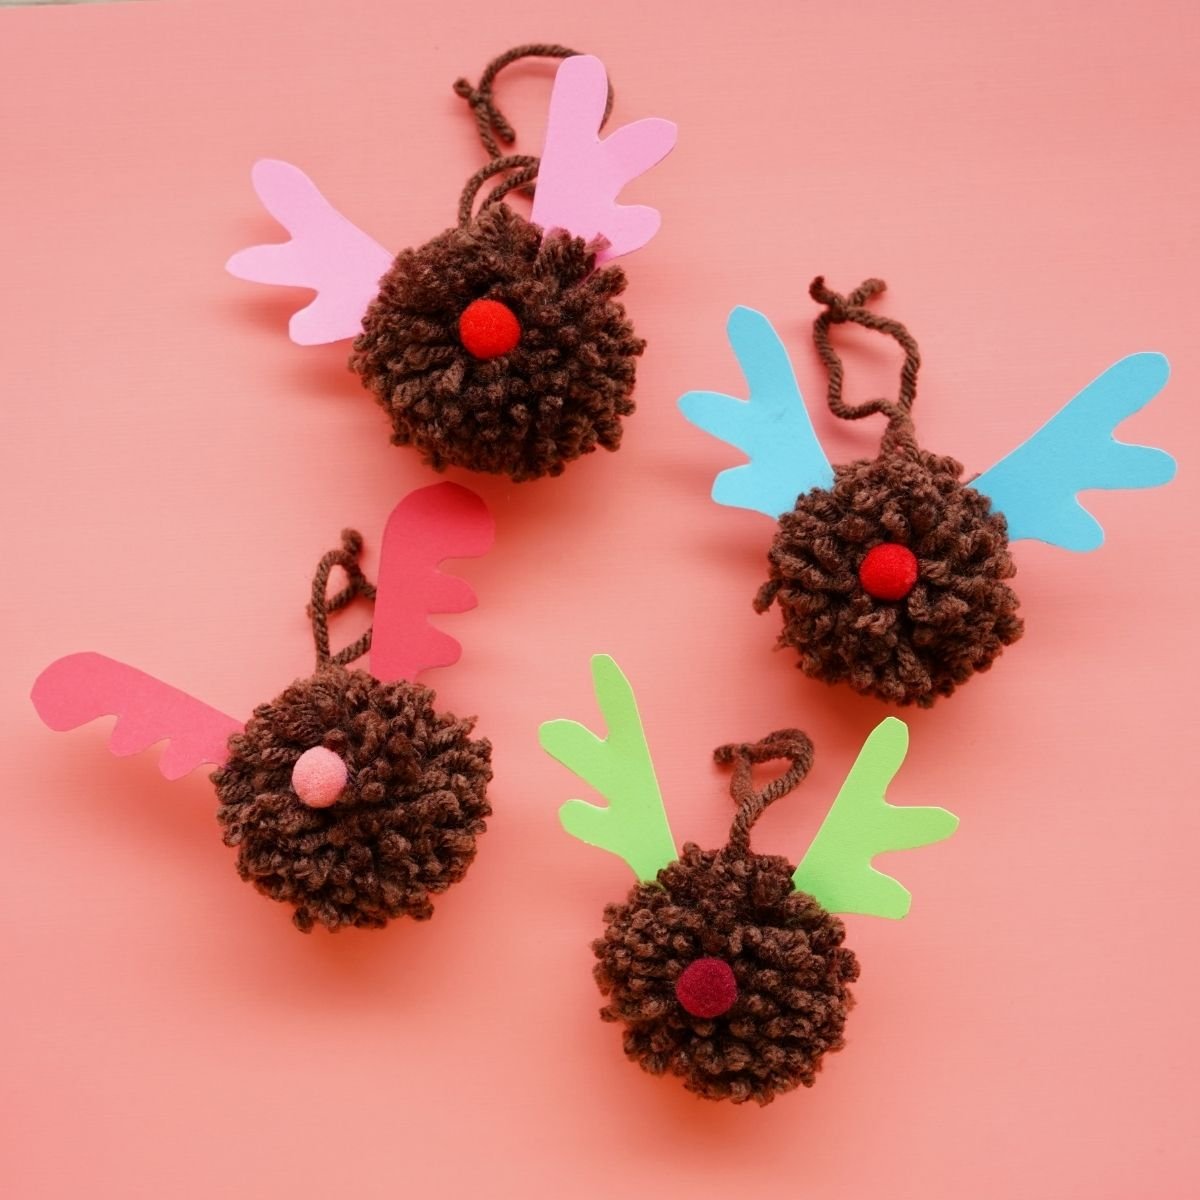
Check out our cute pom pom reindeer ornaments
Make sure you are following along...
FOLLOW KITCHEN COUNTER CHRONICLES ON
SUBSCRIBE TO KITCHEN COUNTER CHRONICLES TO HAVE OUR DELICIOUS RECIPES, FUN CRAFTS & ACTIVITIES DELIVERED DIRECTLY TO YOUR INBOX.