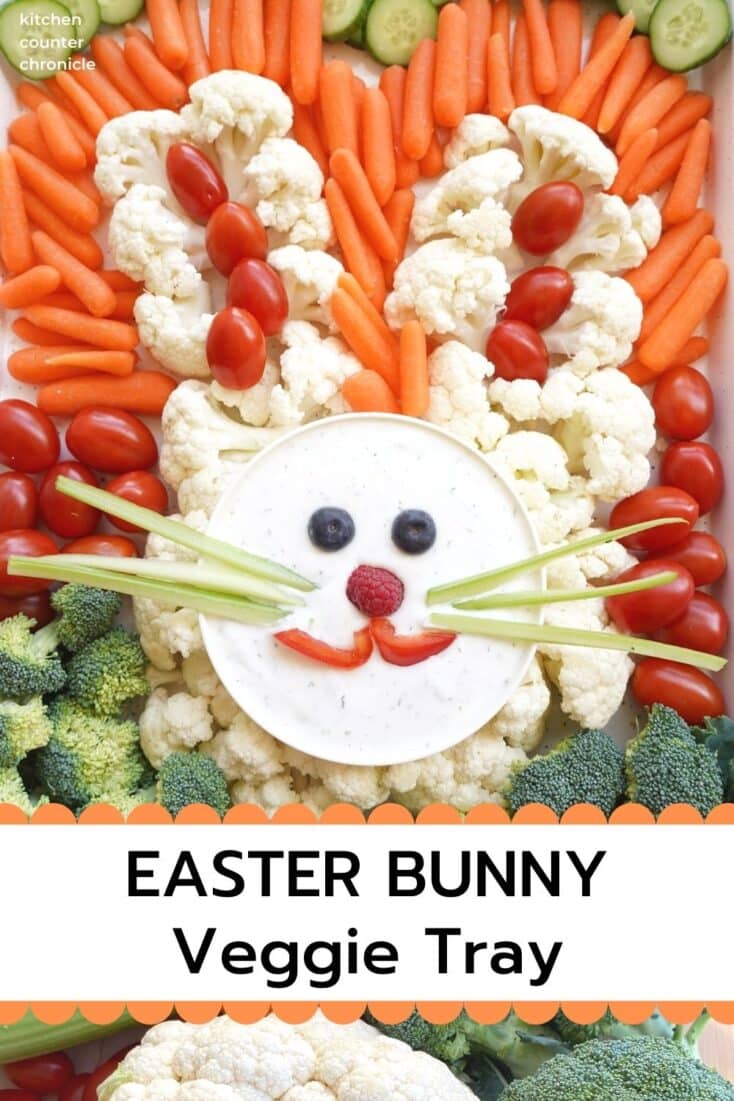
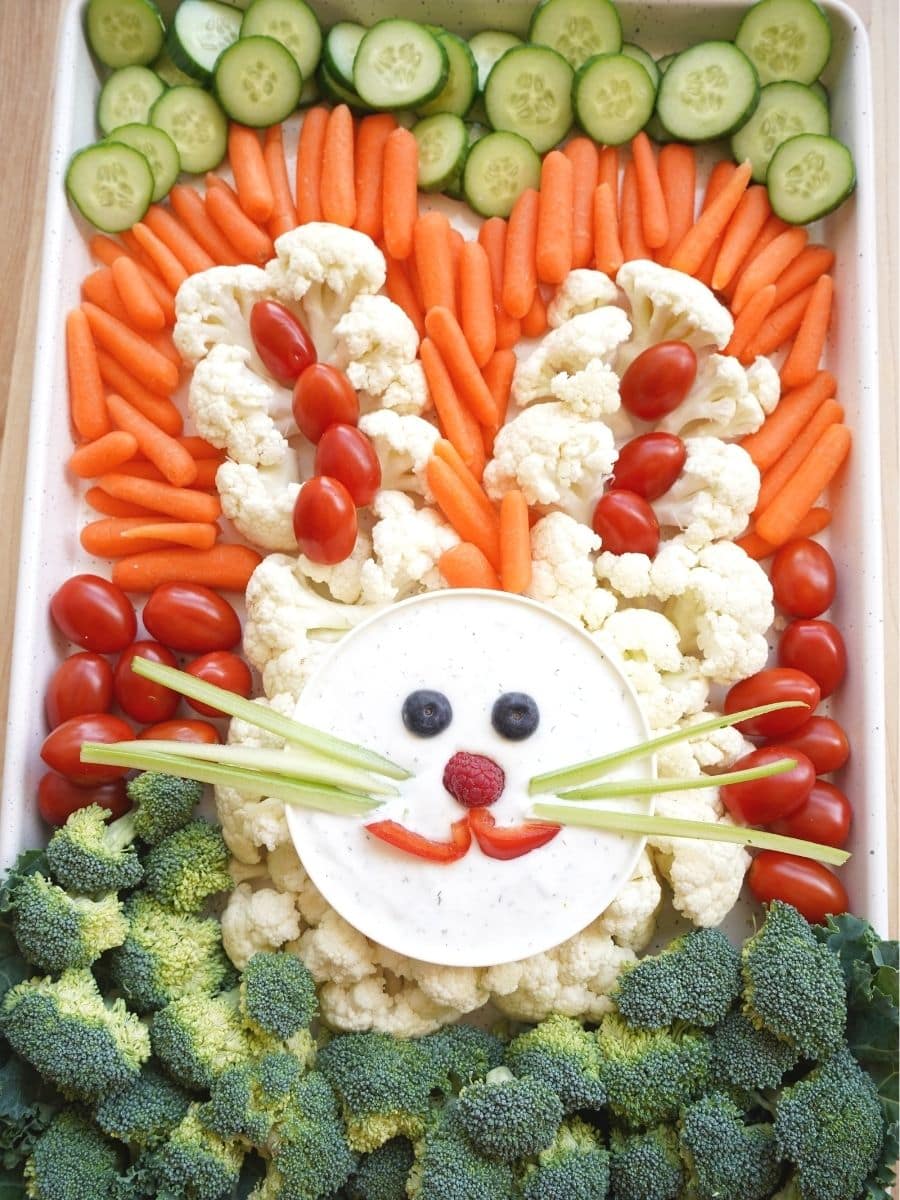
We've shared many vegetable trays over the years. I love a good platter of vegetables. You might recall all of for various seasons and themes - Christmas and Easter and Halloween. Well, this Easter Bunny veggie tray is now one of my all-time favourites. He's right up there with Santa Claus.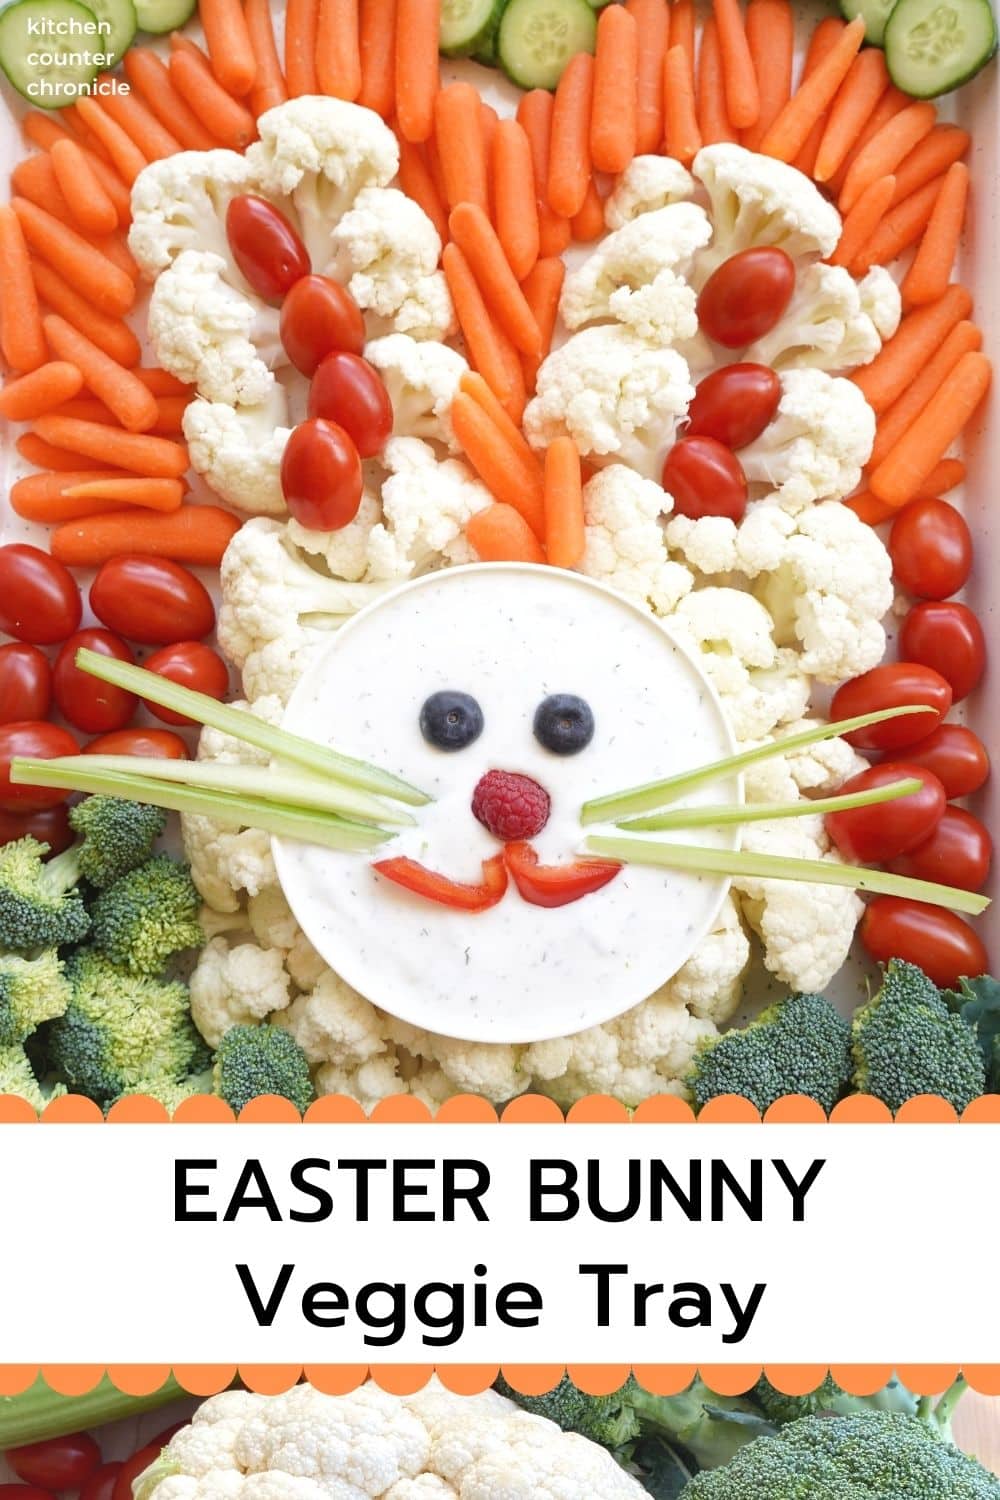
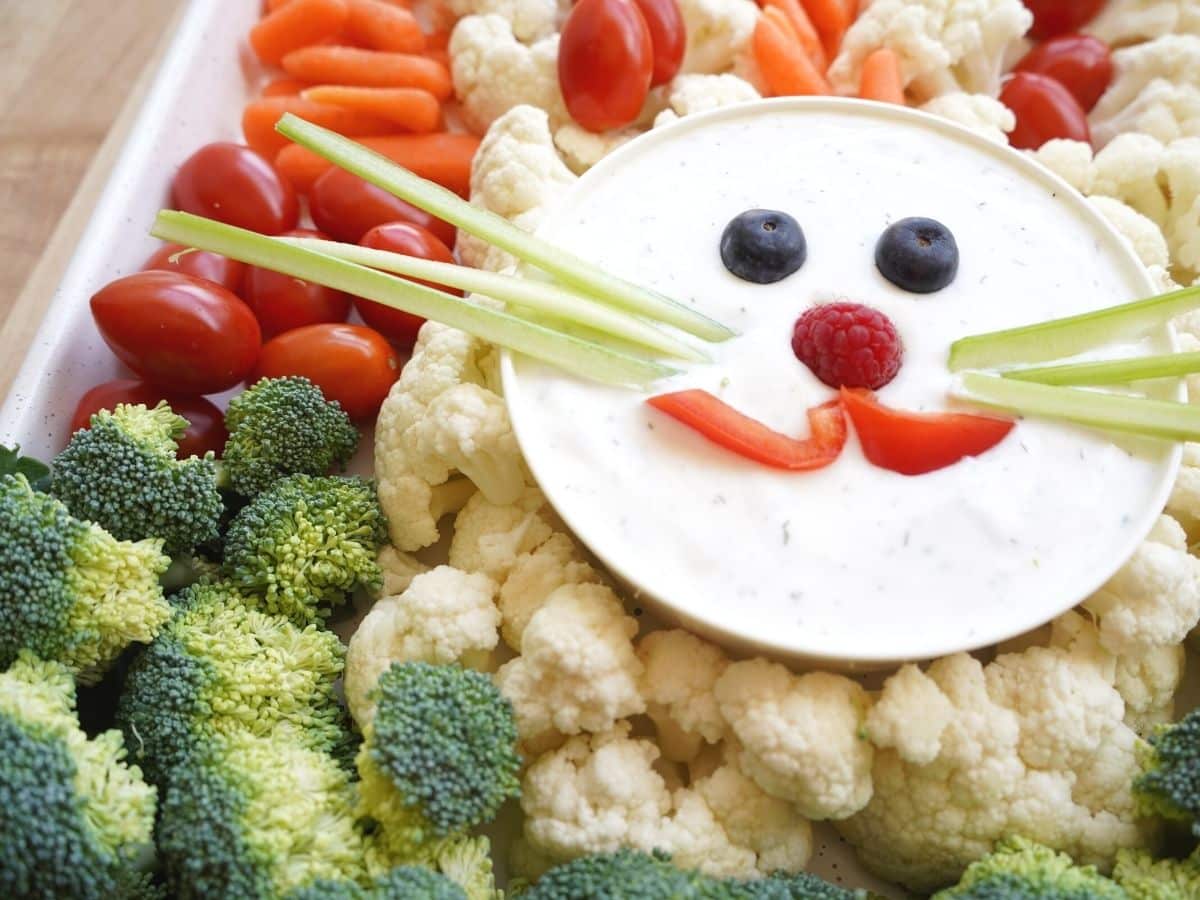
How cute is this Easter bunny shaped veggie platter? What I love about a fun vegetable platter is how versatile they are. Yes, they make a great addition to a big family buffet, but they are also a super fun weeknight dinner option. A creative platter of veggies is a great way to get the kids to eat all their veggies...right?
How to Make an Easter Bunny Veggie Tray
11" x 14" white baking sheet
small white bowl
paring knife
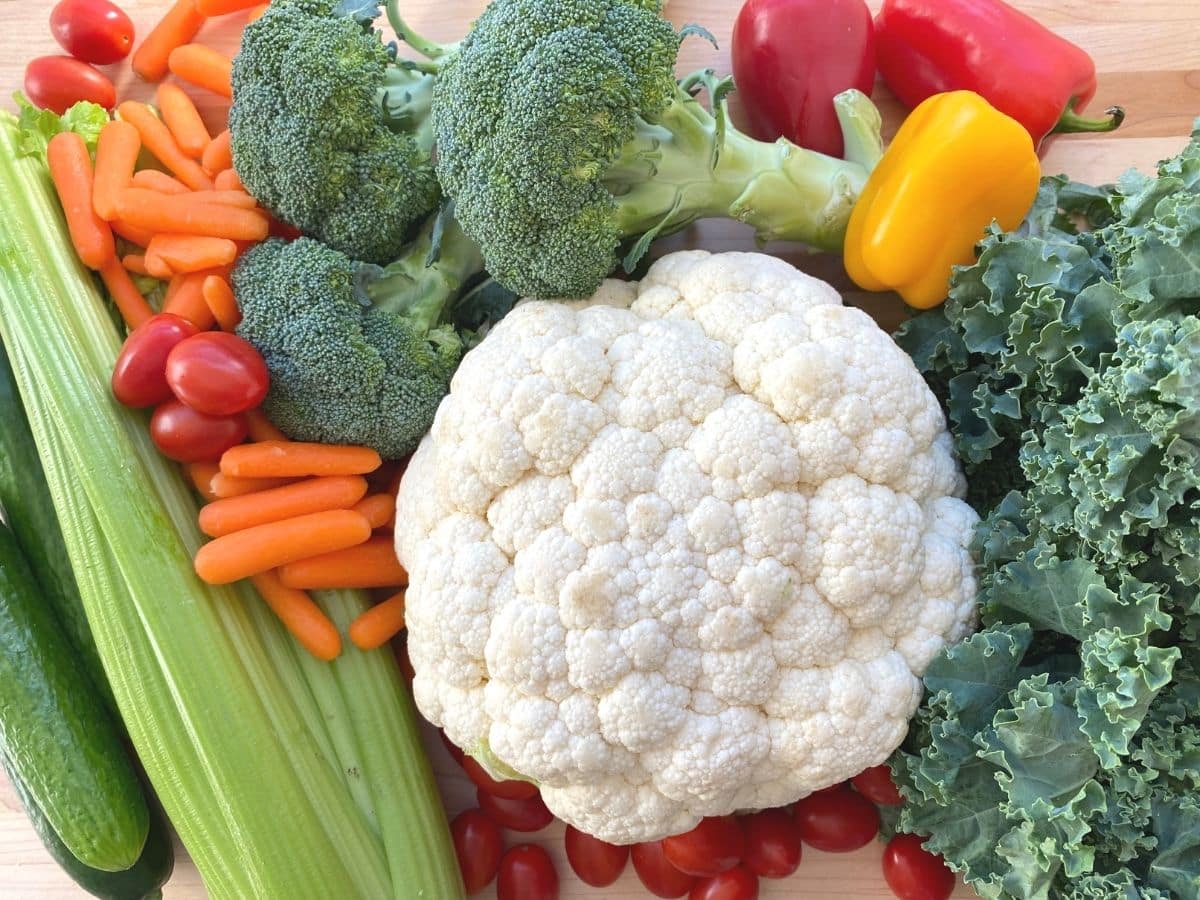
cauliflower
broccoli
mini carrots
cherry tomatoes
small cucumbers
small red pepper
2 blueberries
1 raspberry
1 stalk of celery
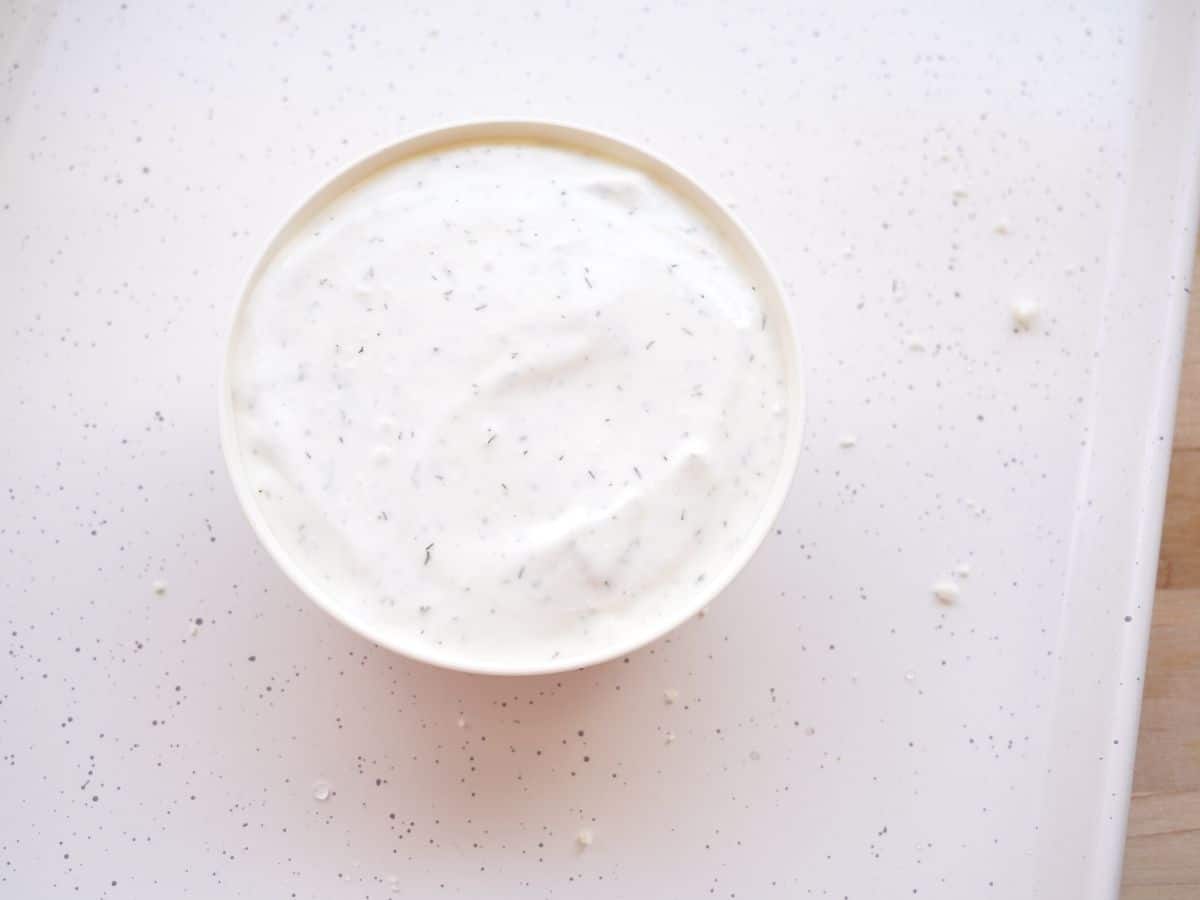
bowl of our veggie dip (or your favourite vegetable dip)
I picked up this white baking sheet for the purpose of making vegetable trays. The sides help to keep everything in order. You could totally build your bunny vegetable platter right on a cutting board or any large platter.
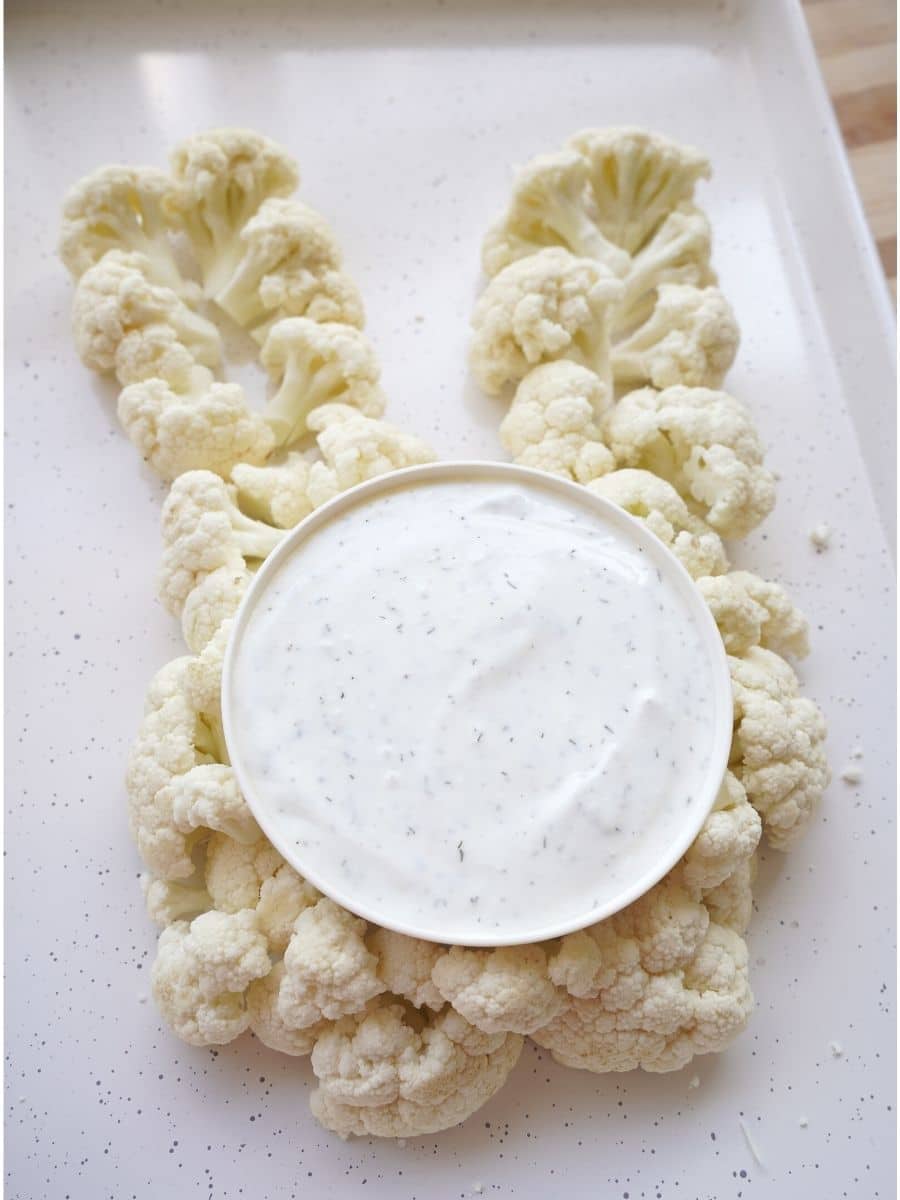
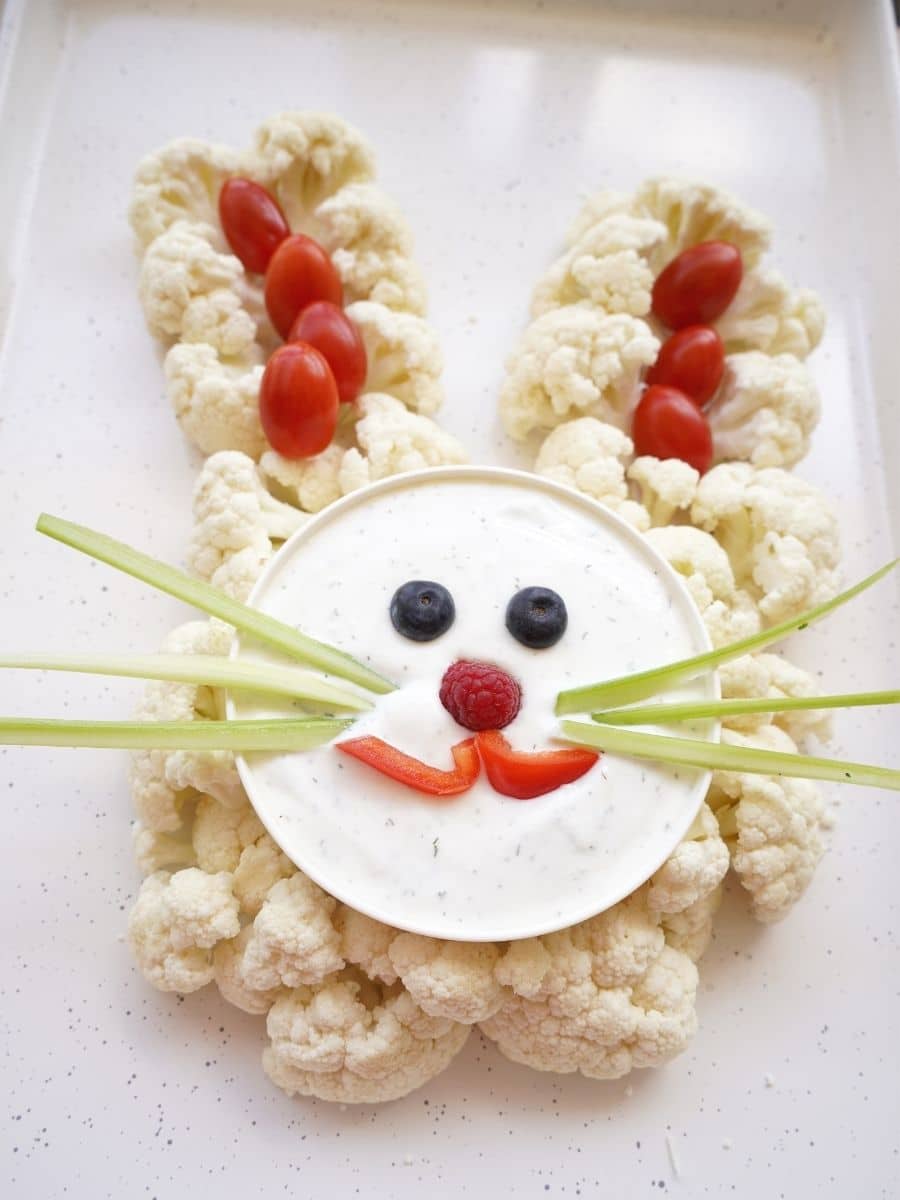
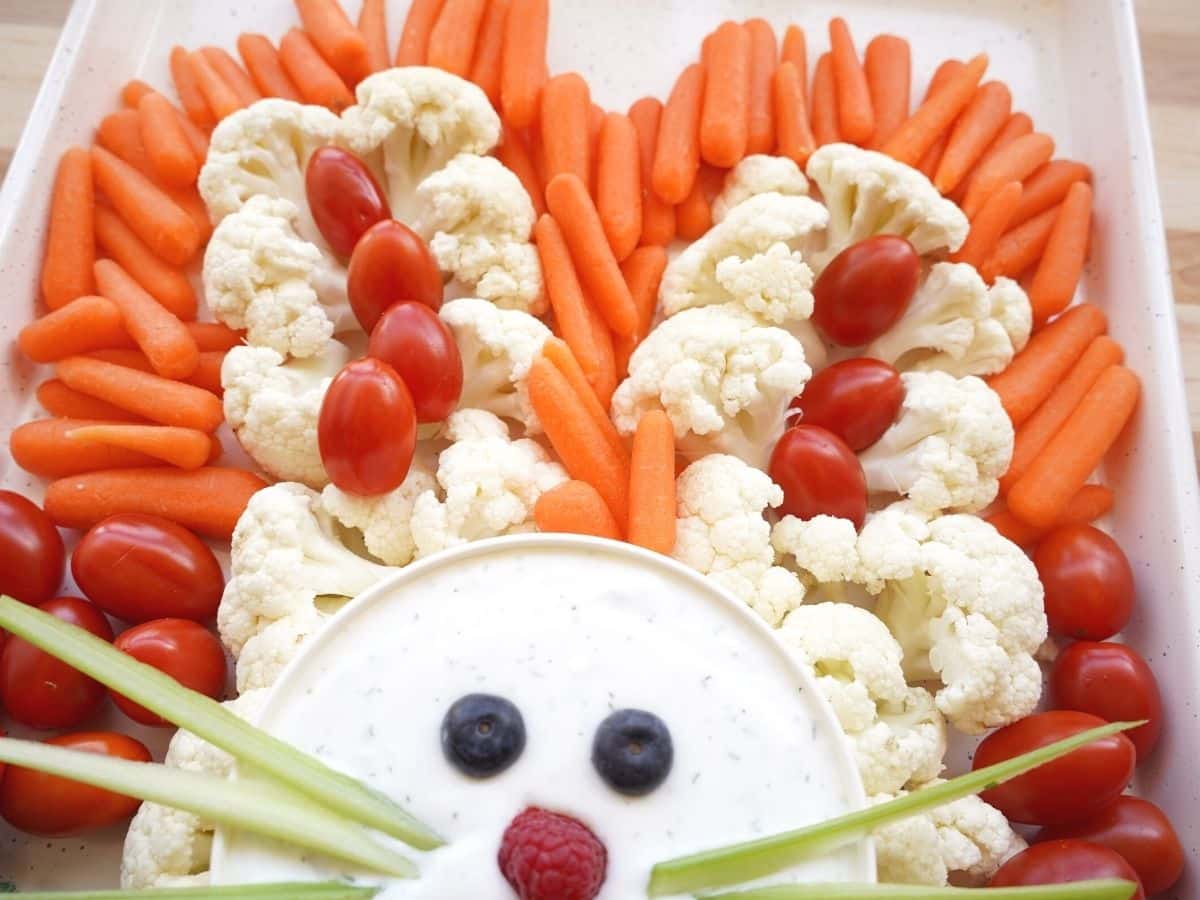
Now it's time to sculpt the Easter Bunny. Begin by placing clusters of cauliflower around the bowl - filling in the bunny's head. Then start building the ears. For the ear, leave a channel in the middle for the inner, cherry tomato, section of the ear. Add the cherry tomatoes.
There will be some trial and error. My best tip is to start with larger florets and then fill them in with smaller florets. Don't be afraid to trim the florets as you go along.
Related Posts
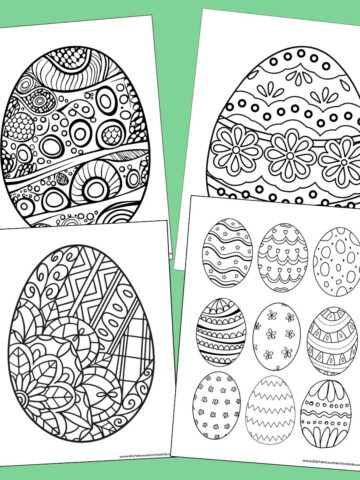
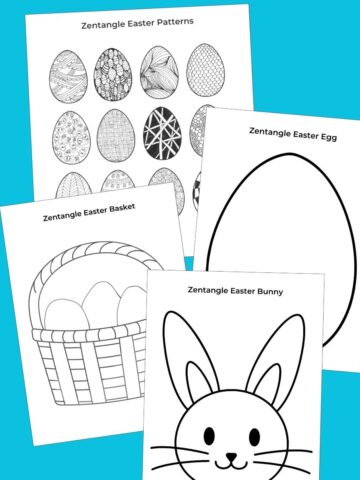
check all of these creative Easter vegetable trays

Make sure you are following along...
SUBSCRIBE TO KITCHEN COUNTER CHRONICLES TO HAVE OUR DELICIOUS RECIPES, FUN CRAFTS & ACTIVITIES DELIVERED DIRECTLY TO YOUR INBOX.
FOLLOW KITCHEN COUNTER CHRONICLES ON
FACEBOOK:: PINTEREST:: TWITTER::INSTAGRAM

