Okay, I've shared so many fun advent calendar ideas over the years. From our favorite DIY cookie advent calendar to our post with amazing eco-friendly advent calendar filler ideas. This time around we are transforming a totally basic wooden advent calendar into a super cute DIY advent calendar your tweens and teens are going to want to use for years to come. Let's go!
Disclosure: There are Amazon Affiliate links in this article which means, at no additional cost to you, we could receive compensation for our recommendations. You can read our full disclosure policy on our Disclosure Page for more details.
I love advent Christmas advent calendars. I love building anticipation toward Christmas. I especially love simple advent calendars. When I was a kid we had the cheap and cheerful chocolate advent calendars. For my eldest daughter's first Christmas, my mother bought her a cute wooden advent calendar and my sister mailed my daughter little handmade gifts, from England, every day leading up to Christmas. These traditions have been enjoyed for years now. A few years ago I introduced the idea of a homebaked cookie advent calendar - who wouldn't love a little sugar cookie each day?! And, over the years I've shared all kinds of cool advent calendar ideas.
This year I wanted to get creative and see if I could transform a simple wooden advent calendar and personalize it how I like. It was a really fun project. It took about a week to complete and I am going to totally enjoy this advent calendar for years to come. In fact, my girls really want to make their own.
I might turn this DIY wooden advent calendar idea into a gift. Wrap together the wooden calendar, set of paints, paintbrush, glue, and everything else they would need to make one for themselves! Fun, right?!
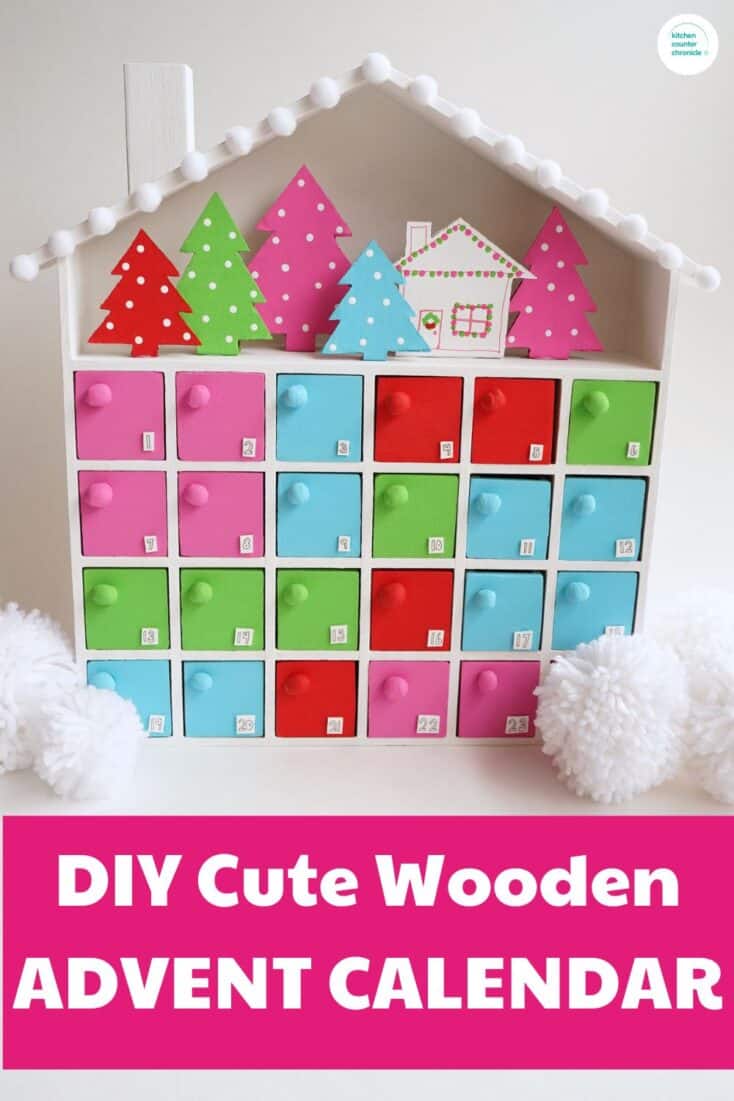
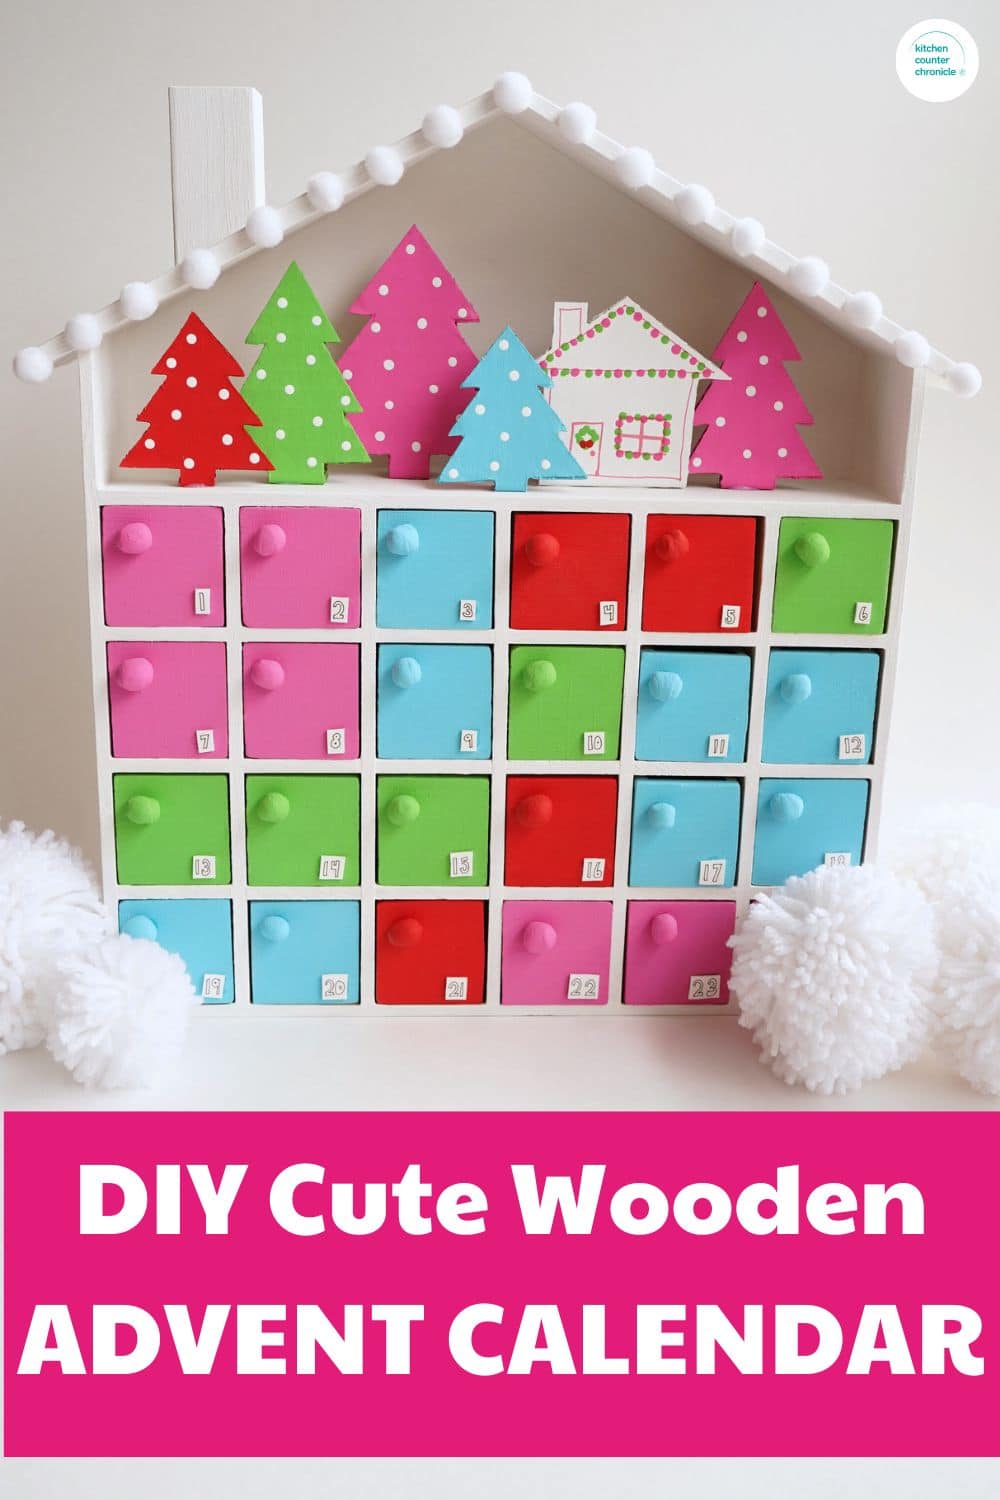
Creative DIY Wooden Advent Calendar
basic wooden advent calendar
sandpaper
acrylic paint - sour apple green, carousel pink, island blue, snow white, true red
paintbrush and foam paintbrush
air dry clay
e6000 glue
white pompoms
utility knife
self-healing mat
scrap cardboard
shrinky dink paper - white
fine-tipped black marker
glue gun
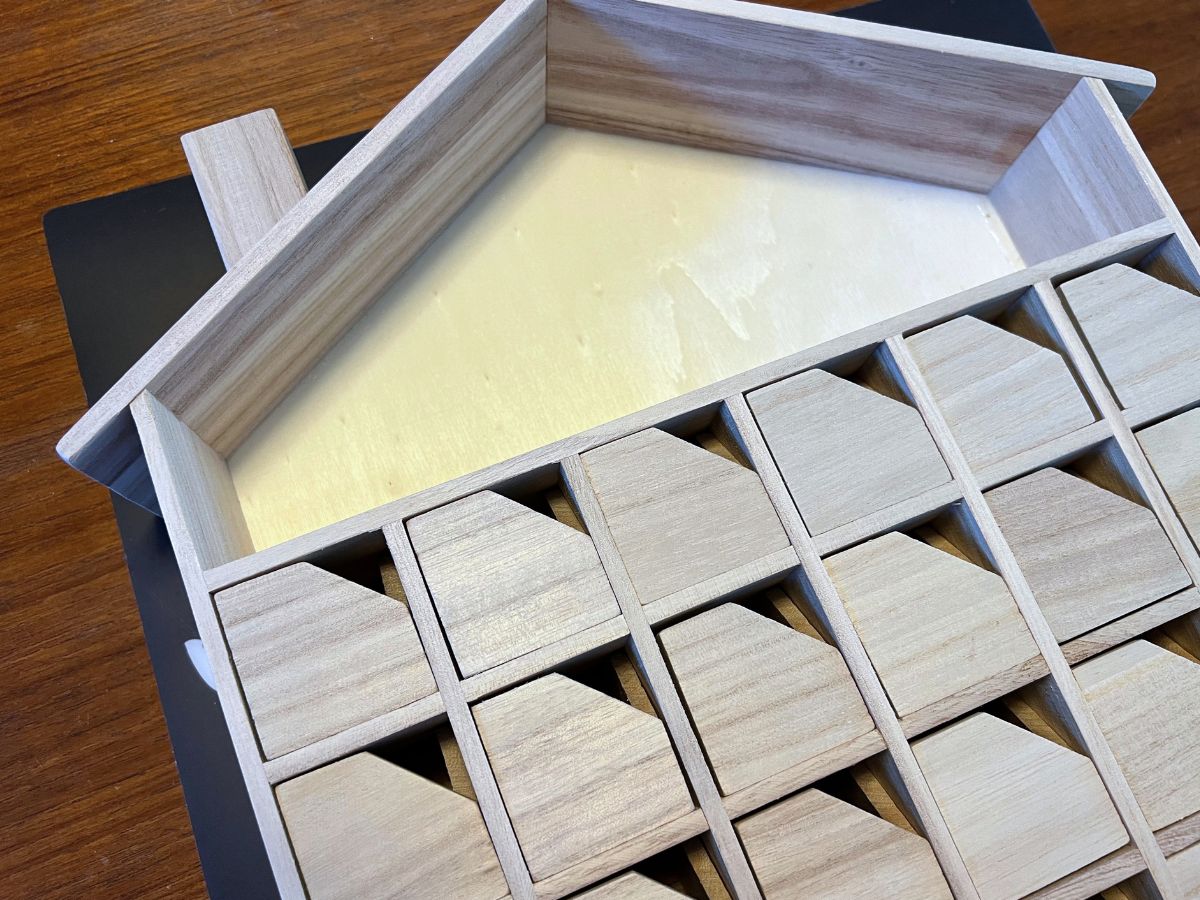
So, we started with a super simple wooden advent calendar that I bought on Amazon. I liked the simple design and the empty space at the top, I knew we could come up with something creative to fill in that space. I started by taking all the drawers out of the calendar and painting the entire thing with white acrylic paint...just to even out all of the wood.

While the design is intended to have the drawer cutouts on the front, I decided I wanted to use the full side (and we will add drawer pulls). You don't need to paint the inside of the drawers or the sides of the drawers. Number the drawers as you pull them out, so you know which slots they should fit back inside...more on that in a minute. Set aside to dry.

Let's make the drawer pulls. Rip the air-dry clay into small pieces and roll them into little balls. When you have the size of the ball you like, for your drawer pulls, set them aside to dry for about 24 hours. When they are dry, use a paintbrush to paint the knobs with the 4 colors I am using in the calendar. Let the knobs completely dry.

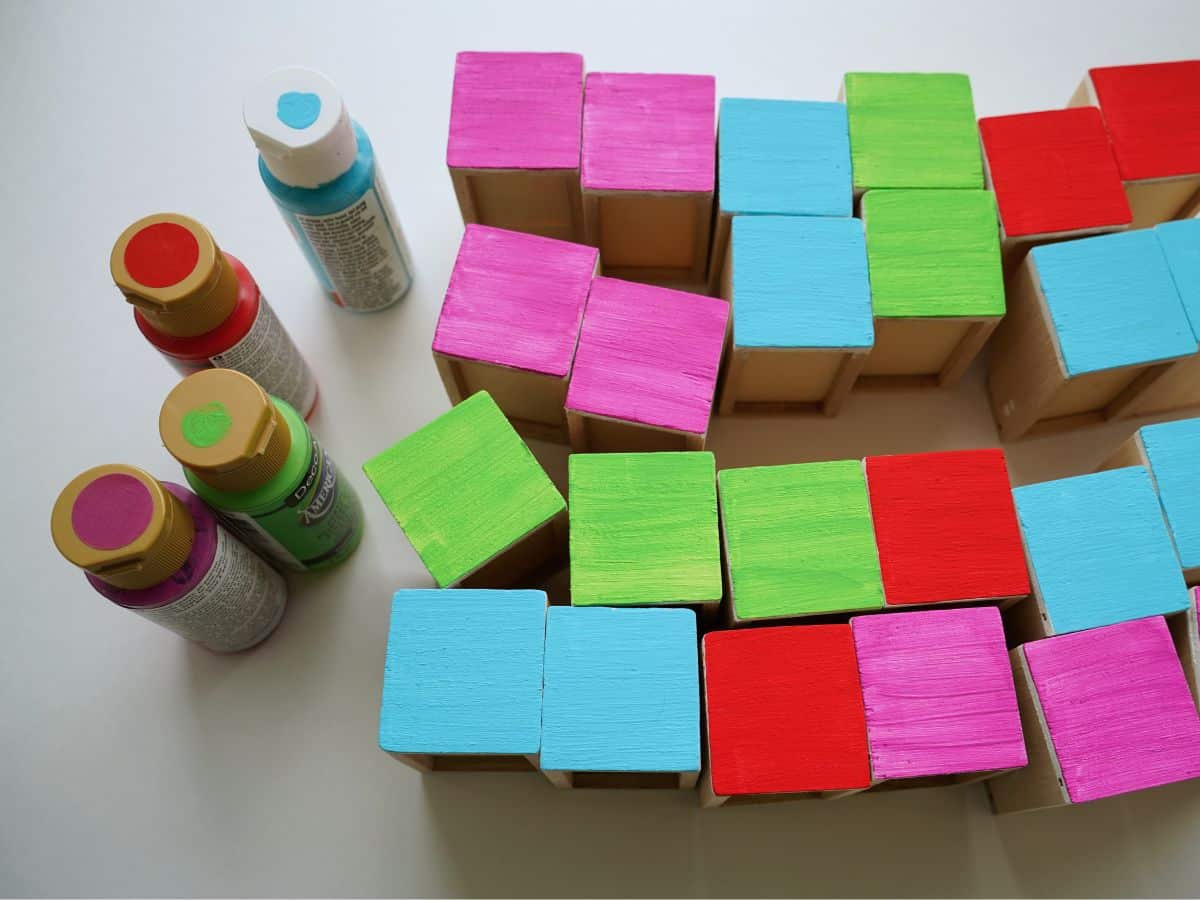
Okay, let's paint the drawer fronts. First I made a plan, on a piece of paper, of which drawers I wanted to paint which colors. I went for a more random design, but you could paint all the drawers one color or maybe create your own pattern. Play around on a piece of paper before you start painting. Then before you start painting, test pushing and pulling each drawer into their corresponding slot. If the drawer is getting stuck (which some of mine did) then use the sandpaper to reshape the drawers until they side smoothly in and out. Then it's time to paint the drawer fronts. I ended up painting 3 coats of paint on my drawers. Set aside to fully dry.
Now that the drawers and knobs are dry, it's time to assemble the drawers. Use the e6000 glue to adhere the little balls to the drawer fronts. I took advantage of any flat spot on the balls. This glue is quite powerful, be careful not to glue your fingers together. Once glued in place, set the drawers aside to dry fully - 12-24 hours.

Okay, now let's work on the open space a the top of the advent calendar. I wanted to create a little forest and a small cabin. I decided to make my design from cardboard. Print the tree and house template and cut out each shape. Use a pencil to trace the trees and house onto the cardboard.
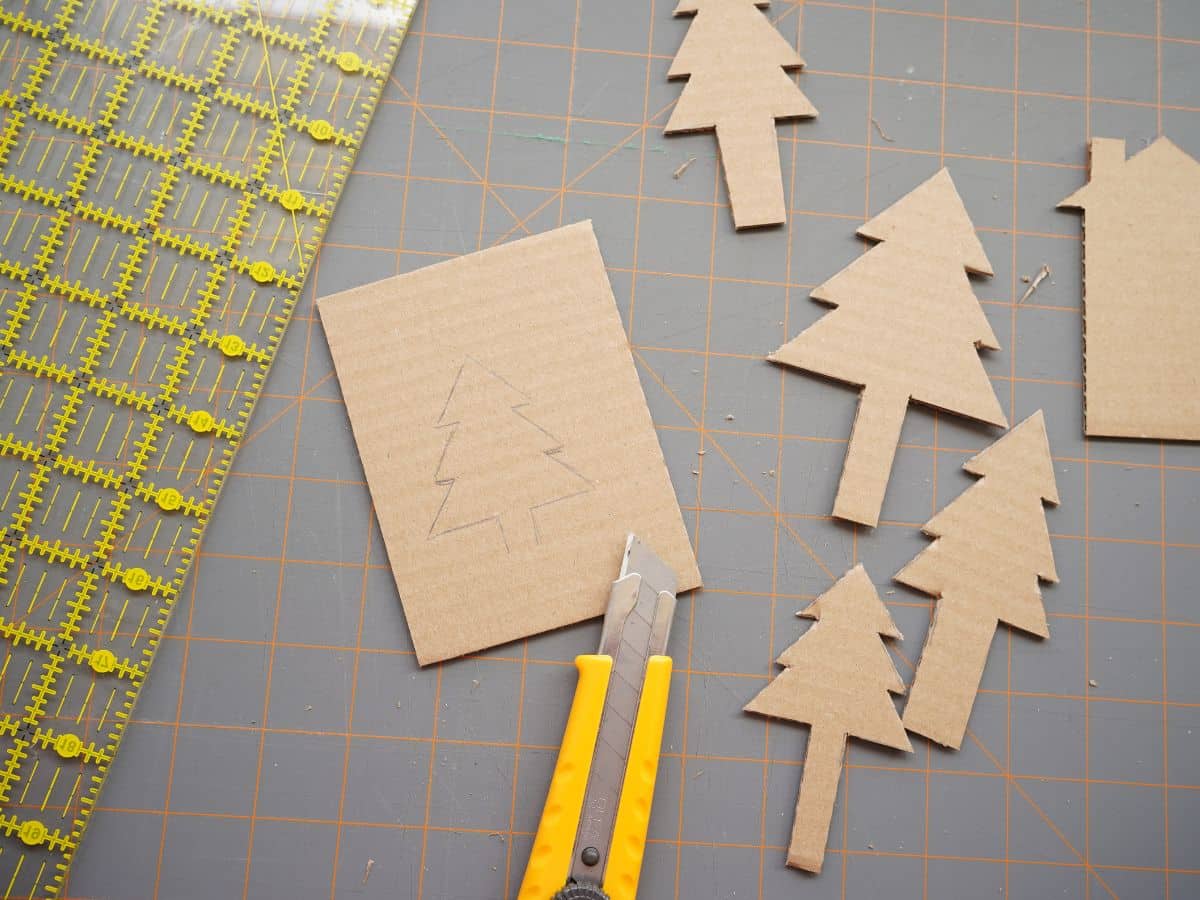
When you trace the shapes be sure to extend the bottom of each tree trunk and the bottom of the house - extend an inch or so. Then cut out the shapes - I used a utility knife so that I would get sharp edges.
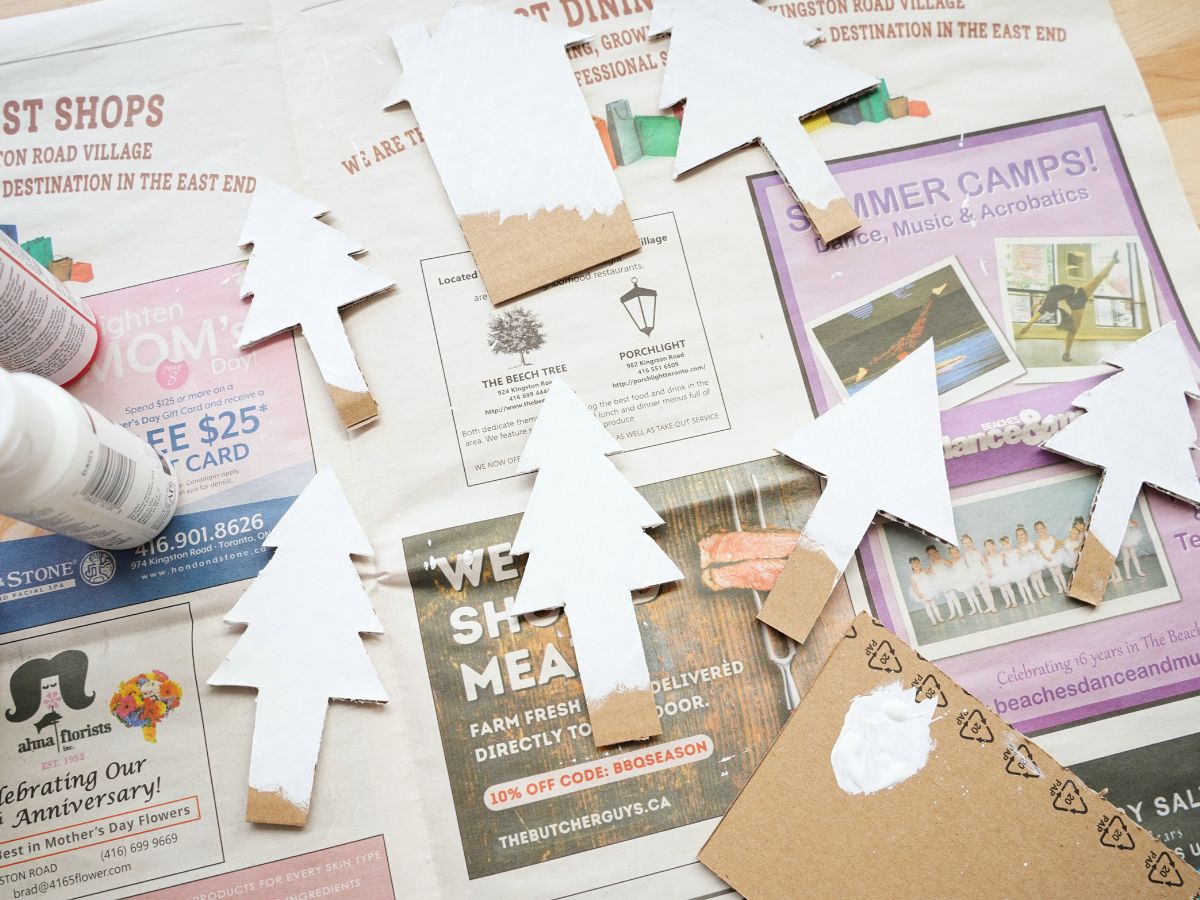
Now, paint a coat of white paint on the front and sides of the trees and cabin. Once the paint was dried I used the same colors I used on the advent drawers to paint the trees. Again, I painted the front and the sides of each tree.
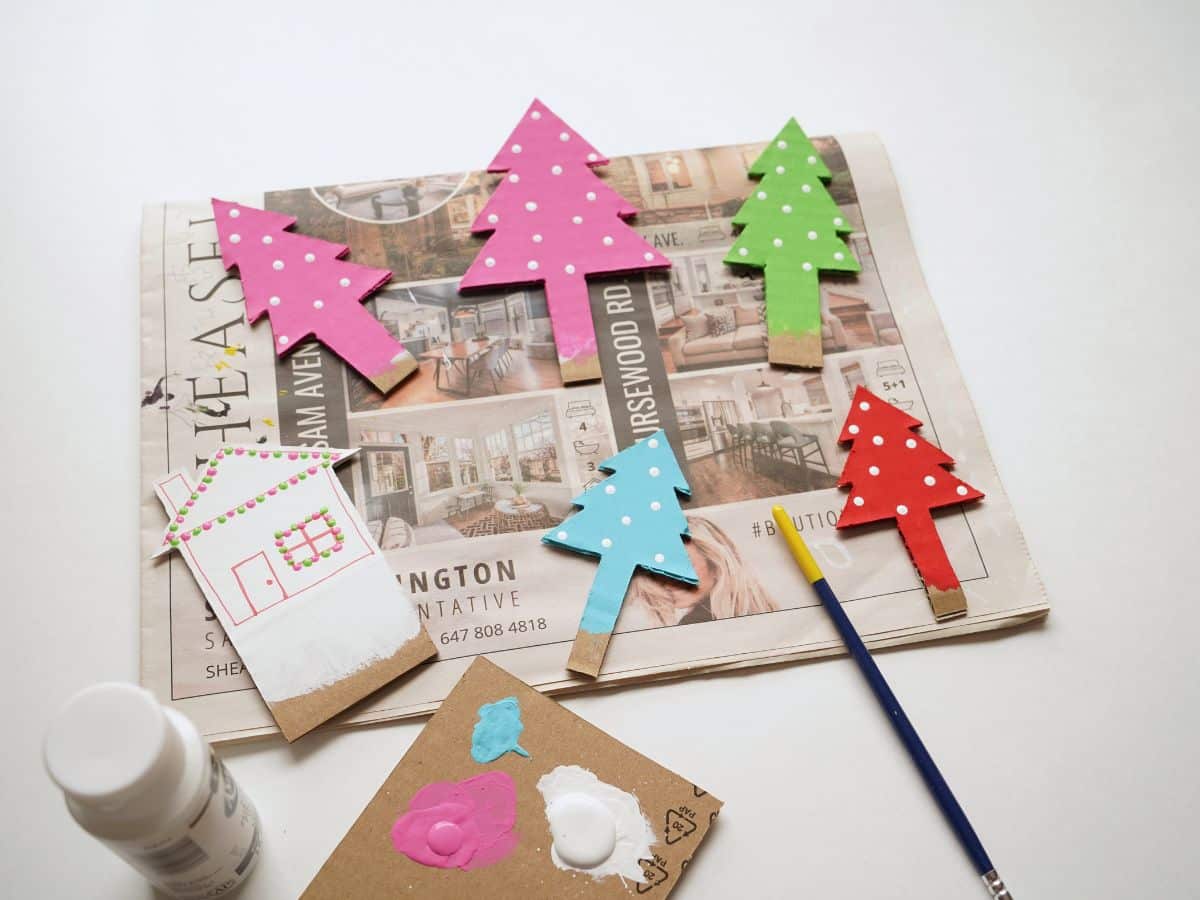
When the paint dried I added polka dots of white to the trees...like little Christmas lights. for the cabin, I opted to keep it white, but add details with an ultra-thin red marker. And, I added the same polka-dot lights to the window and trim. It's easy to make polka dots. Dip the non-brush end of your paintbrush into the paint and then dot the paint wherever you'd like.

To assemble the trees I folded the tree trunk, to create a short trunk. And, then glued another piece of cardboard to the tree trunk piece. This extended piece would wrap up and be glued to the back of the tree. Creating a little stand for the trees and the cabin.

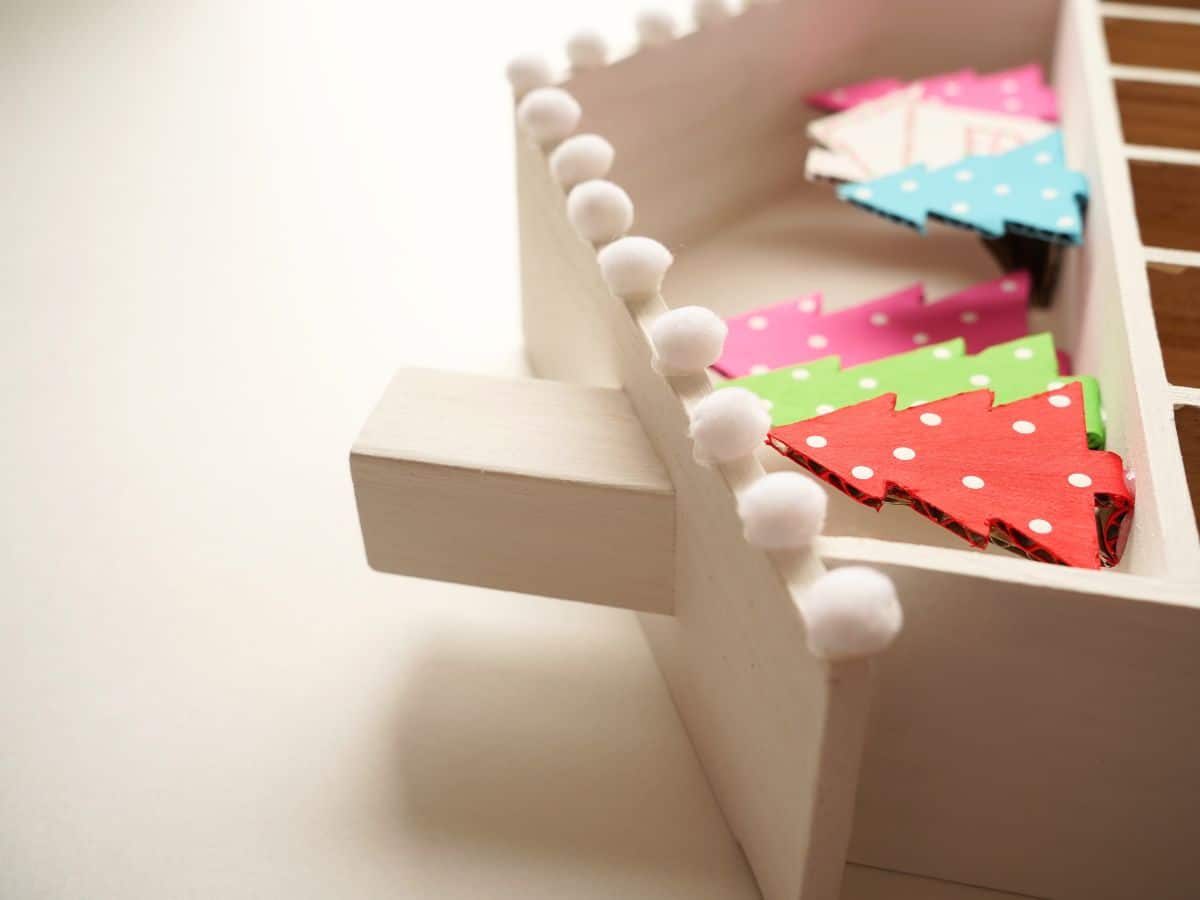
I then used hot glue to adhere the trees and cabin in place. I really love how the little winter scene turned out.

I then added small white pom poms along the roofline of the advent calendar. I thought this made a lovely finishing touch. Again, you could add colorful pompoms...I considered adding colorful ones so it looked like a row of Christmas lights, but then decided I wanted to keep it snowy and simple.
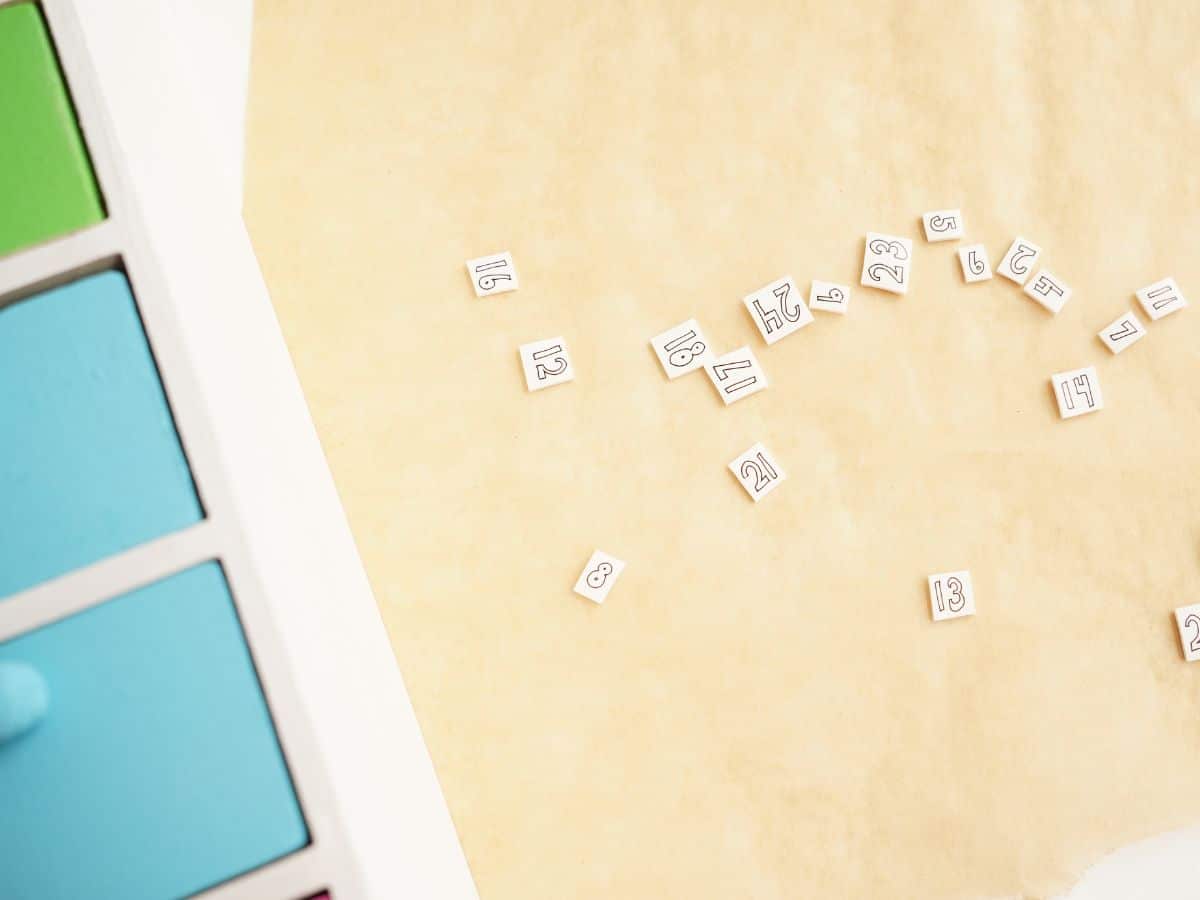
My biggest challenge was figuring out how to make and adhere the numbers to the calendar. I knew I didn't have the skill to paint the numbers and I couldn't find a set of sticker numbers that I liked. I also kinda worried the stickers would just peel off. Then I came up with a super cute idea, that I love, use shrinky dink paper. It took a couple of attempts to get the exact size that I wanted.

I drew the numbers with a thin-tipped black marker (be sure to use a permanent marker on shrinky dink paper) on the opaque paper. Then cut them out and shrank them in the oven. In the end, I am so happy with how they turned out. I didn't want numbers that distracted me from all the colorful work I did on the calendar. I used the e6000 glue to adhere the number to the drawers and let them dry for 24 hours.
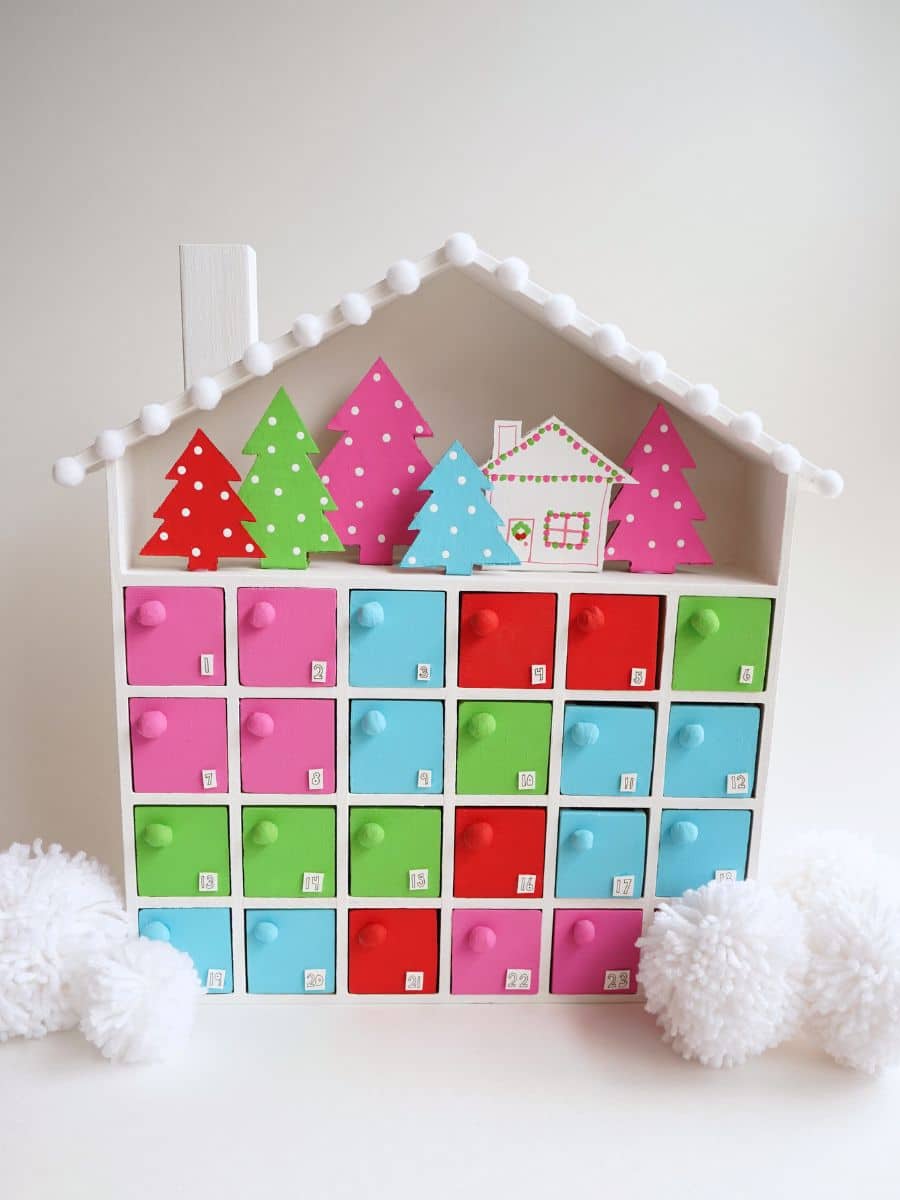
Then it was time to assemble the calendar. Slide all the drawers back inside...sandpaper any drawers that were not quite perfect. Done.

I set about putting chocolate Santas inside some of the drawers (I have two kids who will share this calendar, so I needed 2 Santas in each drawer). I will pop some other little surprises in the drawers. I think my teens will like cute little erasers, supplies to make friendship bracelets, candies, cute earrings, small pencils, and anything else I can find that is cheap, cheerful and they can use or eat.
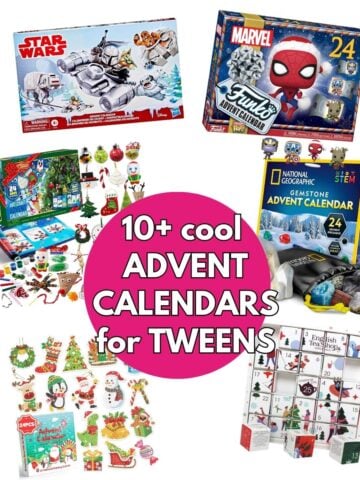
If you're looking for great advent filler ideas for tweens and teens, I have a whole post filled with ideas.
So, what do you think? In the end, this project took me about a week to complete. It would definitely be fun for a tween or teen to make on their own. I absolutely adore how this calendar turned out. And, I know it will make a fun, cheery and bright addition to our holiday decorating.
Make sure you are following along...
FOLLOW KITCHEN COUNTER CHRONICLES ON
SUBSCRIBE TO KITCHEN COUNTER CHRONICLES TO HAVE OUR DELICIOUS RECIPES, FUN CRAFTS & ACTIVITIES DELIVERED DIRECTLY TO YOUR INBOX.