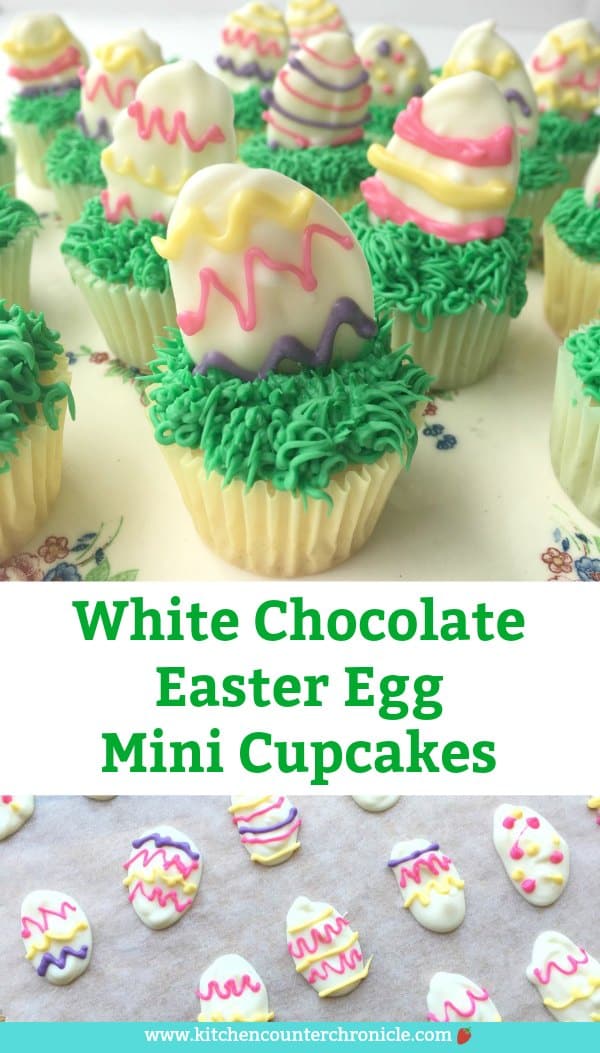
White Chocolate Easter Egg Mini Cupcakes
1 cup white chocolate wafers ¼ cup each pink, purple and yellow chocolate wafers parchment paper For the cupcakes 1 jar of your favourite vanilla icing vanilla cupcake mix - recipe below Begin by laying out a sheet of parchment paper. This is where you will make your Easter eggs. If you want the eggs to be exactly the same size, feel free to draw the outline of the eggs on the parchment paper. I chose to freehand the eggs.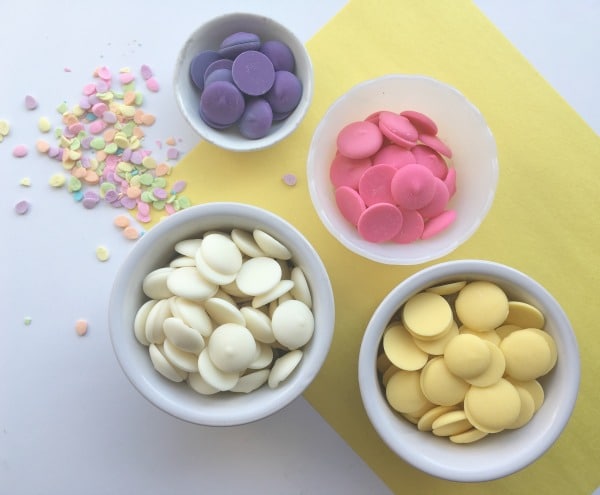
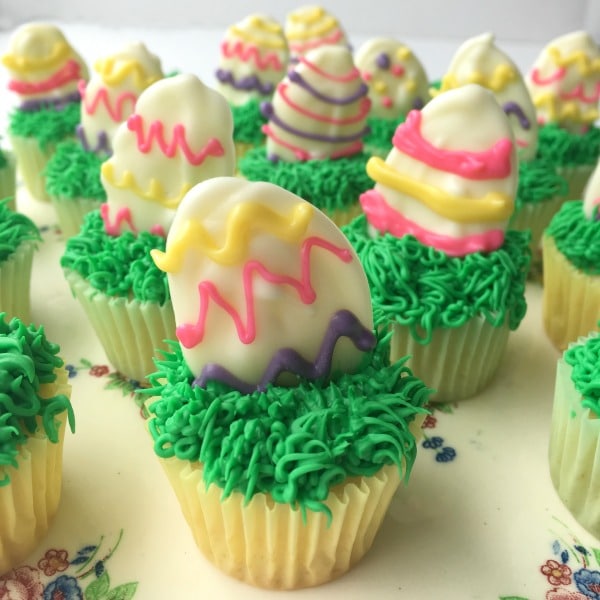
White Chocolate Easter Egg Mini Cupcakes
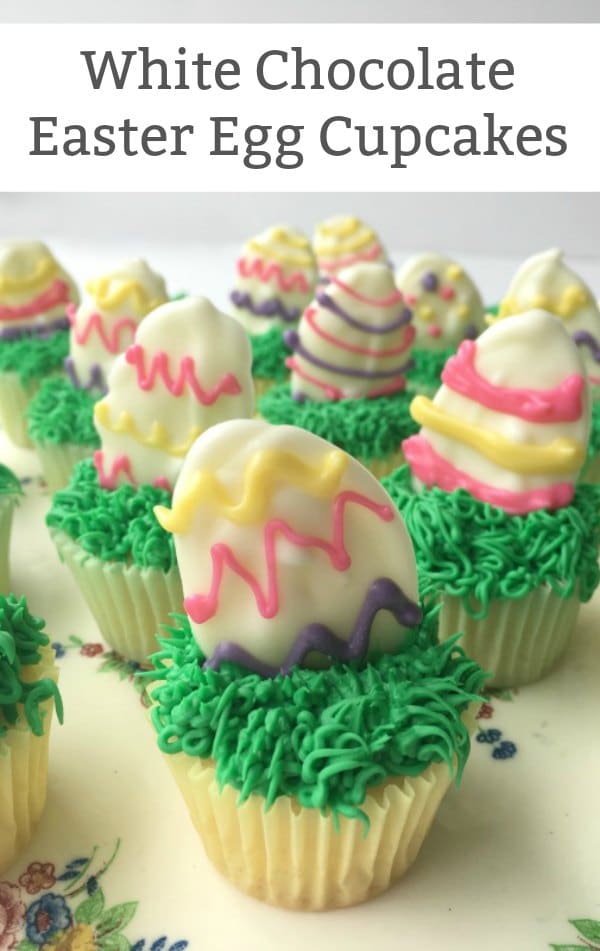
How to make super cute white chocolate Easter egg mini cupcakes. Seriously simple to make and so stinking cute.
Servings: 24 chocolate eggs
Calories: 382kcal
Ingredients
- 1 cup white chocolate wafers
- ¼ cup each pink, purple and yellow chocolate wafers
- parchment paper
For the cupcakes
- 1 jar your favourite vanilla icing
- vanilla cupcake mix – recipe linked below
Instructions
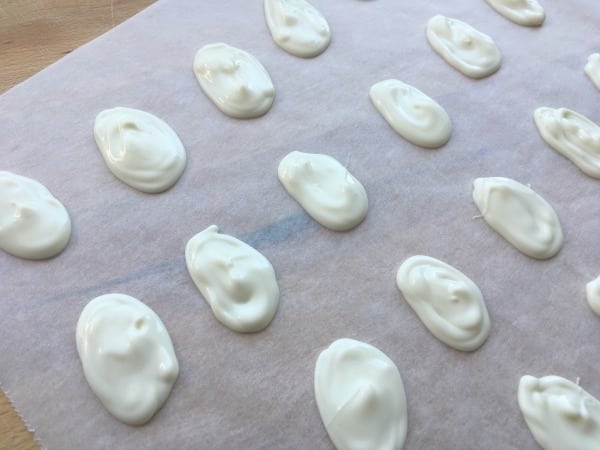
- Begin by laying out a sheet of parchment paper. This is where you will make your Easter eggs. If you want the eggs to be exactly the same size, feel free to draw the outline of the eggs on the parchment paper. I chose to freehand the eggs.
- The first step to making these cute little Easter eggs is melting down the white chocolate wafers. There are two ways to melt chocolate. The first way to use a microwave. Place the chocolate wafers in a microwave safe bowl and heat them in the microwave 15 seconds at a time – until the chocolate is totally melted. We don’t have a microwave, so we use the old school method – using a double boiler. Heat a pot on the stove, with an inch or two of water in it, over medium heat. Place a metal bowl, with the chocolate wafers inside, over the pot of water. Stir the wafters until they are melted.
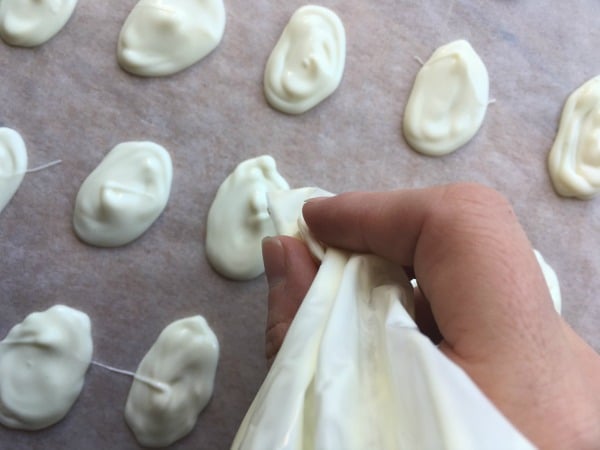
- Scoop the melted chocolate into a plastic resealable bag. Let the chocolate cool for 2 minutes. If you let it cool too long the chocolate will harden. If you don’t give it a minute to cool the chocolate will be too runny. After the chocolate has cooled, cut a very small hole in the corner of the bag.
- Now it’s time to create the eggs. Try and build the chocolate up to give your egg some dimension. If your eggs have lines, rub the tip of the bag around in the chocolate to smooth it out. Let the eggs cool completely.
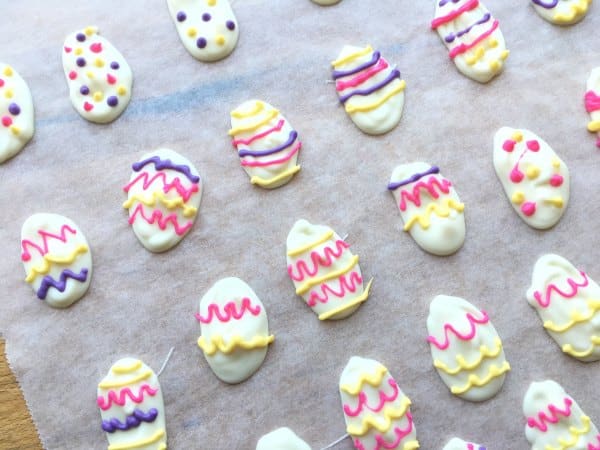
- Next, melt the next colour of chocolate. Follow the same steps as the white chocolate. When the chocolate has cooled, draw your pattern on the eggs. Have fun, alternating colours and patterns. Dots, swirls, zig-zags, lines, waves, you could even add glittery coloured sugars if you like.
- When the designs are done, let the chocolate eggs cool.
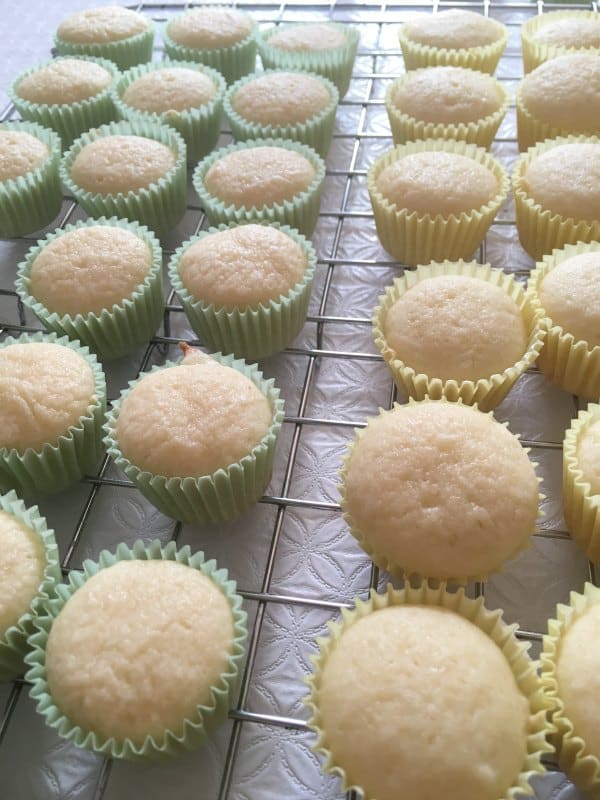
- We chose to pop our eggs on top of super cute mini-cupcakes. I used a basic vanilla mini-cupcake recipe from Genius Kitchen. I coloured vanilla icing (from a jar) with green food colouring and used a Wilton Multi-Opening Decorating Tip 233 to create the feathery grass.
- Poke the Easter egg into the grassy cupcake and you have an adorable showstopper dessert that you made totally from scratch. How cute are these?!
Notes
Nutrition Info is to be used as a rough guide only. Nutrition Info is based on the products I am using the same products/brands. Thus, the Nutrition Info may vary.
Nutrition
Calories: 382kcal | Carbohydrates: 55g | Protein: 2.8g | Fat: 16.8g | Saturated Fat: 6.9g | Cholesterol: 29mg | Sodium: 189mg | Potassium: 123mg | Fiber: 0.3g | Sugar: 45.1g | Calcium: 650mg | Iron: 0.2mg
Calories: 382kcal | Carbohydrates: 55g | Protein: 2.8g | Fat: 16.8g | Saturated Fat: 6.9g | Cholesterol: 29mg | Sodium: 189mg | Potassium: 123mg | Fiber: 0.3g | Sugar: 45.1g | Calcium: 650mg | Iron: 0.2mg
Related Posts


BE SURE TO SUBSCRIBE TO KITCHEN COUNTER CHRONICLES TO HAVE OUR DELICIOUS RECIPES, FUN CRAFTS & ACTIVITIES DELIVERED DIRECTLY TO YOUR INBOX.
FOLLOW KITCHEN COUNTER CHRONICLES ON FACEBOOK :: PINTEREST :: TWITTER

