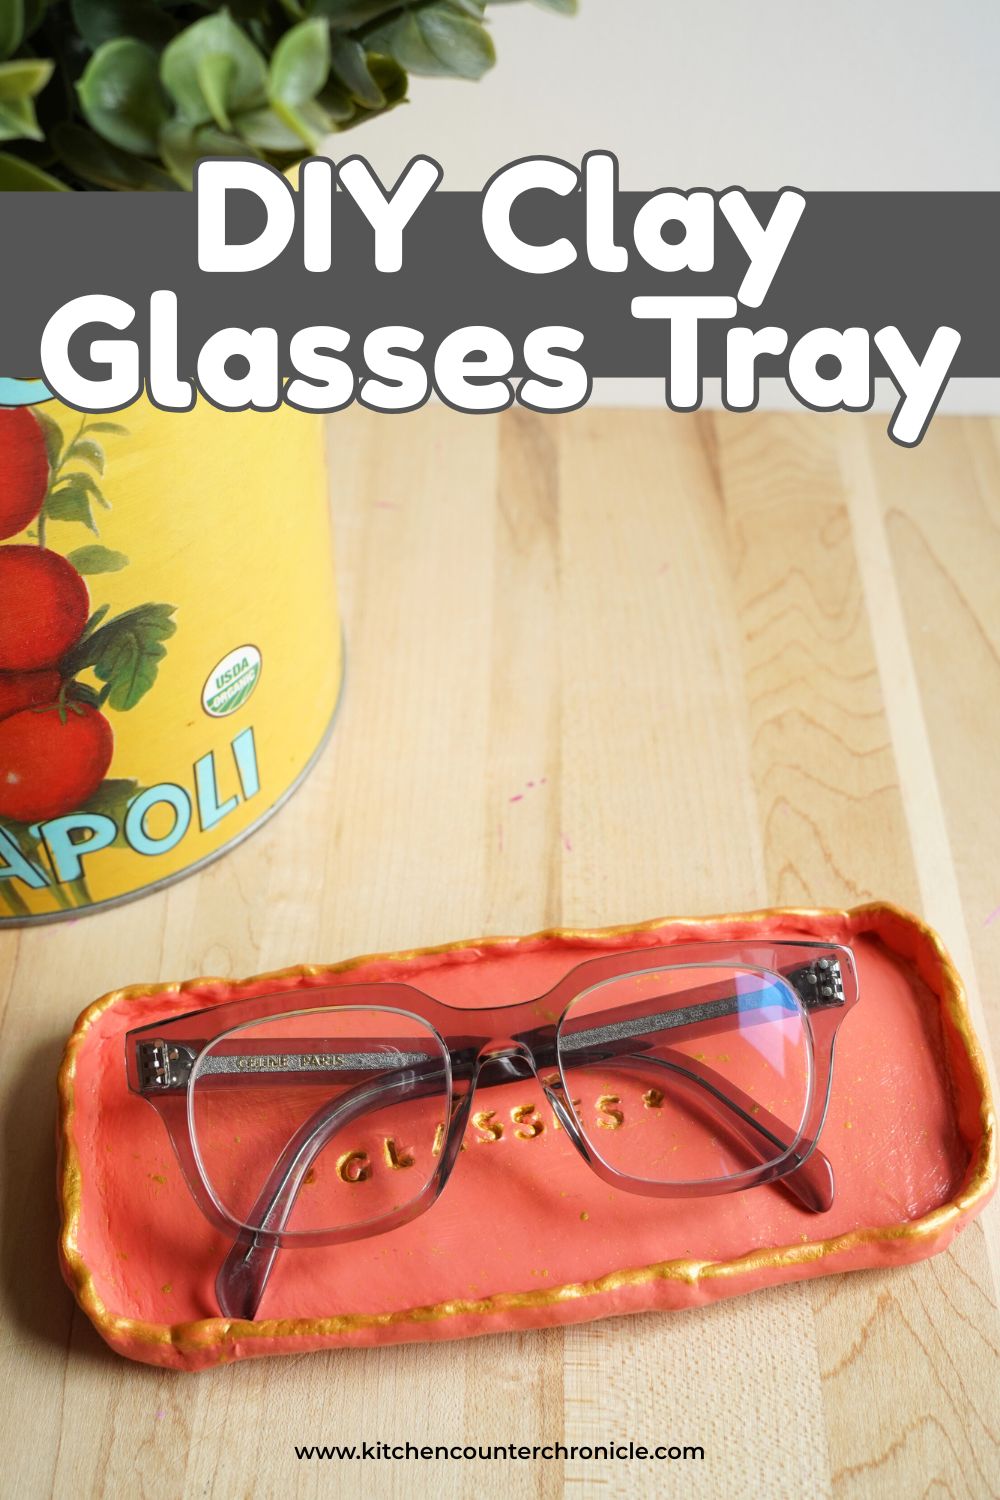
Everyone in my family wears glasses. Which means that someone is always looking for their glasses...my especially. I found a cute vintage glasses holder that I keep in the living room, but I really needed one for the kitchen. So, I decided to make my own glasses holder with air-dry clay. A simple clay craft that tweens, teens, and adults can make. Let's go!
Disclosure: There are Amazon Affiliate links in this article which means, at no additional cost to you, we could receive compensation for our recommendations. You can read our full disclosure policy on our Disclosure Page for more details.
I love working with air-dry clay. Over the years, I have made all kinds of cute crafts with it. Most recently, I shared how to make colorful necklace pendants. With a little planning, you can make almost anything from air-dry clay. It's inexpensive and versatile, and super easy to work with.
DIY Air-Dry Clay Glasses Holder
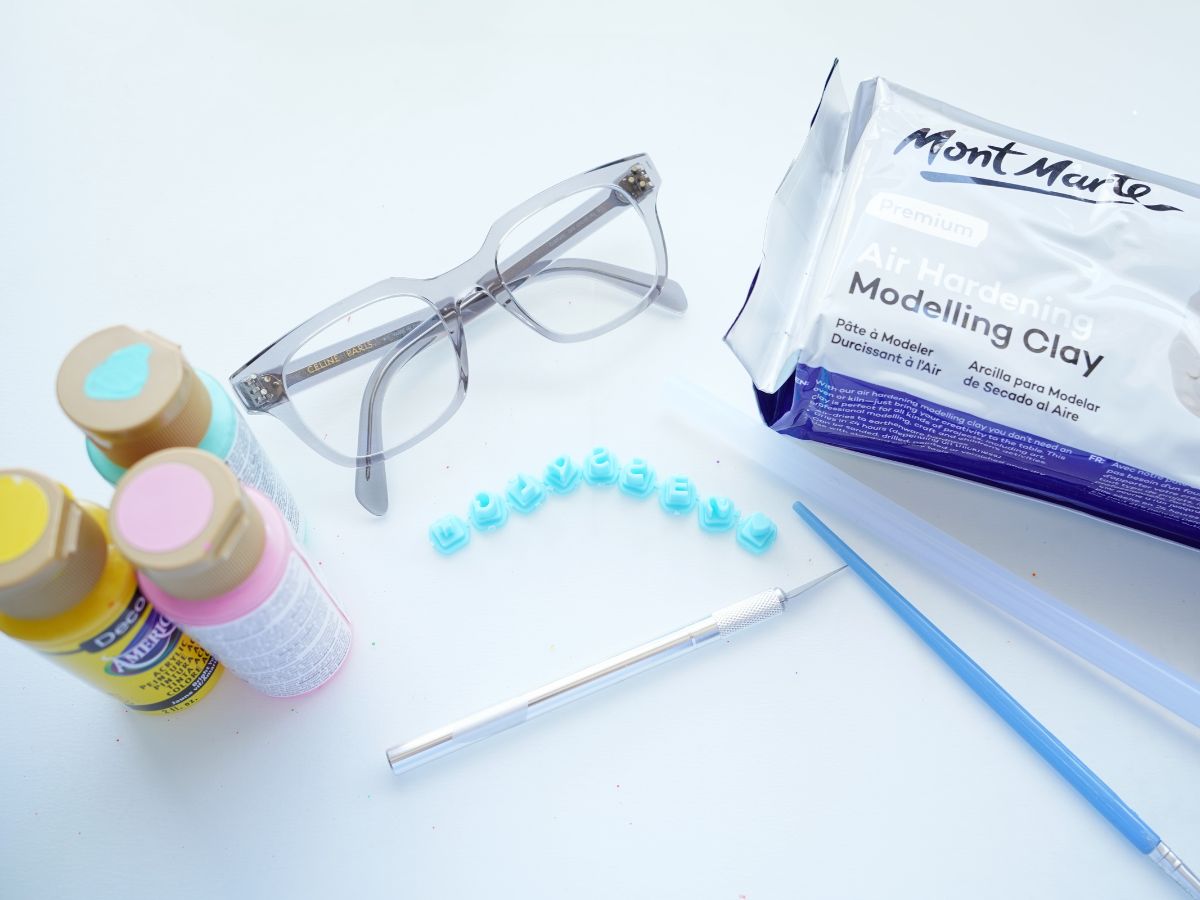
white air-dry clay
pair of glasses
small rolling pin, or a large glue stick
craft utility knife
small bowl of water
letter stamps
paintbrush
acrylic paints
Mod Podge - matte
peel and stick felt feet or clear plastic feet
baking cooling rack
The first step in making this clay trinket tray is to cut off a chunk of air-dry clay. I like to work with white clay, which means the clay is already white and easy to paint. Cut off an apple-sized piece of clay and roll and press it into a rectangle, that is about ¼inch thick. I didn't have a rolling pin, so I used a large glue stick to roll out the dough. If the dough starts to dry out, dip your fingers into the bowl of water and add a little moisture to the dough.
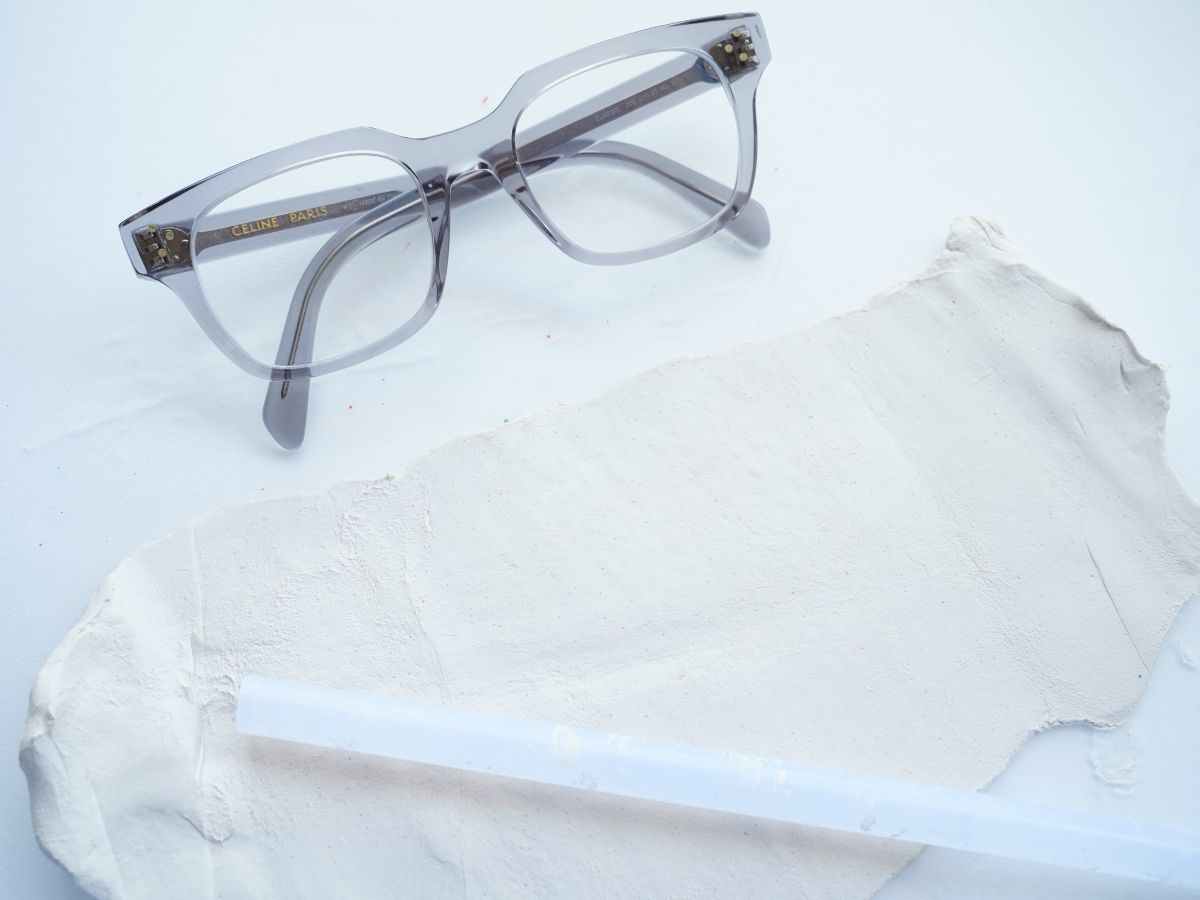
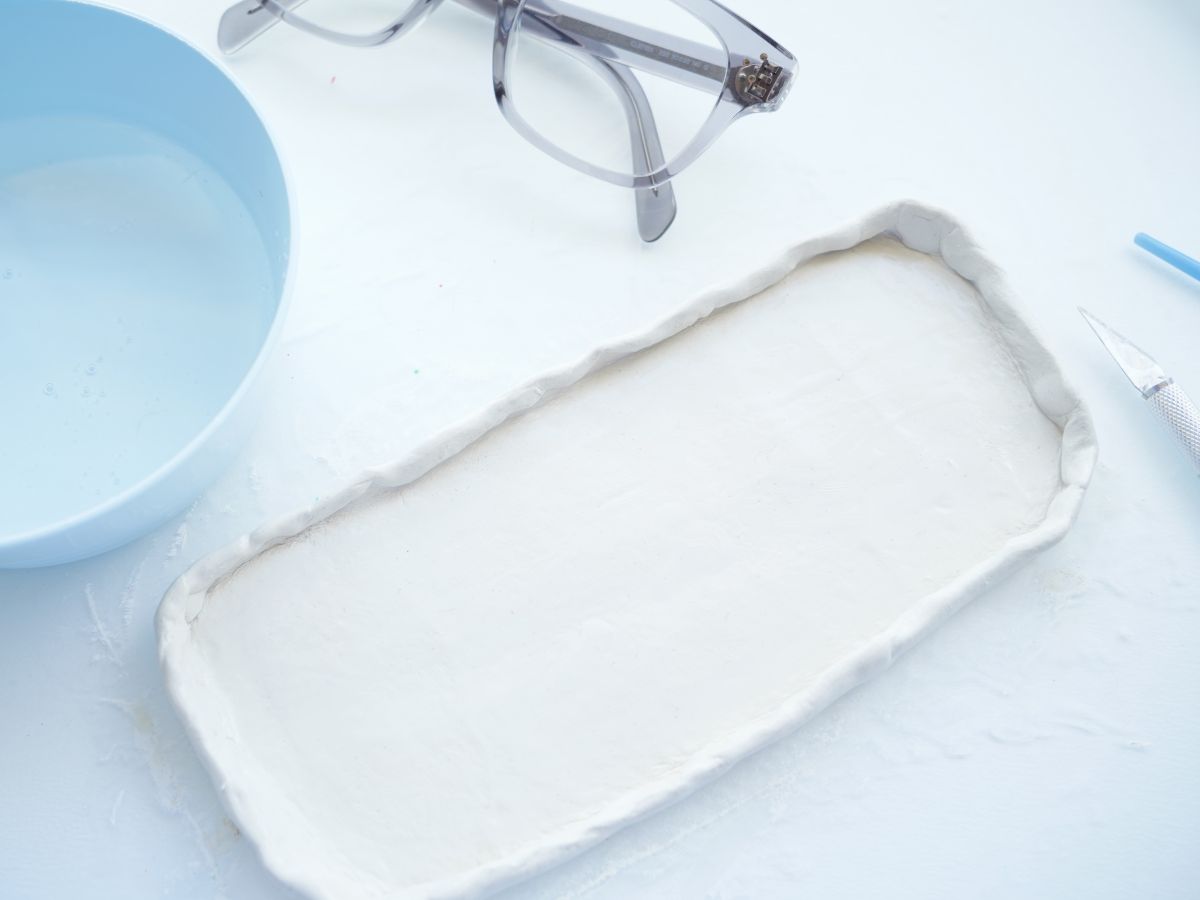
You need to make a rectangle of dough that is larger than your glasses. So, place your eyeglasses next to the rectangle and measure the size of the rectangle. I wanted to make this craft super simple, so I turned up a "lip" of clay to make the edge of the tray. I just worked my way around the entire tray, turning up a small lip of clay. If there are any wrinkles or cracks in the clay, use your wet fingers to work the crack or wrinkle out of the clay. Remember this is a DIY project, I like it to have imperfections. It's not store-bought.
Once you have the lip of the tray completed, it is time to add the word "glasses" to the tray. You could write any message you like, but I wanted to stick with "glasses". I had a letter stamp kit that is actually meant for making cookies. I figured there wasn't much of a difference between cookie dough and clay...right?
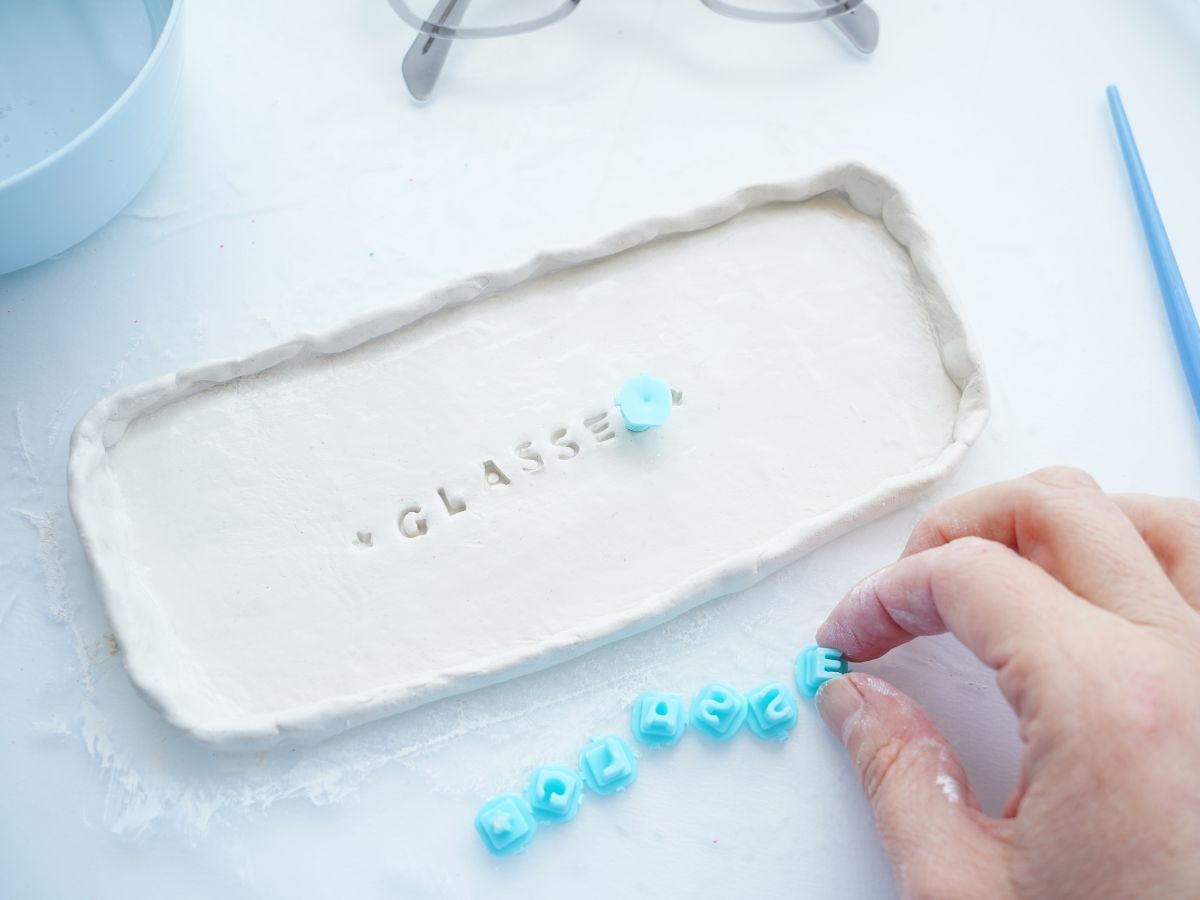
Plan out the words you want to print and make certain your letters are facing the right way. Then press the letters into the clay. I started with the middle letter, lined up in about the centre of the tray. Then I pressed each letter from the middle out, so the word was sitting in about the center of the tray. I also added little stars at the front and end of the word.
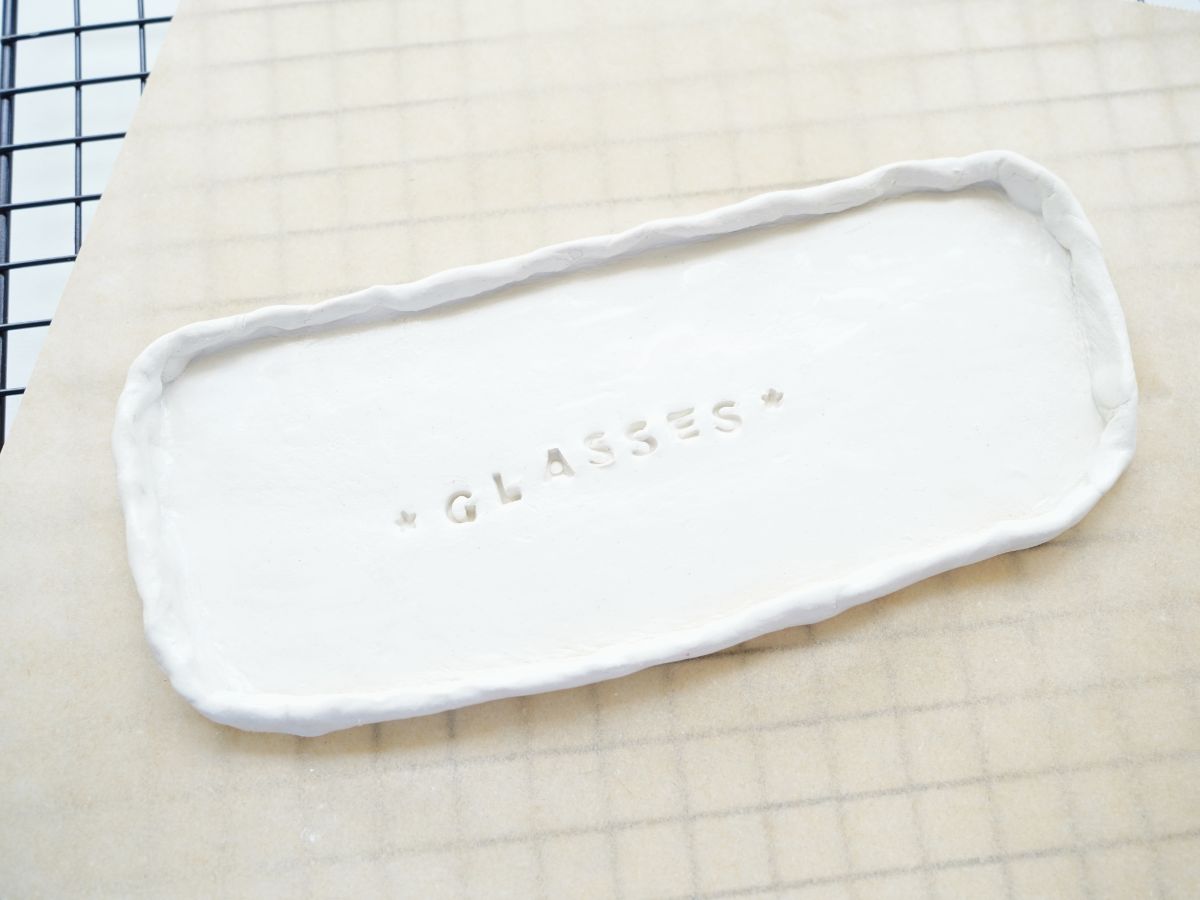
Now, it's time for some patience. Set the tray on a baking rack to dry, fully. This may take 24 hours or even longer. It really depends on the climate conditions where you are drying the tray.
Once the tray is completely dried, I decided to paint white inside the letters. I wasn't sure if I wanted to keep the letters white or another color, so I gave them a quick coat of white paint. I just knew I wanted them not to be the same color as the rest of the tray.
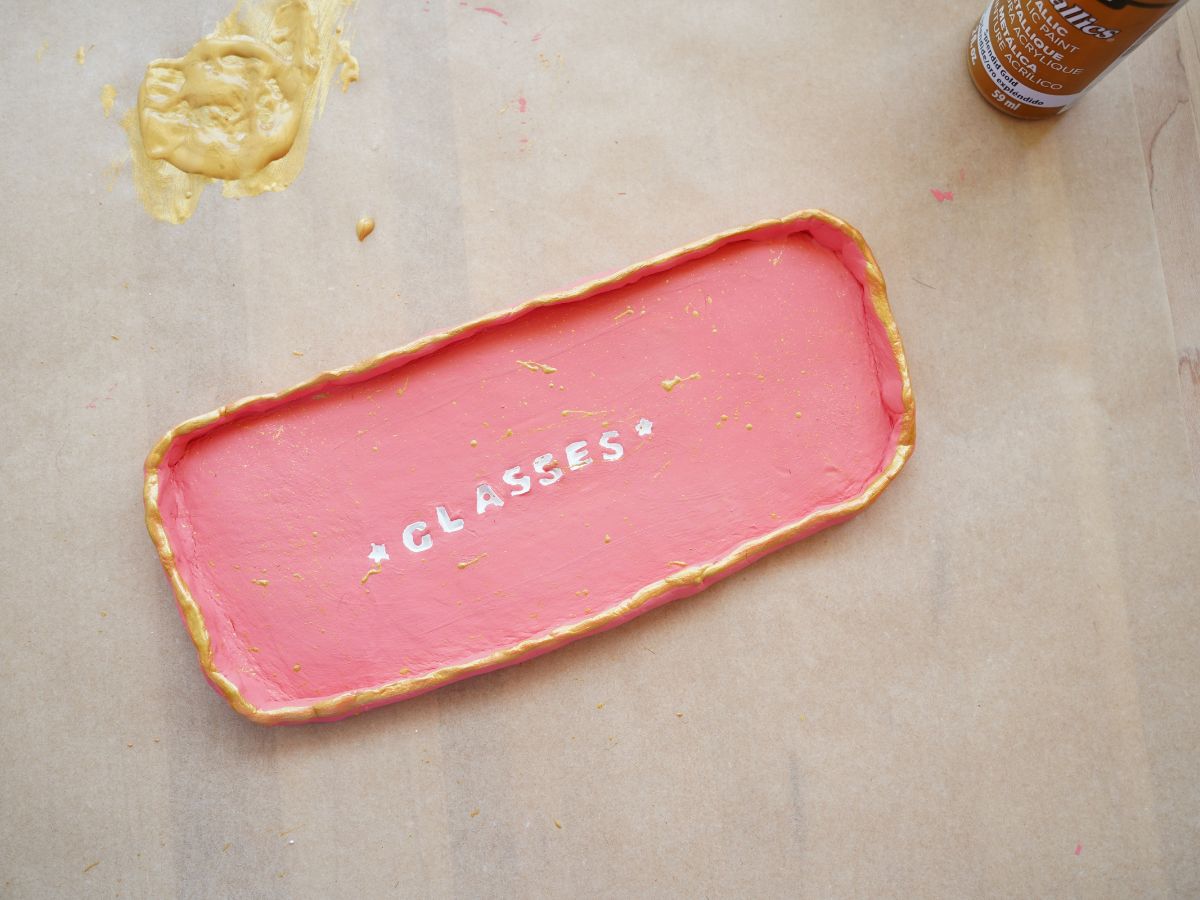
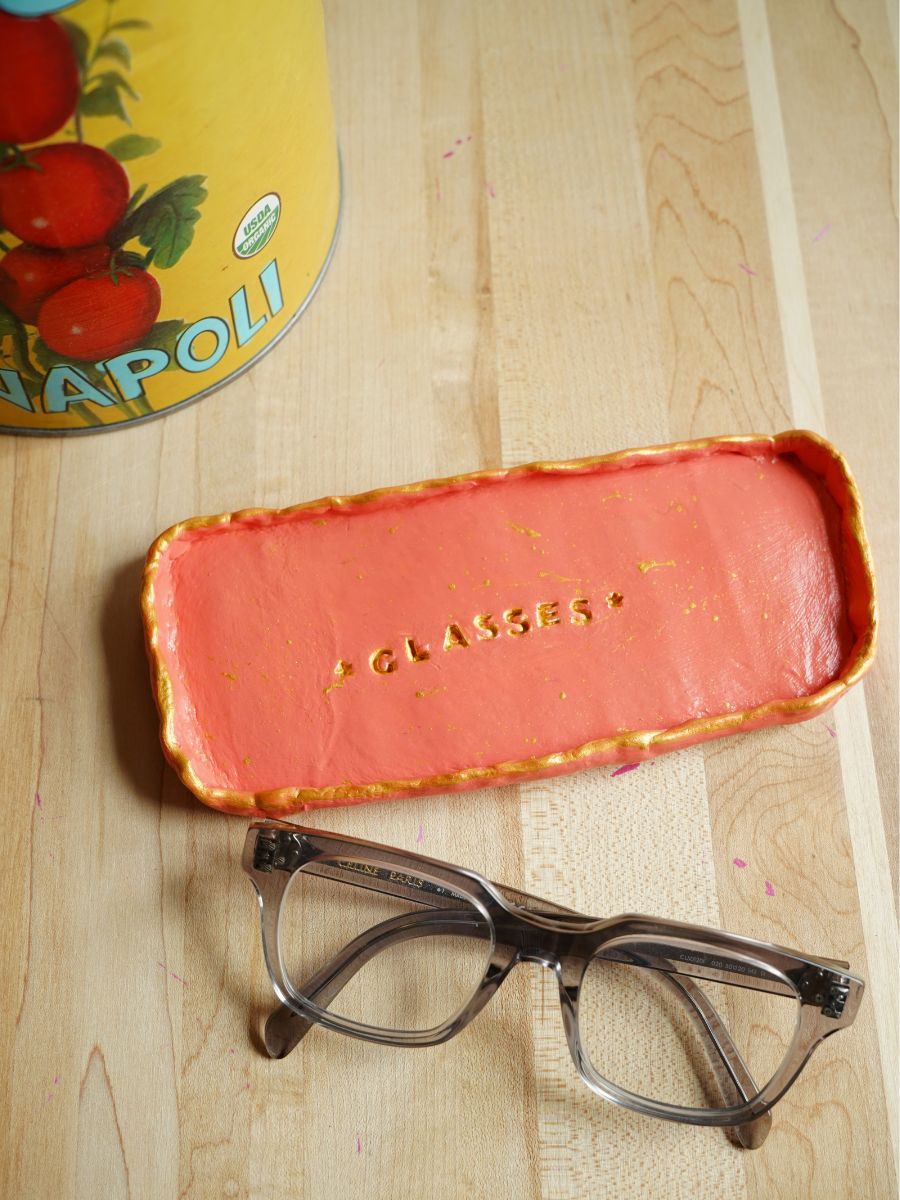
Then it was time to paint the entire body of the tray. I chose a coral paint color. This will look nice in any room of our house, but especially in our kitchen. Paint the front and back of the tray. This means the entire process is going to take some time, as you need to wait for the front to dry before you can paint the back.
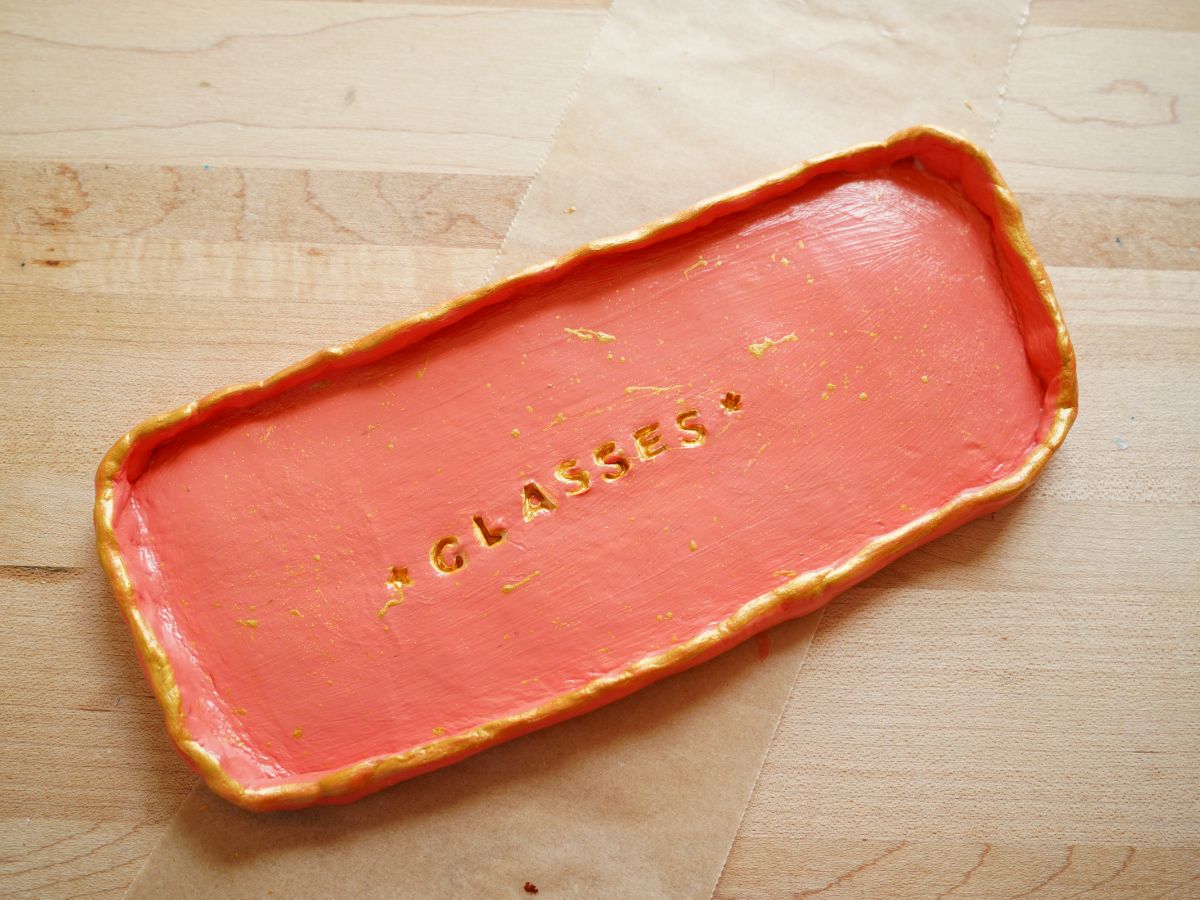
Once the tray is totally painted, it is time to add a touch of gold to the edge of the tray. This is when I decided to add the gold to the letters as well. To paint inside the letters, I used a thin paintbrush and was able to paint inside each letter and the stars. I love how the letters turned out.
Set the tray aside to completely dry, and then it's time to add a coat of Mod Podge. I always use the matte Mod Podge. But you could use a glossy coating, if that's what you like. Set it to dry one more time.
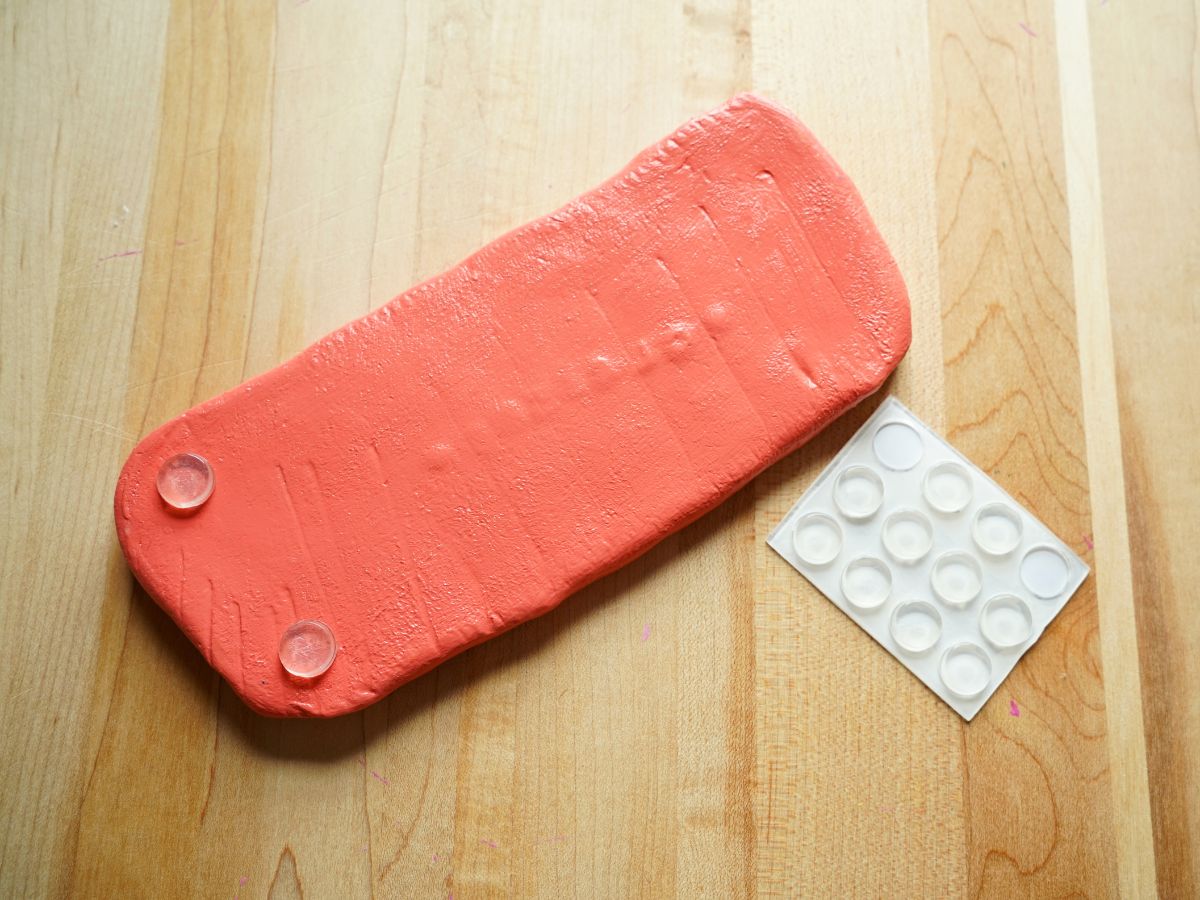
Finally, add some little felt feet or little clear plastic feet, and your trinket tray or glasses holder is ready to be used.
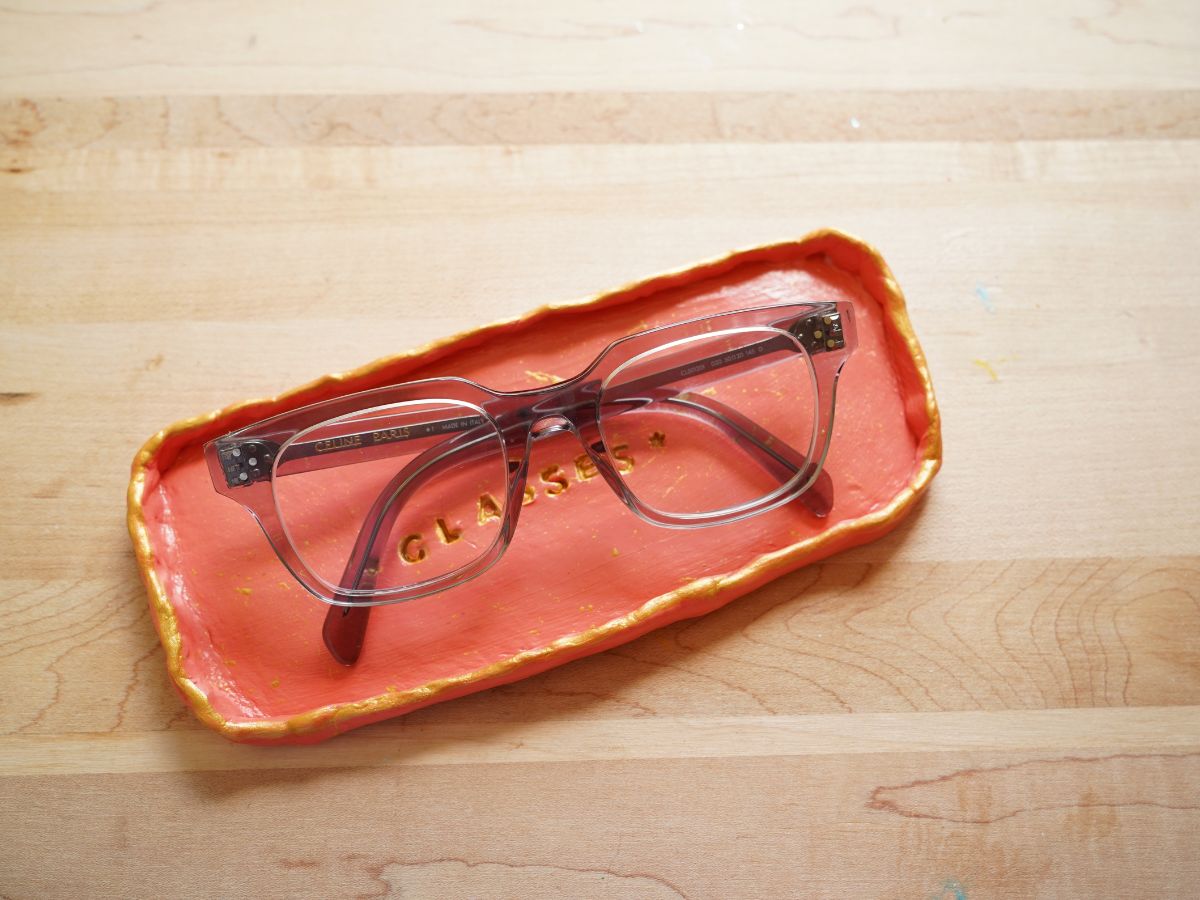
I placed mine on my kitchen counter, and I use it all the time. I love it so much. When I need somewhere to put my rings, I pop them on the dish too. This little glasses tray has solved my "where are my glasses" problem. And, I've noticed other members of my family using it too. My daughter is making one for her bedside table! Which is another place i could really use one too.
This is a fun craft for tweens and teens to make. The design options are endless, once you get the basic rectangle figured out. What would you add to the center of your tray? Flowers, little glasses, rainbows, and stars?!
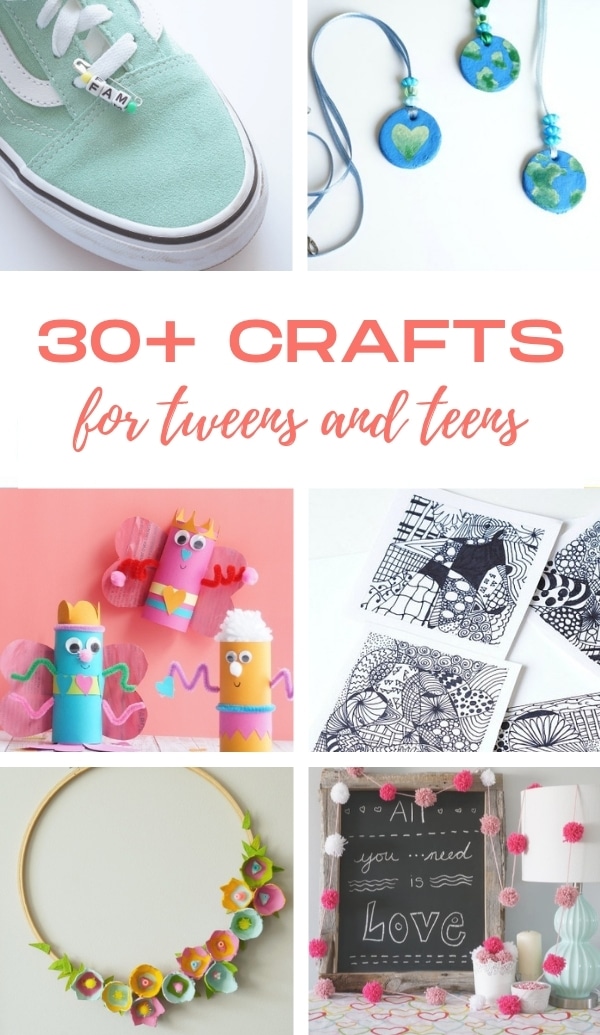
Check out all of these cool crafts for tweens and teens to make
Make sure you are following along...
FOLLOW KITCHEN COUNTER CHRONICLES ON
SUBSCRIBE TO KITCHEN COUNTER CHRONICLES TO HAVE OUR DELICIOUS RECIPES, FUN CRAFTS & ACTIVITIES DELIVERED DIRECTLY TO YOUR INBOX.