When we visited New York City, we learned that the man, Gustav Eiffel, who designed the Statue of Liberty also designed the Eiffel Tower. In fact, if you stand inside the Statue of Liberty and look at the structure of the statue you will see that it looks very much like the Eiffel Tower...a steel cage-like structure. Isn't architecture interesting? What does this have to do with Christmas, you ask? 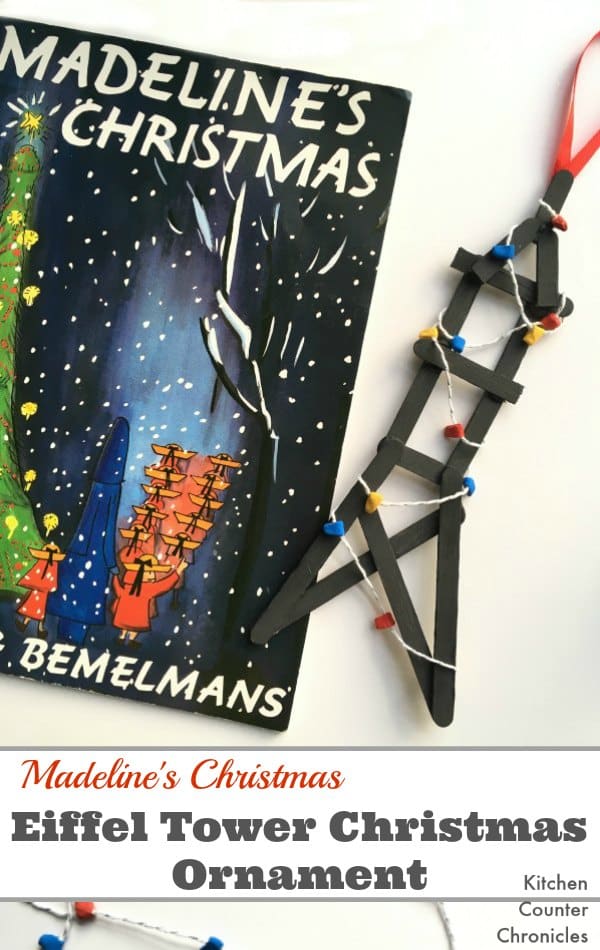
My youngest daughter is fascinated by architecture and I am always looking for interesting ways to incorporate her passion into our activities. I love it when a craft combines many areas of learning. Every holiday season we read and re-read Madeline's Christmas, by Ludwig Bemelmans, this year I thought it would be fun to create an ornament inspired by the book. Why not build our own Eiffel Tower...decorated for Christmas. After all the precocious Madeline lives in Paris and the Eiffel tower is lit with holiday lights in the book. The structural learning comes in designing and building the tower out of craft sticks...much like the steel structure of the Statue of Liberty and the Eiffel Tower. The ornament will incorporate our love of Madeline, my daughter's love of architecture and it will remind us of our awesome trip to NYC. A perfectly fun STEM Christmas craft for kids.
Madeline Eiffel Tower Craft
craft sticks
utility knife
glue gun and glue sticks
black, red, yellow, blue acrylic paint
air dry clay
decorative string
Begin by cutting the craft sticks into various sized pieces. Use the utility knife to cut a few sticks into thirds and a few in half. Next, let the kids design and build their own Eiffel Towers. We decided to keep our tower 2D, but it could be extra challenging to build a 3D tower. Have the kids lay out the pieces any way they like.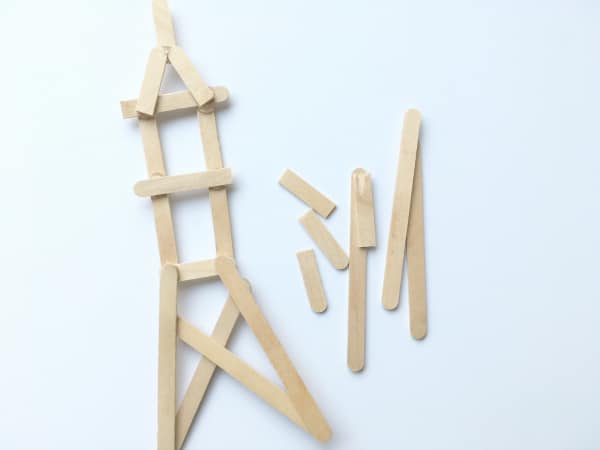
Next, use the glue gun to glue the tower pieces together. Once the glue has dried, paint it black and set it aside to dry.
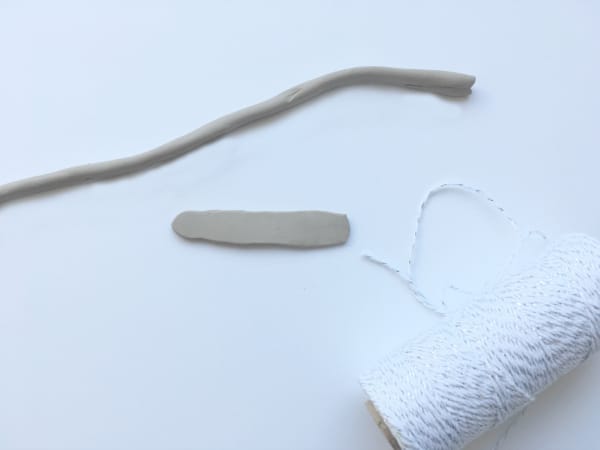
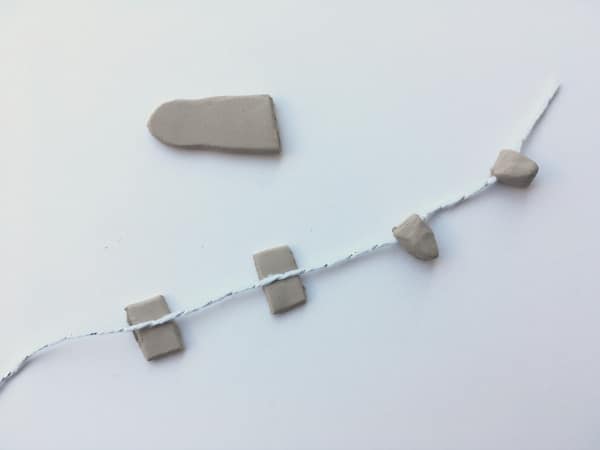
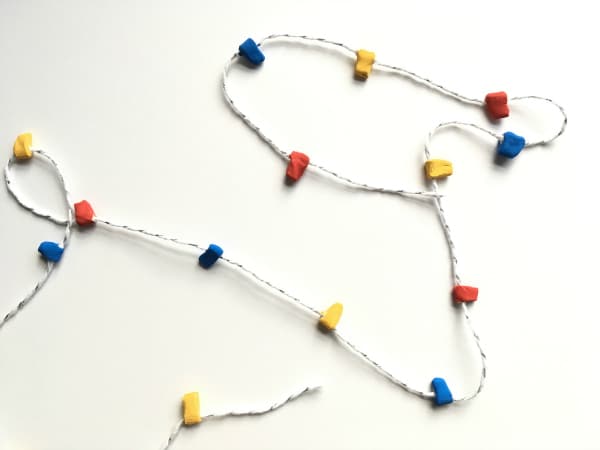
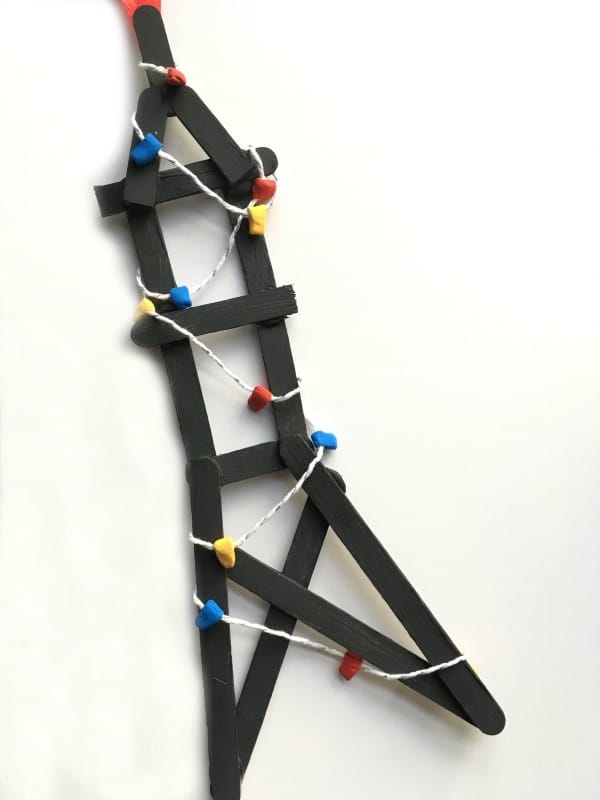
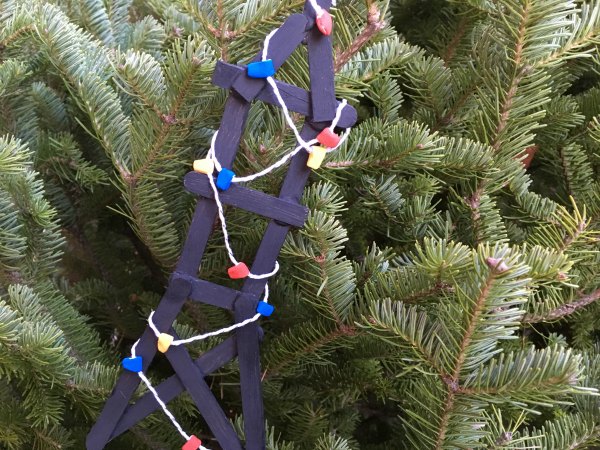
I love how the girls' Eiffel Tower turned out. The lights look awesome. We even made an extra string of lights that my daughter is either going to hang in her locker at school or to decorate her doll house. This ornament will be a lovely reminder of Madeline, Paris and our trip to New York.

Artsy Momma - Katie the Candy Cane Fairy Ornament
Mama.Papa.Bubba. - The Jolly Christmas Postman
Handmade Kids Art - The Legend of the Candy Cane
Happily Ever Mom - Snow Globe Christmas Ornament
Related Posts



Melissa says
The lights too!!! So in love <3
Jen says
Thanks so much Melissa!