

I love our herb garden. In fact, herbs have got to be the easiest edible plants to grow...aside from dandelions. Every year I plant a variety of herbs and in the late summer/early fall I harvest the herbs and bring them inside to dry. Over the years I've shared plenty of tips for growing a great home garden...I've even shared how to set up an herb drying station in your basement. Today, I am going to make things even easier. Let's take a look at how to dry herbs in your kitchen...so stinkin' easy to do...really.
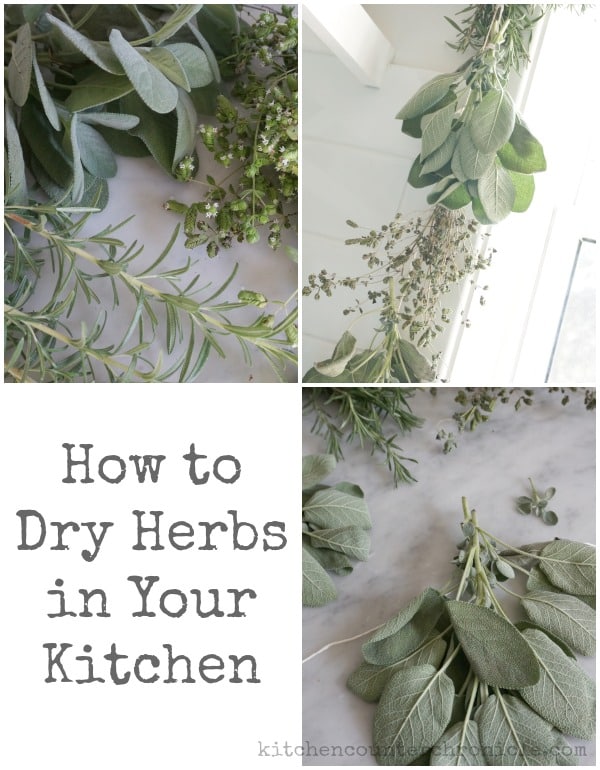
First thing is first head outside and cut down your herbs. This year we grew thyme, oregano, sage, rosemary, chocolate mint and spearmint and basil. My basil plant did not survive the summer. Not sure if I started with the wrong type of basil plant, if I planted it in the wrong spot, was it over watered or under watered. Since we had such a crazy cool summer, it is entirely possible my basil just didn't get enough heat and sunshine. Whatever the reason, I'll try basil again next year. All of the other herbs grew quite beautifully.
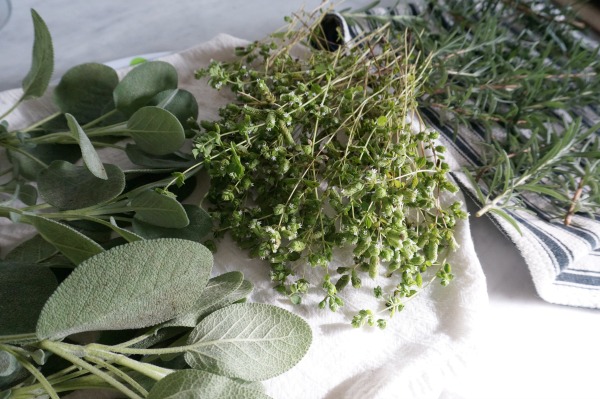
Bring the cuttings inside and clean the herbs. The easiest way to clean herbs is to use a salad spinner. Place the herbs inside the spinner, fill the spinner half way with water and spin...gently. The spinning will hopefully knock the dirt from the leaves. Drain the water and now spin the leaves, gently, in the dry spinner. Remove the herbs and place in a single layer, on a tea towel to dry. This takes about 10 minutes.

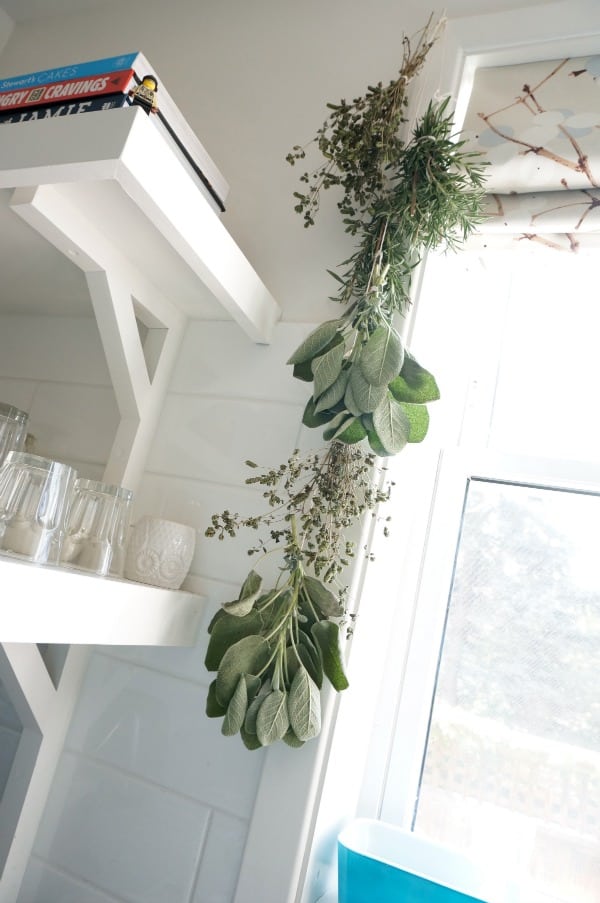
While the herbs are drying it is time to do a little DIY work in your kitchen. Hammer a small finishing nail into the top corner of your kitchen window, leave about 1cm of the nail sticking out. Most, if not all, kitchens have a window. A discreet nail will not be seen...trust me. Once the nail is in place, use a little white paint...even the kid's craft paint will do...and paint the nail head. Once the nail head is white, it is invisible. I have handy nails hammered into the trim around all of my windows - they are the perfect way to hang decorative bunting and birthday streamers. Anyhow, back to the herbs.
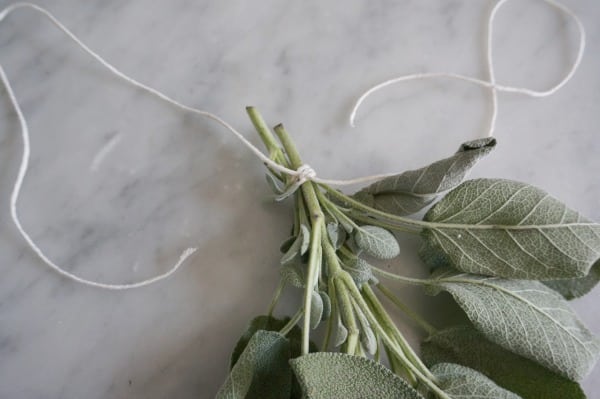
Using kitchen twine, available at grocery stores, tie your herbs into small bundles. Tie them tightly, since they will shrink a little as they dry. Leave 3-4 inch tails of string...which will be used in the next step.

Cut a piece of kitchen string that is the same length as the height of your window. Tie a loop in one end of the twine and loop it over your new nail head. Take each bundle of herbs and attach them to this long piece of string. Be sure to keep the herb bundles spread out, the herbs need space to dry. Depending on how many herbs you have to dry, you may need to repeat this process with the other side of the kitchen window.
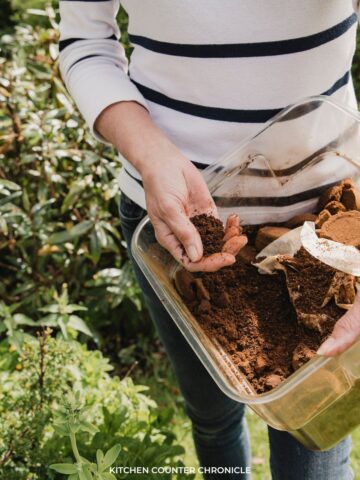
Leave the herbs to dry for about a week. Once dried, place a sheet of parchment paper on the kitchen counter and use your hand to squeeze the dry herbs from their branches. The herbs should fall off easily. When the herbs have accumulated on the parchment paper, roll the paper into a funnel and pour the herbs into a mason jar. You can keep the herbs separate or combine your own custom herb mixes.
A totally simple way to dry herbs. Over the winter I sometimes buy fresh herbs for certain recipes, I always make sure to dry the leftover herbs and add them to my mason jars. This is such a lovely way to extend the life of your garden. Our pantry is filled every fall with the herbs we have grown in our little urban garden.
Related Posts
Today's post is part of our year long Family Eco-Challenge...
our family is finding ways to reduce, reuse, recycle and make small changes that will have a big eco-impact.
Check out our other Family Eco-Challenge activities.
Make sure you are following along...
FOLLOW KITCHEN COUNTER CHRONICLES ON
SUBSCRIBE TO KITCHEN COUNTER CHRONICLES TO HAVE OUR DELICIOUS RECIPES, FUN CRAFTS & ACTIVITIES DELIVERED DIRECTLY TO YOUR INBOX.
FACEBOOK:: PINTEREST::INSTAGRAM


Kay says
Funny! I was just asking my mom about drying herbs! This is going to be infinitely helpful for us. Thanks!
Dani @ lifeovereasy says
Great idea! I have lots of herbs in the garden but have never taken the time to dry them. This looks pretty too!
Shauna says
Good point to hang them up high. I found my lavender on our pantry floor- oops! I still have some rosemary and thyme to bring in if it survives this snow storm (yes, snow already)!
Anne@DesignDreams says
Too bad I was slow getting through the list this week, this morning my garden is dead. So much for summer!
Great tips, thanks for sharing!