Where does the Easter Bunny live? Does he live in a burrow somewhere? Does he live in a treehouse? Maybe the Easter Bunny house is a lovely, springy house where he makes and stores all those delightfully delicious eggs. Building an Easter bunny house is another one of our annual traditions and is a super delicious edible Easter craft for tweens to make...and eat!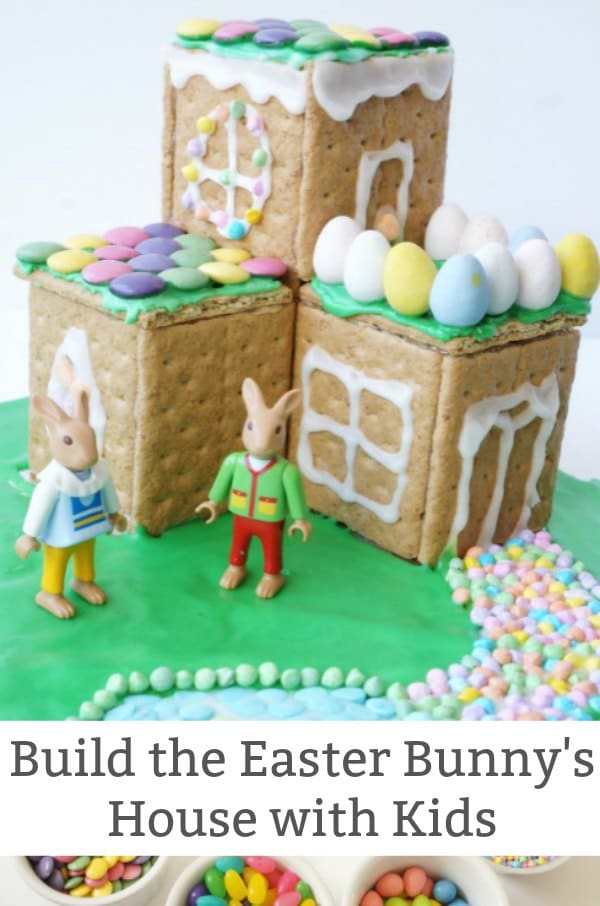
We love building edible houses for the holidays...our Valentine's Day love shacks and our pumpkin fairy house were a blast to make. From the design to the build my daughter loved this activity. Of course, I'm pretty sure she really loved eating all the extra candy most of all. That's okay...it's Easter!
Okay, seriously where does the Easter bunny live? Many people believe that the Easter bunny lives on Easter Island. There is another group of folks who are pretty sure he lives up at the North Pole with Santa Claus. Does anyone really know the Easter bunny's house address? We like to think that the Easter bunny and his family live in a beautiful, magical forest. The other animals living in the forest keep his whereabouts a secret. Wherever he lives, we are fairly certain that the air smells sweet with chocolate. Yum!
And, what does the Easter bunny's house look like? We have to assume it is candy covered...right? Chocolates and candies are all over the place. He needs a big storage room for all those eggs. We think it is bright and colourful and springy.
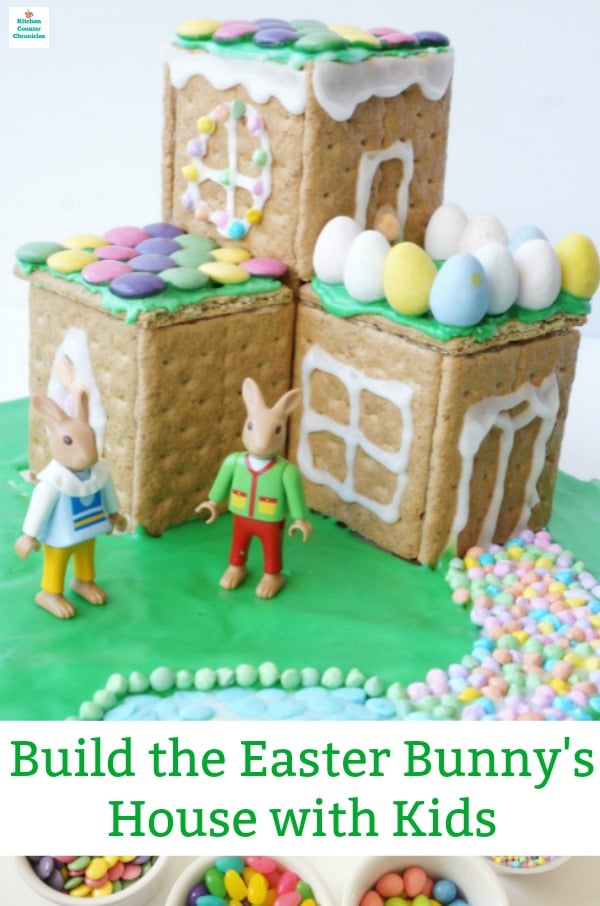
How to Build an Easter Bunny House
cardboard
aluminum foil
tape
graham crackers
glue gun
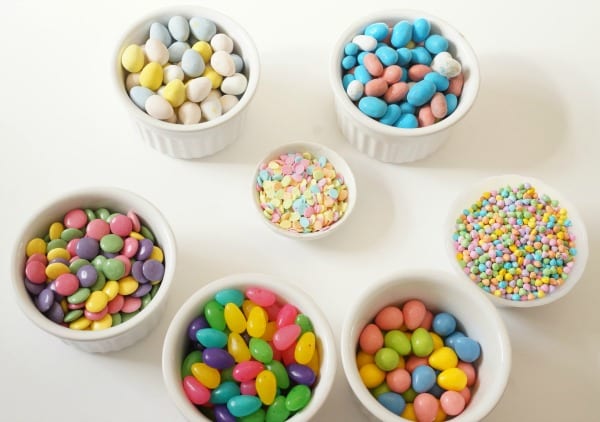
assorted candy Easter eggs and Easter candies
royal icing - 1 cup icing sugar, 1 tablespoon meringue powder, 2 teaspoon water
blue and green food colouring
 Begin by making your plans for the Easter Bunny house. This is time to let your imagination run wild. What do you think the Easter Bunny's house looks like? My daughter really wanted there to be a pond in the yard and there had to be a garage for Easter egg storage. You might even want to make a couple of different easter bunny houses...why not?!
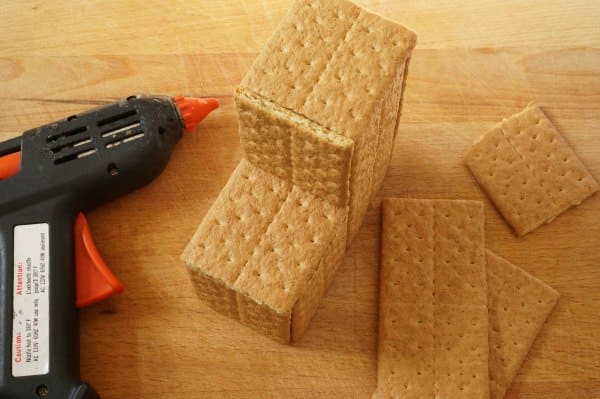
Next, you will want to prep the tray where the house will sit. Decide how large a base you want to have. Cut the cardboard into whatever shape or size you like. Then cover the cardboard with a sheet of aluminum foil. This will give you a nice clean surface to work on. Simple wrap the cardboard like a gift and tape the foil in place. 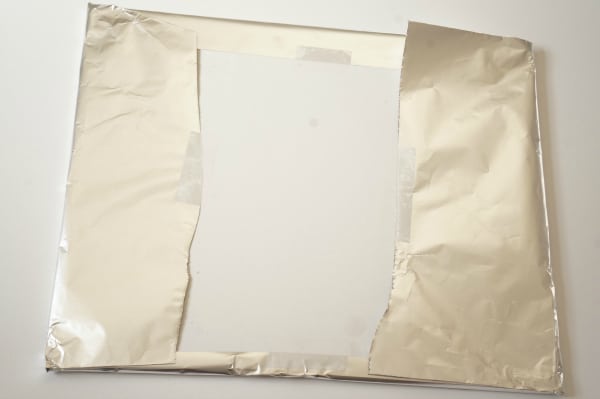
Now it is time to warm up the glue gun and construct the house. I discovered this tip at Christmas - use a glue gun to build the structure. In reality, we rarely eat the actual house...we might pick the candy off the house and eat it, but we don't eat the actual house. Especially after it has been sitting on our table for over a week. So, make your life so much easier and use a glue gun...seriously...life changing. If you are a purist, use the royal icing to "glue" the house together. Leave more time for the pieces to dry before moving onto the decorating stage of the project.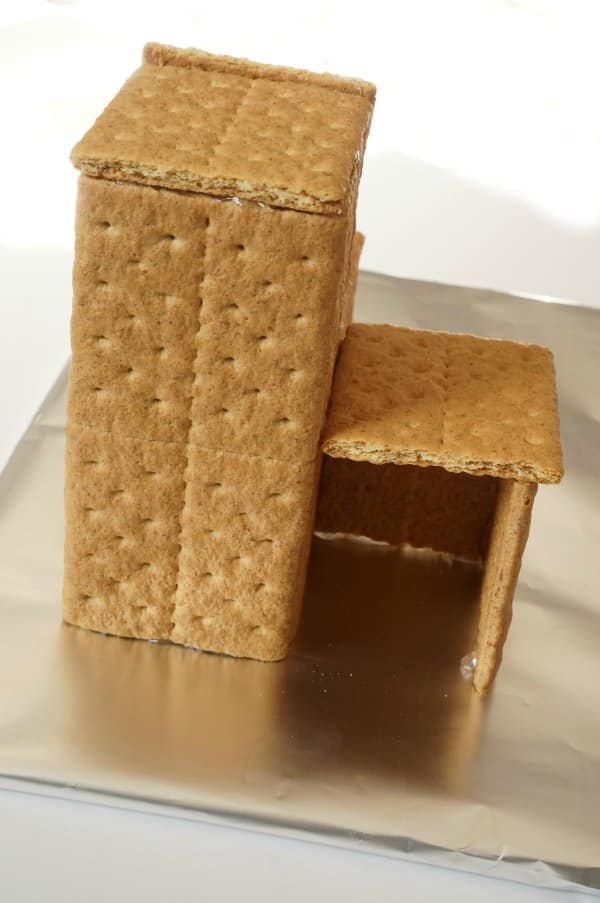
Make a batch of royal icing by combining icing sugar, meringue powder and water in a small bowl. Add water until you reach the consistency you want. For gingerbread house construction you want thick icing, that will hold the heavy decorations in place. Divide the icing and colour the icing. We made three batches of coloured icing - green, blue and white (white was the plain icing).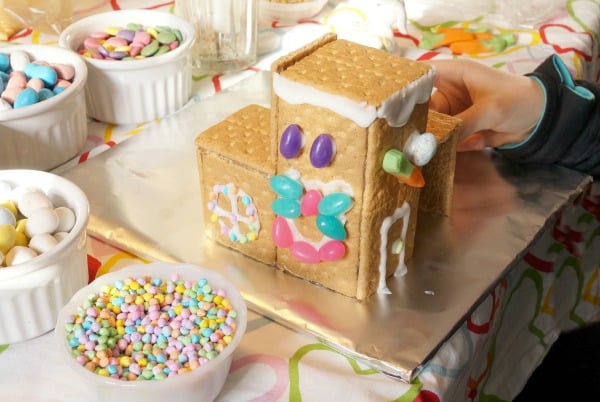
Here we go! It is time to have fun decorating the Easter bunny house and the grounds around the house. Let the kid's imagination run wild.
 We happen to have an Easter Bunny Playmobil set, which made the perfect addition to our house. Add your own little bunnies and other spring characters.
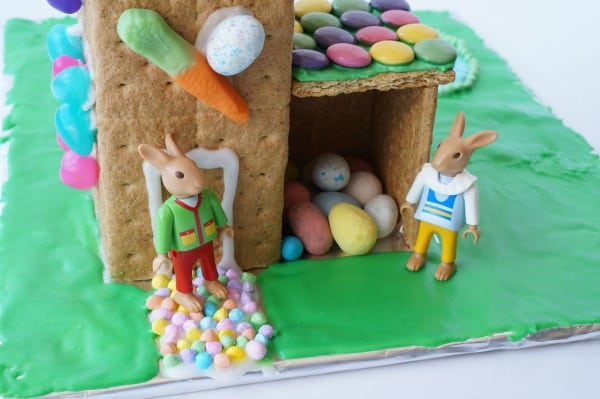
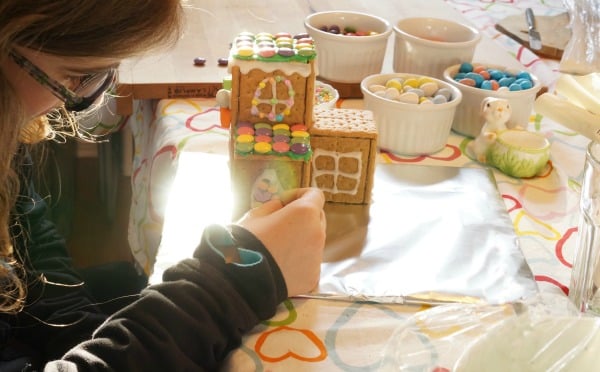
I particularly love the colourful walkways that my daughter made. The Easter bunny and his family will be very happy living in this delightful house. Don't you think?
What will your child's Easter Bunny house look like?
Pin this awesome idea for later...
More Easter fun for the kids...
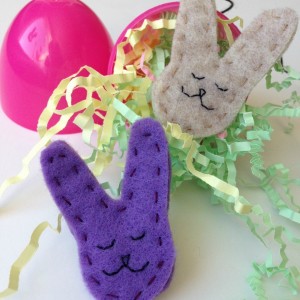 Make a sweet Easter Bunny necklace
 Have fun playing Would You Rather? Easter edition