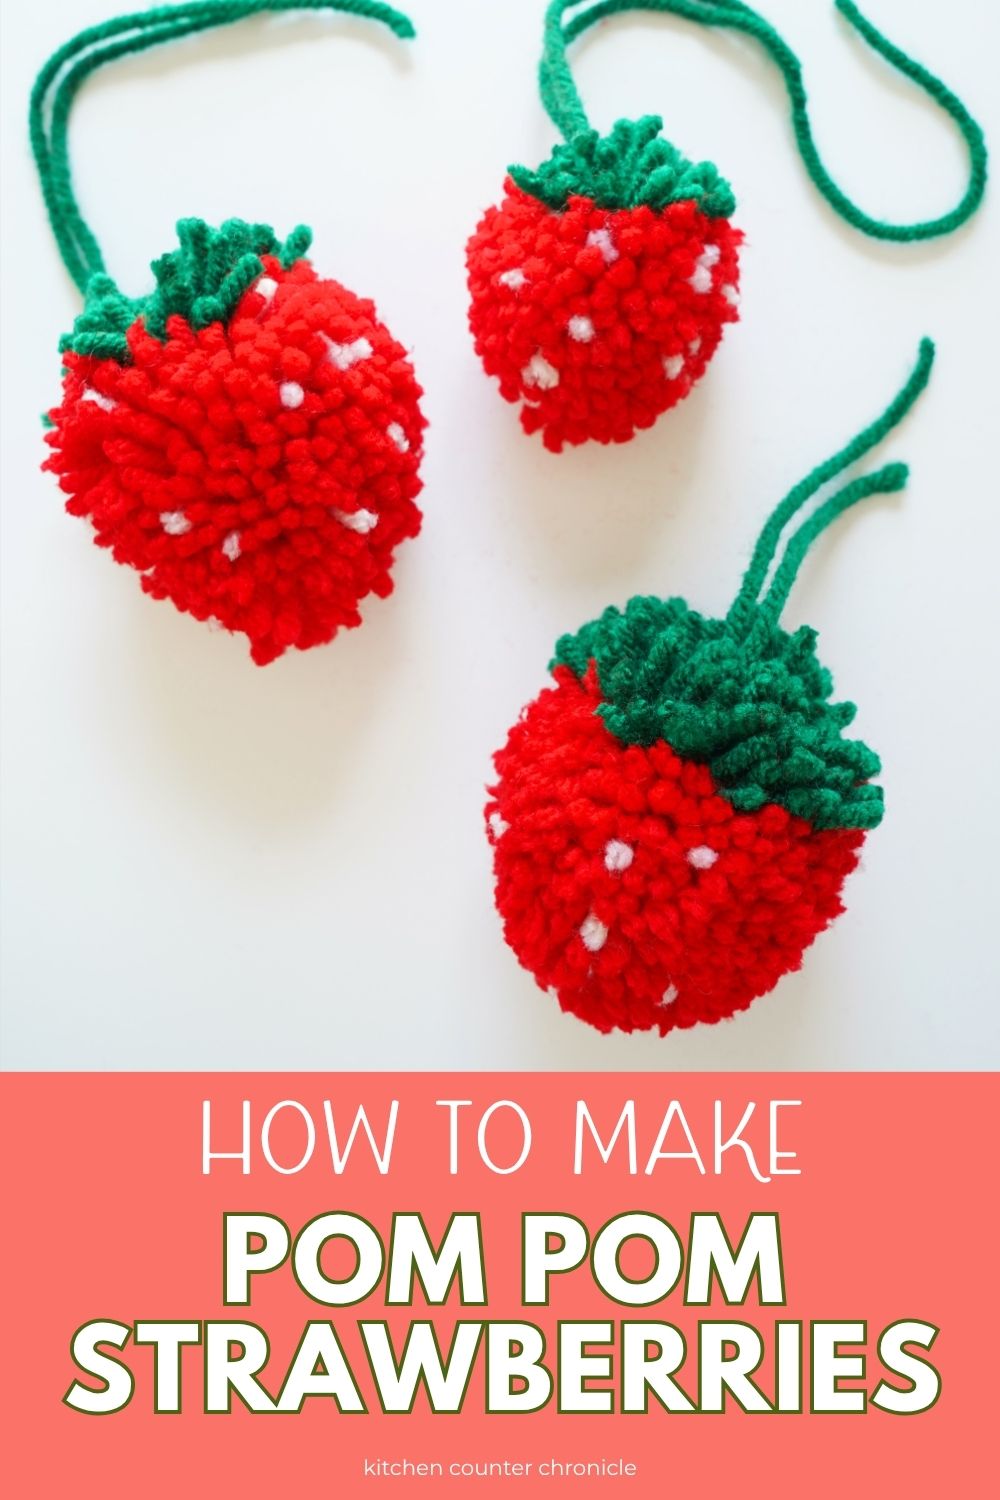
Let's make some fun pom pom fruit, starting with the sweetest pom pom strawberry craft. I've shared many fun pom pom crafts, and now I'm starting to share how to make pom pom food. I mean, how cute were the pom pom ice cream cones I made?! So, let me show you how to make strawberries from pom poms.
Disclosure: There are Amazon Affiliate links in this article which means, at no additional cost to you, we could receive compensation for our recommendations. You can read our full disclosure policy on our Disclosure Page for more details.
Why did I decide to start making pom pom fruit? Good question! It's the summertime, and in the summer, I start dreaming about fun craft projects. I was at the farmers' market the other day and was totally inspired by the fresh strawberries. Strawberries, in season, are my favorite summer fruit. And, I had a feeling I could turn pom poms into strawberries.
It took a whole lot of trial and error...I made many weirdly shaped strawberries...but in the end, I've come up with a pretty easy pom pom strawberry tutorial.
Pom Pom Strawberry Tool
Supplies you will need:
pom pom maker tool
sharp scissors
red yarn, white yarn, and green yarn
How to make pom pom strawberry
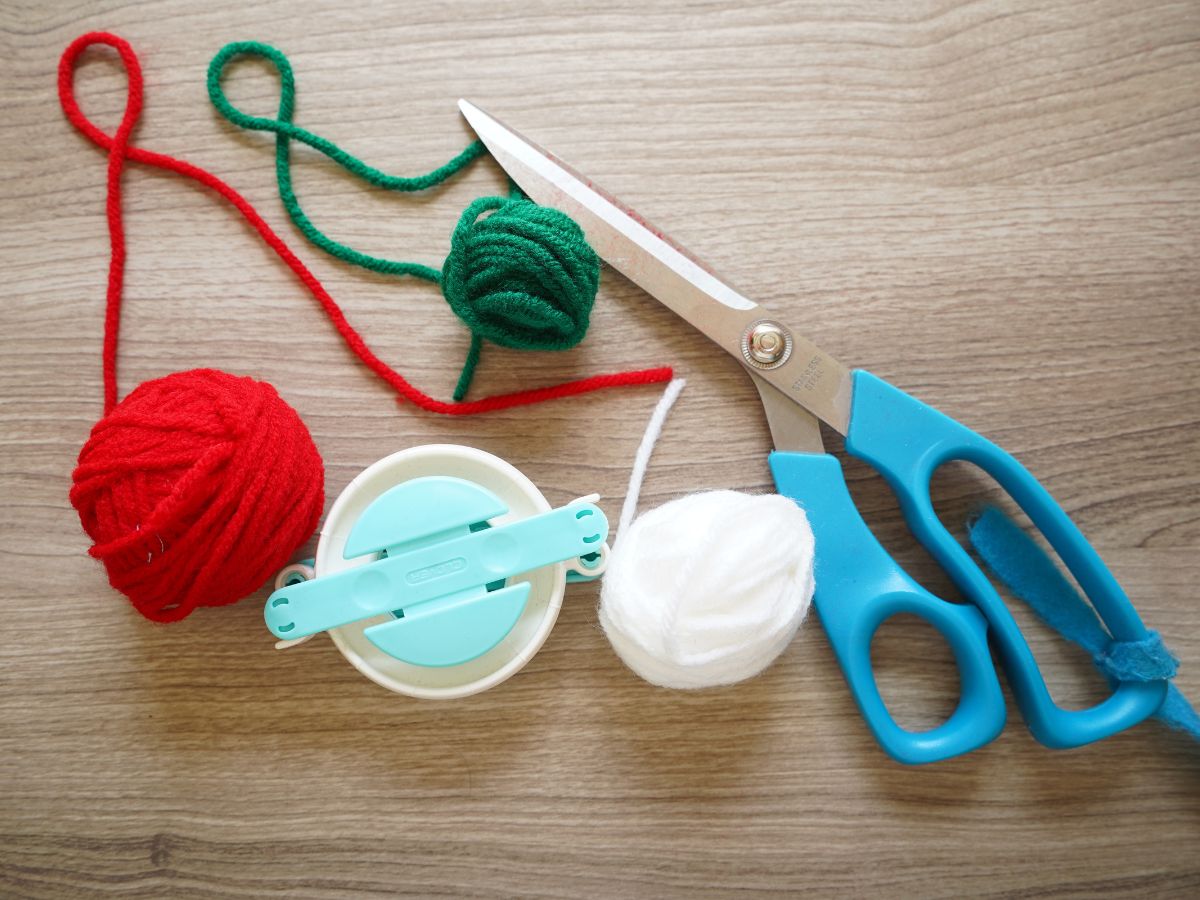
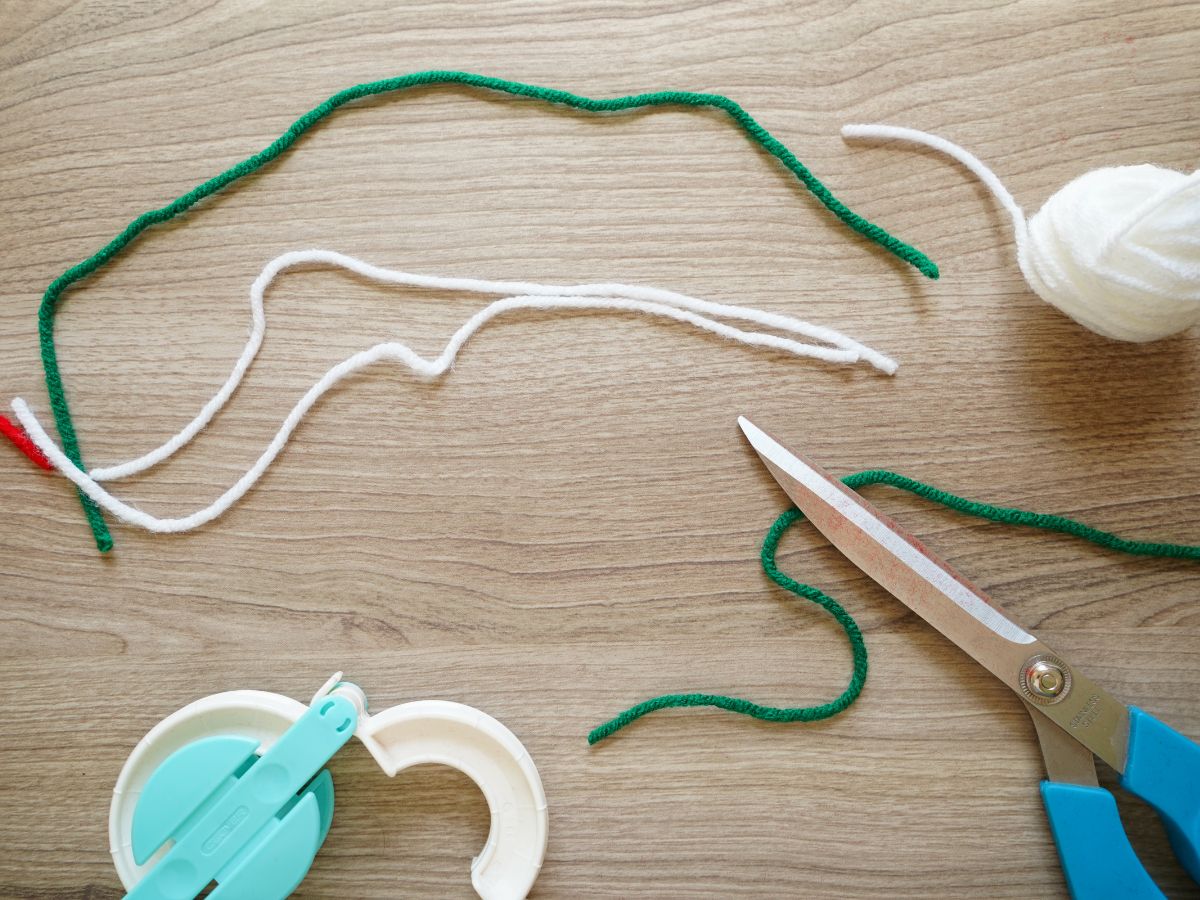
To begin, you will want to use at lease a 1-inch pom pom maker tool. Cut four lengths of white yarn, about 4 inches long. Cut one length of green yarn, about 6 inches long. Set these aside.
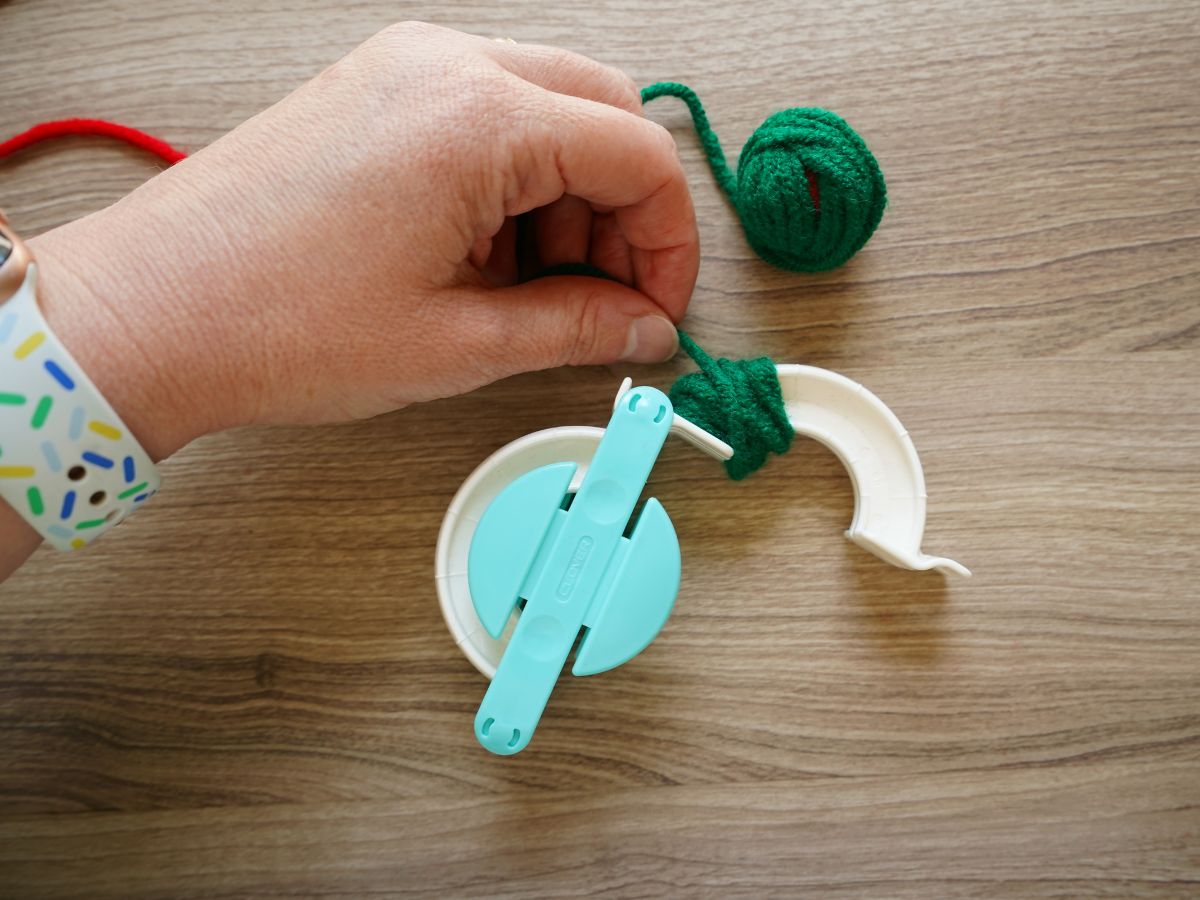
If you've never made a pom pom before, be sure to check out my post and video where I share step by step how to make pom poms. For the strawberry pom pom, start by tightly wrapping the green yarn around one end of the pom pom maker. You only need to wrap the green yarn around about ½ inch of the tool. You are making half of the green leafy top of the strawberry. Here is where things get a little bit tricky. Once you have the ½ inch of green wrapped, you need to use a finger to continue holding it in place while you move onto the next step.
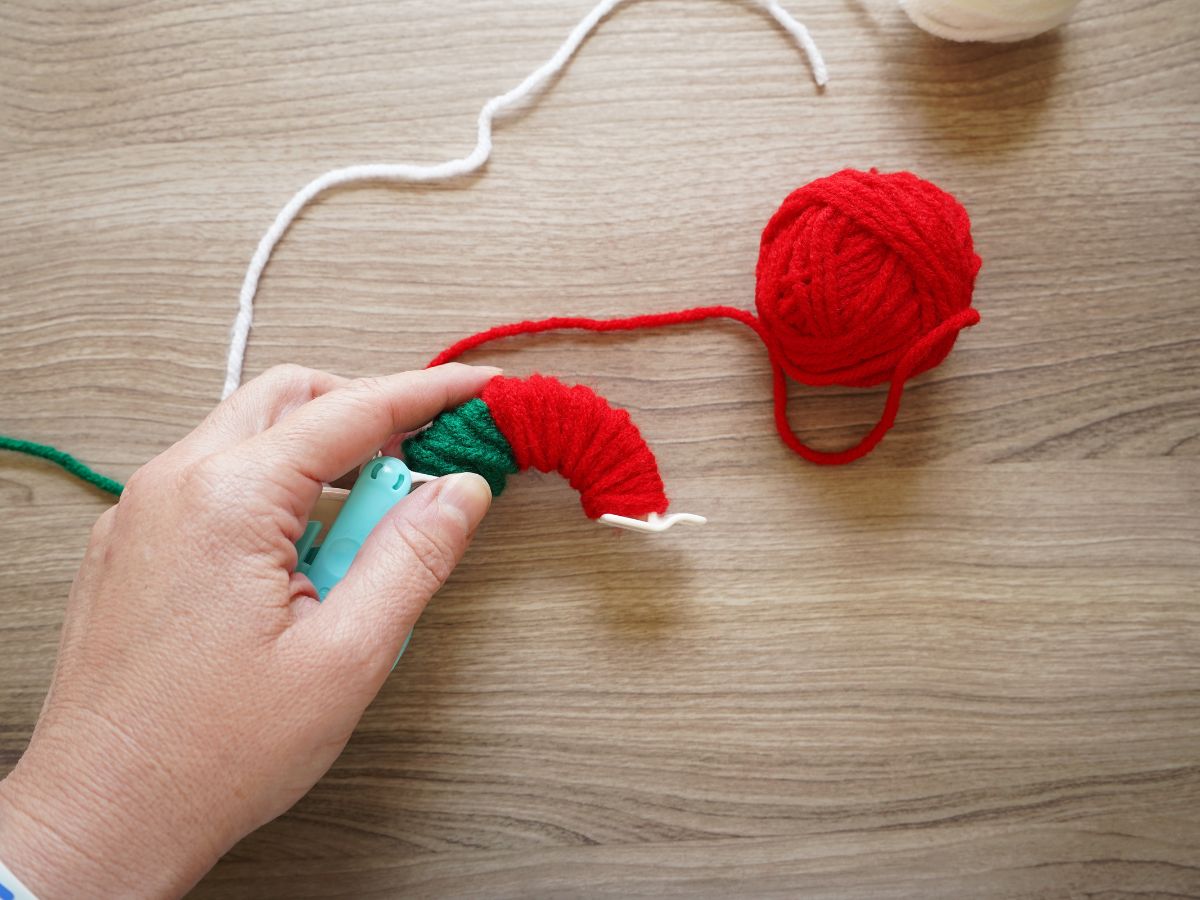
So, while keeping the green yarn wrapped, it is time to wrap the red yarn around the rest of the pom pom maker tool. Wrap about two layers of red yarn.

Now, it's time to add the white "seeds". Wrap one of your lengths of white yarn over the red yarn. Spread the white yarn out as you wrap it. Now, continue wrapping the red yarn over the white yarn and around the pom pom maker tool.
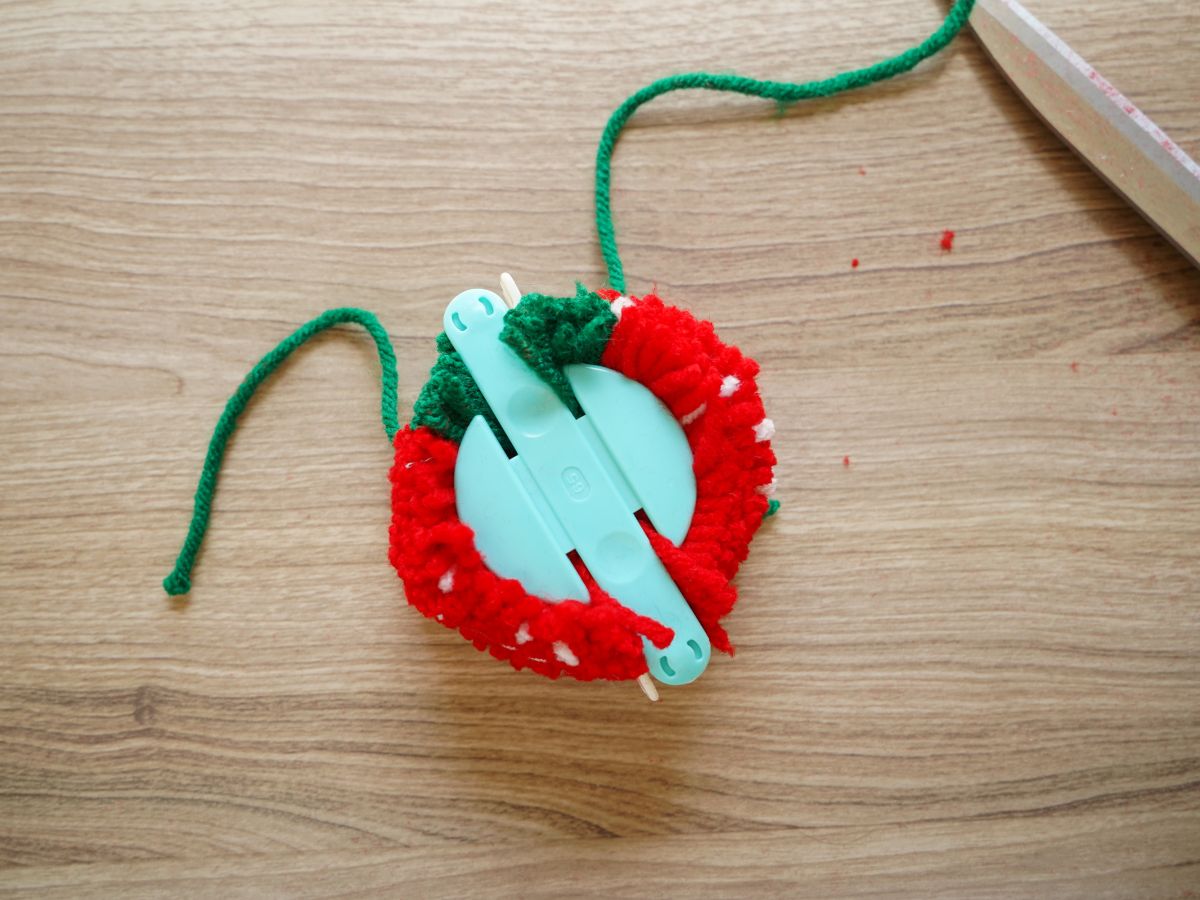
Again, wrap a layer or two of red yarn and then add the second length of white yarn, for more seeds. Finish by wrapping the red yarn over the white yarn. Now close this first side of the pom pom maker; this will hold everything in place while you repeat the process with the other side of the pom pom maker tool.

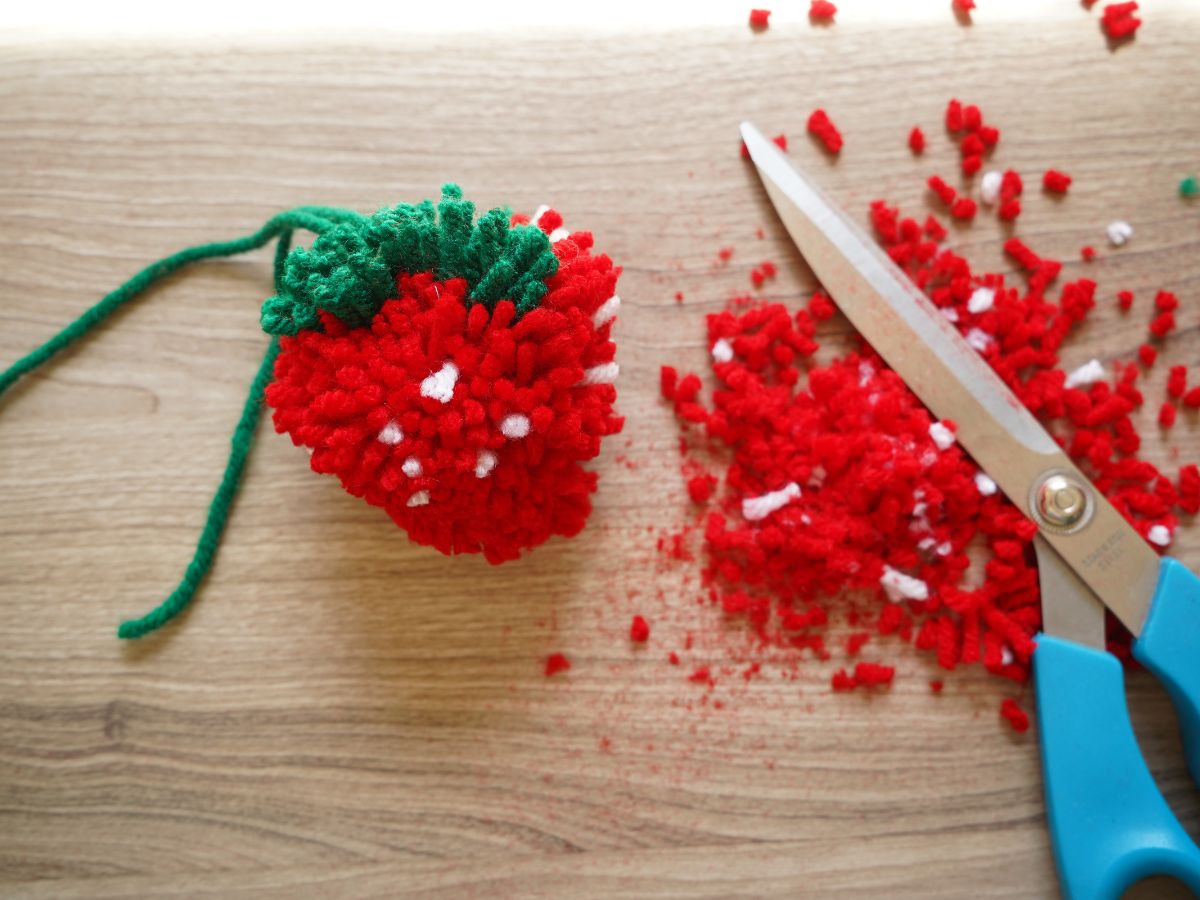
Once you have both sides of the pom pom maker tool wrapped and closed, it is time to use your sharp scissors to cut around the seam of the pom pom tool. Cut all the way around. Then feed the length of green yarn, from the bottom red end of the strawberry to the top, green end of the strawberry. Tie a knot in the green yarn, in the leafy green end of the strawberry. Double knot the green yarn.
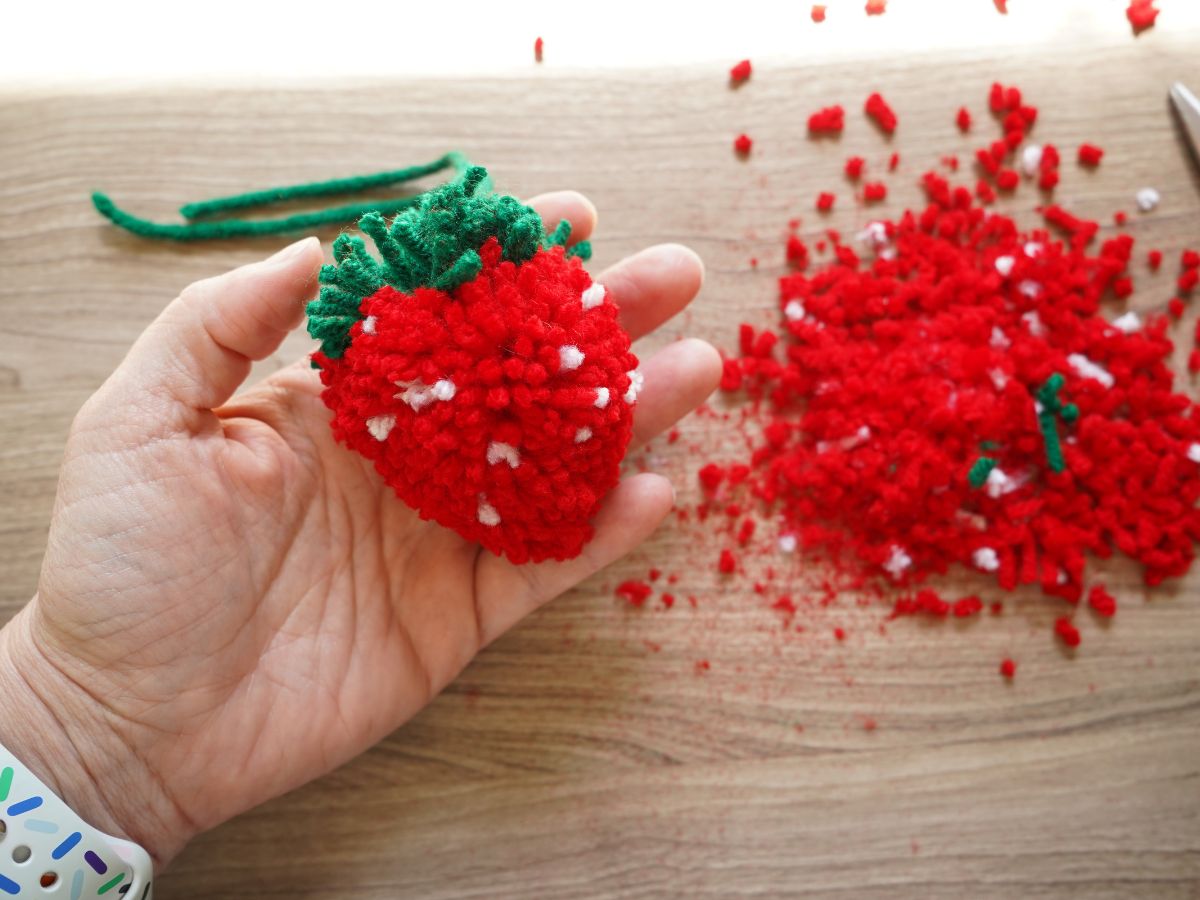
Open the pom pom maker tool, and you have a strawberry-ish pom pom. Now, it is time to cut the strawberry shape. Again, you will need those sharp scissors. Work your way slowly around the pom pom, creating a triangle-shaped bottom of the berry.
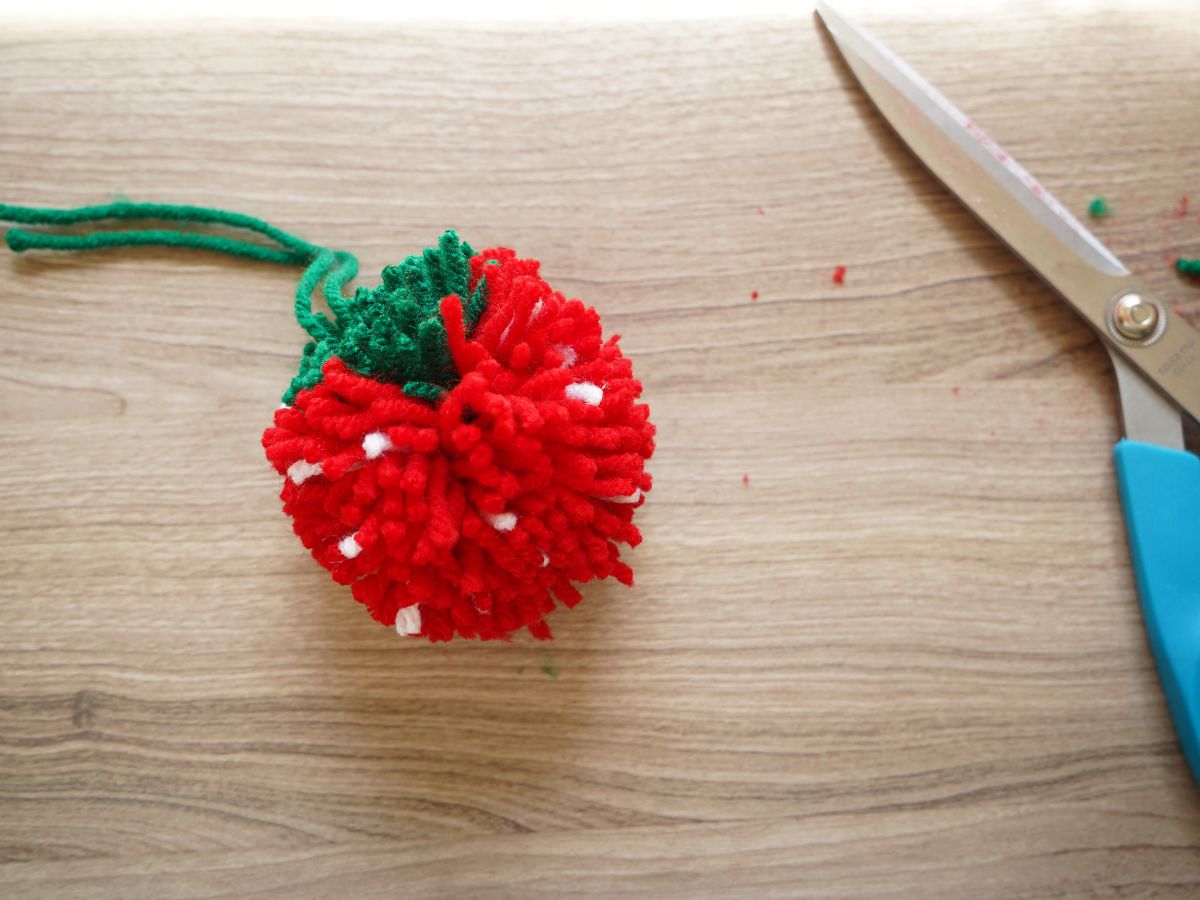
Use your hands to separate the leafy top from the red berry, and trim the yarn to shape the top of the berry. At this point, it is totally up to you how you want your berry to look. Keep trimming and shaping until you love how the berry looks.
I kept the long green piece of yarn long, because I intend to hang these individual strawberries on a few knobs on my kitchen cabinets. But you could trim those lengths and then create a pom pom strawberry garland. Which I actually might make next!
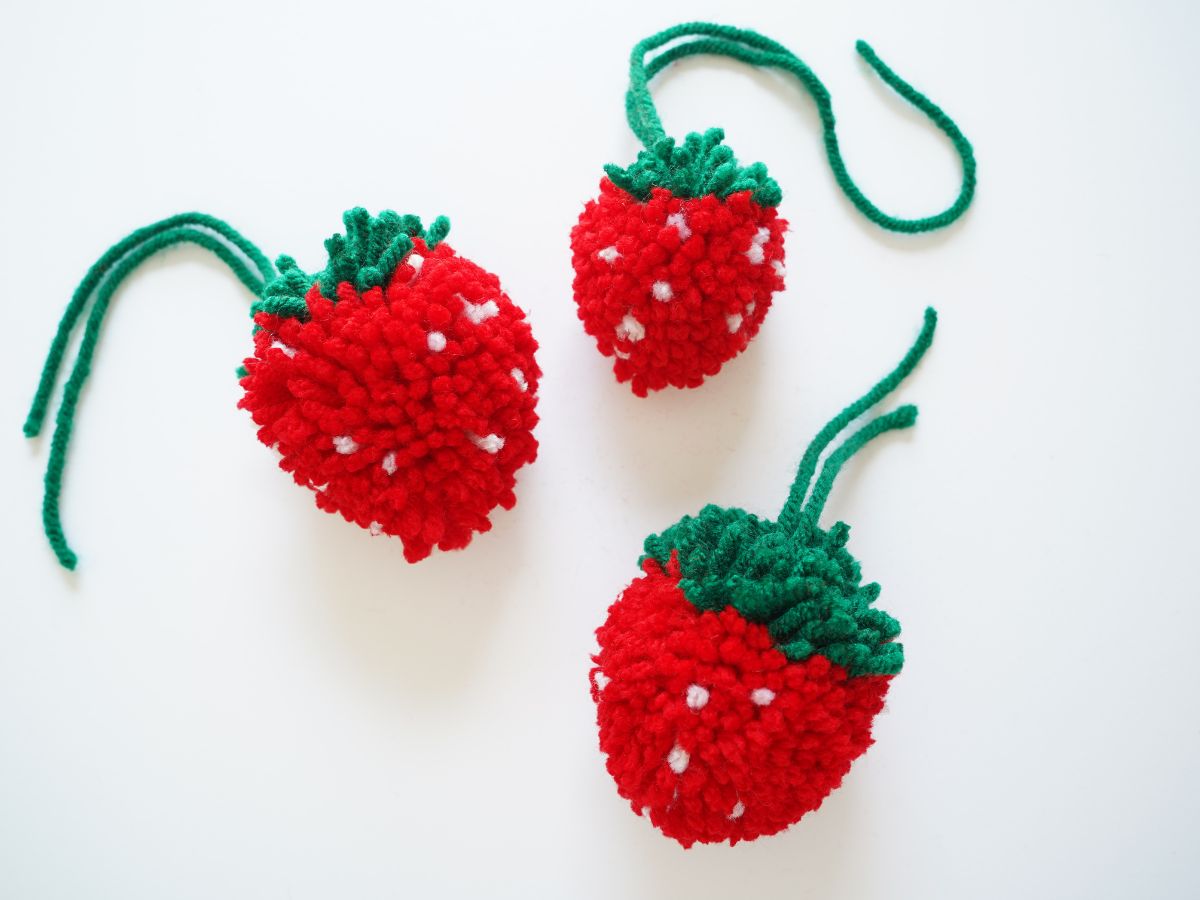
How will you display your pom pom strawberries?
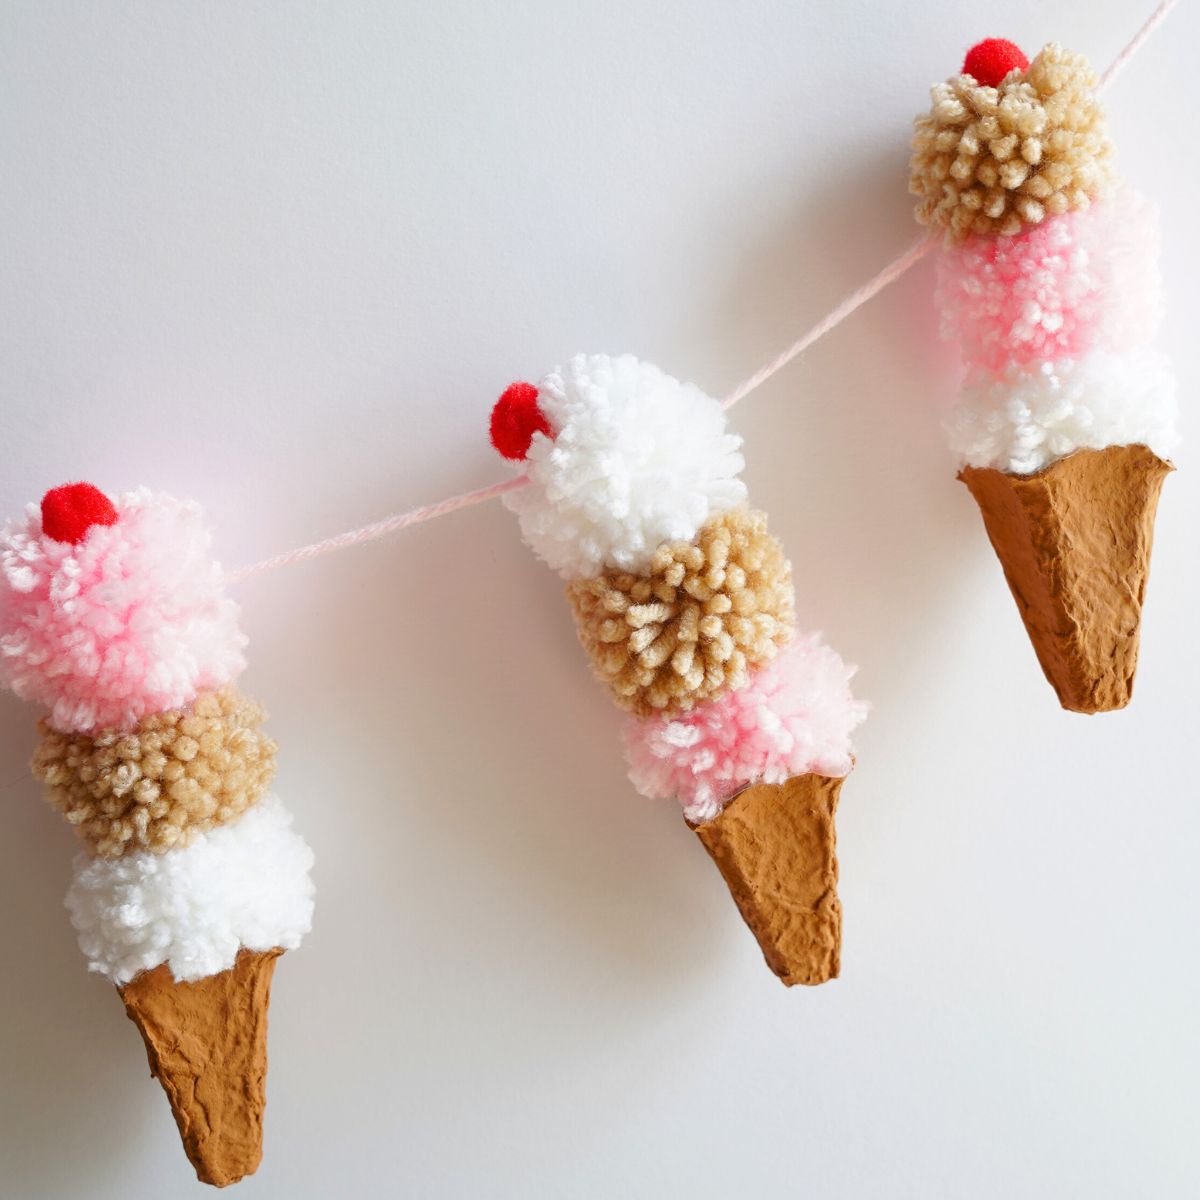
check out our super cute pom pom ice cream cone garland
Make sure you are following along...
FOLLOW KITCHEN COUNTER CHRONICLES ON
SUBSCRIBE TO KITCHEN COUNTER CHRONICLES TO HAVE OUR DELICIOUS RECIPES, FUN CRAFTS & ACTIVITIES DELIVERED DIRECTLY TO YOUR INBOX.