I have been really feeling the whole boho decor vibe lately.
In fact, I have a 4 foot long branch hanging in my living room right now. Wrapped in string and with birds and stars dangling from it...I should probably blog about that?!
Anyhow, I've been wanting to make a piece of boho inspired wall art that incorporates an embroidery hoop and Valentine's Day is the absolute perfect excuse for making something lovely and pretty. I wanted to make something special for my girls and Valentine's Day presented me with all the inspiration I needed.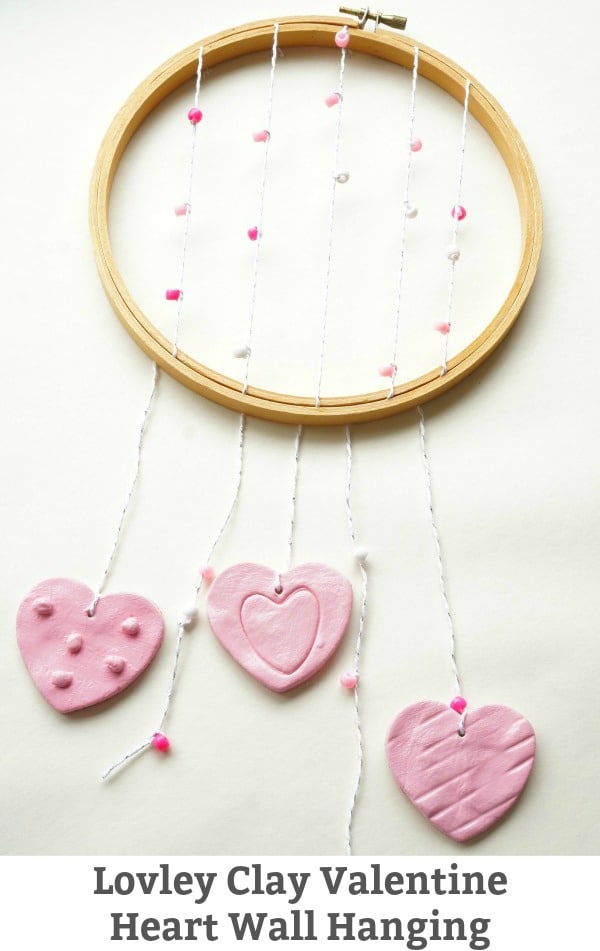
With a little clay, an embroidery hoop and some string I was able to make a super cute piece of art to hang on the wall.
Clay Valentine Heart Wall Hanging
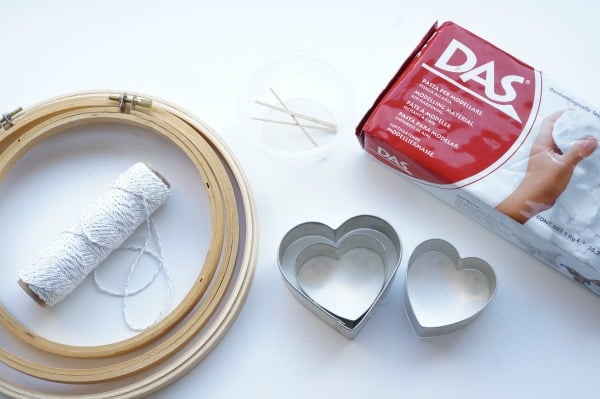
air dry clay
heart cookie cutter
wooden skewer or toothpick
wax paper
pink acrylic paint
string
pink, white beads
embroidery hoop
2 paintbrushes
small dish
clear Modge Podge
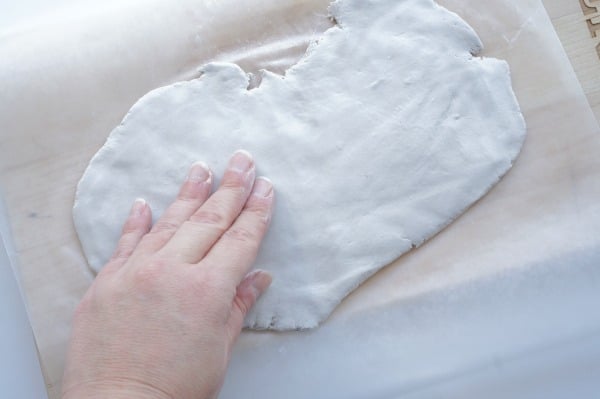
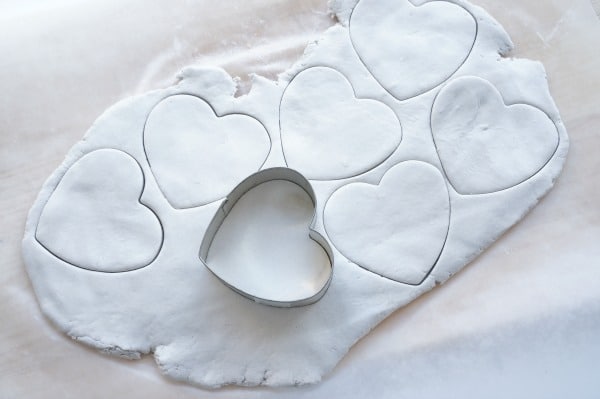
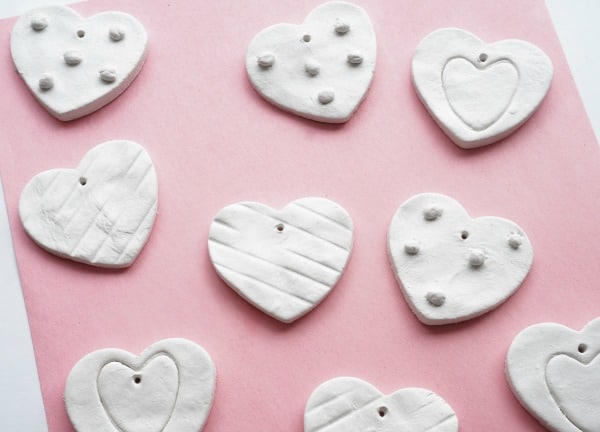
Use the wooden skewer to make a hole in the heart, where the string will feed through. Set the hearts aside.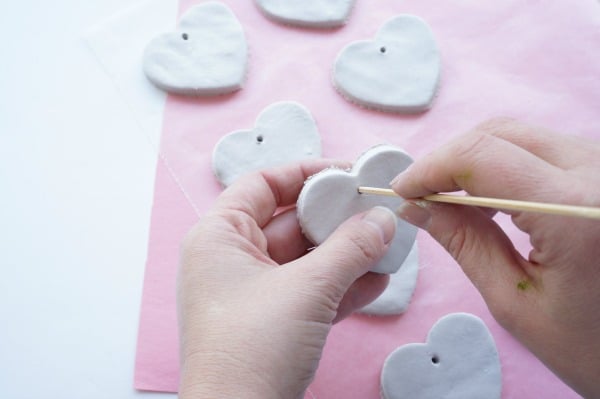
The hearts may have rough edges...wet your fingers and smooth out the edges. Your wet finger can smooth out any bump or cracks.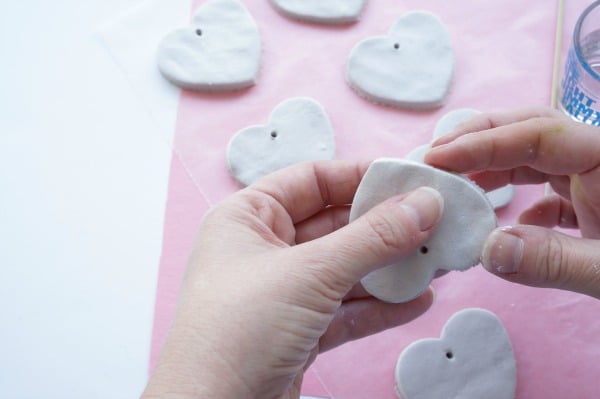
For our hearts we tried three different techniques to decorate the hearts. For the first technique we wanted to apply 3D dots to the hearts. In order to adhere the dots we need to make a small dish of slip...clay glue. Slip is a "glue" made from clay and water.
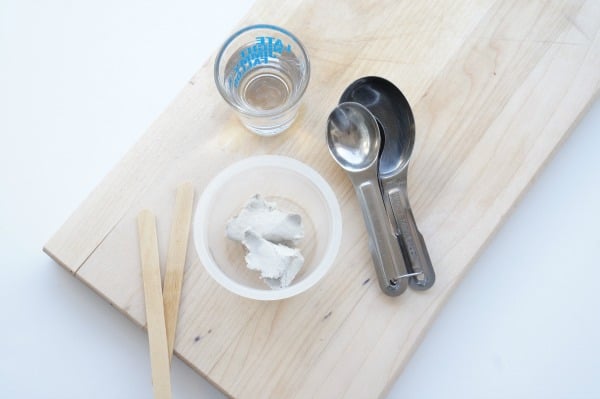
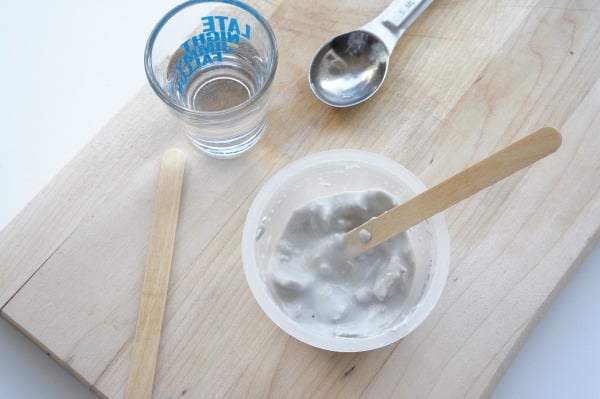
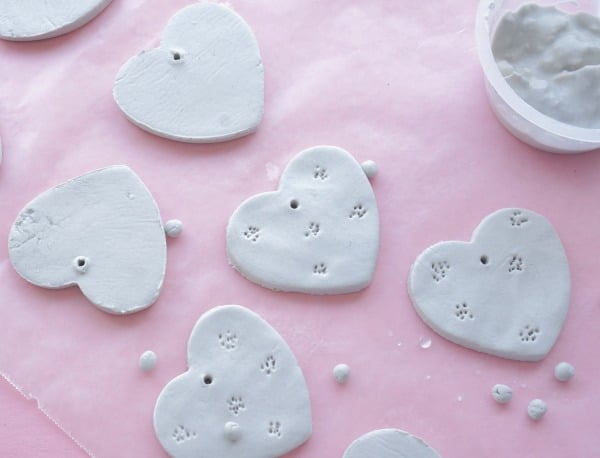
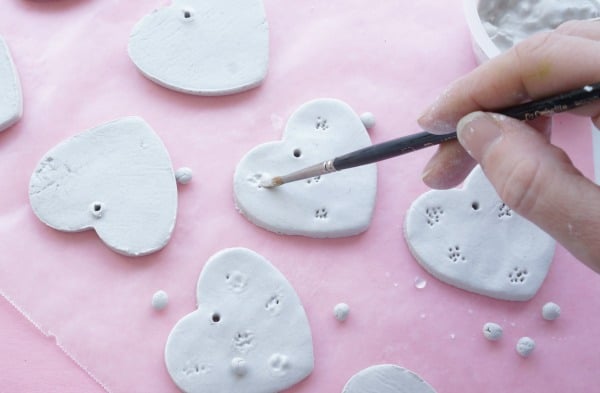
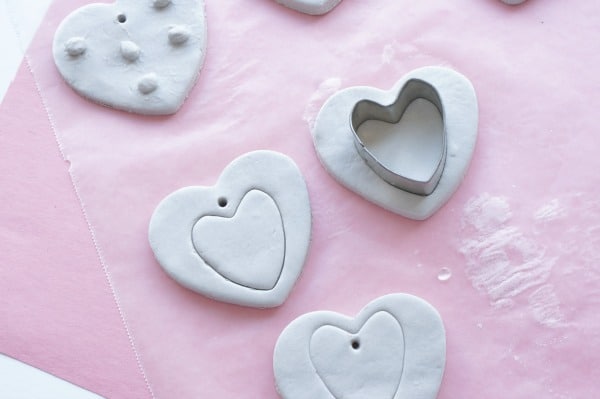
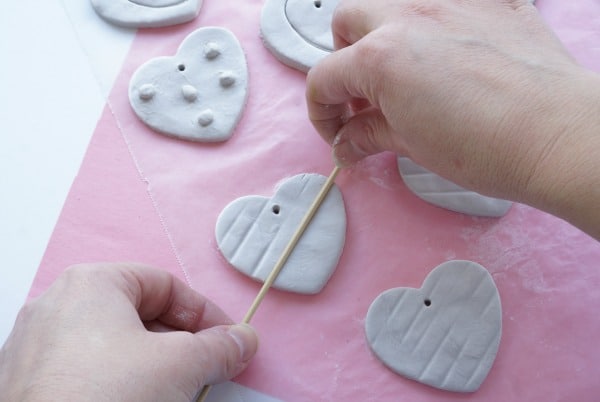
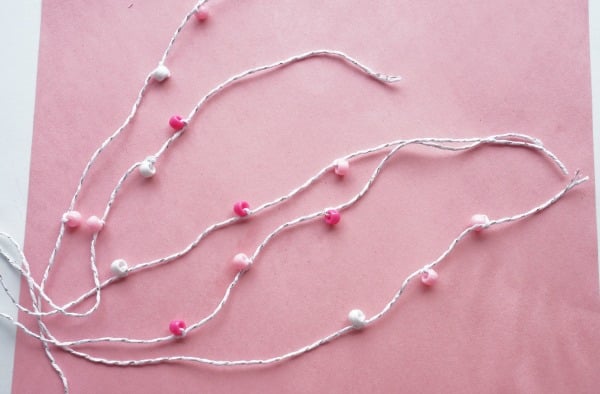
Okay, now it's time to work on the embroidery hoop. Our hoops are 4 inches in diameter. Cut 5 lengths of string, about 10 inches long. Feed and tie as many beads as you like onto the string. These beads will be positioned inside the hoop. Once the beads are in place, place the string in position and slide the outer hoop in place - tightening it in place. I used a little tape to hold the string in place while I tightened the hoop.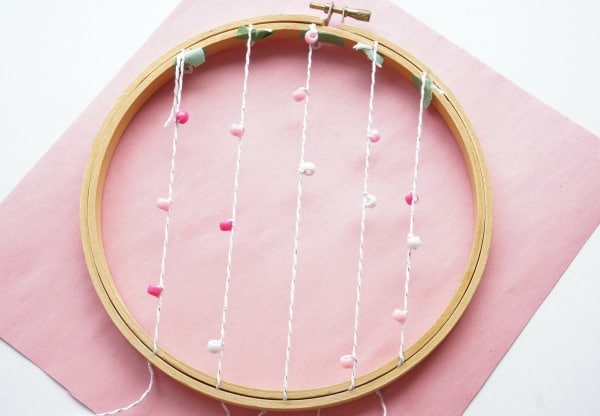
Feed more beads and the hearts onto the ends of the string. We tied 3 hearts onto 3 stings and added beads onto the other 2 strings. 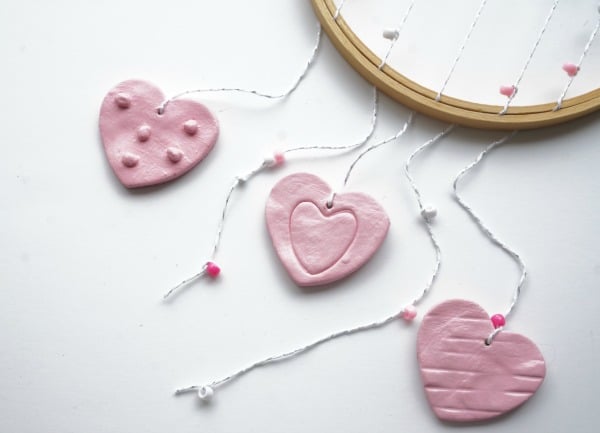
Loop a length of string onto the top of the embroidery hoop and hang up the wall hanging. We made 3 wall hangings - one for each of my daughter's bedroom doors and one to hang in the living room.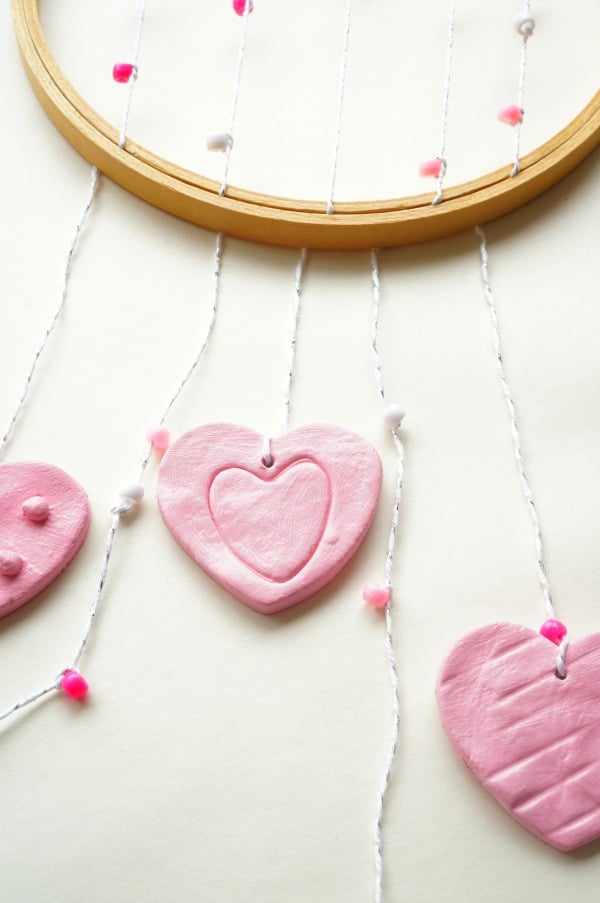
I love how our wall clay hearts turned out and so do my girls. We will definitely be hanging these for Valentine's Day for years to come.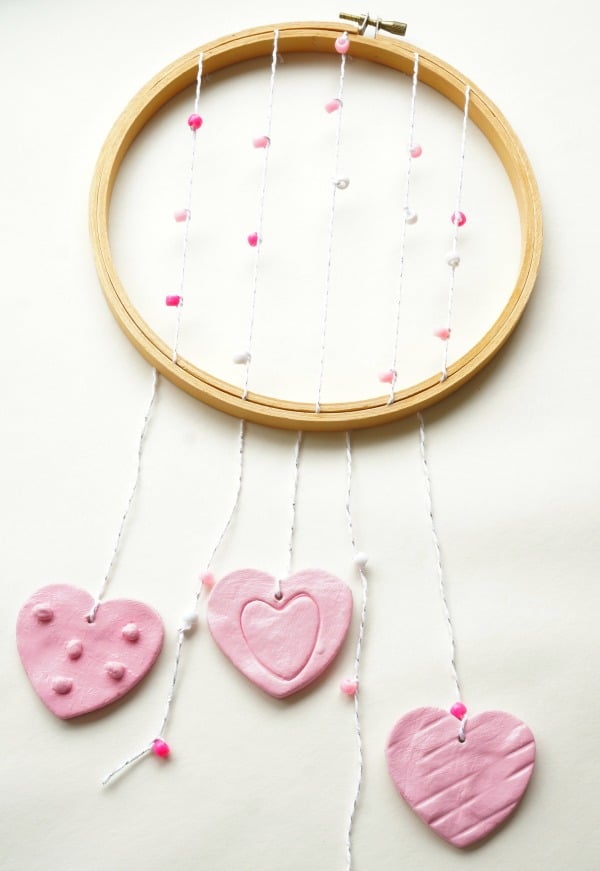
Today's post is part of the Valentine's Blog Hop being hosted on A Pretty Life in the Suburbs. Please take the time to hop around and explore all of the absolutely beautiful recipes, art and craft projects being shared. 
Valentine's Day Cherry Pie by Jo-Anna of A Pretty Life
Valentine's Triple Berry Breakfast Parfait by Joanna at Lazy Moms Blog
Valentine's Day Mini Bouquet with Printable Wrap by Lucy of Craftberry Bush
DIY Iron-On Mini Tote Bags for Galentine's Day by Joann of Woman in Real Life
DIY Clay Valentine Heart Wall Hanging by Jen of Kitchen Counter Chronicles
Valentine's Day Smoothie Bowl by Kristeena of Motherhood in Stilettos
Chunky Crochet Heart Banner by Christina of The DIY Mommy
'I'm Stuck On You Valentine' Free Printable by Chandra of HashtagBlessed Blog
DIY Love Tees by Colleen of Lemon Thistle
Red Velvet Cheesecake by Kim of Kim Power Style
Custom Floral Dishware DIY with Temporary Tattoos by Christine of Amidst the Chaos
Valentine's Day Keto Cheesecake by Thalita of The Learner Observer
How to Host a Mother/Daughter Galentine's by Kelsey of Kelsey Diane Blog
Free Printable Farmhouse Style Valentine's Day Cards by Shannon of AKA Design
GALentine’s Day Tea Party by Shauna of Satori Design for Living
Valentine Heart Necklace by Christine of The DIY Dreamer
Simple Valentine's Day Decor by Alicia of A Burst of Beautiful
Valentine's Sushi Recipe by Stefania of From the Playpen
Valentine’s Day Decor by Dannyelle of Life is a Party
Valentine Countdown for Kids by Heather of Raising Memories
Valentine's Day Kindness Countdown Calendar by Jen of Rambling Renovators
Rustic Valentine's Day Decor by Sarah of The Project Pile
Peach Raspberry Crisp by Brittany of My Daily Randomness
How to Make Pine Cone Roses by Jane & Sonja of Sustain My Craft Habit
Handmade Paper Gift Boxes by Jessica of The Vanderveen House
DIY Valentine's Day Pouch by Lidia of Design Inside the Box
Valentine Oreo Cookies by Kendra of Joy In Our Home
Valentine's Day Lunch Idea by Adriana of Chaos and Caffeine


Christine Cook says
Oh!!! Such sweet Valentine decor!! And something that can be kept forever, I love it!! Pinned!
Heather Lynne @ Raising Memories says
These are so cute! They'd make a great craft for kids to do, too!
Jen says
Perfect for kids to make. Thanks.
Lidia says
Ohhh this is so lovely!!! And my daughter would be 100% loving doing this with me!
Jen says
Yes, I think we are going to do a smaller version at my daughter's birthday party next weekend.
Jo-Anna Rooney says
This is such a pretty idea Jen! I love the boho vibe!
Jen says
Thanks Jo-Anna!
Jen says
What a sweet craft to do with the kids. Great tip on the 'slip'! The dots add nice dimension to the hearts.
Adriana says
What a great idea! My kids would love making this.
Meagan says
Jen! So glad to have found your blog via the Hop! I love your clay wall hanging. I totally have some air clay that I could use this weekend to make our own.
Emily says
I would have been so excited about this as a little girl! This is such a pretty idea!
Shannon Acheson says
So cute!!!
Sonja says
Loving the boho vibe too! This looks like fun to make and I think I would hang it on my daughter's bedroom door!
Stefania says
These are gorgeous! Would look great in my daughters play room!!
Jessica says
This is such a cute idea for Valentine's day!
Dannyelle @ Life is a Party says
Jen, such a sweet Valentine's Day project!
Colleen @ Lemon Thistle says
Such a cute Valentine's idea!