
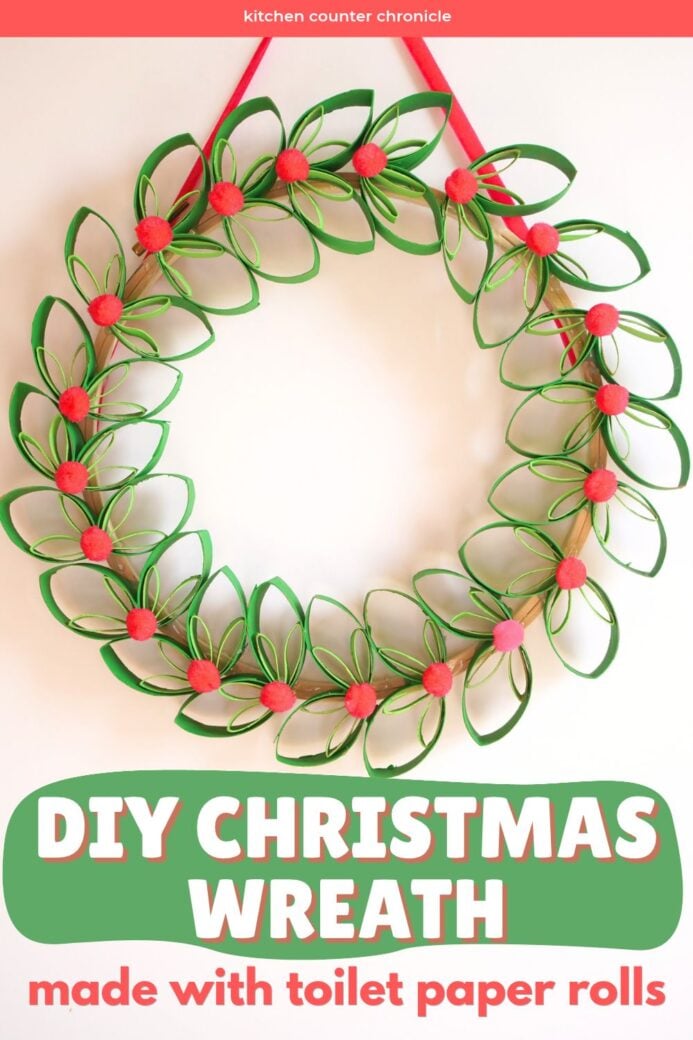
A few years ago, I made a toilet paper roll Christmas wreath. It was super cute. And since then I've made all kinds of cool toilet roll Christmas crafts. This time around, I wanted to turn the humble toilet paper roll into a beautiful Christmas wreath. This one is so beautiful you won't believe it's made from paper rolls.
Disclosure: There are Amazon Affiliate links in this article which means, at no additional cost to you, we could receive compensation for our recommendations. You can read our full disclosure policy on our Disclosure Page for more details.
First up, as with all my toilet roll crafts, I will make my usual suggestions. Some people don't like the idea of using toilet paper rolls. Here are the ways that I keep things clean. First, when I finish a roll of toilet paper, I immediately toss the roll into a basket in my craft room. It doesn't hang out in the bathroom any longer than it needs to. Next, you can totally use other paper rolls - paper towel and wrapping paper rolls are good options. I have never tried this, but I have read that some people will "sanitize" their rolls for a few seconds on high in the microwave. I don't know how effective that actually is. Alternatively, you can always purchase new paper rolls. However, this takes away from the upcycling aspect of the craft.
How to Make a Beautiful Toilet Paper Roll Christmas Wreath
20 toilet paper rolls
ruler
pencil
scissors
acrylic paints - dark green and light green
red little pom poms
hot glue gun
embroidery hoop
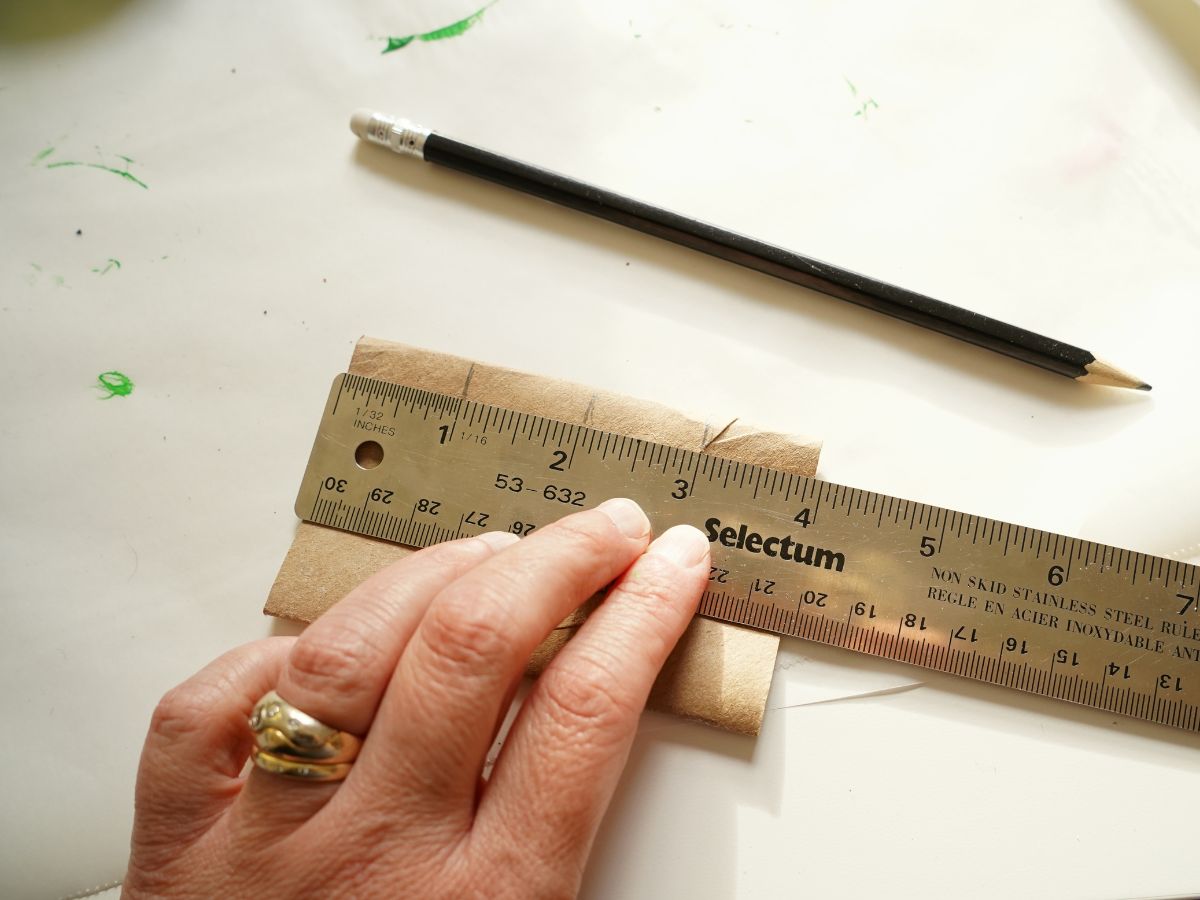
The first step to making this creative Christmas wreath is cutting up the toilet paper rolls. Press the paper roll flat. Use your pencil to mark out 1-inch sections on the roll. The toilet roll is about 4 inches long. They don't have to be exact. Each "leaf" will require 2 x 1-inch pieces and 2 x ½ inch pieces.
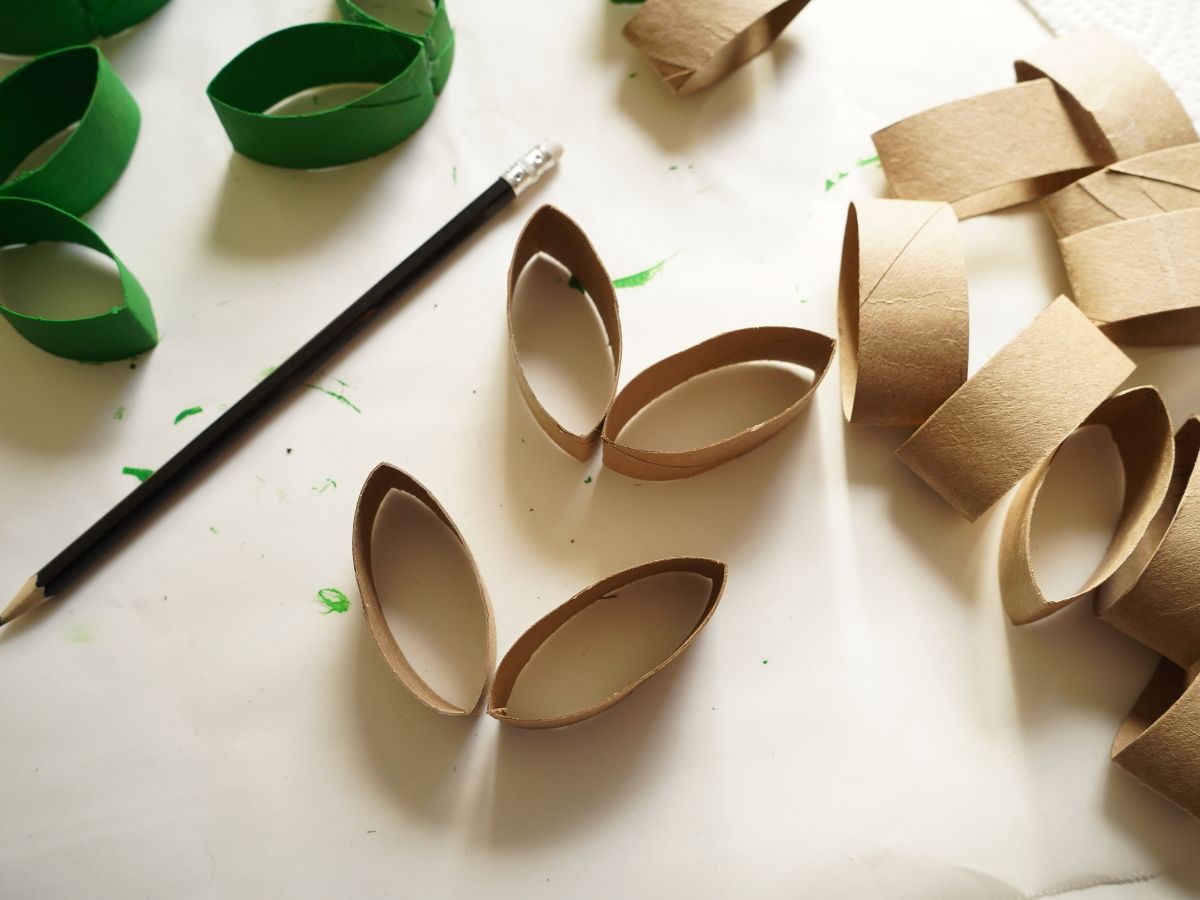
For the smaller sections, I didn't even measure. I just cut the 1 inch pieces in half with my sharp scissors.
Determining how many "leaves" you need to cut will depend on the size of your wreath base. My wreath base was a inch embroidery hoop. I liked the unfinished wood look for the wreath. I needed 20 leaves, so 40 x 1-inch and 40 ½ inch pieces.
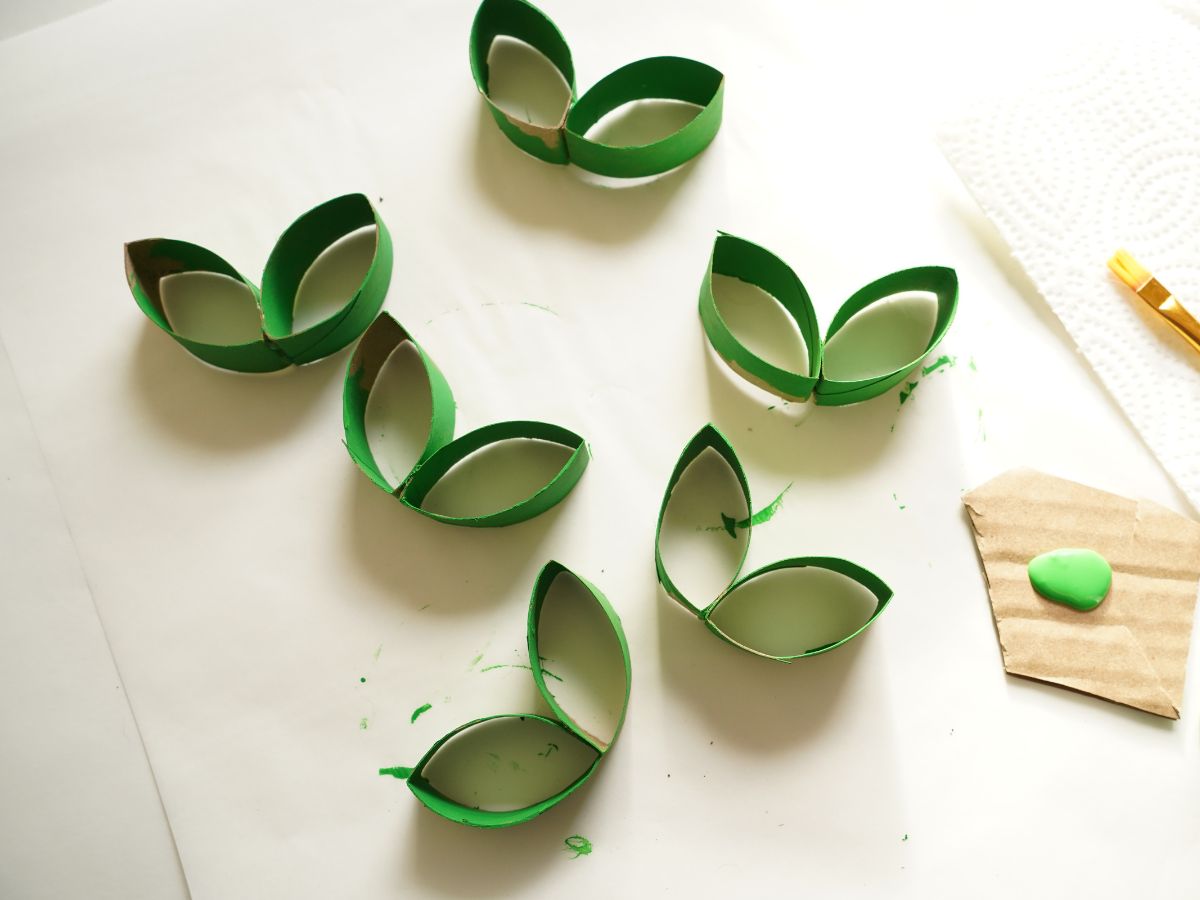
Once all the pieces are cut out, it is time to paint them. Paint all the 1-inch pieces dark green. Paint the smaller, ½ inch pieces a lighter green. I liked the look of the two colors for each leaf in the wreath.
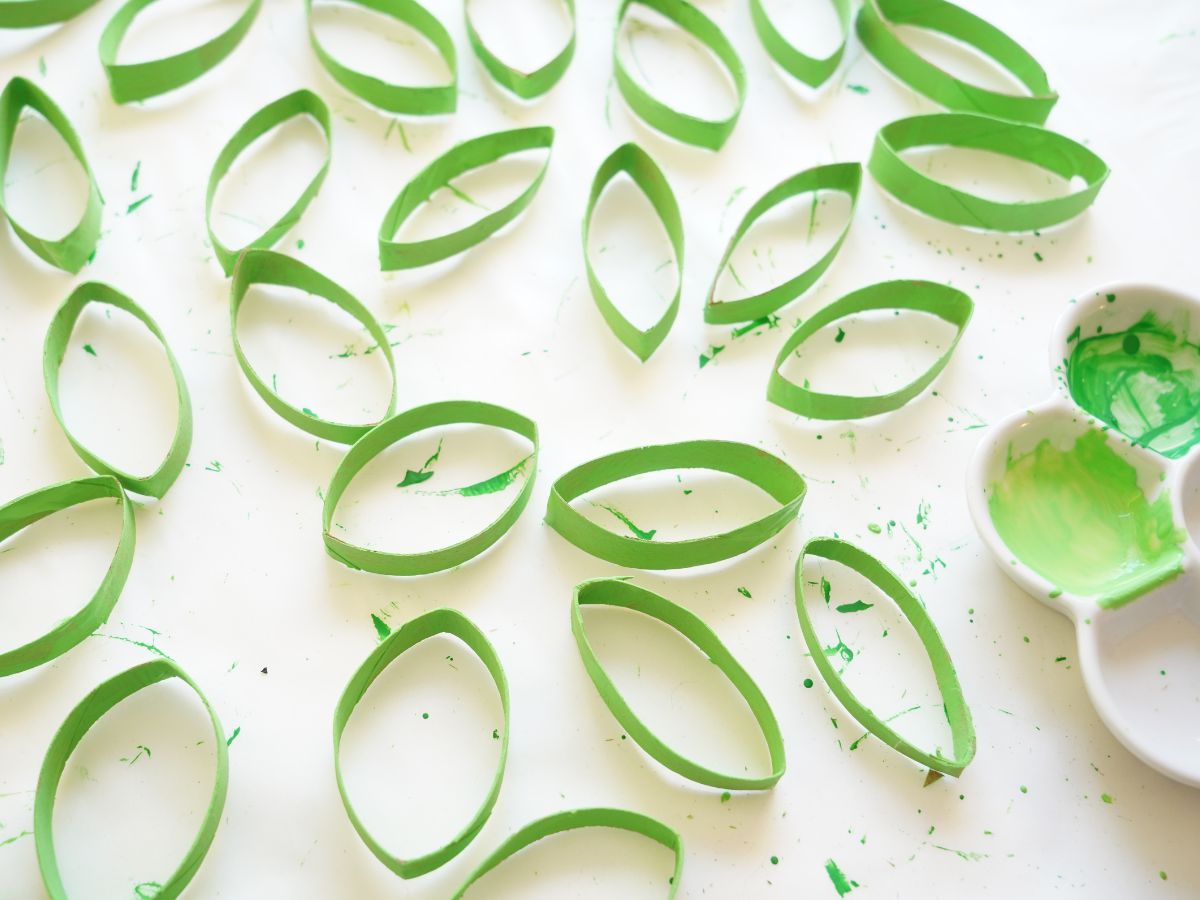
You will need to paint at least two coats of paint to get the rich color.
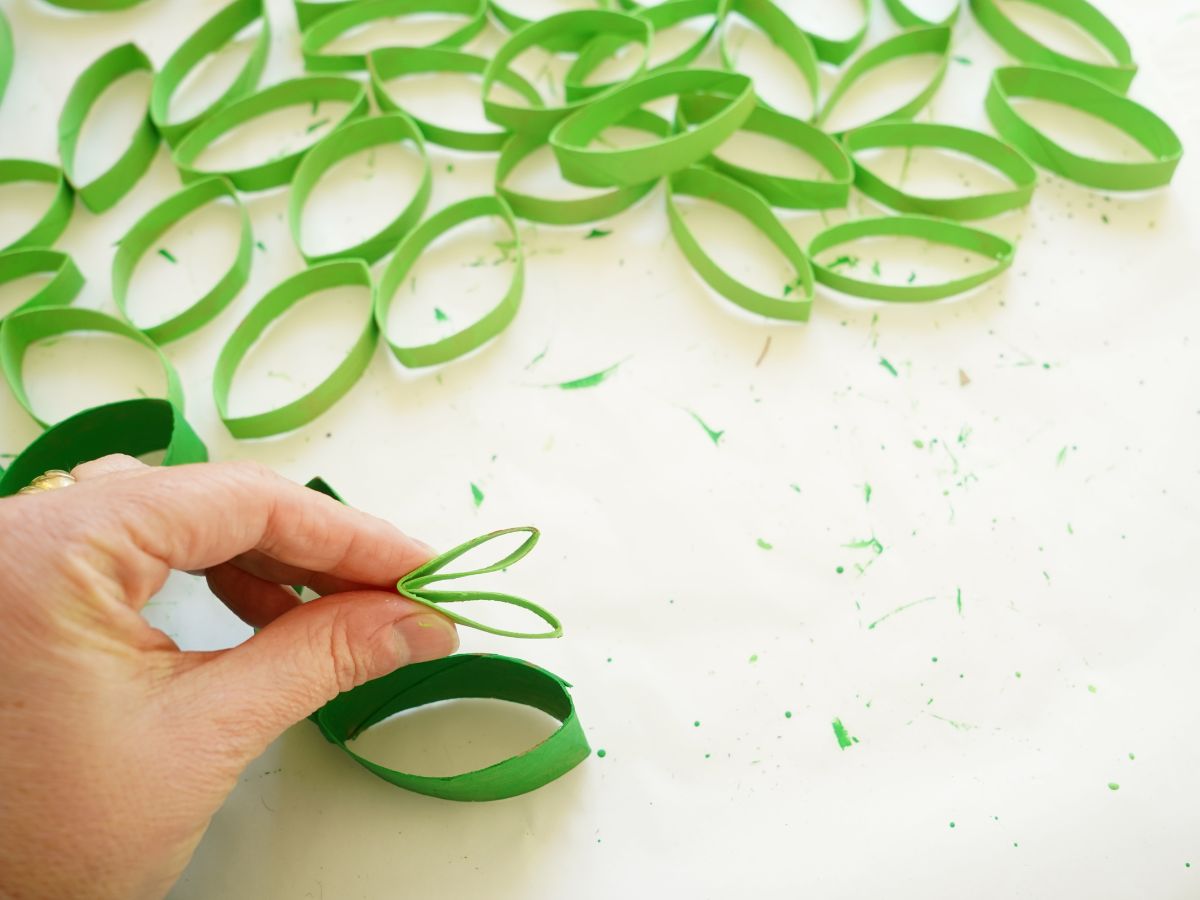
When all the paint has dried, it's time to glue together the leaves. Start by gluing the bottom third of two of the 1-inch pieces together. Then, it's time to add the inner ½ inch pieces.
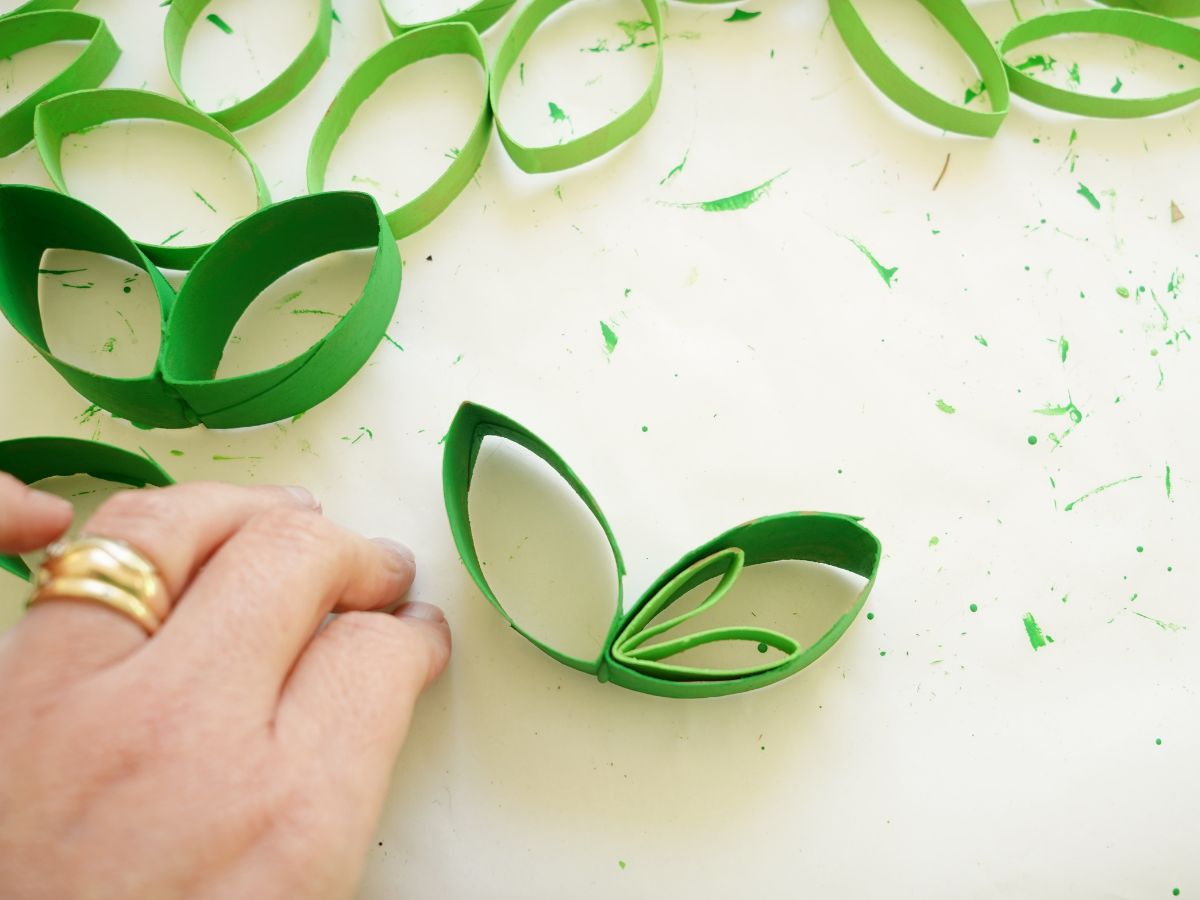
Simply fold those pieces in half and pinch a fold into them. Then use the glue gun to adhere them inside the larger leaf. I added a little dollop of glue to the bottom point of the leaf. Work through all the leaves.
Now, it's time to assemble the wreath. It is important that you place all the leaves in place all the way around the wreath - without gluing them down. This is to make certain that you have enough leaves and to determine how you want to place them around the wreath base.
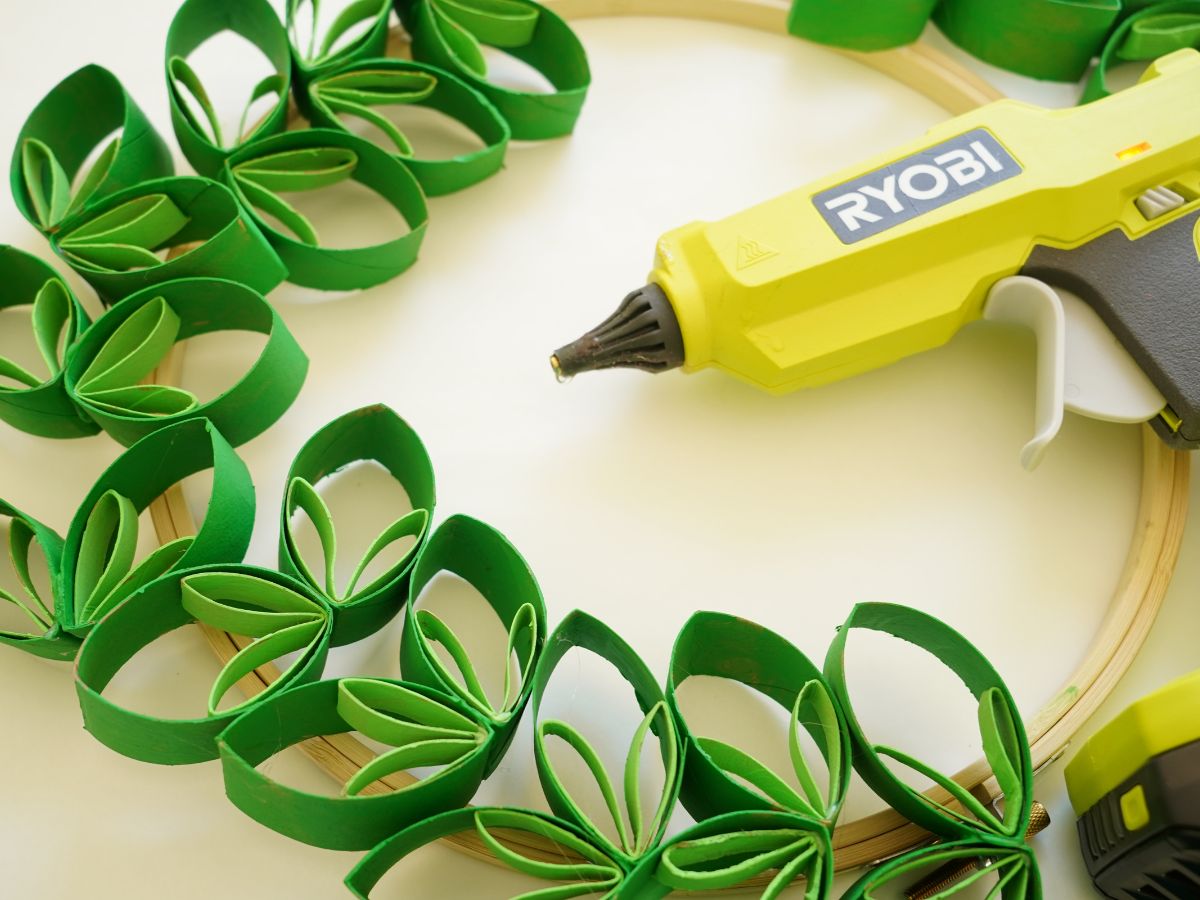
When you have done a dry run, it's time to use the hot glue gun to adhere the leaves to the base. Add a dollop or line of glue to the wreath base. Press the leaf into the glue and hold in place for a few seconds, until the glue is secure.
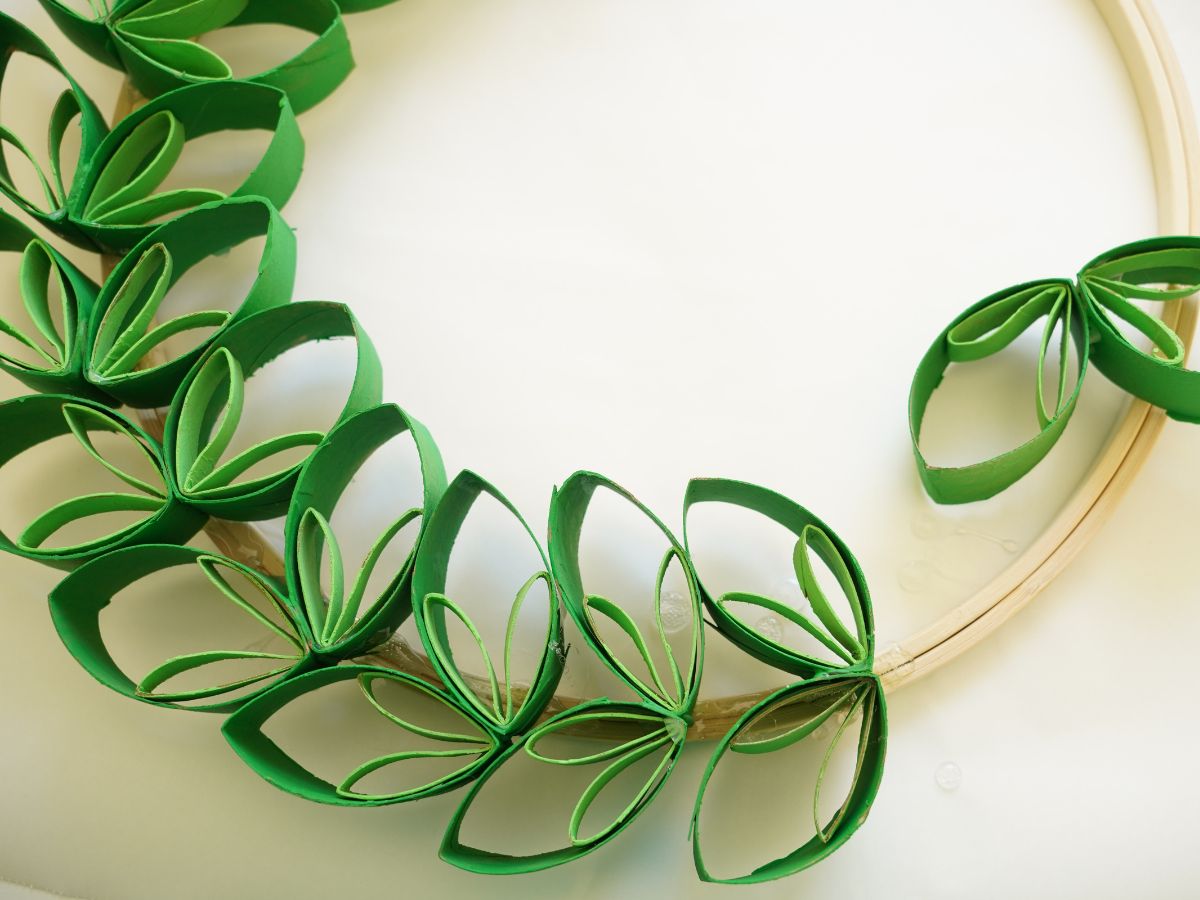
When you add the next leaf, repeat the same process. You might also want to glue the leaves to each other. Depending on how you'd like your leaves to look. Because you are working in a circle, it's important to keep checking that the leaves are making the bend around the circle.
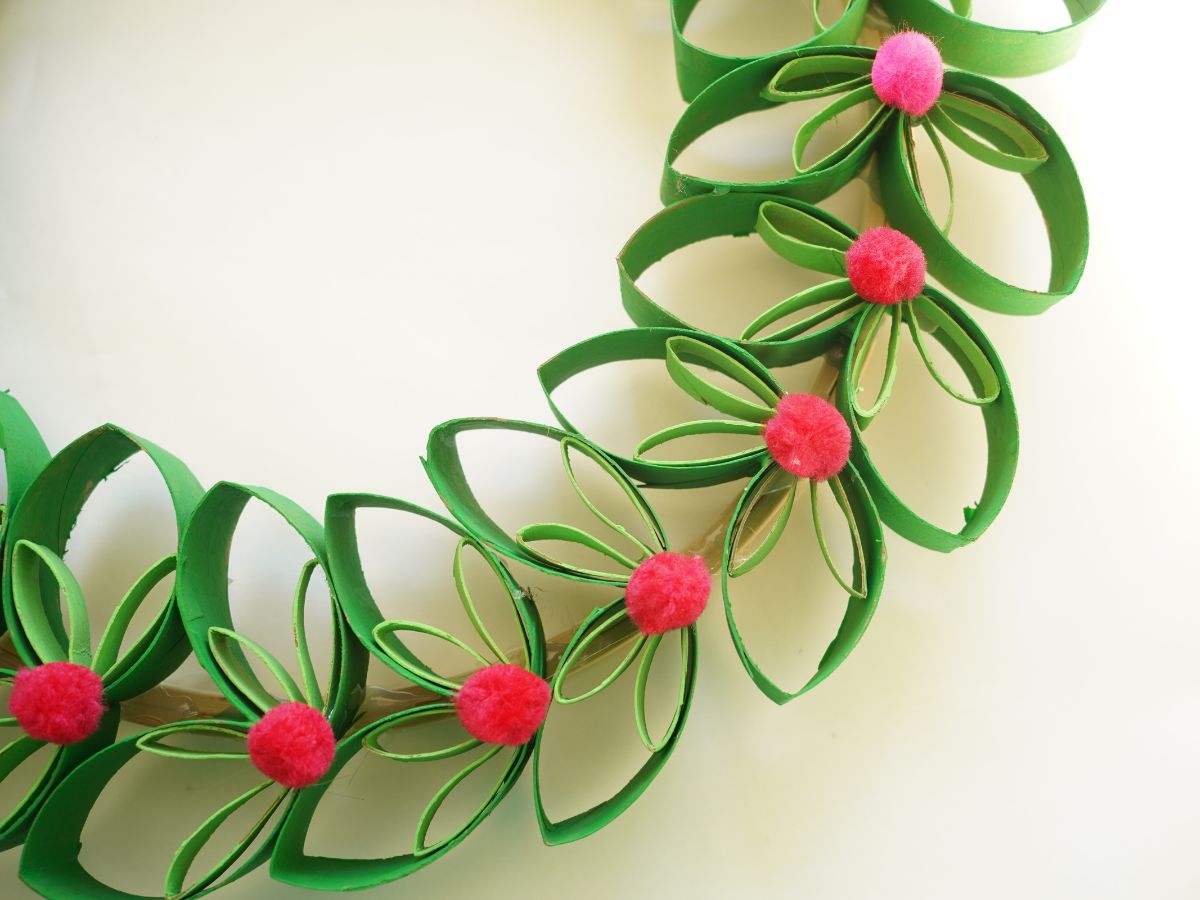
Once you've made your way around the entire wreath, it's time to add the little pom pom berries. I found pinky-red pom poms that I love. Again, use the hot glue gun to adhere the berries to the point of each leaf. This will hide the spot where the leaves come together and add a little pop of red.
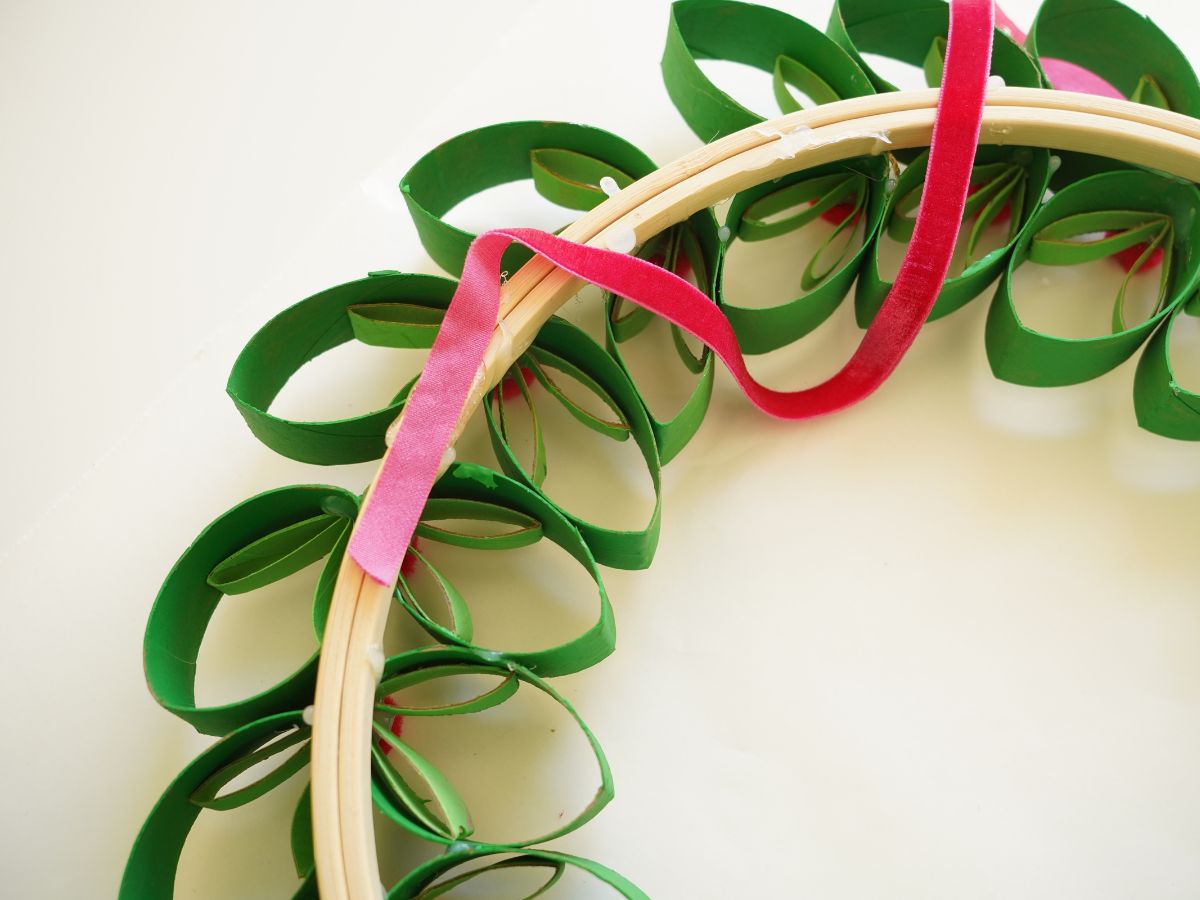
You could simply hang your wreath as it is. Or, you could add a length of ribbon to hang the wreath from. If you want to add a length of ribbon, flip the wreath over. Glue the end of the ribbon to the upper side of the embroidery hoop. I knew that I wanted to hang my wreath on our front door, so I measured how long I would need the length of ribbon to be before cutting and gluing it in place.
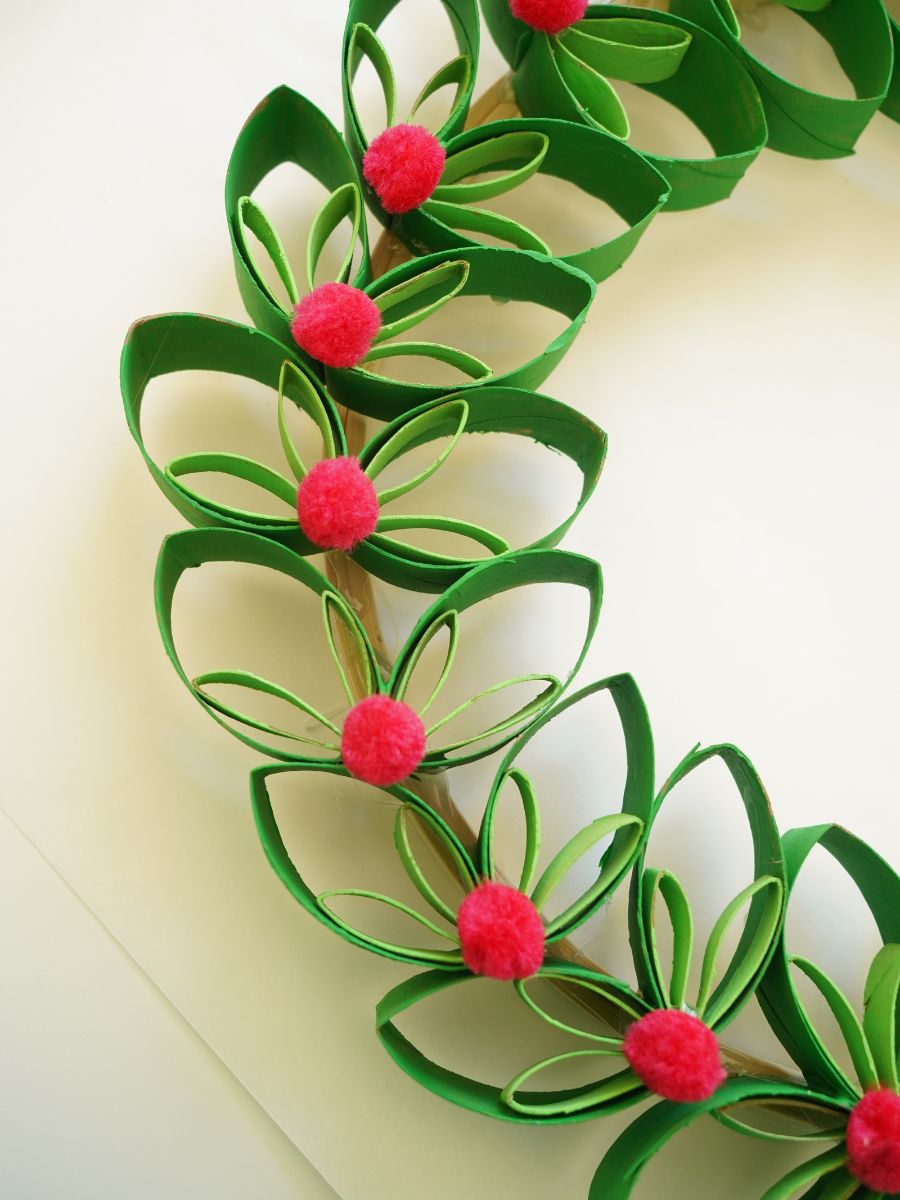
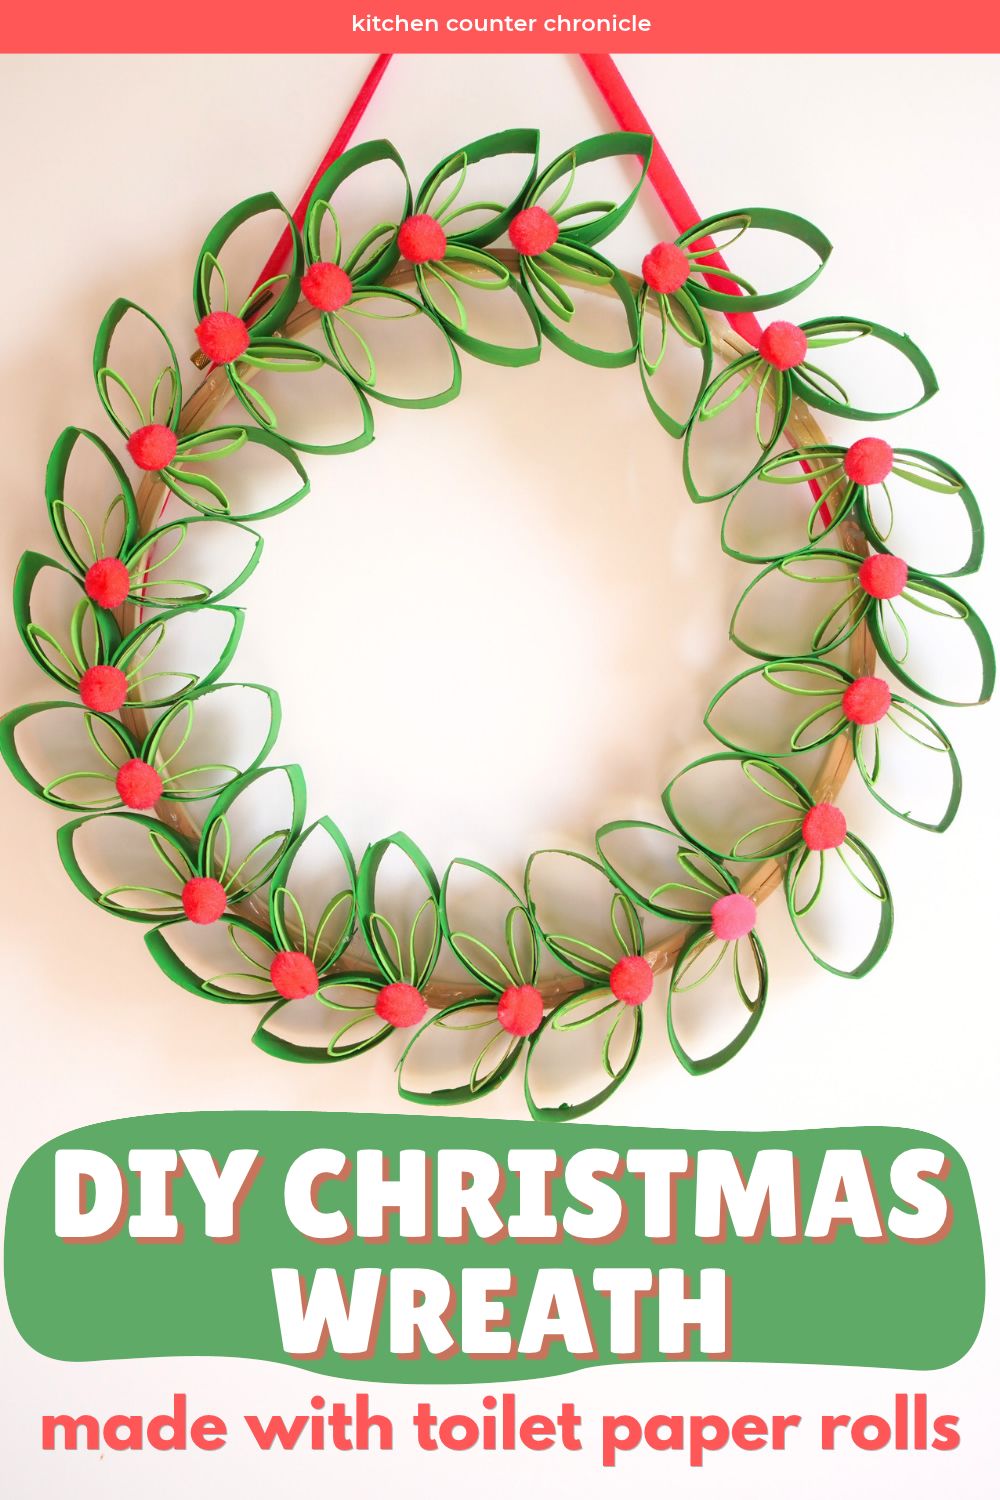
Once the wreath is complete, hang it up and enjoy. I really think this toilet paper wreath is beautiful. It is a creative craft that older kids and adults could make.
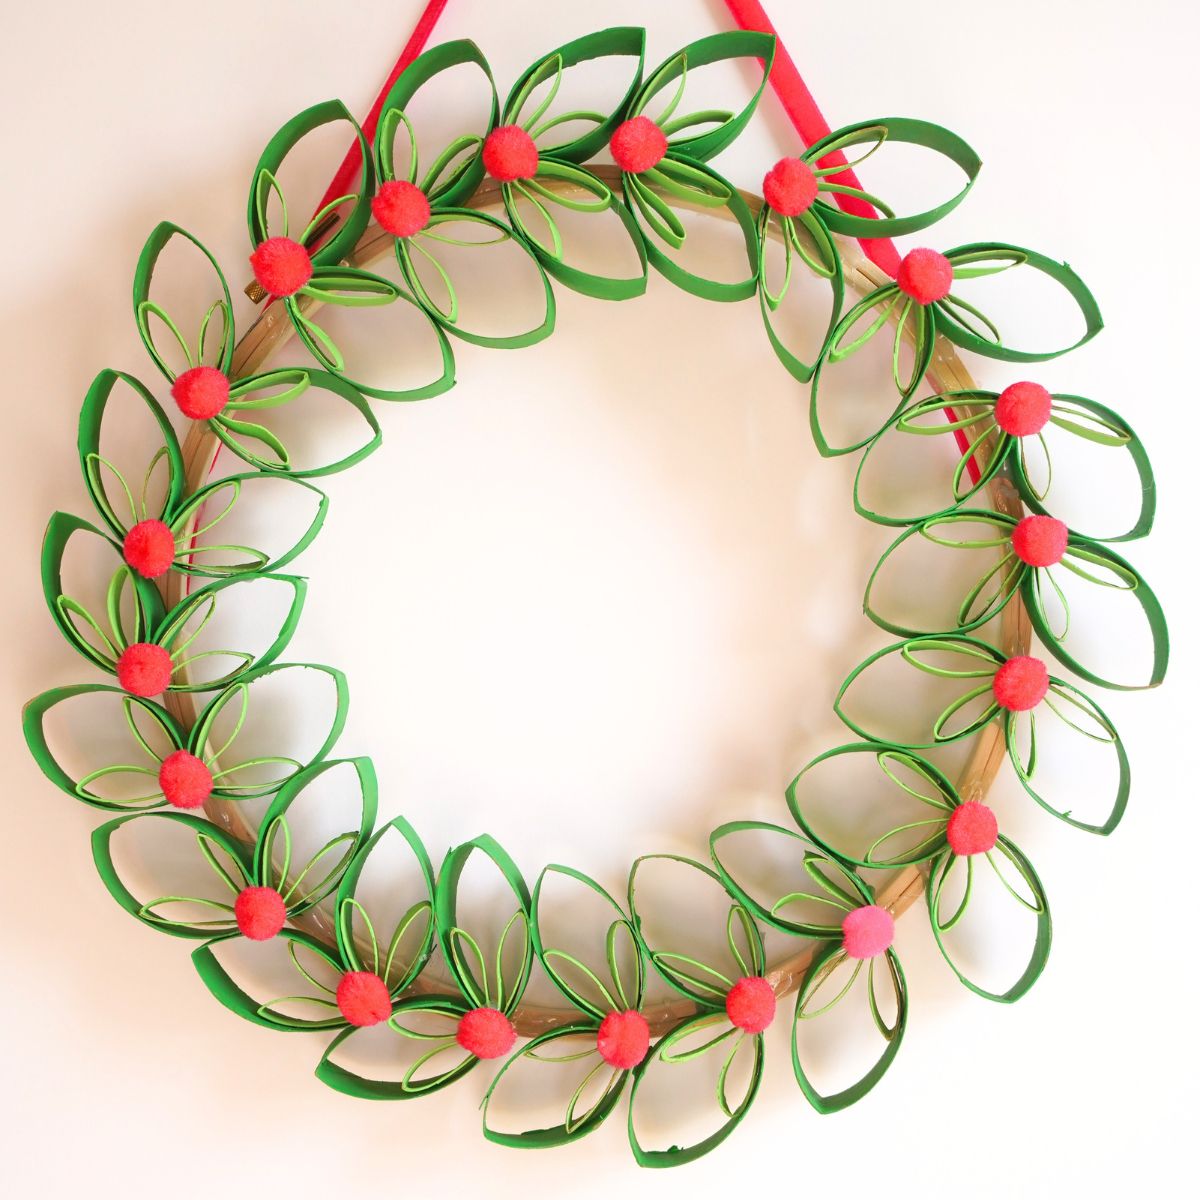
I don't think anyone will guess that you made this amazing Christmas wreath from toilet paper rolls.
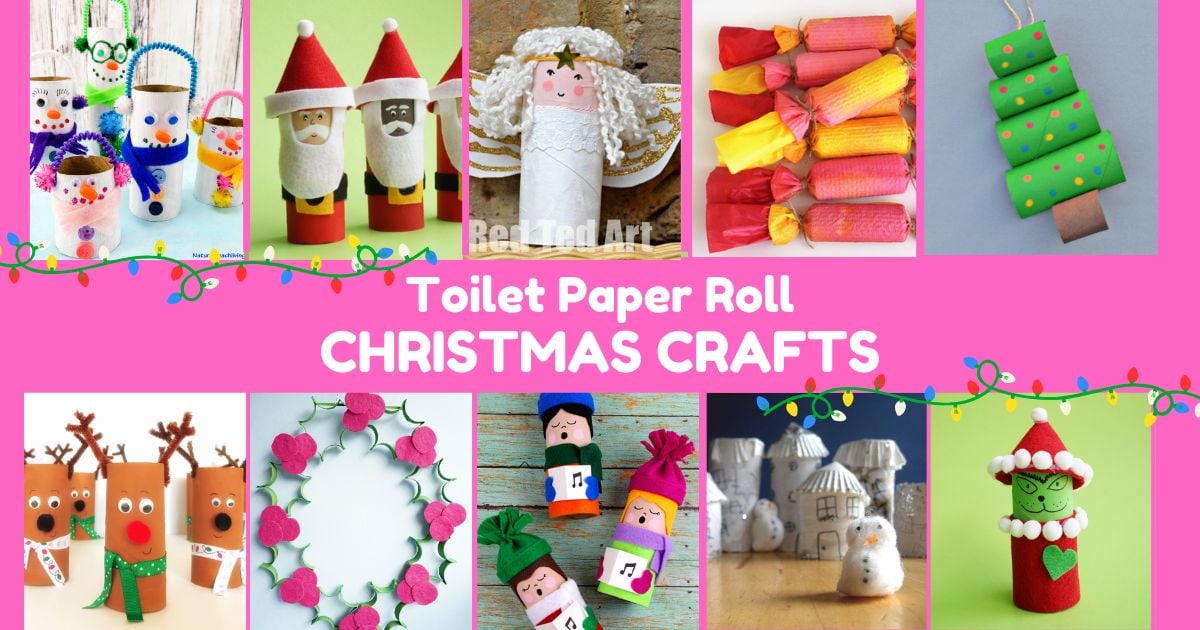
Check out all of our toilet paper roll Christmas craft projects
Make sure you are following along...
FOLLOW KITCHEN COUNTER CHRONICLES ON
SUBSCRIBE TO KITCHEN COUNTER CHRONICLES TO HAVE OUR DELICIOUS RECIPES, FUN CRAFTS & ACTIVITIES DELIVERED DIRECTLY TO YOUR INBOX.
Leave a Reply