

Let it snow, let it snow, let it snow.
Welcome to Day 15 of the Creative Christmas Countdown...it's my turn! Participating in Creative with Kids' Creative Christmas Countdown is an absolute honour. If you are a first time visitor, welcome. If you are a returning visitor, welcome back.
Here in Toronto, Canada, if we cross our fingers and make a Christmas wish we might just have a white Christmas. There really is something magical about a snow covered Christmas morning. Fortunately, in our house we have a back up plan...paper snowflakes!
My daughter's and I have been reading some of our snowiest books to prepare ourselves for our snowflake creating, looking for inspiration on the pages of...
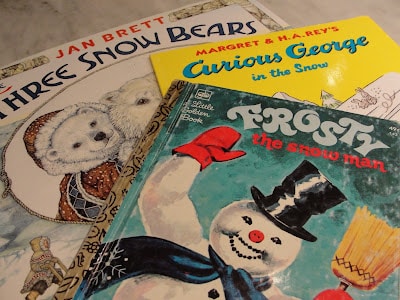
"Three Snow Bears" by Jan Brett, "Curious George in the Snow" by Margaret & H.A. Rey,
"Frosty the Snowman" a Little Golden Book
Now it's time to make some snowflakes...here is what you will need.
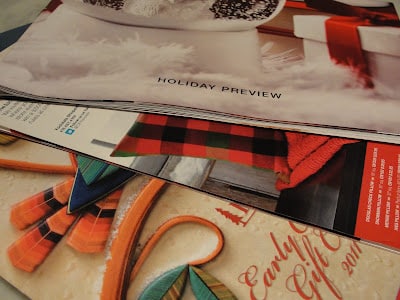
Christmas magazines, catalogues
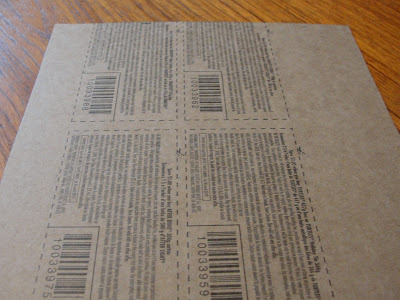
cereal box
ruler
pencil
origami paper
scissors, kid scissors
1. Draw an 8" square on the cereal box and cut it out...this is your template HOT TIP: you can make a smaller or larger square if you like...the key is it MUST be square.
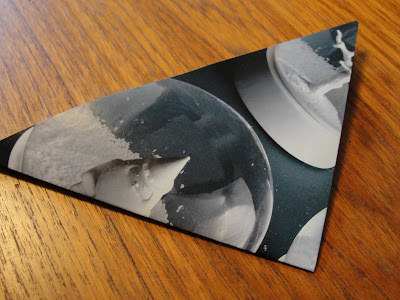
2. Rip colourful pages from your old magazines and catalogues..we looked for pages that had lots of red and white on them...you can also use origami paper or plain white paper if you like.
3. Trace the square template onto the paper - then cut it out.
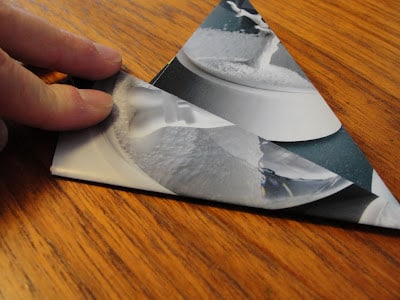
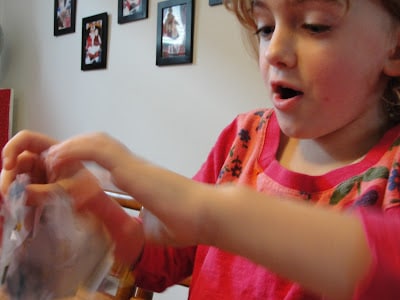
4. Fold the paper in half, creating a triangle shape. Depending on the thickness of the paper you are using, the folding can be done either by your child or an adult...my 5 year old daughter could fold the thinner origami paper - not the thickest magazine pages.
5. Fold the paper in half again, creating a smaller triangle shape
6. Fold the triangle into thirds...this may take a couple of tries...the folded sides need to all meet and create a tightly folded triangle
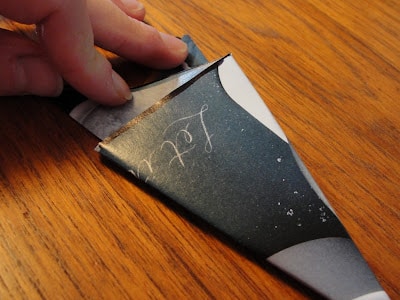
7. Trim the excess ends off the top...the "tail" pieces.

8. Now the creating begins...cut pieces away from the triangle, however you like...it's time to experiment.
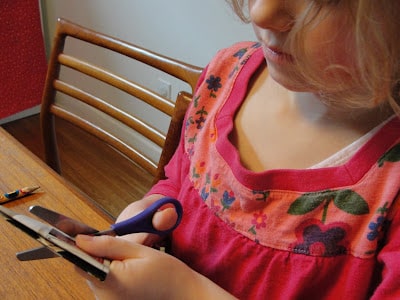
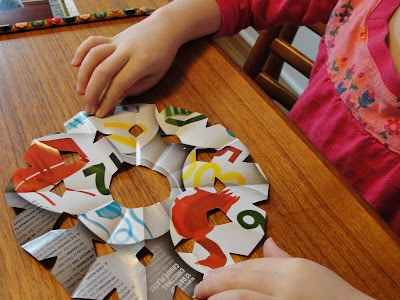
9. When all the cutting is done, open the folds and look at the beautiful, one of a kind, snowflake you have made. Can you see the excitement on my daughter's face as she opens her first flake! She had the same reaction with each flake she made!
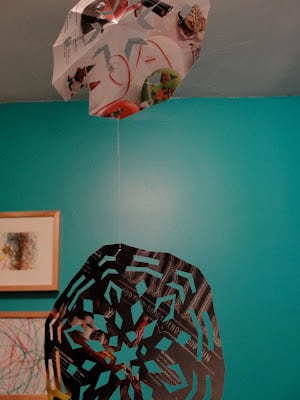
So, now the question is what to do with all of these snowflakes, we have a lot of snowflakes!? Since my girls made a variety of sizes we were able to use them in many different ways. We used thread to string some together and created a trail of snowflakes to hang from the light in our front entranceway.
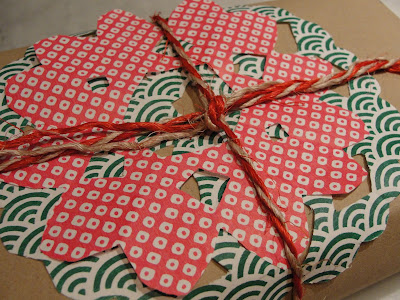
We used a few snowflakes to decorate gifts that are wrapped with simple craft paper.
We even taped some together to make a garland for our Christmas tree.

I hope you have fun creating your own winter wonderland! I would love to hear how you would display your snowflakes!
Only 9 days left to go in the Creative Christmas Countdown...be sure to follow along here. I can't wait to see what tomorrow's activity will be from Living at the Whitehead's Zoo!
RedTedArt says
Oooh these turned out so pretty 🙂
cathy@nurturestore.co.uk says
Lovely! I especially like the idea of adding them to gift wrap.
Jill @ A Mom With A Lesson Plan says
I love that you used magazine pages... they made gorgeous snowflakes! Sad to say we have a pile of snowflakes waiting to be hung. You have inspired me to get creative and start displaying these beauties!
KitchenCounterChronicles says
Thanks for stopping by...snowflakes everywhere!!
Emma @sciencesparks says
They are beautiful!
Laura @Art For Little Hands says
Those are really cool. I like how you put some on presents. So fun. Snowflakes are one of my favorite art projects!
Brooke @ Let Kids Create says
Great ideas! Never thought of using magazines or anything other than white for that matter.
Angelique Felix says
So easy to make and yet so magical! Beautiful!!
Toddler Approved says
Love the colors!! I need to do this! They turned out great!
Aleacia says
I love how colorful your snowflakes are! We always do white paper or coffee filters but I think we'll have to try some colorful ones as well 🙂
~Aleacia
JDaniel4's Mom says
This is a great way to upcycle magazines!
KitchenCounterChronicles says
Thanks for the comments ladies! Funny, we never make our snowflakes with white paper...we only use colourful paper!
Mama Pea Pod says
These are lovely, Jen, and what creative ways to use them. I love the ones wrapped around the gift!
KitchenCounterChronicles says
Thanks Jane, there will be a homemade snowflake on every gift this year.