
Welcome to spring break! It's Monday morning and you have a whole week ahead of you...what to do? This creative shamrock and rainbow spring collage art project is a fun place to start.
If you are like us, then spring break is a family staycation. We don't usually plan a trip away. Staying home can be as much fun as taking a trip, if you do a little planning and preparing. I especially love planning lots of art and craft projects.
Over the years I have found that creative art projects are engaging for kids of all ages. In the spirit of St.Patrick's day, and the coming spring weather, we decided to make rainbows and shamrocks.
Shamrocks and Rainbows Collage Art Project
old magazines
scissors
glue stick
markers
construction paper
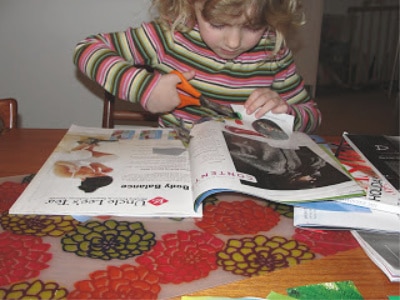
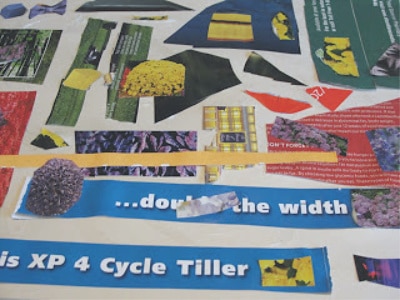
The first step is cutting out all the colours of the rainbow from old magazines - and lots, and lots of green for those shamrocks. This is a great way for your kids to practice their scissor skills.
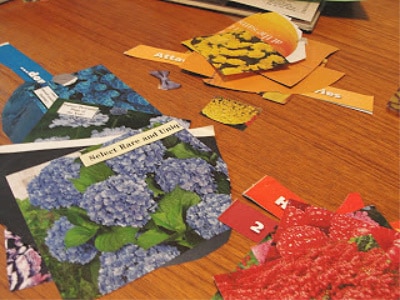
Remember to cut out all the colours of the rainbow - red, yellow, orange, green, blue, indigo (dark purple/blue) and violet (lighter purple). Sort clippings into piles according to their colour.
Now, to make a shamrock...
Use the glue stick to adhere all of the green clippings to a sheet of construction paper. Pile up the green clipping in any way you like. The construction paper should be a heavier weight paper, to give your shamrock structure.
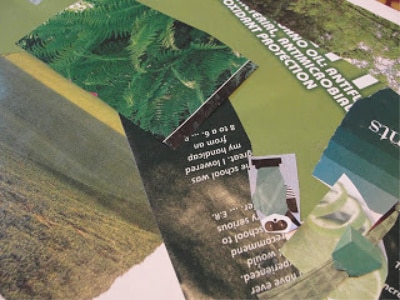
Keep gluing until the entire piece is covered.
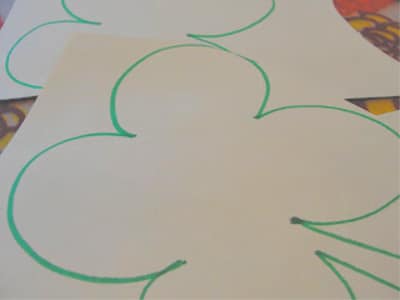
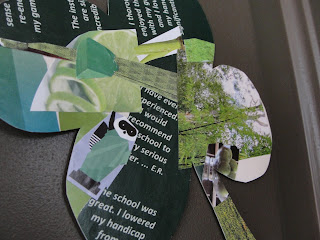
Once all the gluing is done, turn over the construction paper and draw a shamrock on the backside of the construction paper. You can free hand the shamrock or use our printable shamrock template. Make as many shamrocks as you like and whatever size you like. You could also use a shamrock shaped cookie cutter as a template, if you happen to have one.
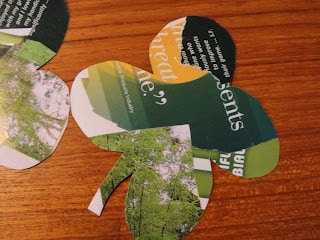
When the glue has dried, it is time to cut out the shamrocks. Flip over the paper and take a look at the colourful collage art. We used painters tape to stick our shamrocks to our door.
Now, let's make a collage rainbow
Use the glue stick to adhere your colourful rainbow coloured clippings to another sheet of construction paper.

Now, for the rainbow things can get a little creative. Glue the rainbow coloured clippings in any pattern you like. Totally random and overlapping or in a particular design. Whatever you and your kiddo likes.
Once the clippings are glued it's time to decide how you would like to interpret and cut out your rainbow.
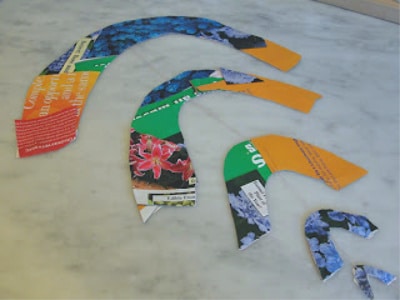
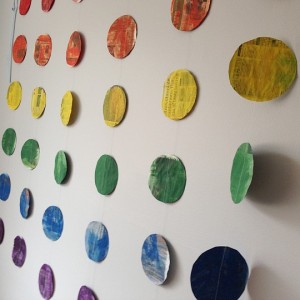
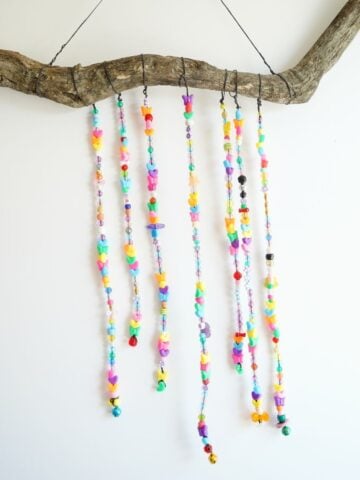
My eldest daughter decided she wanted to make traditional arch shaped rainbows. So, we cut out the arches and then used thread to join the rainbows together. Her rainbows became a spring mobile we could hang.
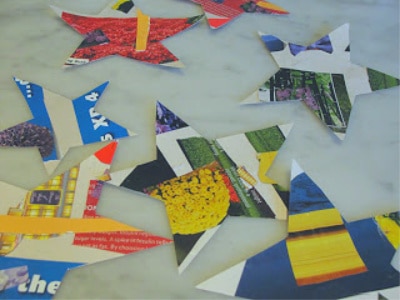
On the other hand, my youngest daughter decided to she wanted to do something totally different, and make rainbow coloured stars. We simply drew a whole bunch of star shapes on the back of the construction paper and cut them out. We had a night sky filled with rainbow coloured stars.
As you can see the steps in this project can easily be competed by children of any age. Older kids can get a little more creative with their designs. Perhaps something 3D would be cool to make.
Whatever your kids decide to create, they are going to have fun.
What will a rainbow look like to your kids?
More fun with rainbows and shamrocks...

Bake a batch of these gorgeous rainbow shamrock cookies...as yummy as they are beautiful
How fun is this colourful rainbow bunting - painted newspaper never looked so good!
Make sure you are following along...
FOLLOW KITCHEN COUNTER CHRONICLES ON
SUBSCRIBE TO KITCHEN COUNTER CHRONICLES TO HAVE OUR DELICIOUS RECIPES, FUN CRAFTS & ACTIVITIES DELIVERED DIRECTLY TO YOUR INBOX.
maryanne @ mama smiles says
What a great craft! I love that you let your youngest make stars, even though that was not originally part of the project.
Thanks for sharing with Learning Laboratory at Mama Smiles =)
pink and green mama MaryLea says
Love these re-cycled crafts-- sharing with my daughter's teacher, she's on the hunt for some new fun projects! Thanks for linking up and sharing!!!
Warmly,
Pink and Green Mama
MaryLea
Mom to 2 Posh Lil Divas says
thank you for sharing this fun craft idea on the Sunday Showcase. I too love when you can recycle materials and make something new. I have featured this on this week's linky.