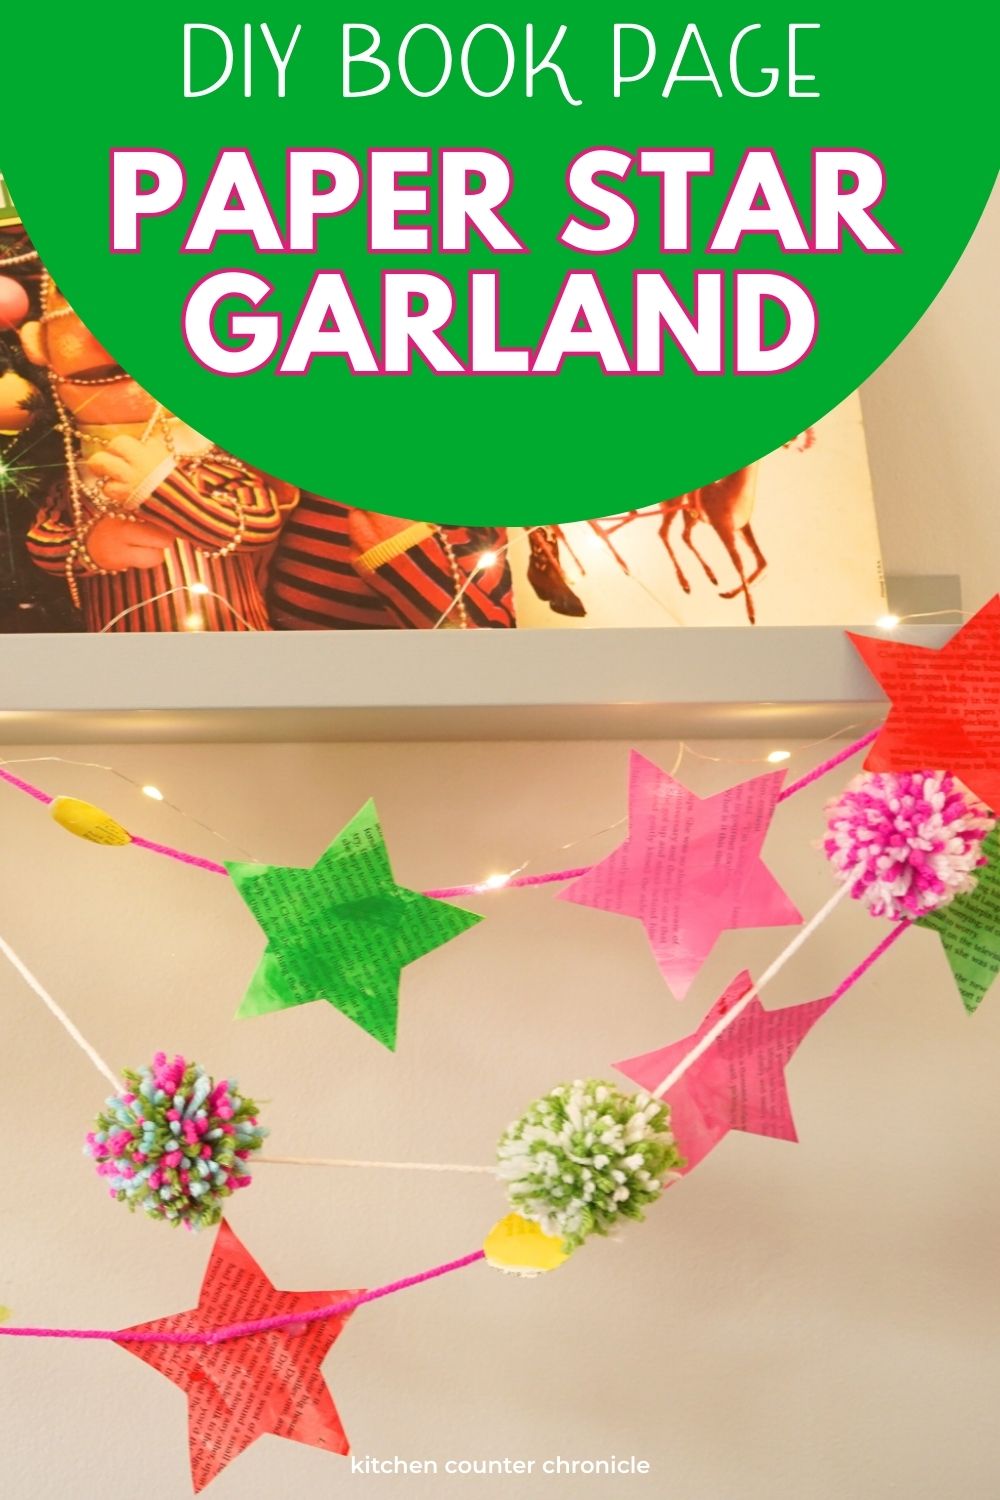
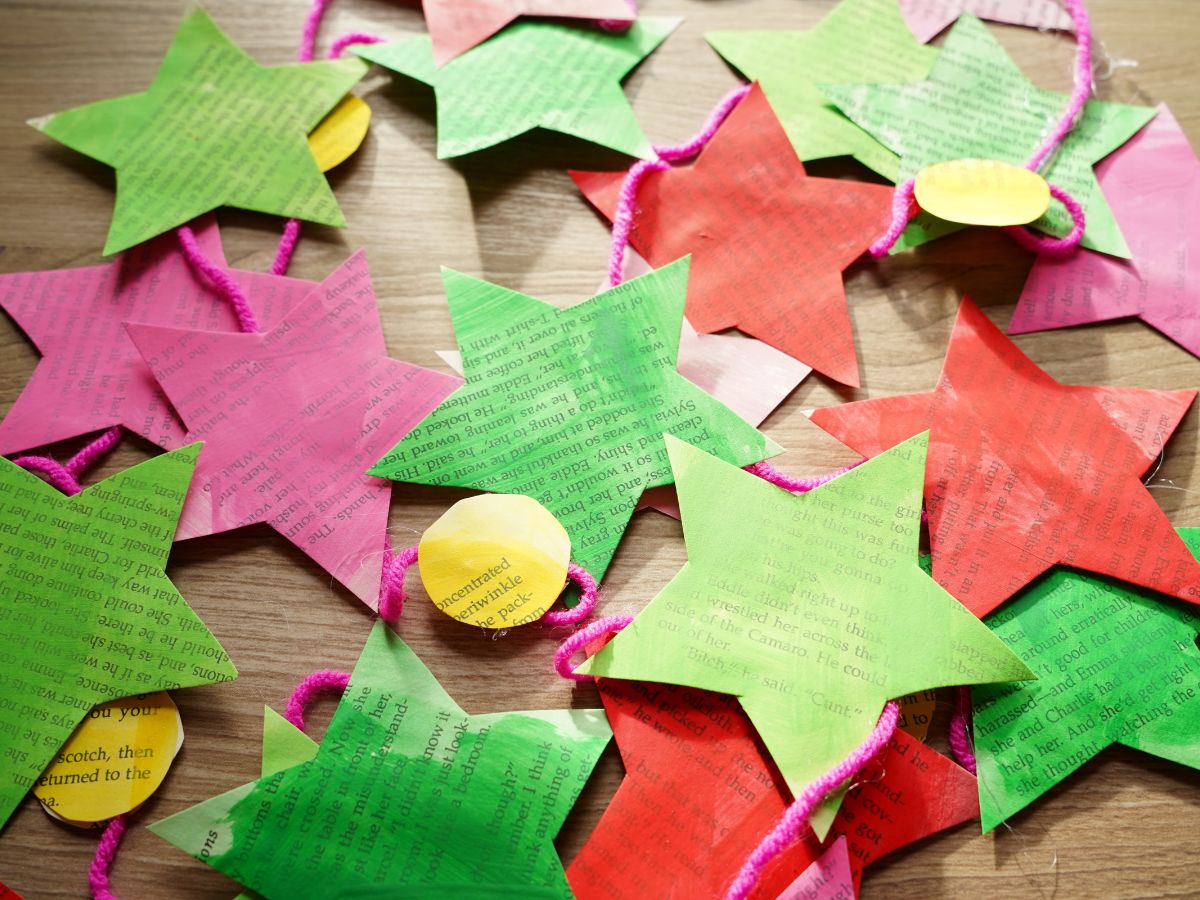
This was really fun to make. I love a holiday garland. Truth be told, I have pom pom garlands hanging all around my house all year round. I love a fun DIY garland. For this paper star Christmas garland, I decided to give an old book a whole new life and created a colorful book page star Christmas garland.
Disclosure: There are Amazon Affiliate links in this article which means, at no additional cost to you, we could receive compensation for our recommendations. You can read our full disclosure policy on our Disclosure Page for more details.
When my mom passed away, over 15 years ago, I inherited hundreds of books. And, while I have read many of them, there is no way I can read them all. So, I love finding ways to repurpose these books. For this craft project, I did just that. I pulled an old book - from the 80s - off the shelf and put it to good use. If you don't have a few hundred spare books lying around your house, you can always head to the thrift store and pick up an old hardcover book for a few cents.
The benefit of using a hardcover book is that the pages tend to be more sturdy than those of paperback books. We are going to paint these pages, so you want the pages to be thick enough to take the paint.
How to Make a Book Page Paper Star Garland
an old hardcover book
our printable star template sheet
acrylic craft paints
large craft paint brushes
a jar of water
scissors
strand of yarn

The first step in making this book garland is to remove the pages from the book. You can cut 3 stars from a typical hardcover book. So, try to pull the pages out fully intact. Set yourself up with a waterproof surface to work on. I put down a plastic tablecloth.
You will need to paint both sides of the pages. Painting one side of the pages at a time. To extend the paint, dip your brush into the jar of water and add a generous amount of water to a dollop of your paint. You will almost turn your acrylic paint into a watercolor paint consistency. This will help the layers of paint dry faster and you will ultimately use less paint. And, I like being able to see that the paper is from books. If the paint is too thick, you lose the look of the book pages. So, paint one side of each page, let it dry and then flip the pages and paint the other side. Then, when the second side has dried, you will want to flip it again and add a second coat to one side of the pages. The side that has two coats will be the "front" of the garland.
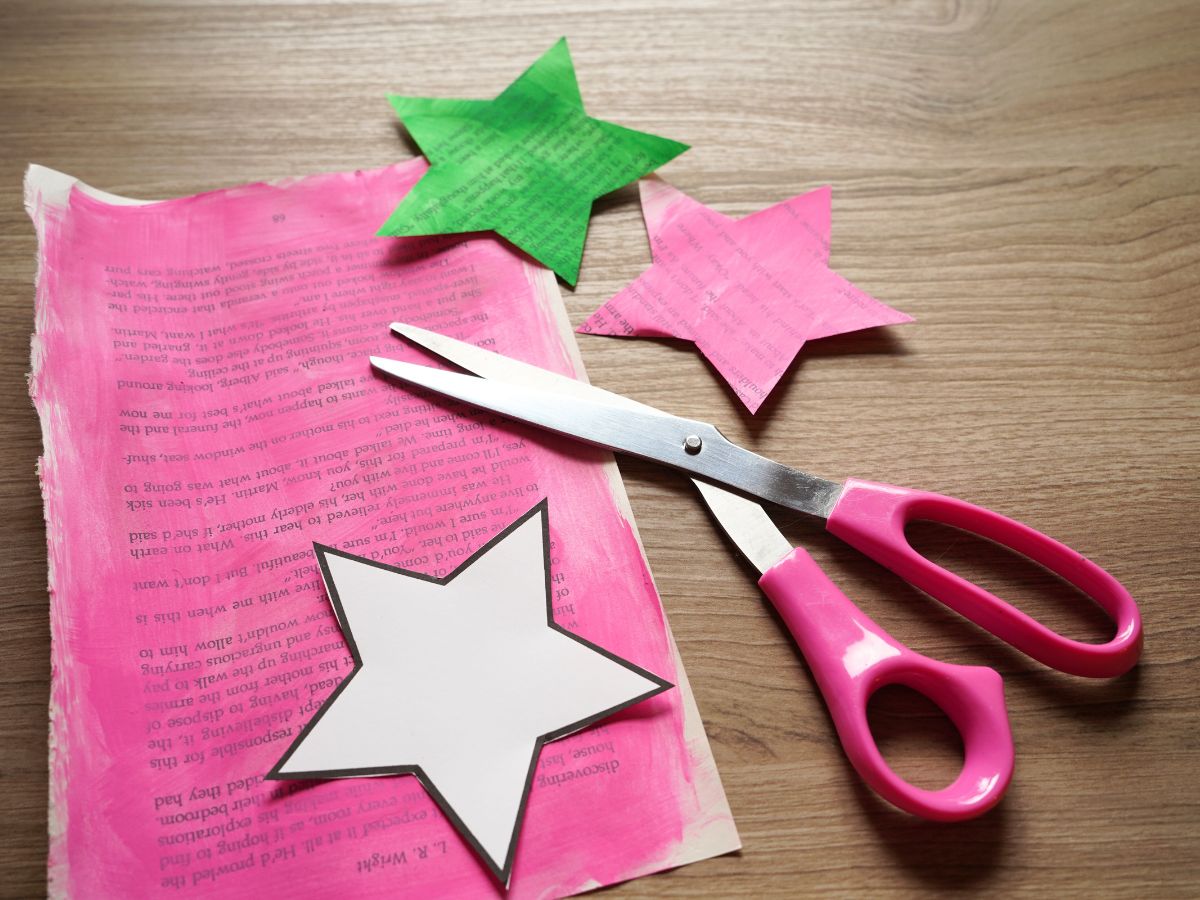
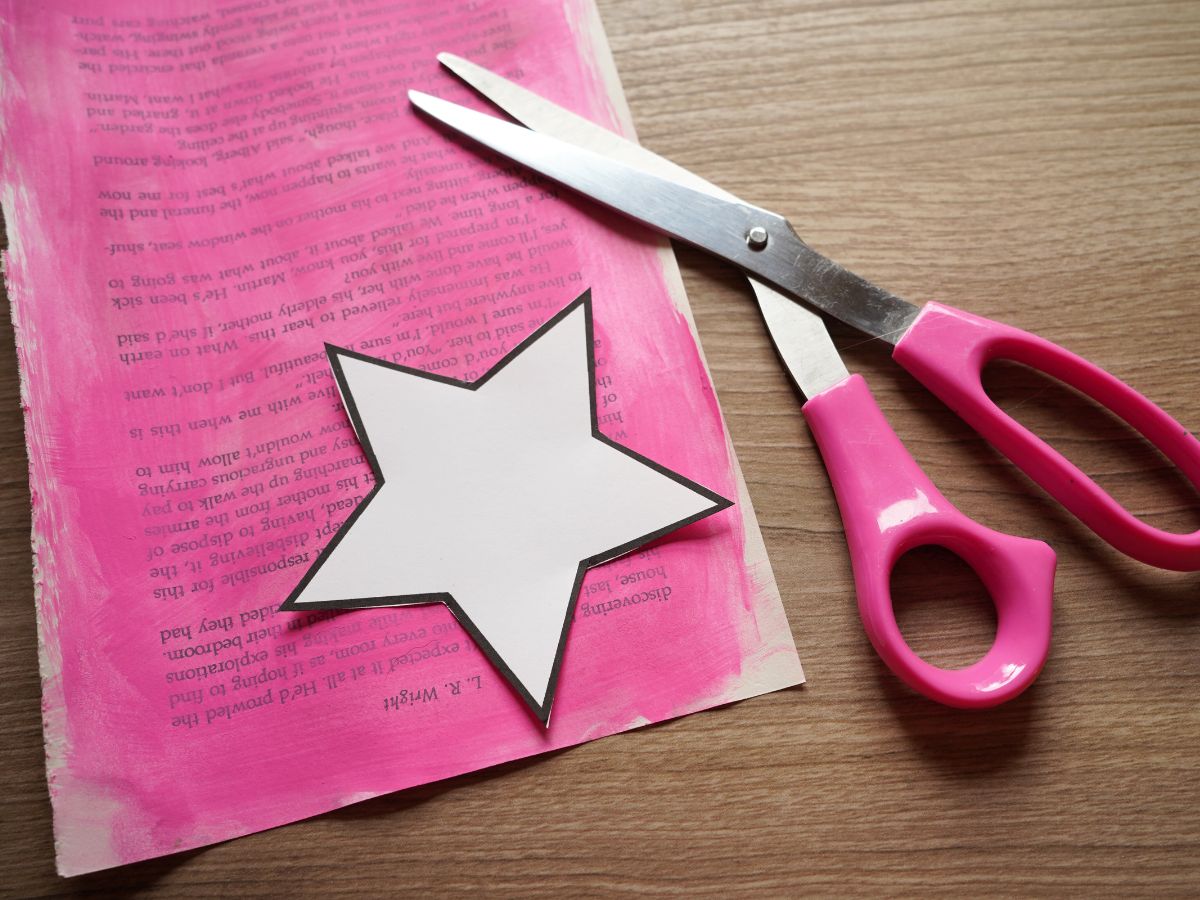
When all the pages have dried, print our star template and cut out the stars you want to use for your garland. The template has a few different star shapes. Trace the stars onto the book pages and cut them out. Book pages can be stacked and cut all at once. I was able to cut through 4 pages at a time.
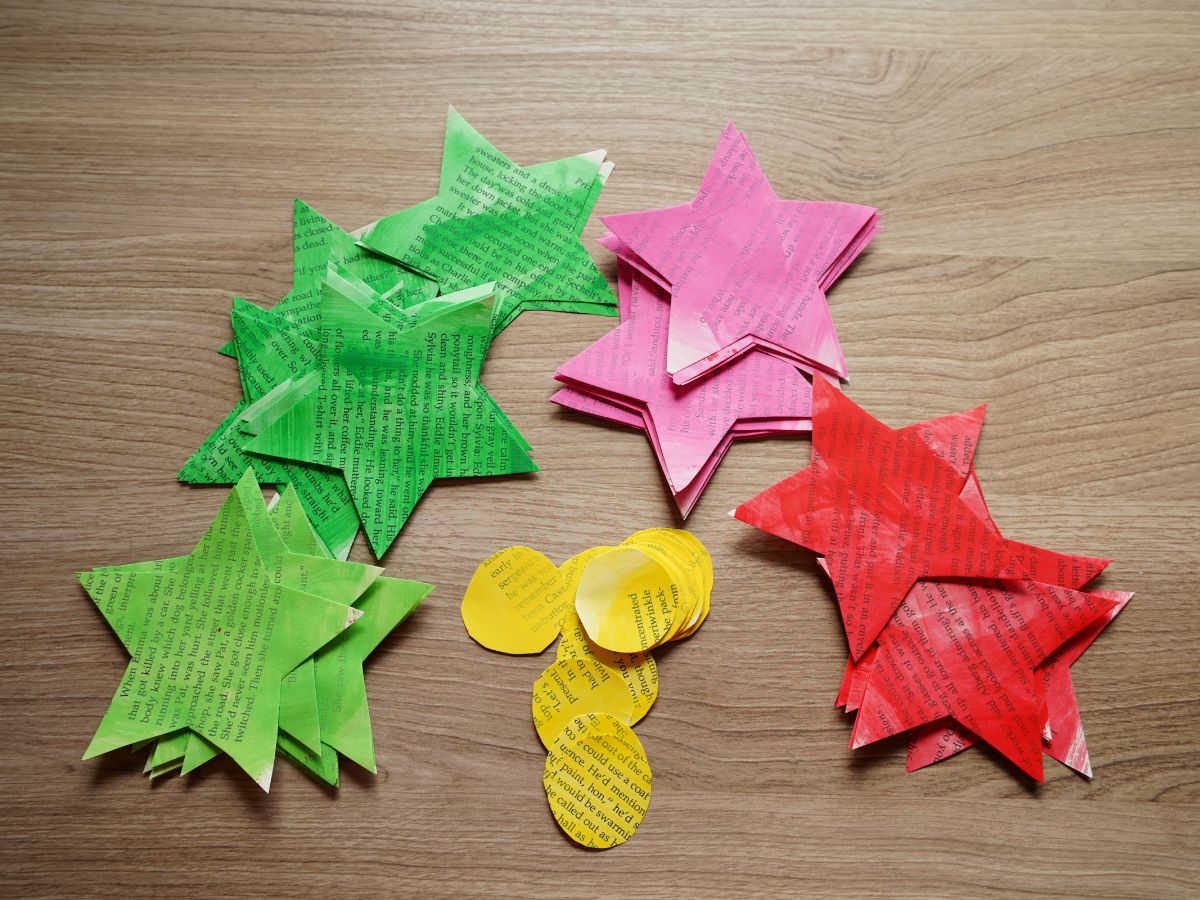
In addition to the stars, you will also want to cut out some circles. These circles will help break up the star garland a little. I chose to paint my circles yellow. I liked the contrast of the yellow. I just used my paint bottle as the circle template.

Once you have everything cut out, it's time to assemble the garland. Cut a length of yarn, the length will depend on where you plan to hang your garland. About 6'-7' is a good length. Run a bead of hot glue along the backside of your star. Push the yarn into this line of glue. Hold it there for a second, so the glue can dry a little. Now you have a choice, you can leave the stars single sided or you can add another line of glue and adhere another star to the back of the first star. Back to back stars are good for situations where the garland will be seen from both sides. If you aren't planning on needing to see both sides, or you don't mind the look of the glue on the back of your stars, you can use single stars. Then move on to the next star. Add as many stars as you like. Add in the yellow dots, too. Create your own pattern.
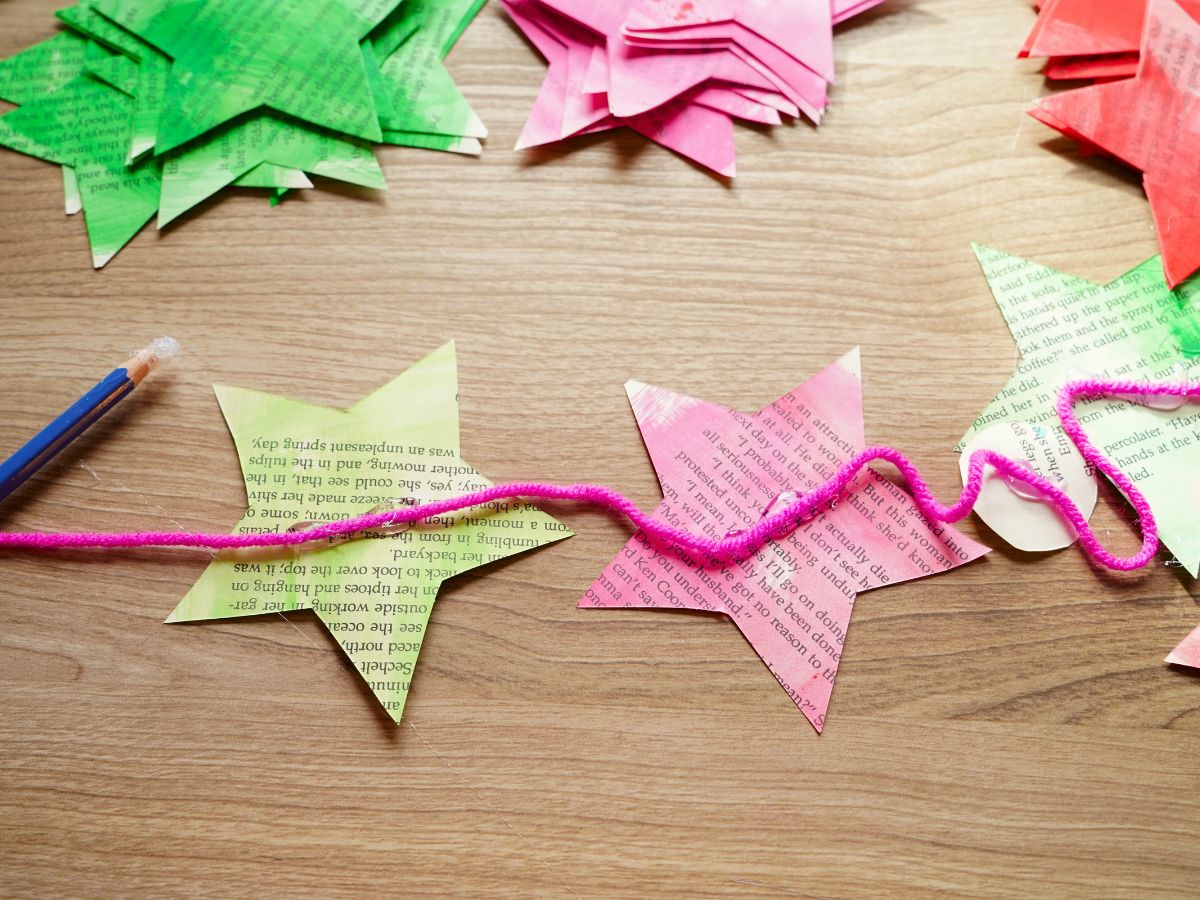
To finish the garland, simply tie a single knot at the end of the yarn, so the yarn doesn't unravel.
I will be hanging this garland on our record ledge in our living room. I'm pretty sure it will be hanging with one of my pom pom garlands. I like to layer my garlands. You could totally add this garland to your Christmas tree. And, it would be lovely strung along a stairwell.
I made my garland with bright pinks and greens. I also made my girlfriend a traditional red and green garland and it was lovely.
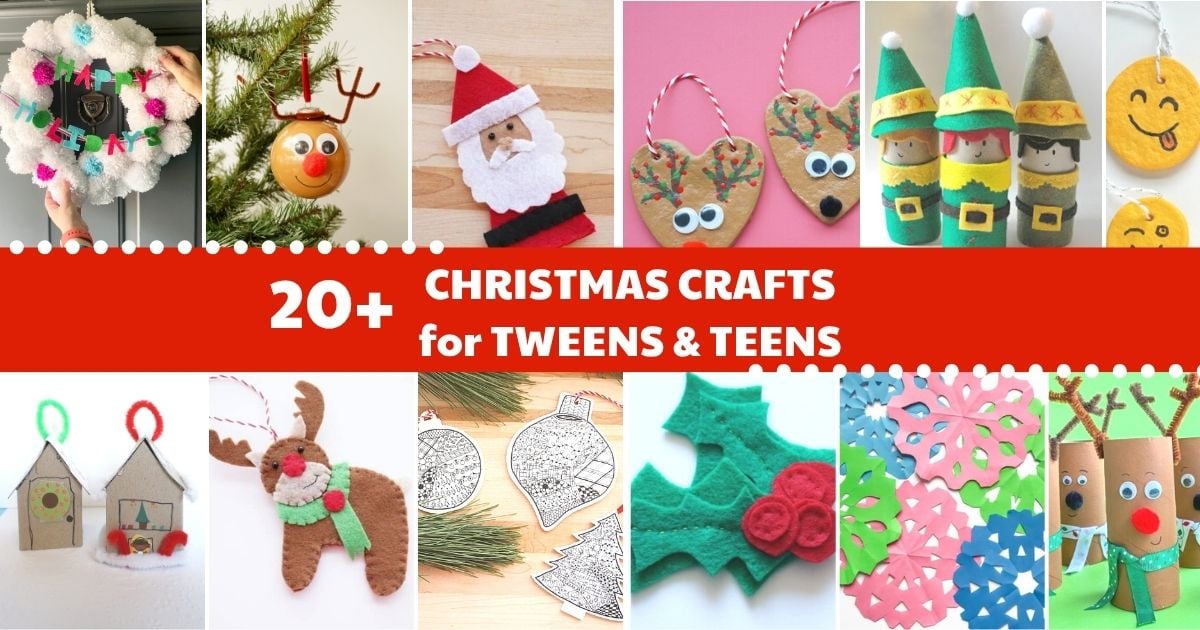
Check out all of our creative Christmas crafts
Make sure you are following along...
FOLLOW KITCHEN COUNTER CHRONICLES ON
SUBSCRIBE TO KITCHEN COUNTER CHRONICLES TO HAVE OUR DELICIOUS RECIPES, FUN CRAFTS & ACTIVITIES DELIVERED DIRECTLY TO YOUR INBOX.