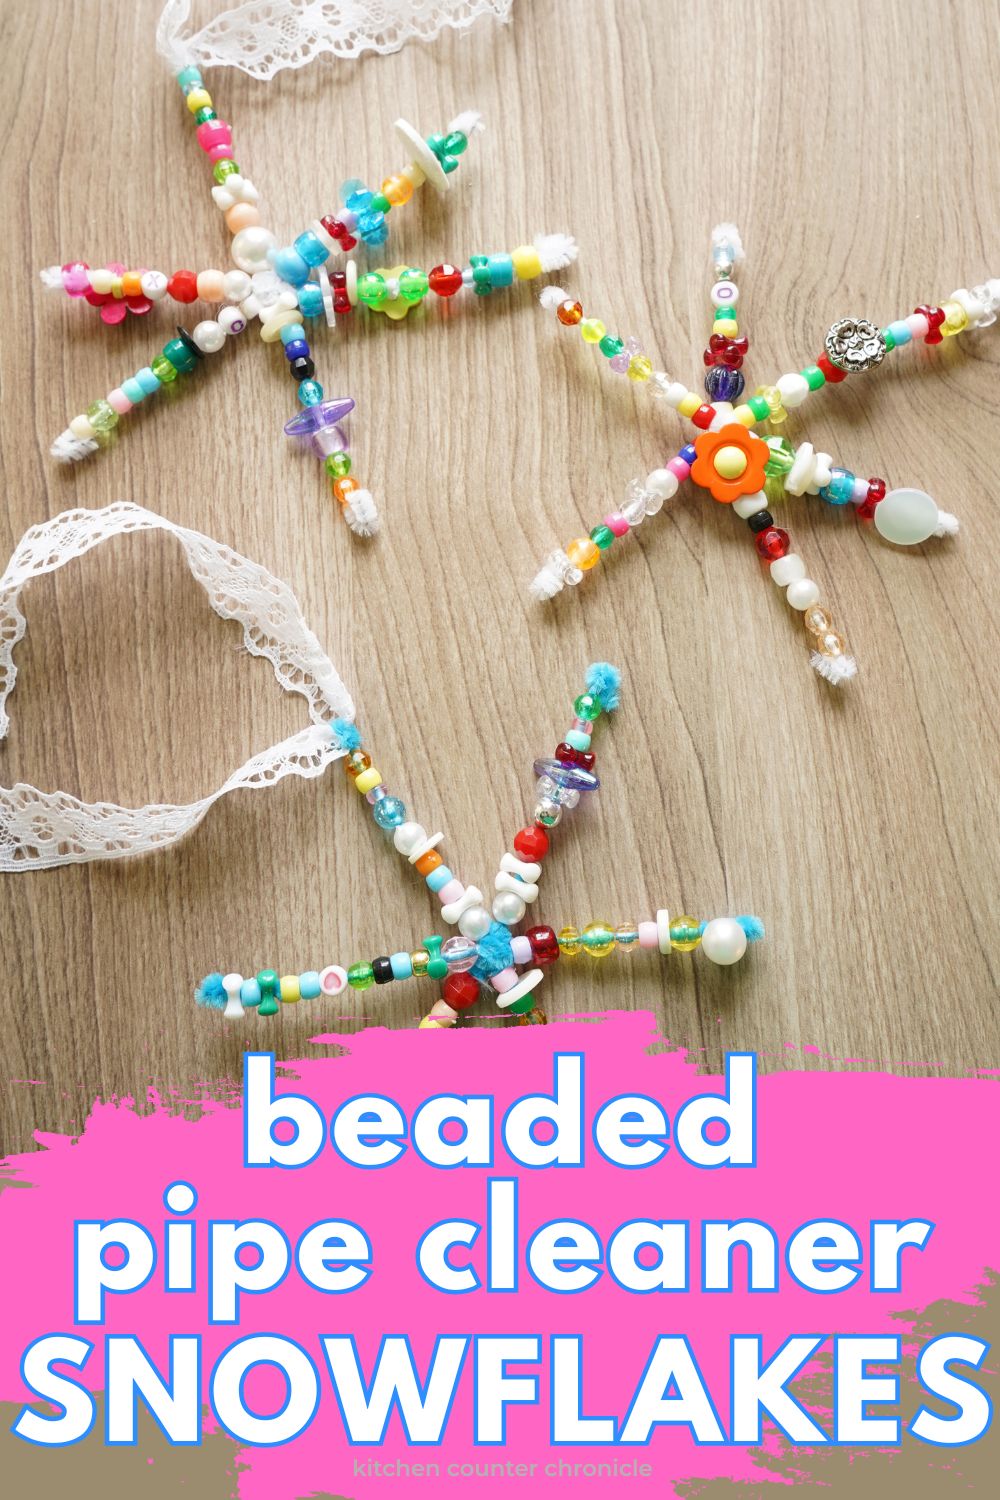
Here's another creative winter craft for older kids and adults to make. Let's learn how to make cute beaded pipe cleaner snowflakes. This is a simple way to bring some color into the drab days of winter.
Disclosure: There are Amazon Affiliate links in this article which means, at no additional cost to you, we could receive compensation for our recommendations. You can read our full disclosure policy on our Disclosure Page for more details.
You know I love a snowflake craft project, and I also love a pipe cleaner craft, and this snowflake craft brings together the best of both worlds. We all have a jar of odd beads and buttons. These pipe cleaner snowflakes are a wonderful way to put those old beads to good use.
How to Make Beaded Pipe Cleaner Snowflakes
mixed beads and buttons
blue and white pipe cleaners
scissors
jewelry pliers (optional)
ribbon
To get started, you will need to cut a pipe cleaner into thirds. This will give you a nice, small snowflake. If you would like to make bigger snowflakes, feel free to cut the lengths longer. In fact, you could use full-length pipe cleaners to make huge snowflakes. Use a set of jewelry pliers or a pair of scissors to cut the pipe cleaner. If you use your scissors, be sure to cut close to the handle, as cutting the wire could damage your scissors, and the area near the handle is used less often than the tip of the scissors. It's best to use a set of pliers or wire cutters to cut the pipe cleaners.
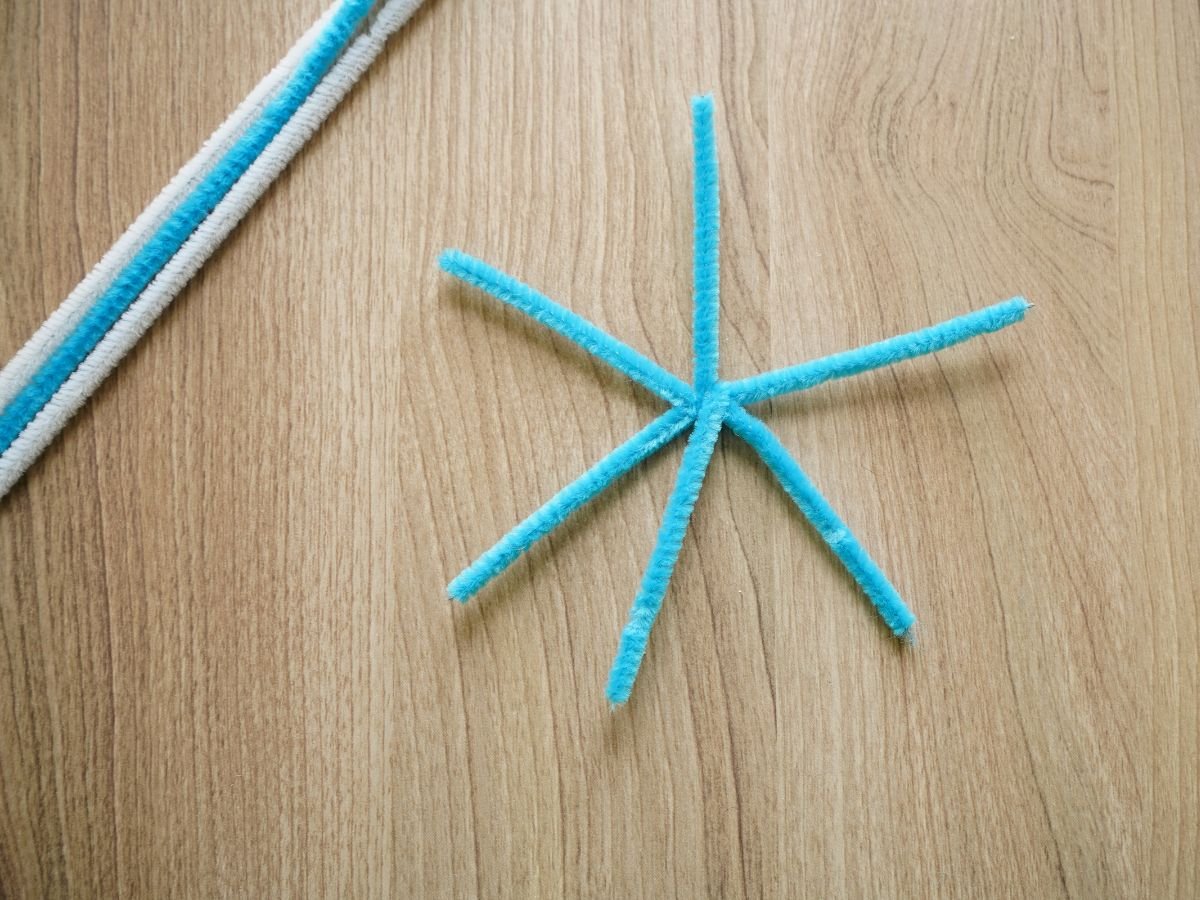
When you have 3 lengths of pipe cleaner, cross two together and then twist in the middle, creating an "X". Then, place the third length of pipe cleaner across the middle of the "X" and twist it in place. You will have a star of snowflake shape.
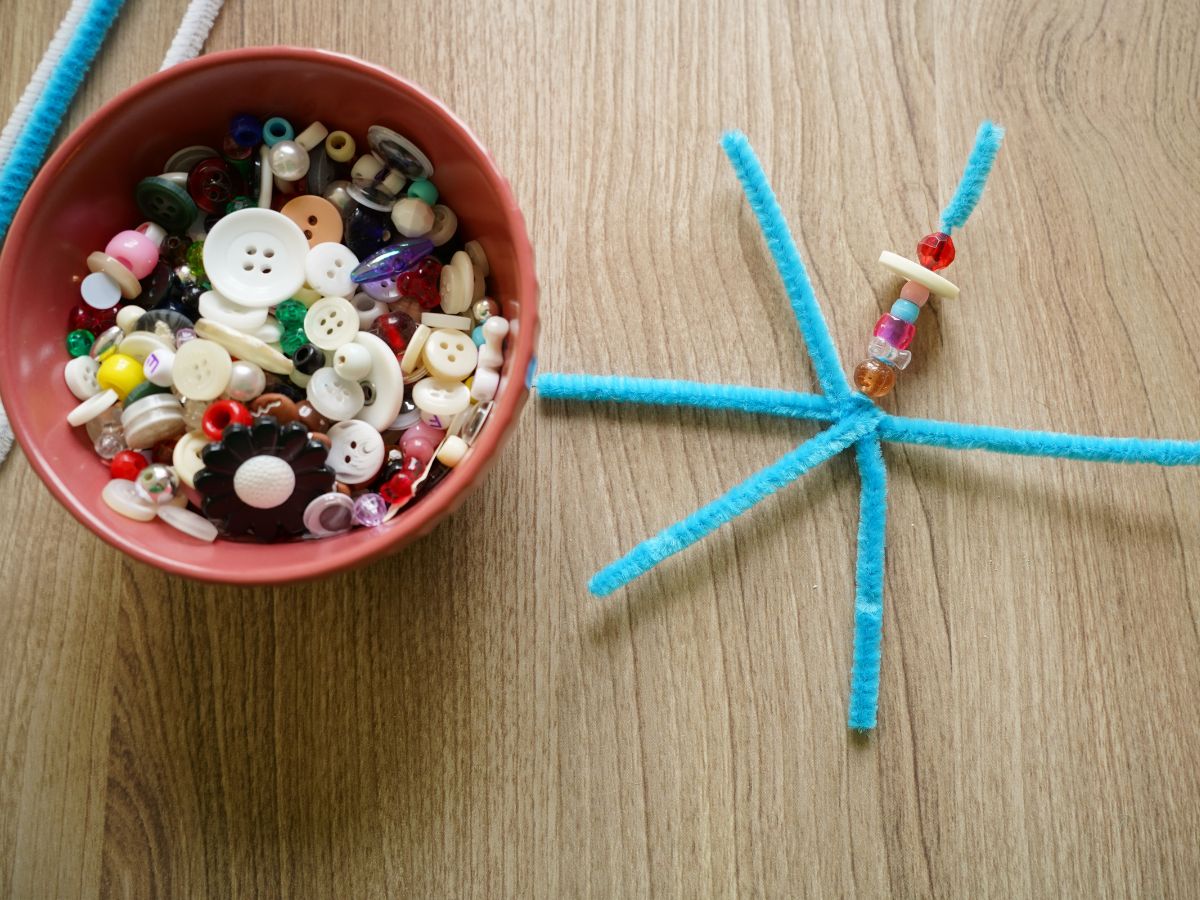
Now it's time for the fun part. Feed beads and buttons onto each arm of the pipe cleaner. When you reach the end of each pipe cleaner length, fold the end upon itself, securing the beads. Add beads and buttons to each arm of the snowflake.
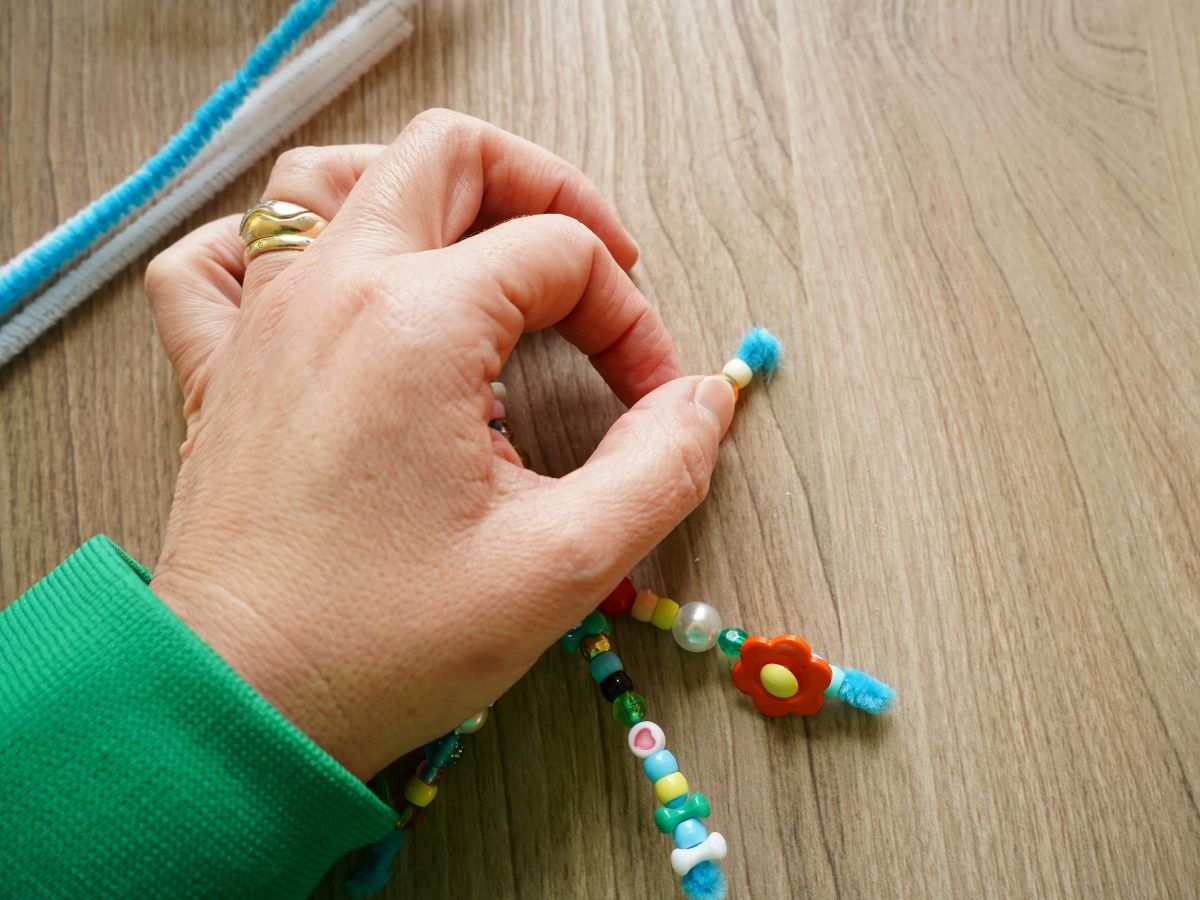
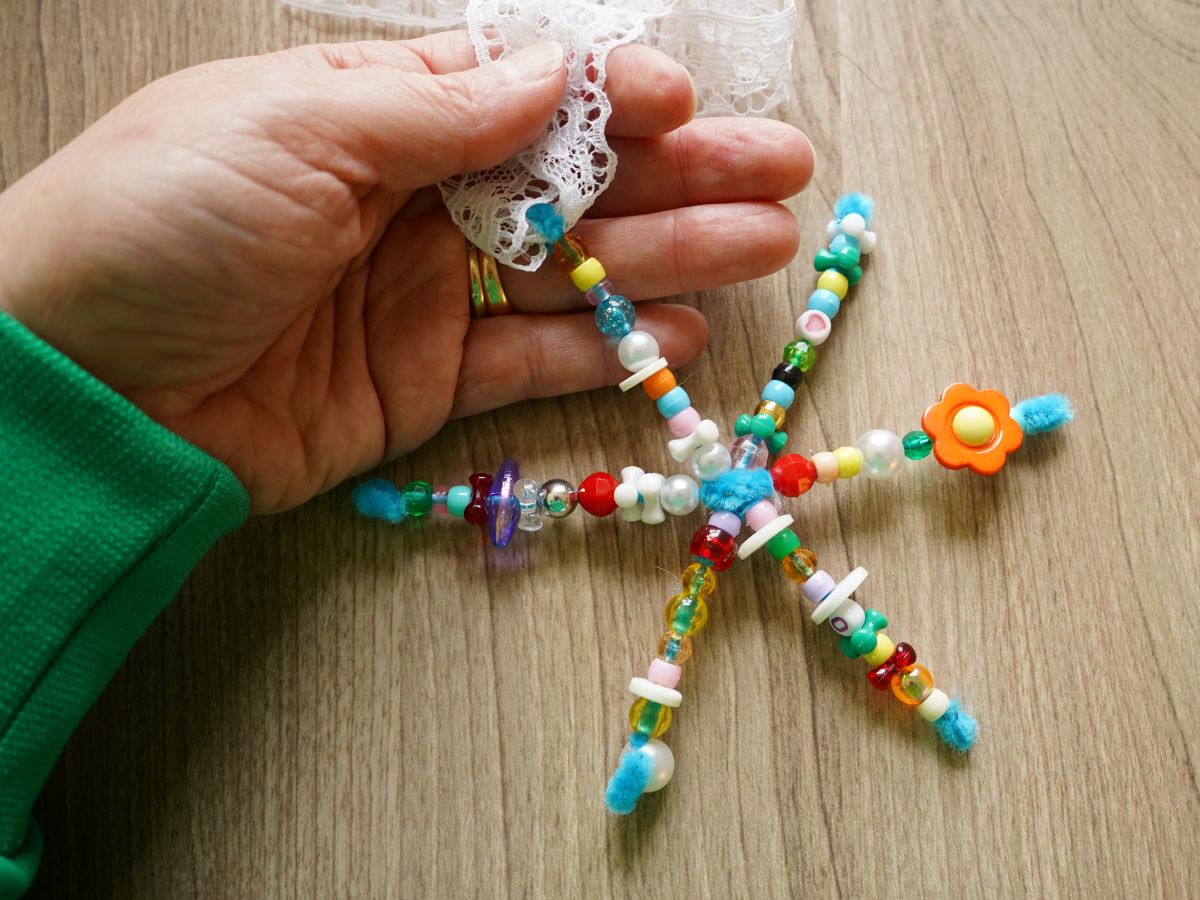
When you get to the last snowflake arm, leave a little more space at the end. Cut a length of ribbon and tie a long loop in the ribbon. You will use this loop of ribbon to hand your snowflake. Determine the length you will need based on where you want to hang your snowflake. Lay the midpoint of the ribbon loop over the end of one arm of the snowflake. Bend the tip of the pipe cleaner over the ribbon, securing it in place.
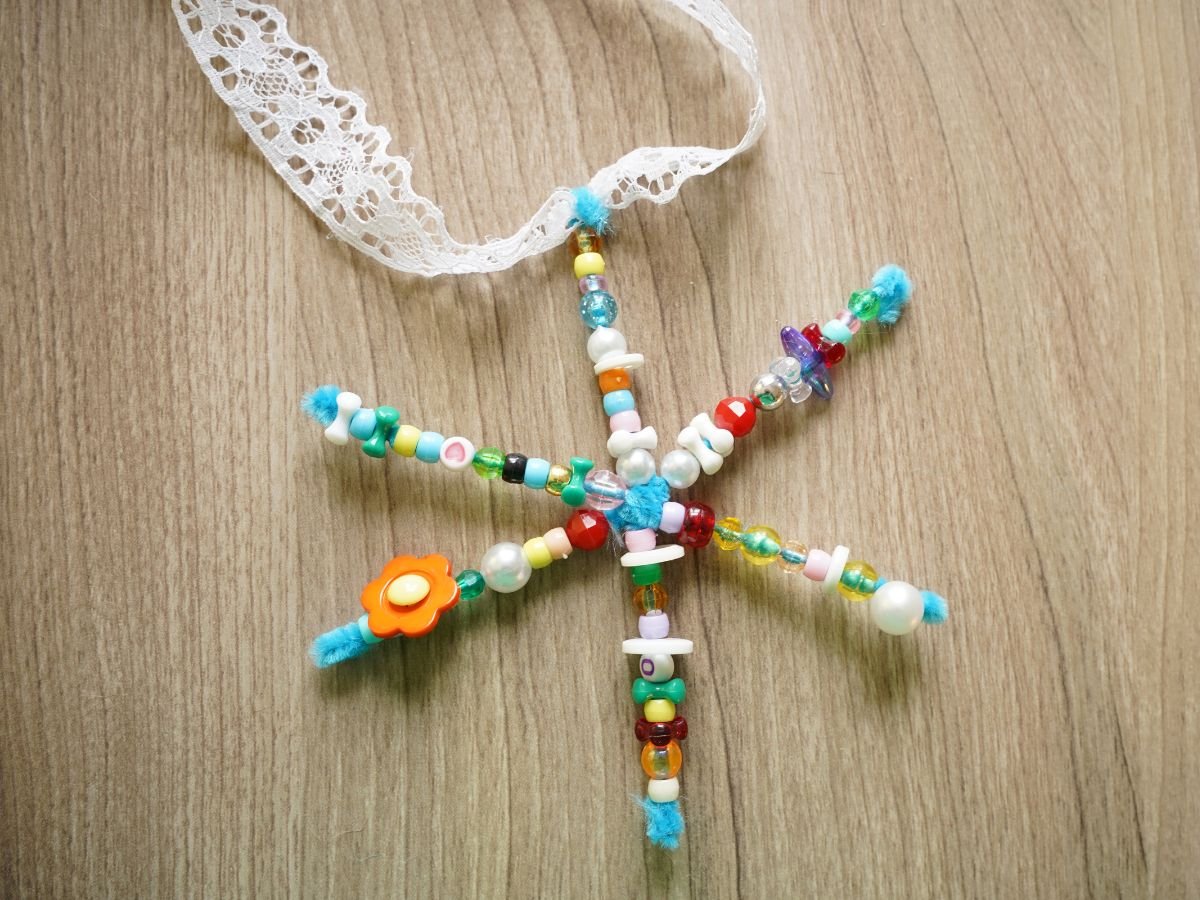
Your snowflake is complete and ready to hang. I chose to hang my beaded snowflakes in my kitchen window. I love how the light shines through them and bounces around my kitchen. They are a whimsical and delightful addition to my kitchen this winter.
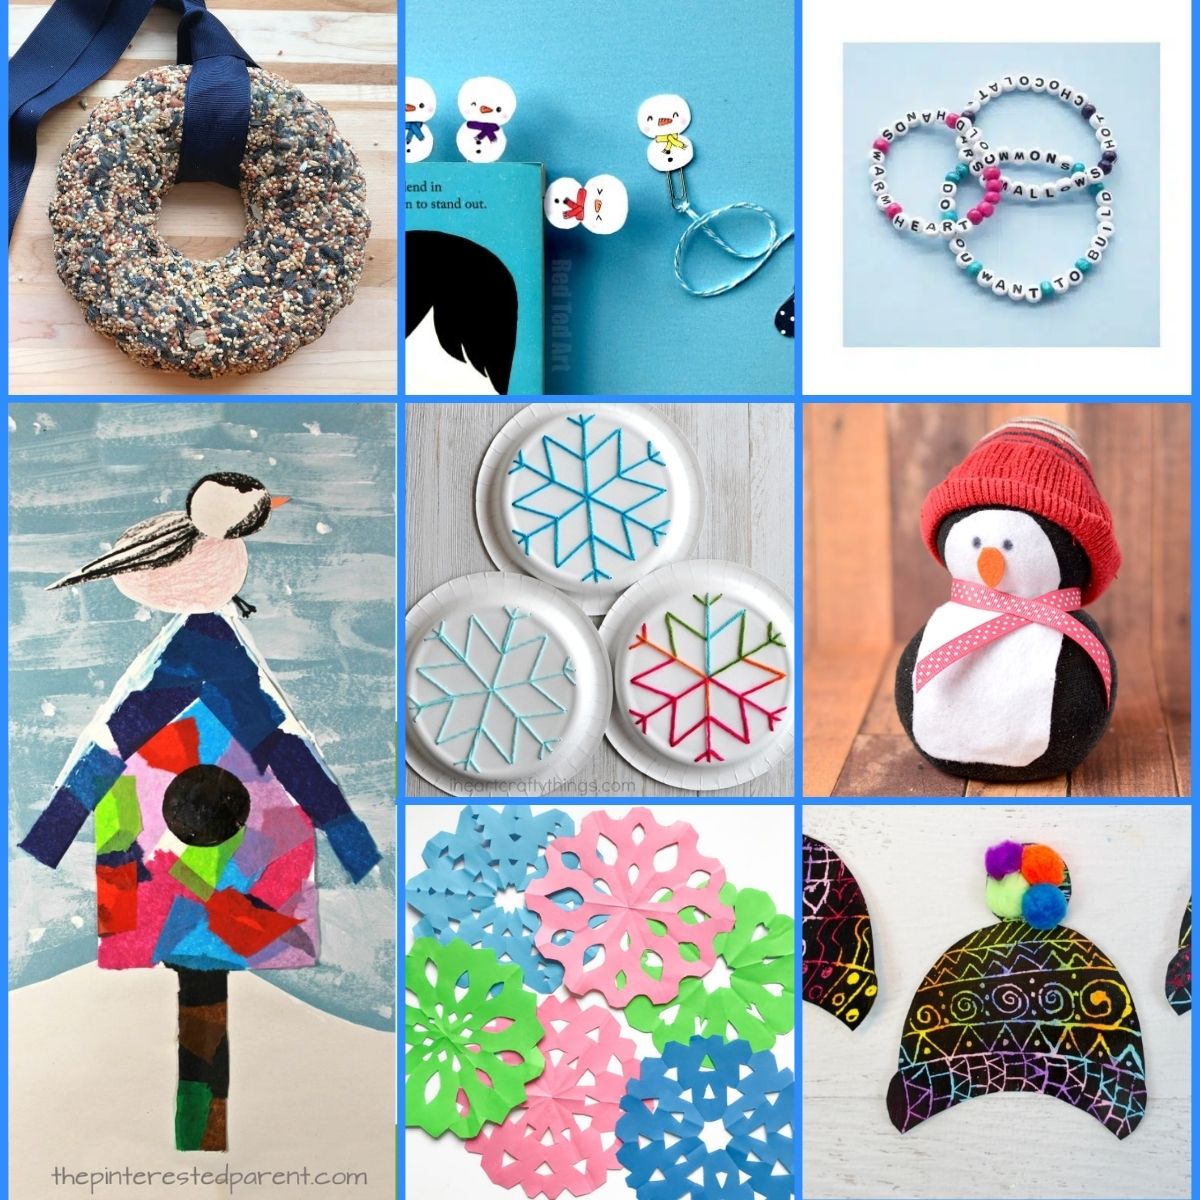
Check out all of the winter crafts in this collection of crafts for older kids to make.
Make sure you are following along...
FOLLOW KITCHEN COUNTER CHRONICLES ON
SUBSCRIBE TO KITCHEN COUNTER CHRONICLES TO HAVE OUR DELICIOUS RECIPES, FUN CRAFTS & ACTIVITIES DELIVERED DIRECTLY TO YOUR INBOX.