I really hope you enjoyed our owl cake post. I know we had a great time eating it! Next up is a simple owl craft for kids to make. With a few crafty supplies, kids can turn a ball of clay into their very own owl. I first spotted this craft idea on Pinterest...our version is a little more "rustic". 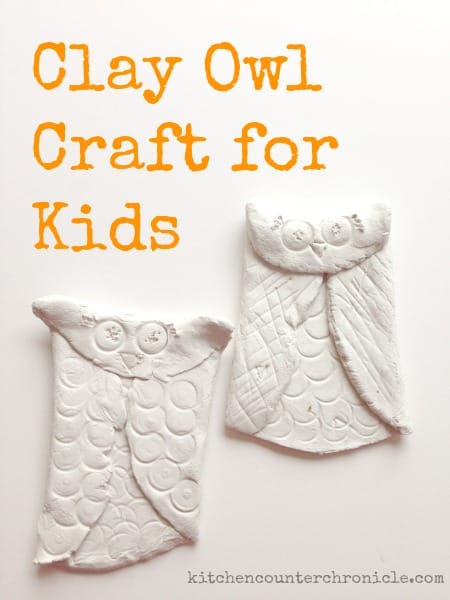
*for your convenience, this post contains affiliate links*
Clay Owl Craft for Kids
You will need
white clay - we used Prang DAS air dry, modelling clay
marker with lid
toothpick
rolling pin
Start with a palm sized ball of clay. Flatten the clay, roll it to ¼" thickness with a rolling pin. Creating a disc of clay...doesn't have to be perfect...we're going for "rustic".
Press the marker, lid end first, into the body of the owl. Kids can stamp the lid all over the disc, be sure not to push all the way through the clay.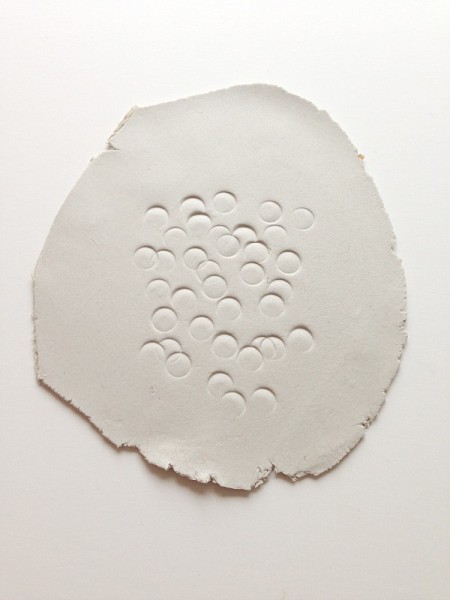
Fold the two "wings" toward the middle of the owl. Creating the beginning of the tufts at the top of the owl. Use the toothpick to etch feather details to the wings.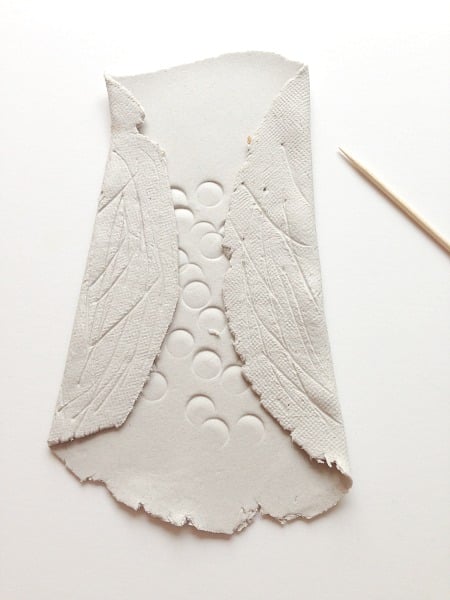
Fold the top of the clay over about 1". This will create the owl's face and the pointy tufts. Use the marker lid to stamp the eyes, the toothpick to etch the beak and any other details the child likes.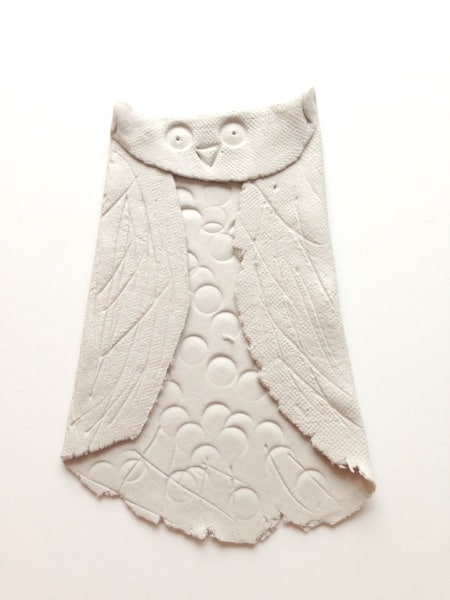
Set the owls aside for 24 hours, or until they are completely dry. We opted not to paint our owls, however depending on the clay used, the owls can be painted. Done.
For the party I cut a square of cardboard for each child to use as their work surface and to use as a plate to carry the owl home on. When the kids sat down at the table each child had a ball of clay to work with and all the supplies they needed to make the owl. This craft was fun and quick. Each child created a unique bird and was then was off to singing and dancing.


Jill says
These are owldorable!
Thank you for stopping by the Thoughtful Spot Weekly Blog Hop this week. We hope to see you drop by our neck of the woods next week!