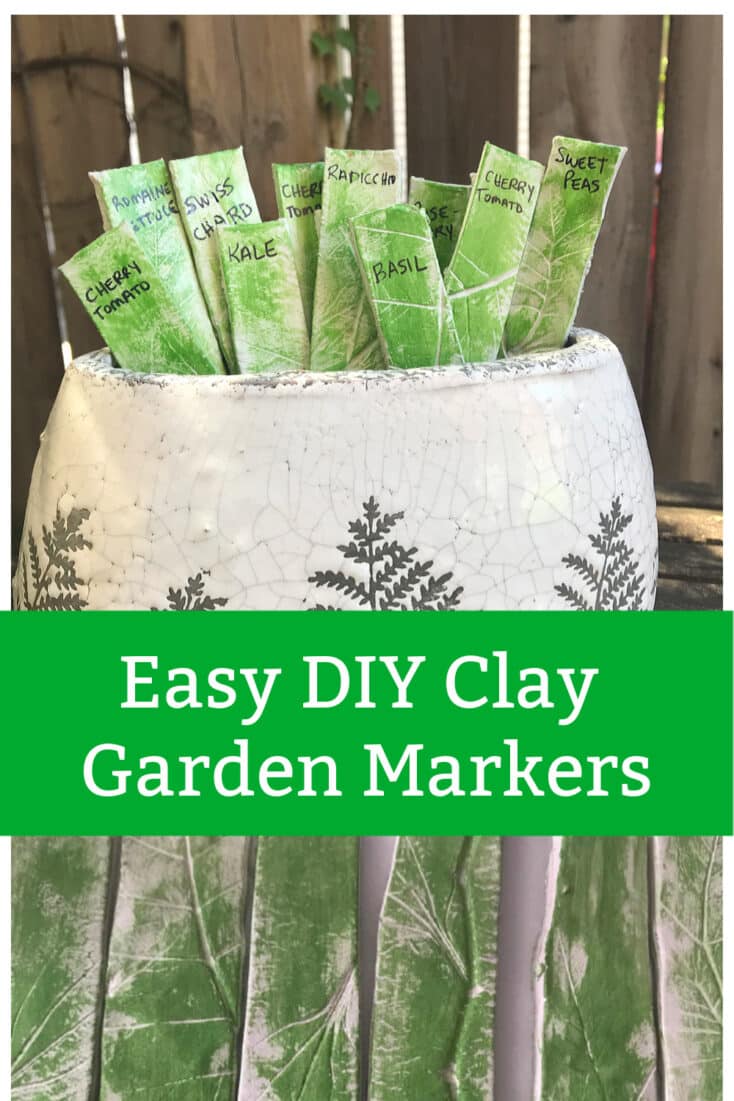
Our gardens are planted and being watered daily...things are growing as they should. We've shared many tips for planting and growing an awesome home garden over the years. Today's post is a simple garden craft project - that the kids can totally help to make. Create your own clay vegetable garden markers.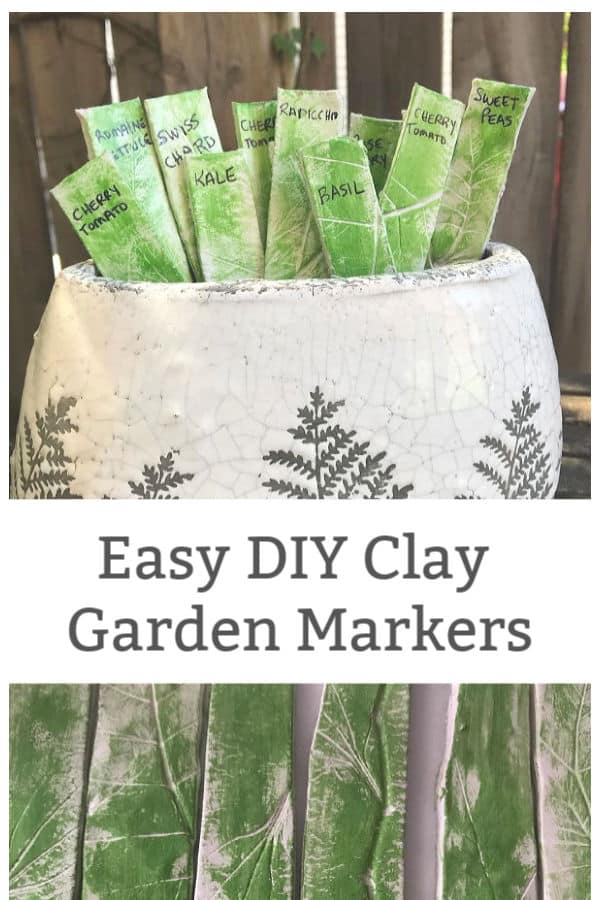
Disclosure: There are Amazon Affiliate links in this article which means, at no additional cost to you, we could receive compensation for our recommendations. You can read our full disclosure policy on our Disclosure Page for more details.
This year our garden happens to have 3 varieties of lettuce. When I look for vegetables to plant, I always look for things that our crew will actually eat. No point planting veggies that no one will enjoy. We happen to be a salad loving family...so lots of lettuce this year. But, I didn't know how I was going to keep track of all those leafy greens.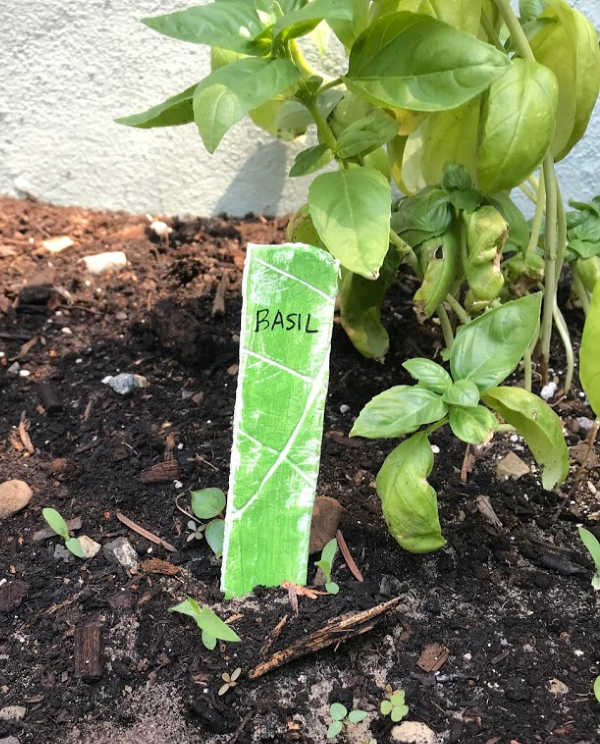
A few years ago we shared a tutorial for making cute rock vegetable garden markers, but this year I wanted to try another craft project...clay vegetable markers for the garden. With a few items and a little time you can make these lovely markers.
Easy Air Dry Clay Vegetable Garden Markers
oven dry clay
collection of leaves and sticks
rolling pin
small bowl of water
paper towel
green acrylic paint
craft sealant - we used ModPodge Outdoor
permanent marker
The first step is going into your garden and determining how many garden markers you need to make. Create a list of what you will be identifying. We used ours in our little vegetable patch - cherry tomatoes, all of the different lettuces and herbs.
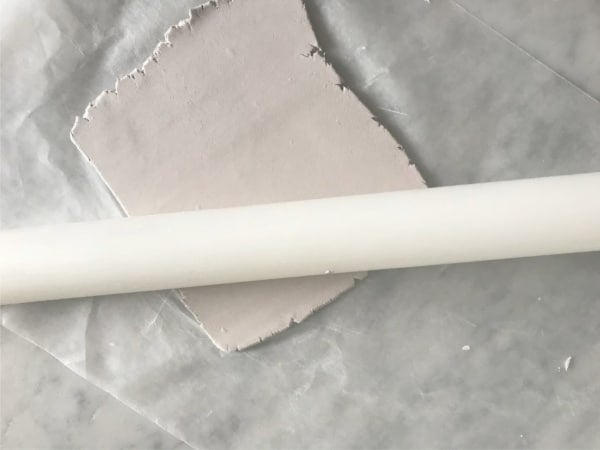
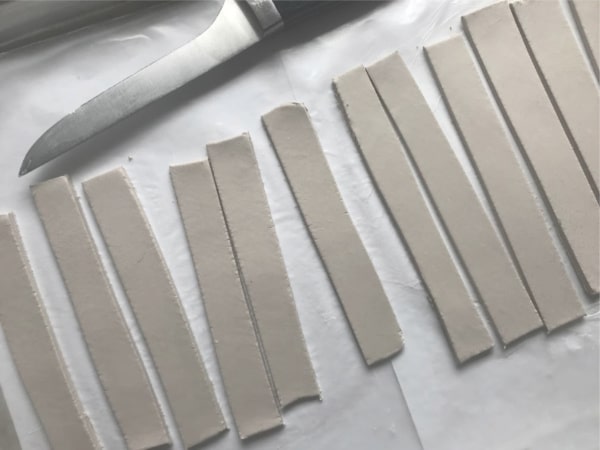
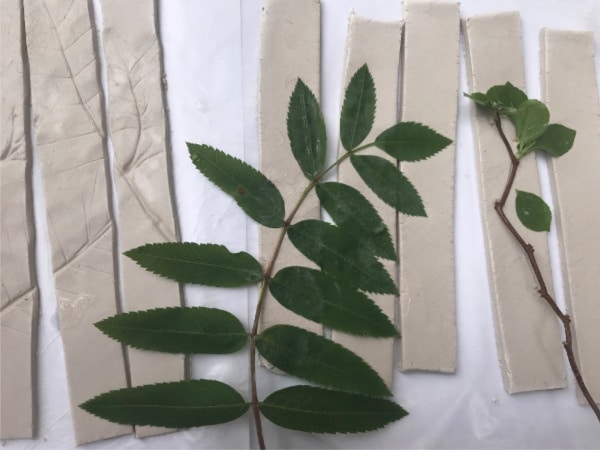
This is a creative project - we aren't looking for perfection. The deeper the veins on the leaves, the deeper the impressions will be. I flipped and rotated my leaves and branches all over the markers until I like the result.
Now, they need to bake and dry completely. Follow the package instructions for the time and temperature. I flipped them over halfway through the baking process...to be sure they dried evenly.
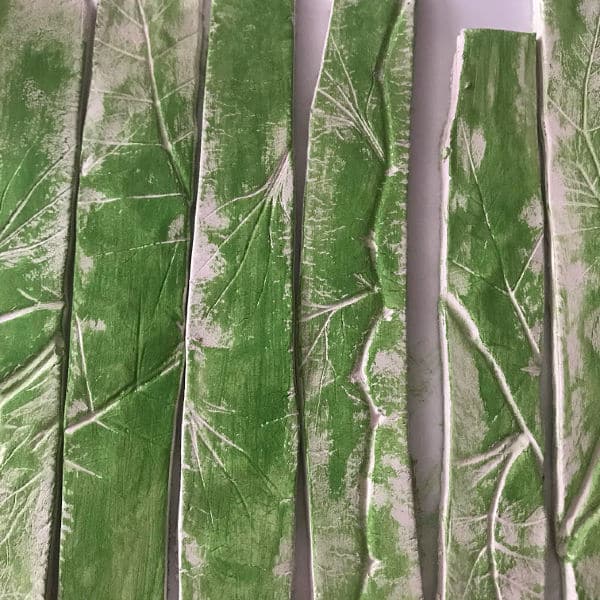
When the clay is dry, it's time to paint them. We opted to go for a dry brush look. To achieve this look you need to use a dry paint brush...no water. Dip the brush into the paint and brush off the excess paint onto a paper towel. You only need a little paint on the brush. Lightly brush the paint all over the marker. The paint will settle into the crevices. In some cases, the paint will stay on the flat surfaces and leave the veins clear of paint. Both look lovely and really highlight the patterns the branches and leaves made in the clay.
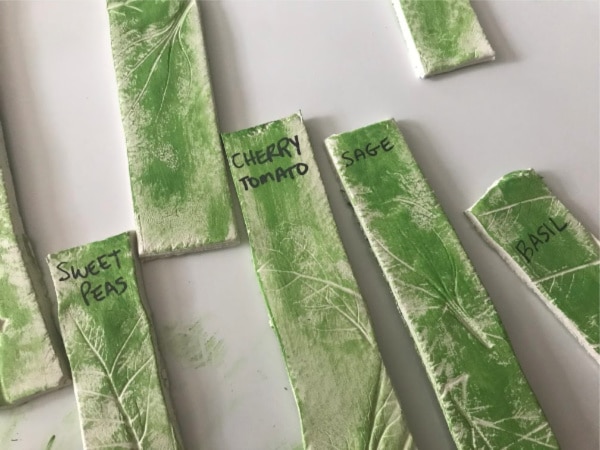
The final step is sealing the plant markers. For this, we used ModPodge's outdoor clear sealant. Make sure you coat all sides and edges of the markers. These are going to be outside in all kinds of weather and dug into the soil - they need to be fully sealed. This step takes the most time, because you need to work one side at a time and let them dry in between coats. We did two coats.
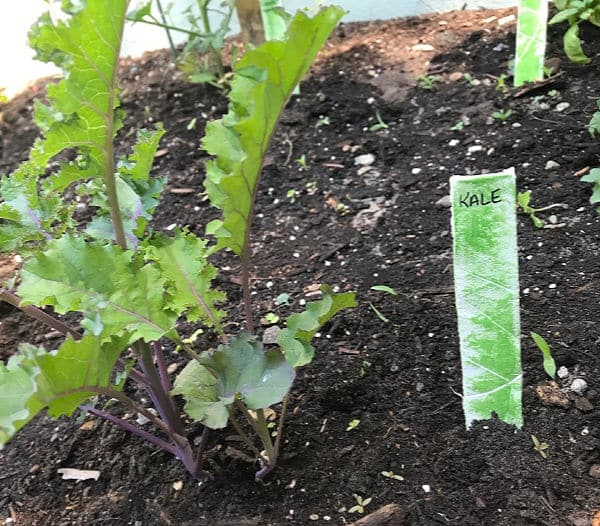
I love how these garden markers look in the soil. They would make a beautiful gift for a garden lover in your life. What a lovely Mother's Day gift or Birthday gift to make and share...right? For now, we are enjoying our plant markers in our little veggie patch and waiting for all of our plants to grow.
Related Posts

