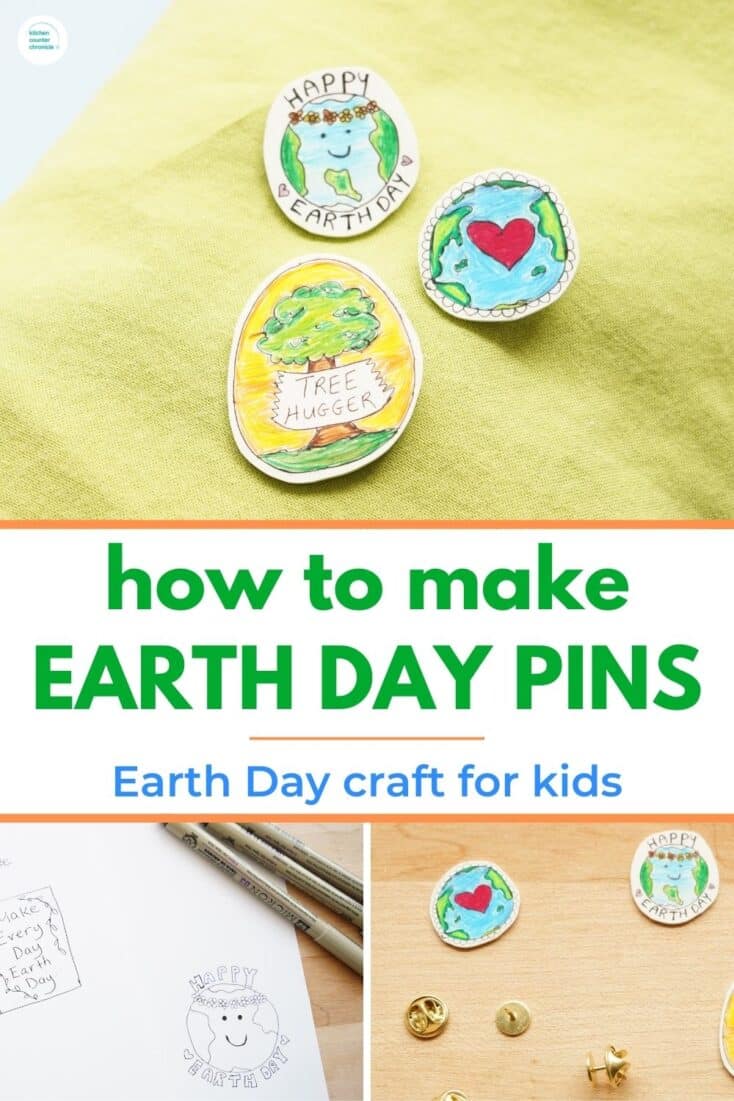
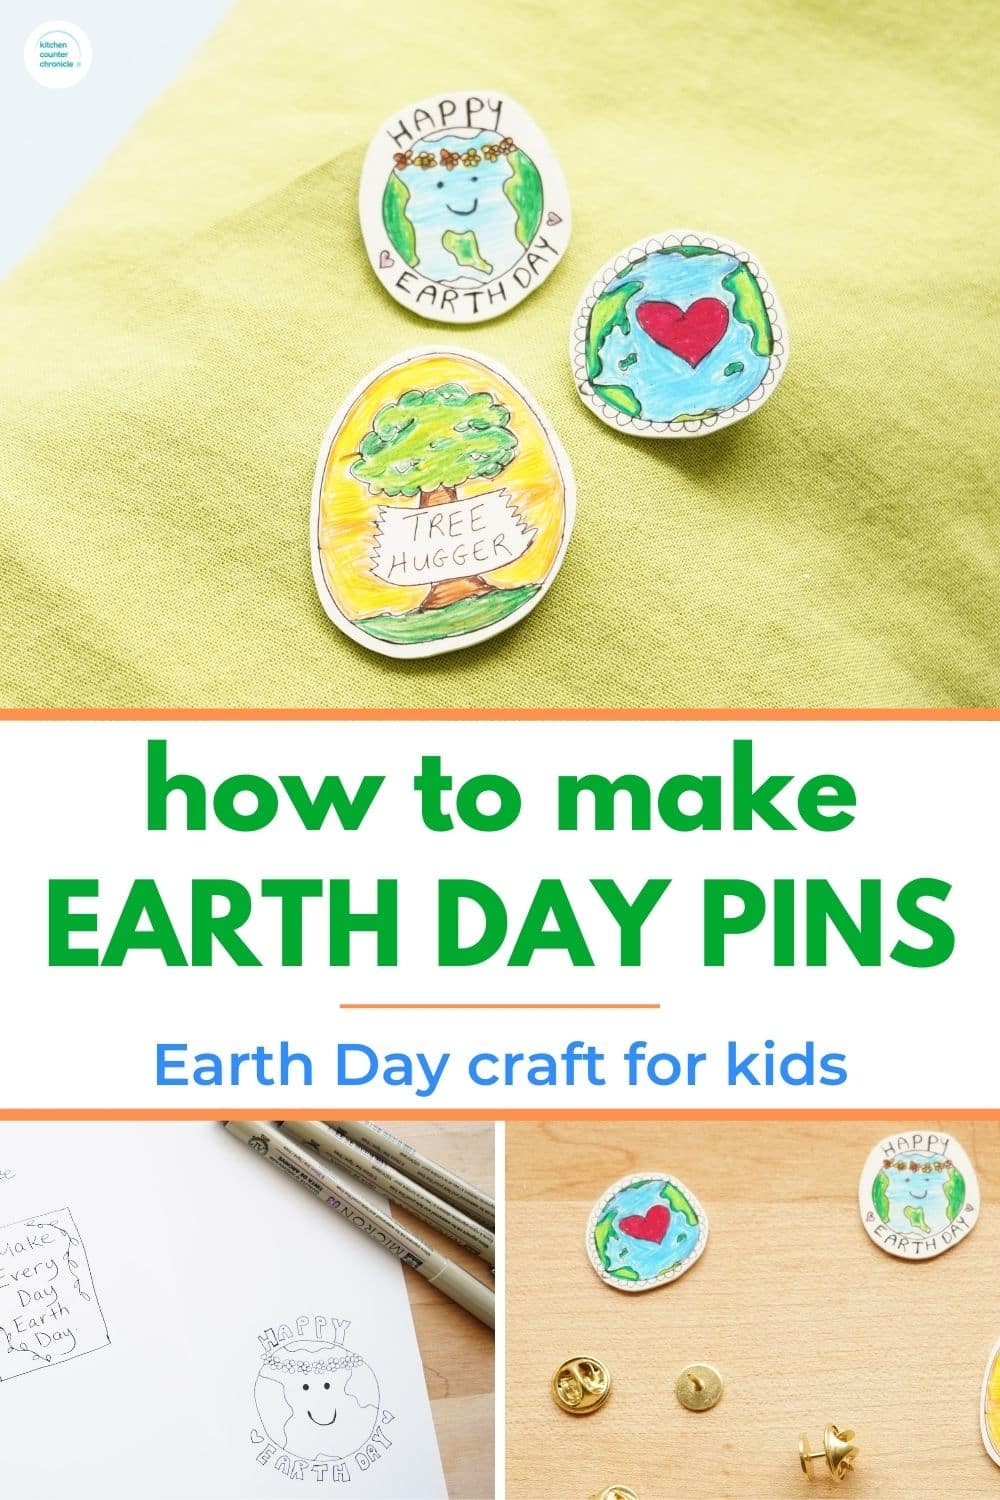
I am always looking to find fun and creative ways to celebrate Earth Day. Earth Day is one of my favorite holidays. I love celebrating our beautiful planet and I am happy to be sharing how you can make your own DIY Earth Day pins. This is a cool activity for kids of all ages and adults too!
Disclosure: There are Amazon Affiliate links in this article which means, at no additional cost to you, we could receive compensation for our recommendations. You can read our full disclosure policy on our Disclosure Page for more details.
When I was a kid I always had some kind of button or pin on my jacket. I remember I had a pin that had an owl and the words "Give a hoot, don't pollute". It was a very 80s button. Well, that memory sparked my creativity and I decided that I wanted to make my own homemade Earth Day pins. Pins I could wear and share with my family and friends. And, of course, I wanted to get my kids involved too!
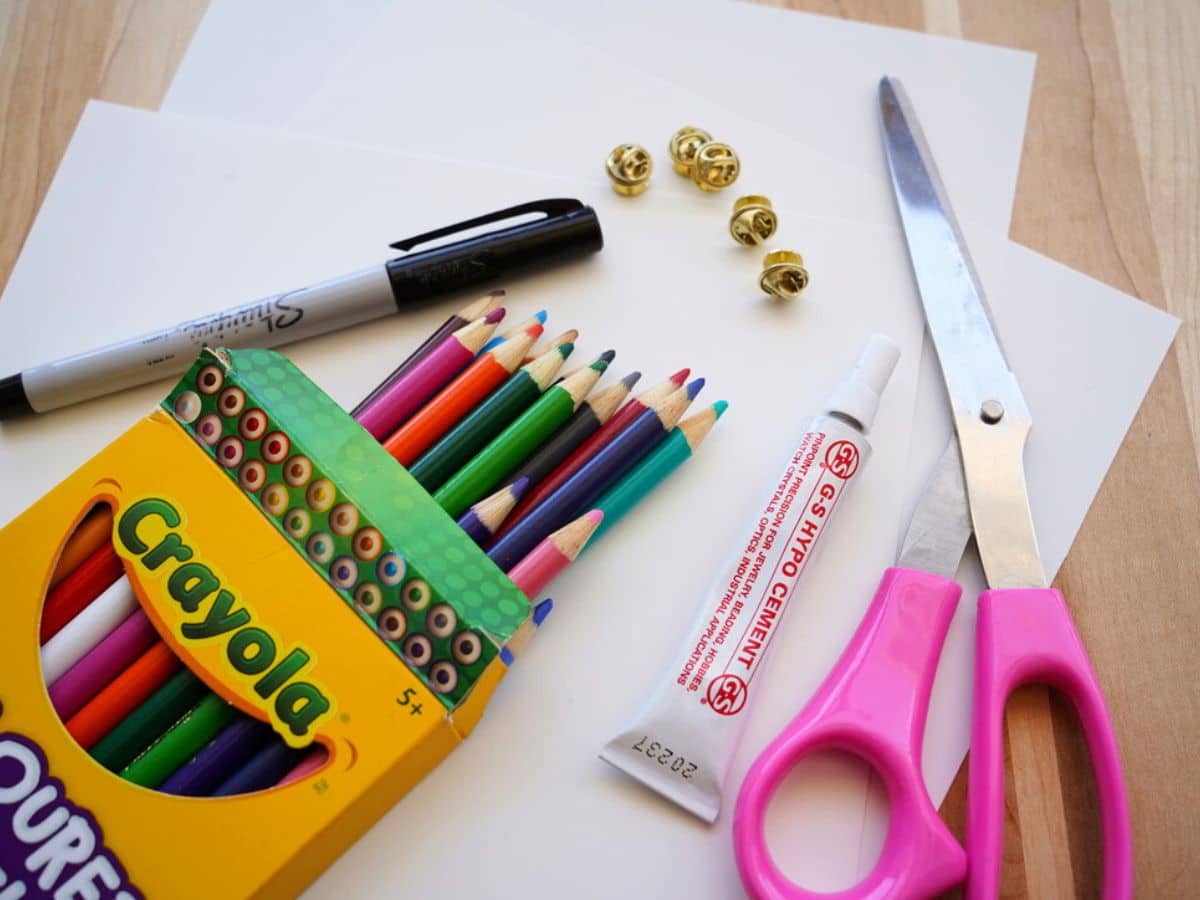
DIY Earth Day Pin
white Shrinky Dink paper
pencil
scissors
fine-tipped black permanent marker
pencil crayons
e-6000 glue
pin backers
The first step in making our Earth Day pins is to decide what message we would like to share or what image we would like to create. Here are a few common phrases associated with Earth Day.
- Make Everyday Earth Day
- Happy Earth Day
- There is no Planet B
- Reduce - Reuse - Recycle
- It's cool to go green
- tree hugger
- Be Kind to Mother Earth
- Give a hoot Don't pollute
- make your own message
Take inspiration from these messages or create your own, it's up to you. As for the image, you could only use the words or you could add a few Earthy images. Here are a few items you could include in your DIY Earth Day pin...
- the planet Earth
- a tree
- birds
- vines, leaves, branches
- hearts
- hands
- the recycle symbol - 3 arrows in a circle
- the sun
- flowers, gardens
Remember you can make these Earth Day badges as simple or detailed as you like. I decided to make a few pins and went with a few different designs. Try out your designs on paper first and then sketch them out on the white shrink paper. I like the opaque white paper best, but you could use the clear paper too. Remember the designs are going to shrink, so you need to draw the pins larger than you want them to end up being. I experimented by cutting out pieces of paper of different sizes and popping them in the oven until I got the final size I liked the best. For these pins, I started with designs that were about 2 inches tall or in diameter.
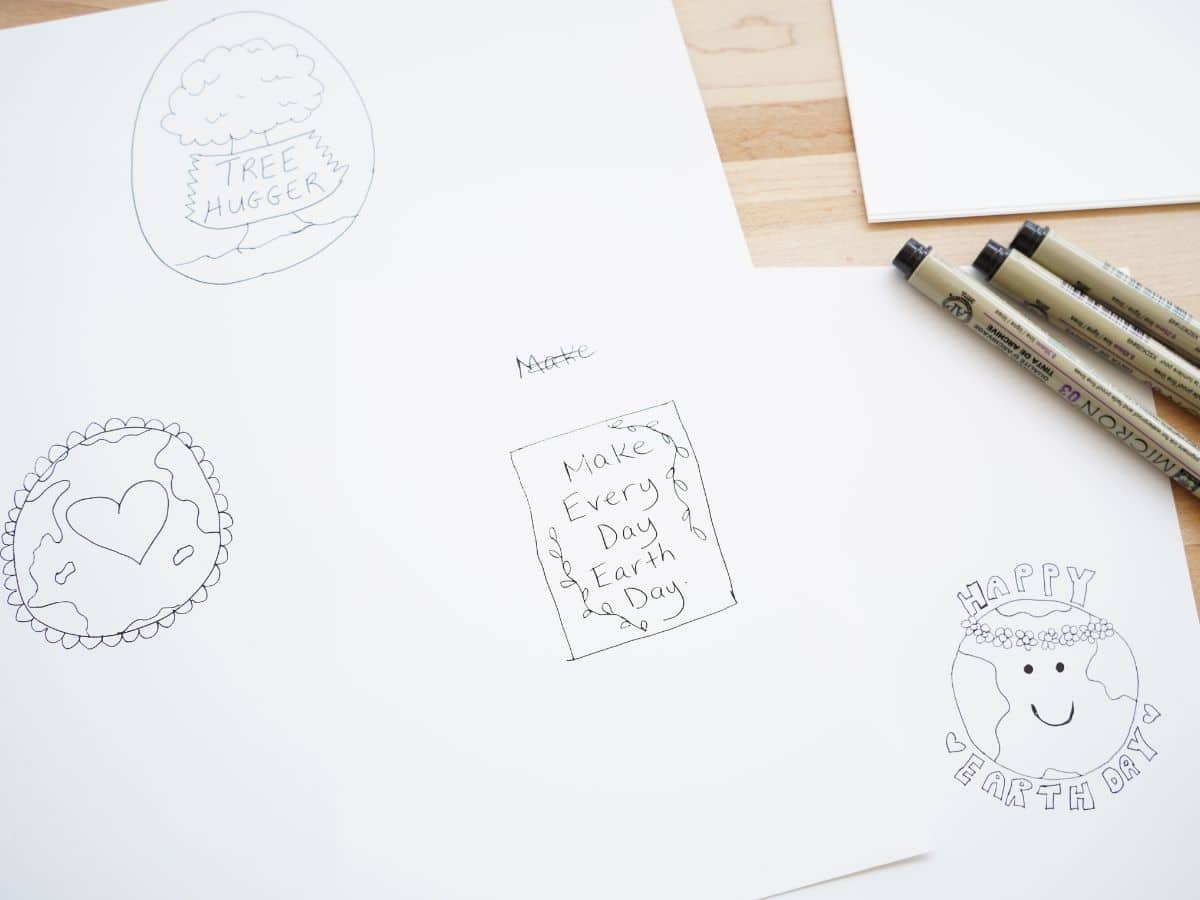
The next important part is you need to use a fine line permanent marker for the designs. Permanent markers won't rub off and then you can use your pencil crayons to color in the designs. You can color first and then outline with the marker or vice versa, again it's up to you. Once your pins are colored it's time to cut them out. Use a pair of sharp scissors to cut out your designs.
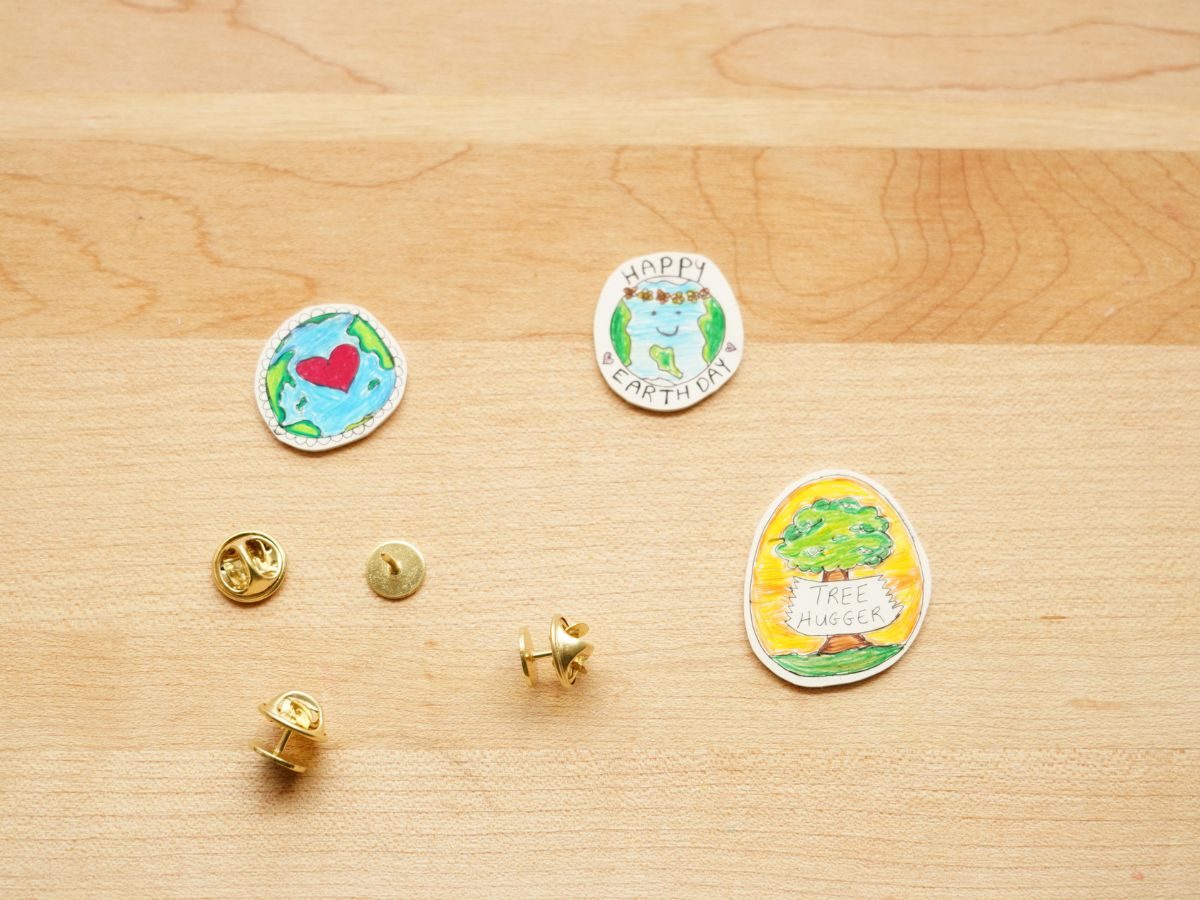
Follow the "baking" instructions on the packaging for your specific paper. I did a test run first, using some scrap pieces of paper. In general, you will place your pins a few inches apart on a parchment paper-lined baking sheet. Set them in the oven for about 30 seconds. They will curl up, shrink, and then relax flat. Pull them out when they flatten out. If there are any pins that don't flatten fully, that's okay. Set them on a flat surface and place a heavy book on top of them for a few minutes...while they are still warm. This should help press them flat.
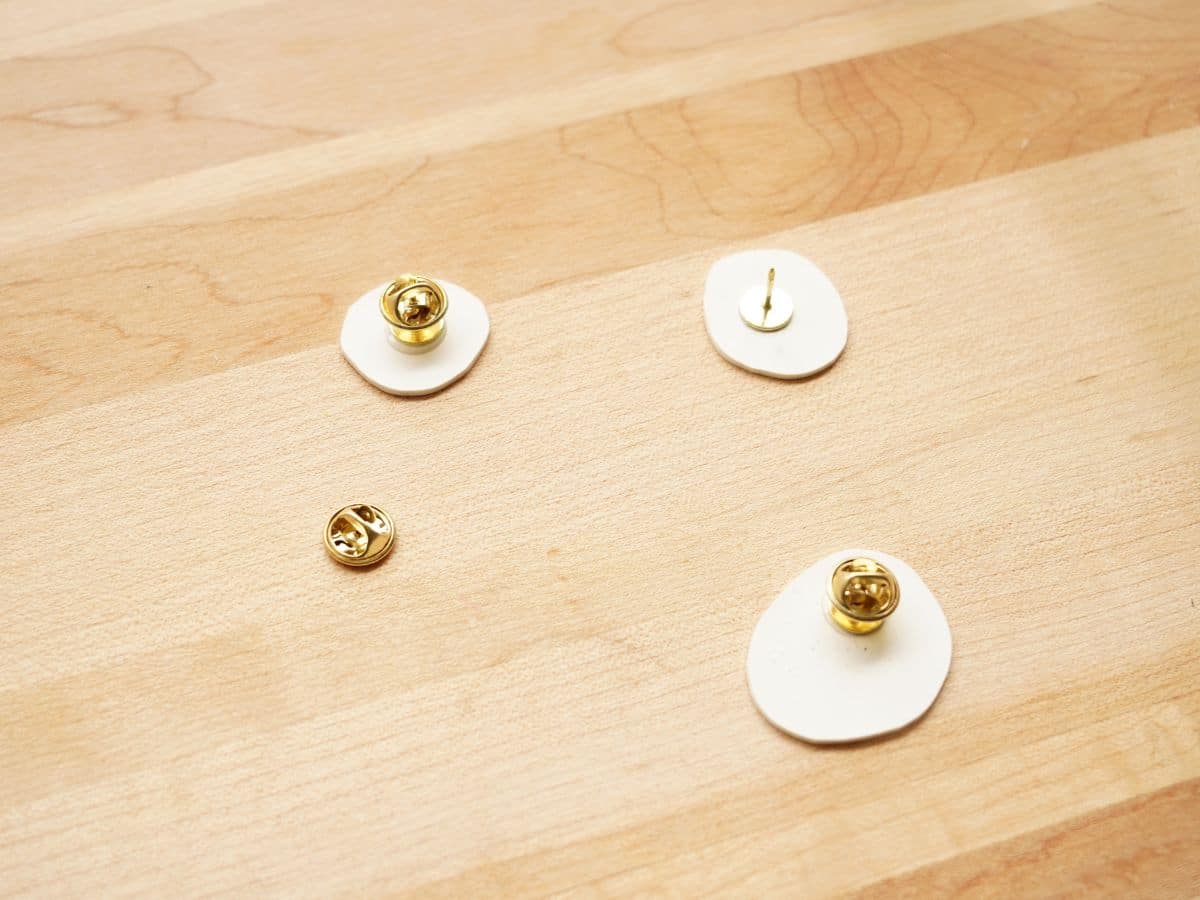
Now, it's time to turn these into pins! You will want to use a highly adhesive glue, like a super glue or e-6000 glue. Remember that these glues are super-duper sticky. You will want to be careful to not get any on your fingers. I find it's best to have everything prepared and ready to go before you get started. Cover your work surface and lay the pins design side down. Place a dollop of glue on the pin and press the pin backer onto the back of the pin. Hold it in place for a few seconds and then let it fully dry. Again, check your package instructions for complete drying time. I waited 24 hours before pinning mine to my jacket...just to be sure they were fully dry and secure.
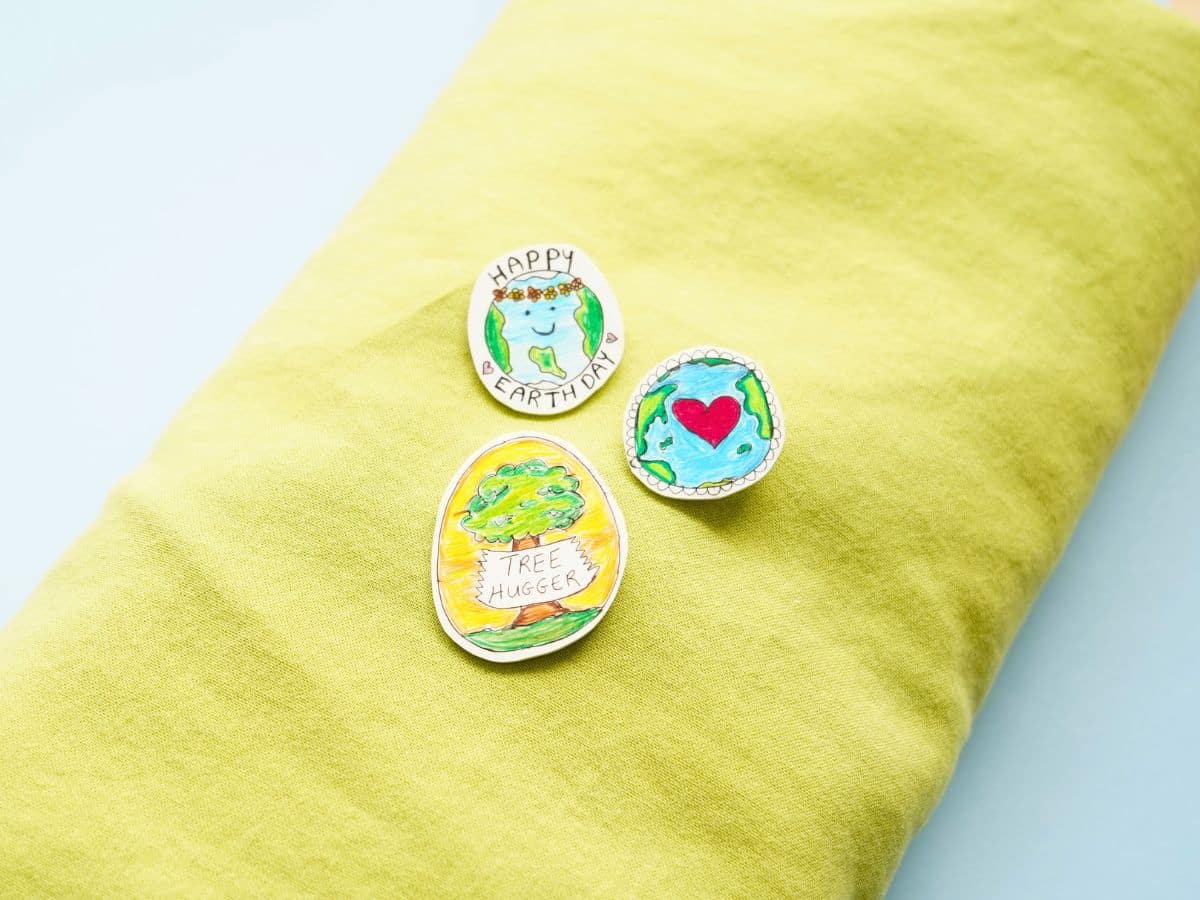
And, now you can wear your Earth Day pin! Make these for your friends and family. A great activity for a school's Green Team to do. You can use a toaster oven if you don't have access to a full-sized oven. I know that we are wearing our pins with pride.
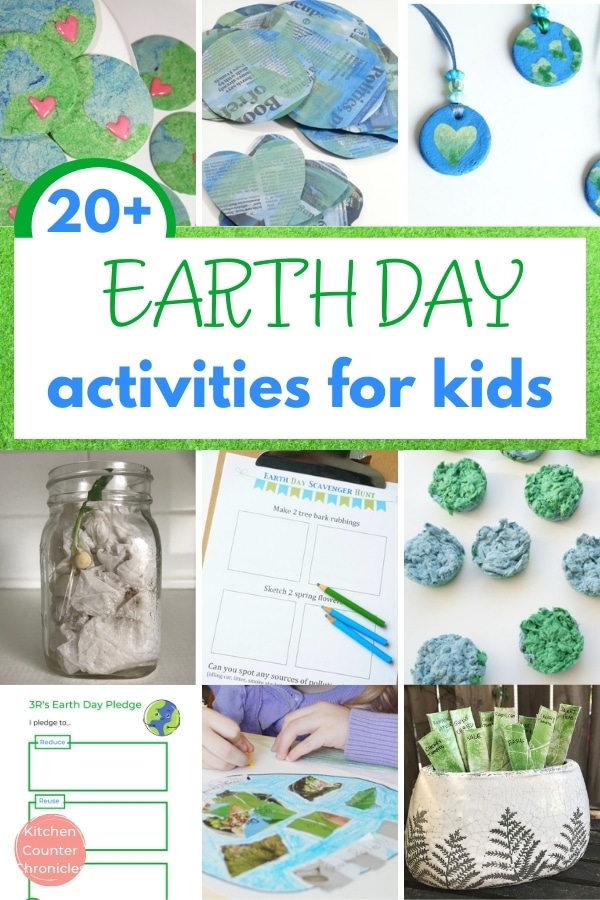
Check out all of our awesome Earth Day crafts and activities
Make sure you are following along...
FOLLOW KITCHEN COUNTER CHRONICLES ON
SUBSCRIBE TO KITCHEN COUNTER CHRONICLES TO HAVE OUR DELICIOUS RECIPES, FUN CRAFTS & ACTIVITIES DELIVERED DIRECTLY TO YOUR INBOX.

